
Introduction: Why Custom Closets Go Wrong (And How to Get It Right)
Dreaming of a custom closet that finally corrals the chaos and transforms your mornings? You’re not alone. Custom closets are one of the most popular home improvement projects, promising better organization, increased home value, and a daily dose of stress-free living. But a DIY closet build can quickly spiral into a costly headache if you don’t plan carefully. From underestimating your budget to choosing poor materials or missing essential design details, many homeowners make preventable mistakes that lead to wasted time, money, and frustration.
This comprehensive guide is dedicated to helping you avoid the most common pitfalls of custom closet construction. We’ll walk you through practical budgeting strategies, help you select the right tools, cover the must-know design principles, and point out compliance and safety considerations that are often overlooked. Whether you’re a weekend warrior or new to DIY, you’ll finish this article armed with actionable insights to create a closet that’s not just beautiful—but functional and built to last. Let’s set you up for success from the first sketch to the final shelf installation.
Budget Breakdown: What Does a Custom Closet Really Cost?
Understanding the Variables
The cost of a custom closet can vary wildly, from a few hundred dollars for a basic reach-in setup to several thousand for a high-end walk-in with premium finishes. Budgeting accurately is the cornerstone of a successful build. Factors influencing cost include:
- Closet Size: Reach-in, walk-in, or full dressing room?
- Material Quality: Melamine, MDF, plywood, or hardwood?
- Storage Components: Drawers, shoe racks, islands, jewelry trays?
- Hardware: Soft-close hinges, custom pulls, lighting?
- DIY vs. Professional: Are you hiring out specialty tasks?
Sample Budget Breakdown
- Materials: $600–$2,500 (shelves, rods, hardware, accessories)
- Tools & Equipment: $100–$500 (if you don’t already own essential tools)
- Paint/Finishes: $50–$200
- Lighting: $75–$400 (LED strips, puck lights, wiring)
- Permits (if required): $0–$150 (usually only for major electrical or structural changes)
- Contingency Fund: 10–20% of budget for surprises
Always get quotes for custom components and price out all materials before you start. Don’t forget to budget for delivery fees, specialty fasteners, and disposal of old materials.
Beginner Mistakes to Avoid: Lessons Learned the Hard Way
1. Skimping on Planning
Jumping in without a well-thought-out design is the #1 reason for project headaches. Take time to measure every wall, ceiling height, and depth—twice. Use online design tools or graph paper to map out shelf placement and walkways. Don’t forget to account for door swings, trim, and electrical outlets.
2. Ignoring Weight Limits
Overloading shelves or hanging rods is a common rookie error. Always check the weight ratings for all hardware, and anchor support panels into studs whenever possible. Heavy items like winter coats or shoe collections require reinforced supports.
3. Using the Wrong Materials
Cheap particleboard may be tempting, but it sags and chips over time—especially in humid climates. Invest in quality plywood or melamine-coated MDF for most DIY builds. If budget allows, solid wood is best for high-end projects.
4. Neglecting Lighting
Closets are notorious for poor lighting. Plan for both ambient and task lighting. Battery-powered LED strips are easy for DIYers, but consider hardwired solutions for larger spaces.
5. Overlooking Ventilation
Lack of airflow can cause musty odors or even mold. If your closet is large or windowless, consider adding a vent or passive air grille.
6. Forgetting Flexibility
Needs change. Design adjustable shelves and rods to accommodate future wardrobe updates or resale.
7. Underestimating Tools Needed
Don’t get caught mid-project without the right tools. We’ll cover the essentials in the next section.
Essential Tools and Equipment for a Flawless Build
Basic Toolkit Must-Haves
- Measuring tape (at least 25 ft)
- Level (4 ft or laser level for long runs)
- Cordless drill/driver and drill bit set
- Stud finder
- Circular saw or track saw (for cutting panels)
- Jigsaw (for curves or cutouts)
- Clamps (to hold panels steady while fastening)
- Hammer and rubber mallet
- Assorted screwdrivers
- Safety gear: goggles, dust mask, hearing protection
- Pencil, chalk line, or painter’s tape for marking
Optional Upgrades
- Miter saw (for precise trim or shelving cuts)
- Oscillating multi-tool (handy for tight spaces)
- Brad nailer (for trim or face frames)
- Shop vacuum (for dust control)
Before you begin, stage all your tools and keep a running inventory. Nothing derails momentum like a missing bit or dead battery.
Design Principles for Maximum Function and Style
Assess Your Storage Needs
Start with a ruthless closet cleanout. Take inventory: how many shoes, shirts, dresses, suits, bags, and accessories do you actually need to store? This step prevents overbuilding or, worse, running out of space.
Optimize Every Inch
- Double Hang: Install two rods (upper and lower) for shirts, blouses, and folded pants. This nearly doubles your hanging capacity.
- Shelf Height: Adjustable shelves (12–15 in apart) allow for jeans, sweaters, and baskets.
- Vertical Storage: Use the full wall height for off-season or infrequently used items.
- Shoe Storage: Pull-out racks, cubbies, or angled shelves maximize accessibility and space.
- Drawer Placement: Shallow drawers for jewelry, deep drawers for bulky items.
- Accessory Zones: Add hooks for belts, scarves, hats, and bags.
Incorporate Lighting and Mirrors
Plan for lighting before you build. LED strips under shelves, motion-sensor puck lights, or even a flush-mount ceiling fixture can dramatically improve usability. A full-length mirror (wall-mounted or on a door) adds functionality—just check door swing clearance first.
Choose Durable, Easy-to-Maintain Finishes
Melamine-coated surfaces are a breeze to wipe down and resist scratches. Consider soft-close drawer slides and high-quality hardware for a luxury feel. Avoid dark finishes in small, unlit closets—they absorb light and make spaces feel cramped.
Step-by-Step Setup: Your Custom Closet Build
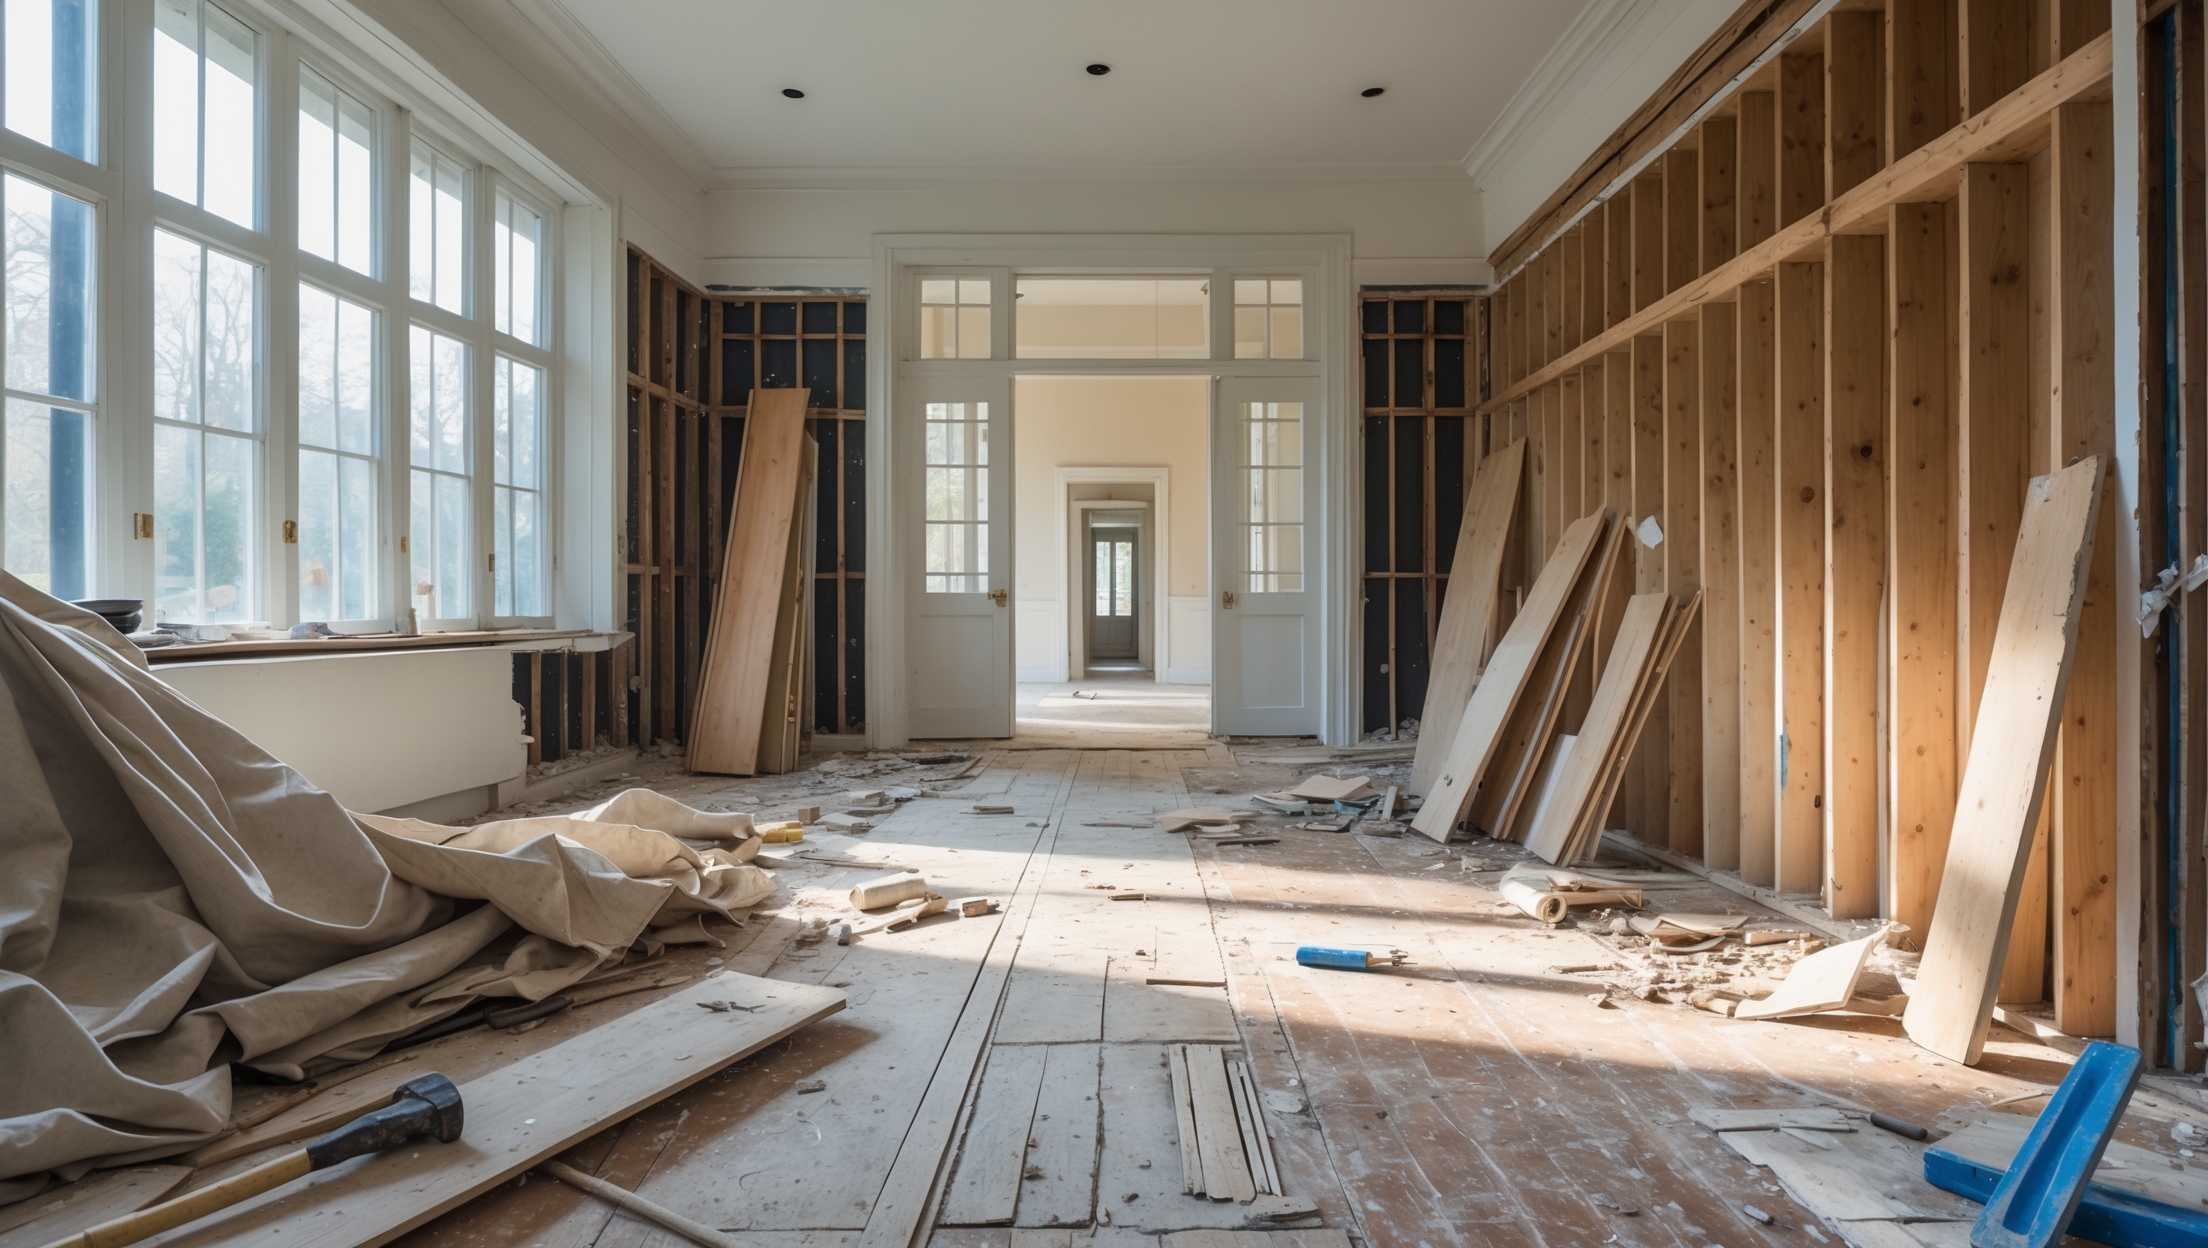
1. Demolition and Prep
- Empty the closet completely and remove old shelving, rods, and hardware.
- Patch holes and sand walls smooth. Paint now—before any installation.
- Check for hidden wiring or plumbing before drilling.
2. Mark Layout and Find Studs
- Mark all shelf heights, rod positions, and anchor points using a level and pencil.
- Locate and mark wall studs—these are your main support points.
3. Assemble and Install Vertical Panels
- Pre-drill holes and secure side panels to studs. Use shims to ensure panels are plumb (perfectly vertical).
- Install any floor-mounted supports or leveling feet if needed.
4. Add Shelves, Rods, and Drawers
- Install fixed shelves first, then adjustable shelf supports.
- Fit hanging rods—double-check for level and that there’s enough clearance for hangers.
- Install drawers and any pull-out racks per manufacturer’s instructions.
5. Install Lighting and Accessories
- Mount lighting per your plan. For hardwired fixtures, consider hiring a licensed electrician.
- Add hooks, baskets, and specialty racks last.
6. Final Inspection
- Check all fasteners, test drawers and rods for sturdiness, and wipe down all surfaces.
- Touch up paint or caulk as needed.
Compliance and Permits: Don’t Get Caught Off Guard
Most closet builds don’t require permits unless you’re making structural changes (moving walls) or adding new electrical circuits. If you’re installing hardwired lighting or outlets, check local codes—permits and a licensed electrician may be required. Always follow manufacturer instructions and use appropriate anchors for wall type (drywall, plaster, masonry).
Maintenance Best Practices: Keeping Your Closet Like New
- Monthly: Wipe down shelves and rods, vacuum or mop floor, and check for loose fasteners.
- Seasonally: Rotate out-of-season clothing, check lighting and batteries, and inspect for moisture or pests.
- Annually: Re-tighten hardware, re-level shelves, and touch up paint or finish as needed.
If you notice sagging shelves or sticking drawers, address the issue right away—delays can lead to bigger repairs later.
Conclusion: Build Smarter, Not Harder
Building a custom closet is one of the most satisfying home improvements you can tackle—if you avoid the common missteps that trip up so many DIYers. Careful planning, accurate budgeting, and the right tools are your best allies. Don’t cut corners on material quality or design flexibility; these investments pay off in daily convenience and long-term value. Remember to optimize every inch for your unique storage needs, choose durable finishes, and install proper lighting and ventilation. Always check for permit and code requirements, especially if you’re adding electrical features.
Maintenance is the final ingredient for lasting satisfaction. A little regular care keeps your closet looking sharp and functioning smoothly for years to come. If you hit a snag, don’t hesitate to ask for expert help—some tasks (like electrical work) are best left to pros.
By following the advice in this guide, you’ll sidestep expensive mistakes and enjoy a custom closet that fits your life and your home perfectly. Happy building, and may your mornings be clutter-free!


After finishing the closet build, are there any recommended steps or checks to make sure everything is safe and up to code before I start loading in clothes and accessories? I want to avoid hidden issues down the line.
Before loading in your clothes and accessories, double-check that all shelves and rods are securely anchored to wall studs or appropriate supports. Inspect hardware for tightness, verify that doors and drawers open smoothly, and ensure there are no sharp edges or splinters. If you installed lighting or electrical elements, confirm they are properly insulated and meet local code. It’s also a good idea to vacuum or wipe down surfaces to remove dust and debris from the build.
I noticed you mention materials like melamine, MDF, plywood, and hardwood. If I’m on a tight budget but want something that still looks nice and lasts, which material would you suggest prioritizing for shelves versus drawers?
For shelves, melamine is a great budget-friendly option that looks clean and is durable for light to moderate use. For drawers, consider MDF—it’s smoother and takes paint well, giving a nice finish while keeping costs down. If your budget allows, you could use plywood for drawer boxes for added strength, but melamine and MDF will both serve well if cost is your main concern.
For someone who wants to avoid costly mistakes but has limited DIY experience, are there particular specialty tasks where it’s more cost-effective or safer to hire a professional rather than attempt it yourself?
Absolutely, for those with limited DIY experience, it’s usually best to hire a professional for tasks like electrical work, structural changes, and installing heavy cabinetry. These jobs can pose safety risks or lead to expensive repairs if not done correctly. You might consider handling simpler tasks like painting or basic shelving yourself and bringing in experts for the more complex or high-risk elements.