
Introduction: Why Tool Maintenance Matters in Home Improvement
Home improvement projects often hinge on the reliability and performance of your tools. Whether you’re tackling a weekend DIY job or embarking on an ambitious renovation, your gear is the backbone of your success. Yet, many homeowners overlook one critical aspect: proper tool maintenance. Neglecting your hand tools, power tools, and specialty equipment can result in poor performance, unexpected breakdowns, safety hazards, and unnecessary expenses on replacements. Conversely, a well-maintained tool arsenal ensures smoother workflows, more accurate results, and a safer environment. This comprehensive guide dives into best practices for cleaning, storing, troubleshooting, and caring for your home improvement tools—empowering you to make the most of every project while protecting your investment for years to come.
Understanding the Types of Tools in Your Arsenal
Hand Tools
Hand tools like hammers, screwdrivers, wrenches, pliers, and chisels are the foundation of most home improvement tasks. While they may seem indestructible, they are vulnerable to rust, dullness, and misalignment if not properly cared for.
Power Tools
Power tools include drills, circular saws, sanders, and nail guns. These require not only cleaning and storage but also regular inspection and lubrication to ensure electrical and mechanical parts stay in optimal condition.
Specialty and Measuring Equipment
Levels, stud finders, laser measures, and moisture meters are often overlooked, but keeping these precise is vital for accuracy in your projects. Their maintenance extends beyond simple cleaning and often involves calibration and battery care.
Daily and Post-Project Tool Care Essentials
Cleaning After Each Use
- Remove debris: Wipe away dust, sawdust, or residue using a dry cloth or soft brush.
- Address sticky substances: Use mineral spirits on a rag to clean off adhesives or caulk.
- Power tool vents: Use compressed air to blow out dust and debris from vents and motor housings.
- Blade and bit cleaning: For saw blades or drill bits, use a brush and appropriate solvent to remove pitch or resin.
Inspection Checklist
- Check for wear and damage: Look for cracks, chips, frayed cords, or dull edges.
- Test moving parts: Ensure all mechanisms move smoothly and springs or catches are working correctly.
- Battery condition: For cordless tools, inspect battery terminals and check for swelling or leaks.
Lubrication and Rust Prevention
- Moving joints: Apply a few drops of light machine oil to plier joints, hinges, and ratchets.
- Metal surfaces: Wipe down with a silicone spray or light oil to prevent rust, especially if tools are stored in humid areas.
- Blades: After cleaning, lightly oil saw blades, chisels, and plane irons to prevent corrosion.
Proper Storage Solutions
Hand Tool Organization
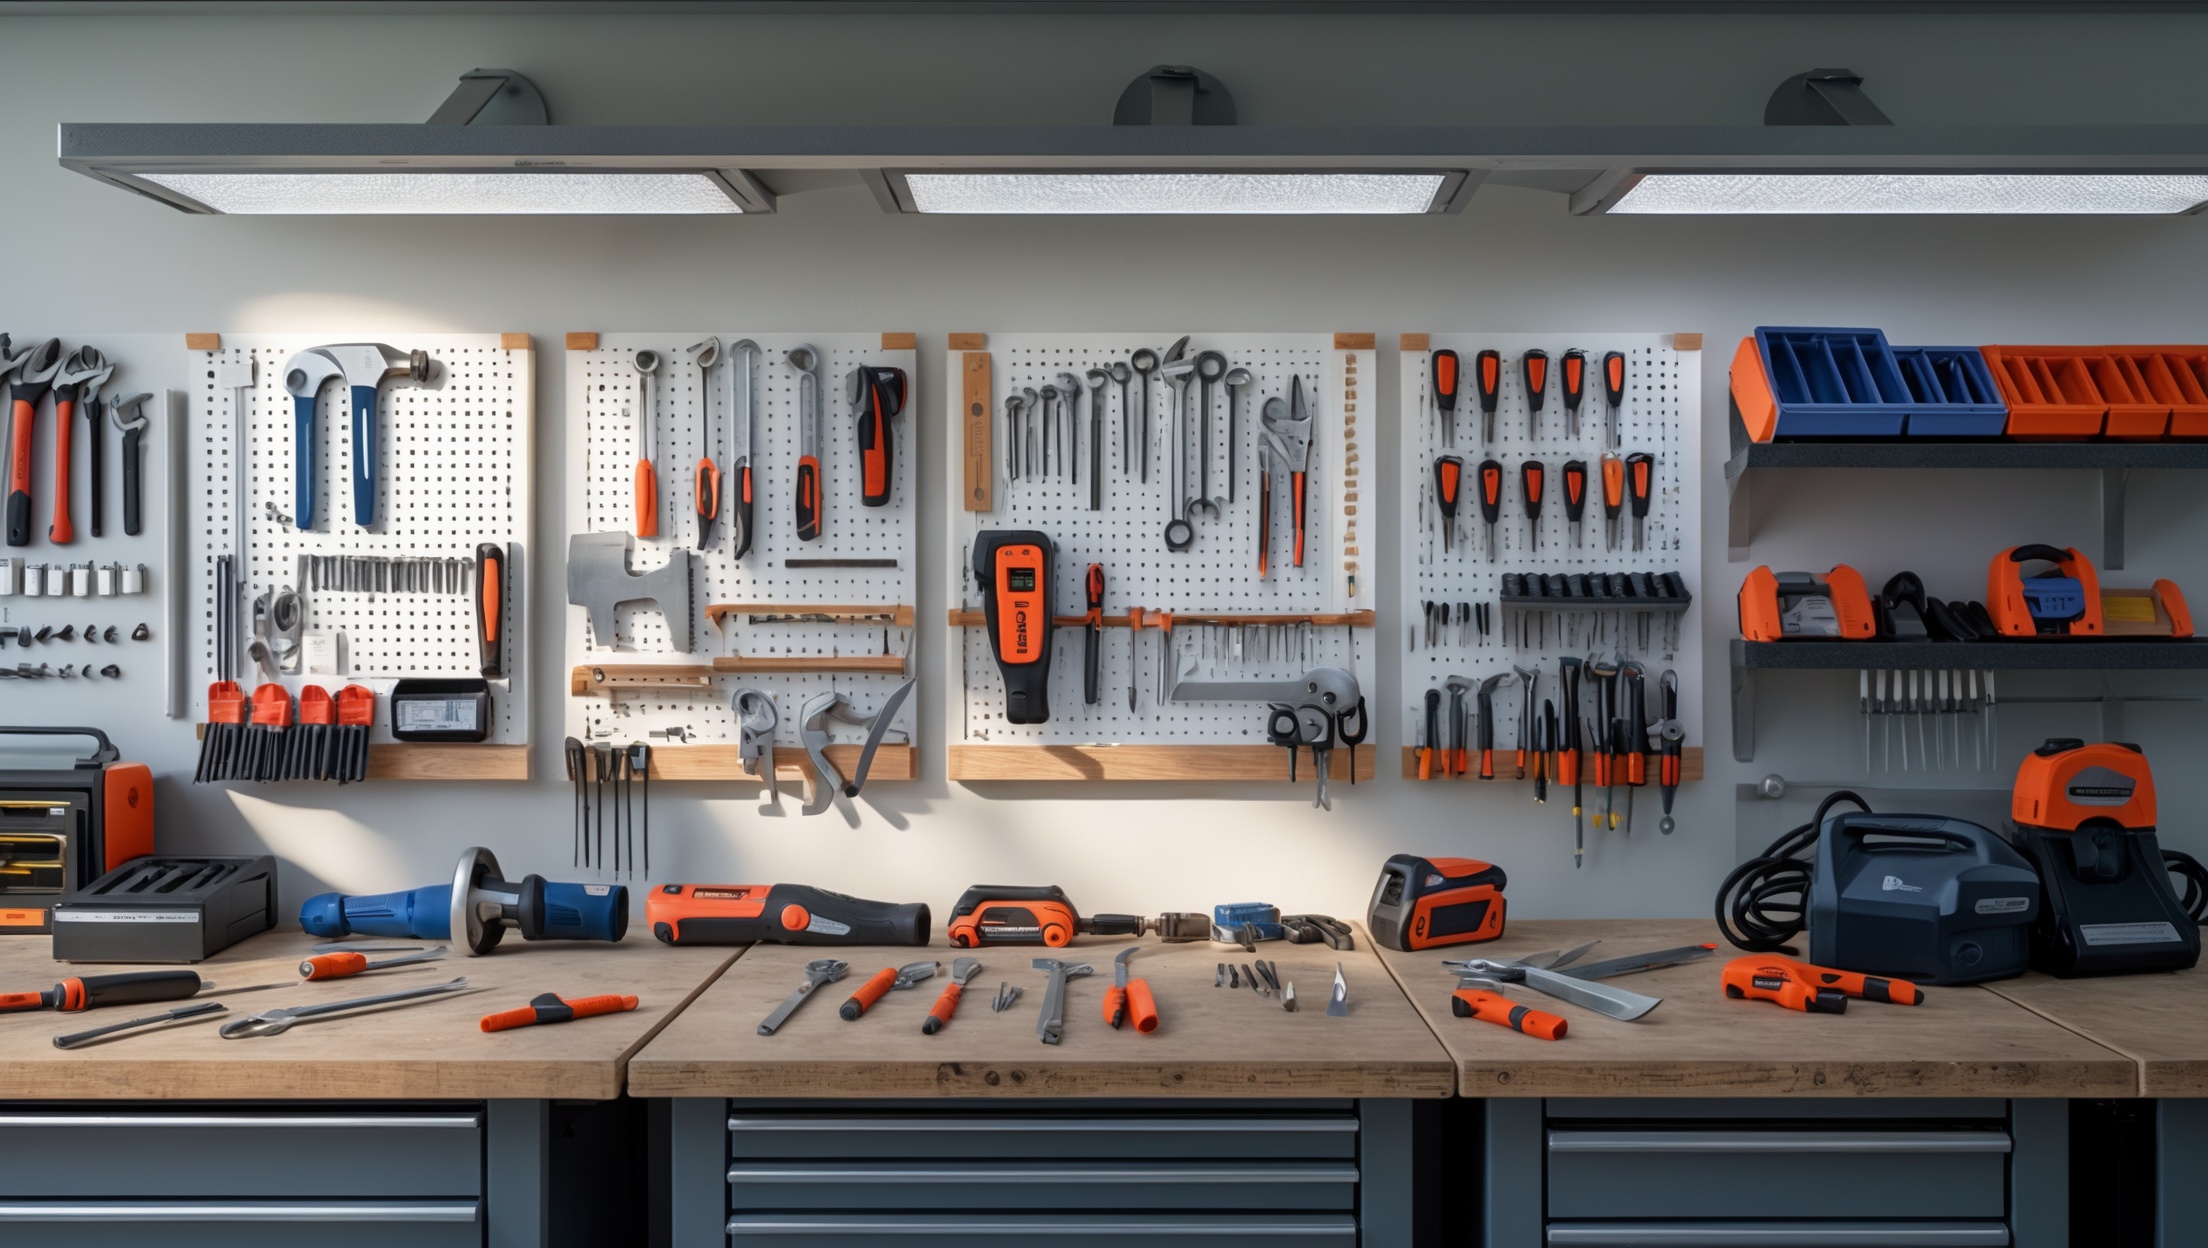
- Pegboards: Arrange tools for visibility and easy access.
- Toolboxes and drawer organizers: Use foam inserts or compartments to prevent shifting and damage.
- Magnetic strips: Perfect for screwdrivers, wrenches, and pliers.
Power Tool Storage
- Original cases: Retain protective cases for drills, saws, and specialty tools.
- Wall mounts and shelves: Keep tools off the floor and away from moisture.
- Battery care: Store lithium-ion batteries at a partial charge, in a cool, dry location.
Climate Control and Humidity Management
- Dehumidifiers: Use in basements or garages to reduce rust risk.
- Silica gel packs: Place in tool chests or cabinets to absorb excess moisture.
Sharpening and Calibration: Keeping Tools Precise
Sharpening Cutting Tools
- Chisels and plane irons: Use a sharpening stone or honing guide for a precise edge.
- Saws and blades: Clean first, then sharpen with the appropriate file or take to a professional if necessary.
- Drill bits: Use a drill bit sharpener or replace when worn beyond repair.
Calibration of Measuring Tools
- Levels: Check accuracy on a known flat surface; adjust or replace vials if needed.
- Laser measures and stud finders: Follow manufacturer instructions for recalibration periodically.
- Tape measures: Inspect for bent or stretched tapes; replace if markings are no longer accurate.
Power Tool Battery Maintenance
Best Practices for Longevity
- Avoid full discharge: Recharge lithium-ion batteries before they are completely drained.
- Store at partial charge: Especially important for long-term storage.
- Clean contacts: Use a dry cloth to wipe battery terminals regularly.
- Rotate usage: Alternate between batteries to prevent overuse of one unit.
Safety and Troubleshooting Tips
Power Cord and Plug Safety
- Inspect for wear: Check for exposed wires or damaged insulation before and after use.
- Replace damaged cords: Never tape over a frayed cord—replace it entirely.
- Use GFCI outlets: Especially in damp areas, to prevent shocks.
Common Issues and Solutions
- Tool won’t start: Check power source, fuses, and battery charge.
- Unusual noises or vibrations: Stop use immediately and inspect for loose parts or debris.
- Overheating: Allow tool to cool, clean vents, and avoid overloading.
Personal Protective Equipment (PPE) Maintenance
- Clean goggles, gloves, and masks: After each use to ensure visibility and hygiene.
- Inspect for damage: Replace cracked lenses, torn gloves, or worn ear protection.
Seasonal Maintenance Checklist
Spring and Summer
- Inspect for rust: Humidity spikes can accelerate corrosion—wipe down and oil tools as needed.
- Check outdoor equipment: Service lawnmowers, trimmers, and outdoor power tools before heavy use.
Autumn
- Winterize power tools: Clean, lubricate, and store away tools you won’t use over winter.
- Inspect heaters and extension cords: Prepare for indoor projects.
Winter
- Monitor for condensation: Use desiccants in storage areas to reduce moisture buildup.
- Evaluate tool condition: Take stock of repairs or replacements needed before spring projects.
When to Repair, Replace, or Upgrade Your Tools
Signs a Tool Needs Repair
- Frequent jams or stalls
- Loose or missing parts
- Declining power or performance
Many minor issues can be addressed with manufacturer-approved repairs. Always use genuine parts and consult manuals before starting any repair.
When Replacement Is the Best Option
- Cracked tool housings or handles
- Irreparable rust or corrosion
- Electrical faults deemed unsafe by a professional
If a tool routinely fails or presents a safety hazard, replacement is the safest choice.
Upgrading for Efficiency
- Consider new models with better ergonomics, battery life, or features if your current tools are outdated and slow down your workflow.
Expert Tips for Specialty Tools
Carpentry and Woodworking Tools
- Clean pitch from saw blades and router bits with a dedicated cleaner.
- Wax table surfaces on planers and jointers for smooth material feeds.
Plumbing and Electrical Tools
- Lubricate pipe cutters and reamers after each use.
- Store voltage testers and meters in padded cases.
Painting Equipment
- Thoroughly clean brushes and rollers after use; hang to dry completely.
- Run water or solvent through sprayers to prevent clogs.
Creating a Tool Maintenance Routine
Weekly Tasks
- Quick visual inspection of most-used tools
- Wipe down and oil as needed
Monthly Tasks
- Deep clean power tools, sharpen blades, calibrate measuring devices
- Inspect battery health and storage areas
Annual Tasks
- Full inventory and assessment
- Professional servicing for high-value equipment
Conclusion: Protecting Your Investment and Enhancing Every Project
Tool maintenance is far more than a chore—it’s a proactive strategy that pays dividends in every home improvement project you undertake. By following best practices for cleaning, storage, inspection, and repair, you extend the life of your tools, safeguard your safety, and ensure every task is completed with precision. Well-maintained equipment saves both time and money by reducing the risk of breakdowns and the need for premature replacement. Even more, it supports project quality, allowing you to work efficiently and achieve professional-grade results. Whether you’re a DIY enthusiast or a seasoned renovator, make tool maintenance a non-negotiable part of your routine. Take the time to care for your gear, and you’ll find that your investment continues to reward you, project after project, year after year.