
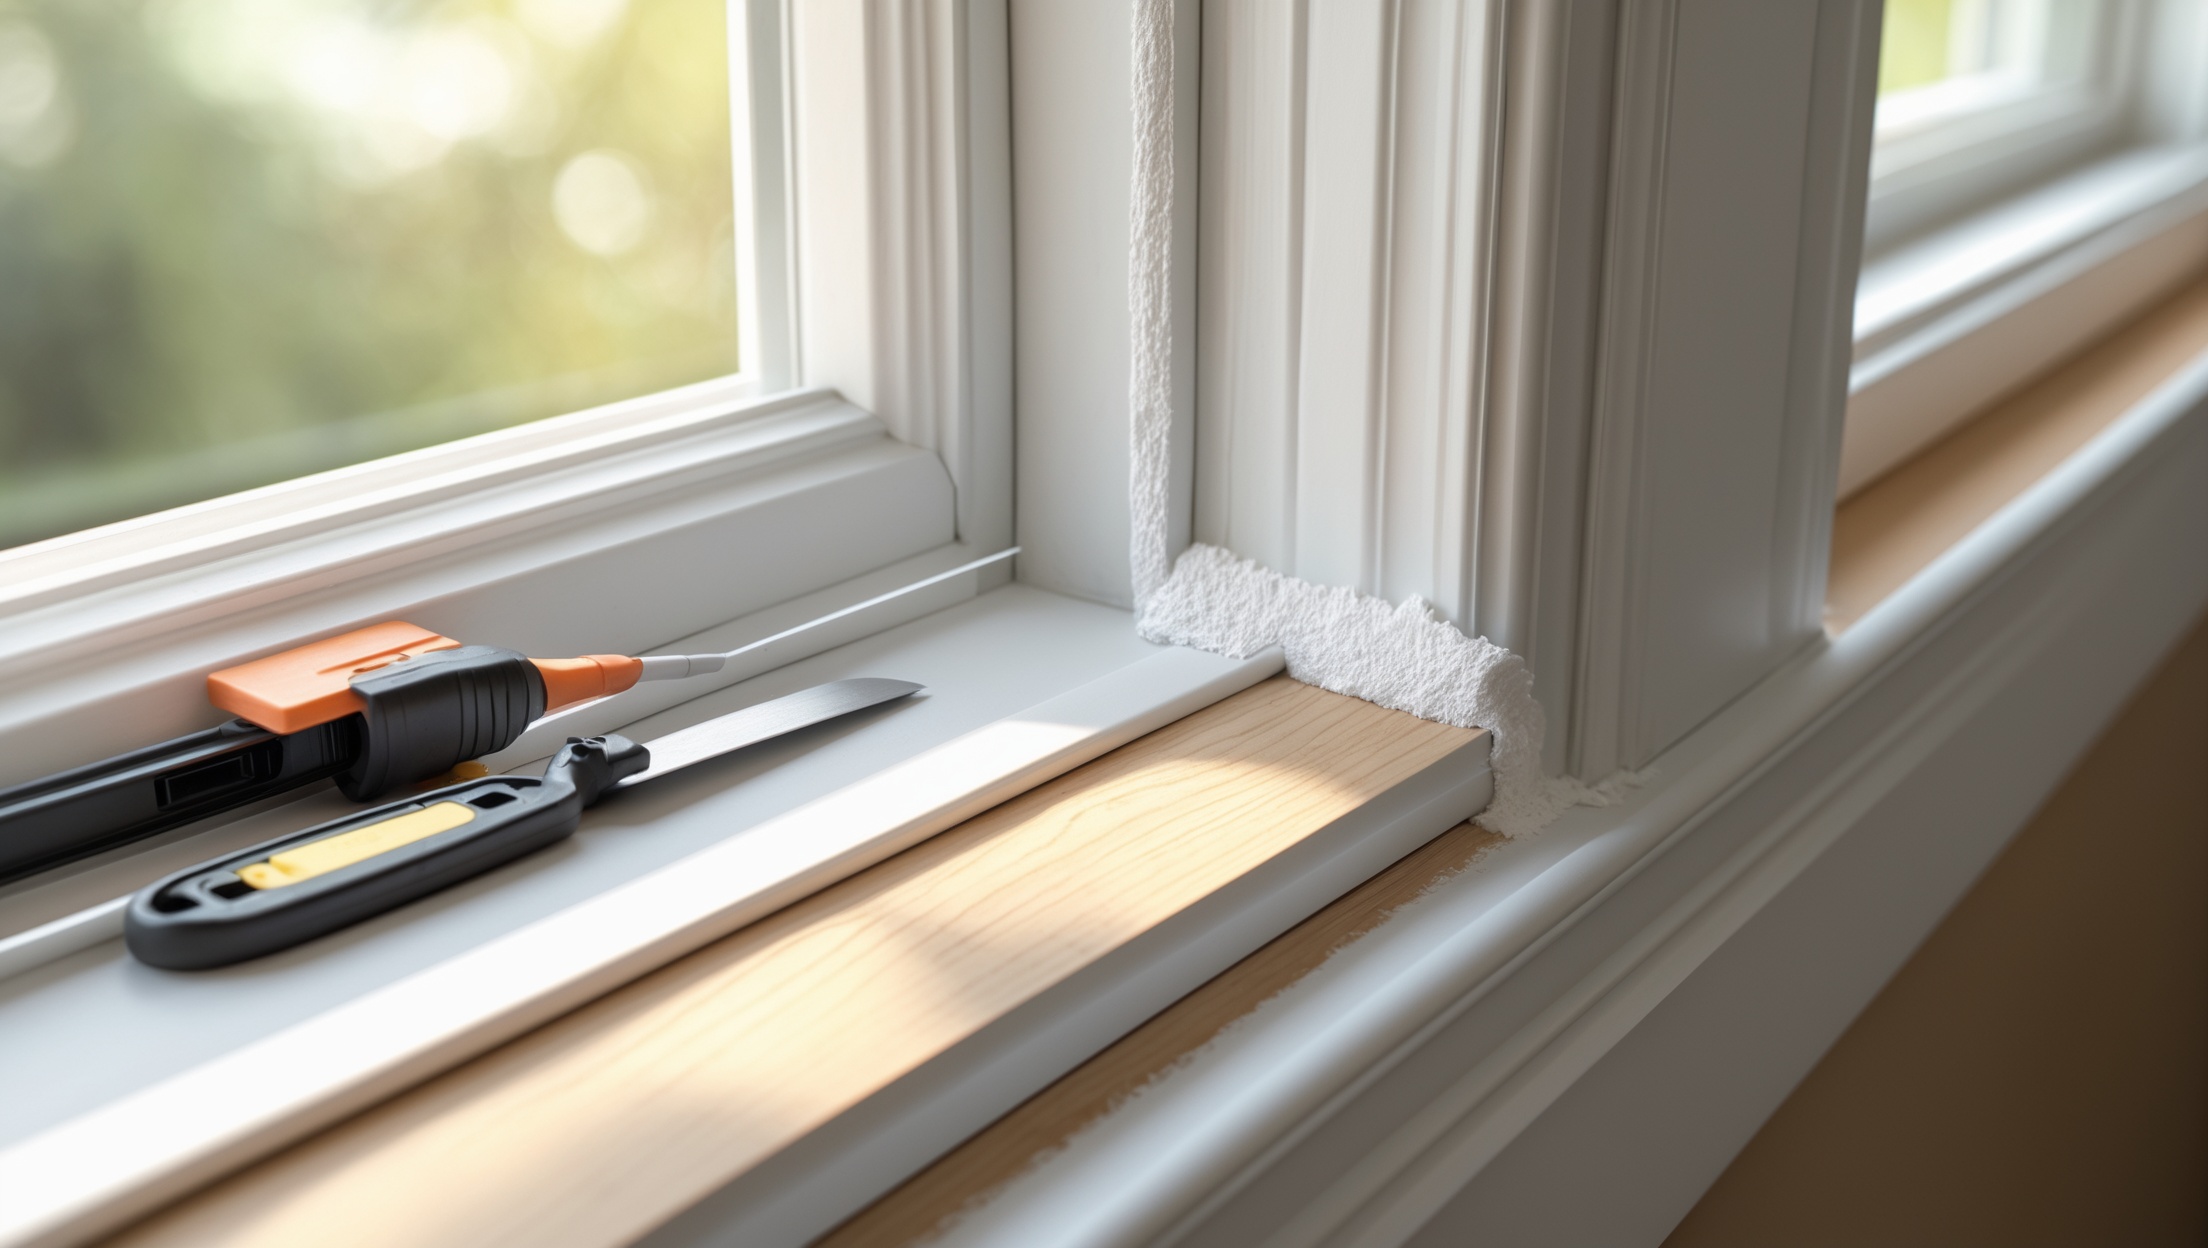
Introduction: Why Window Caulking Matters
If you’ve noticed chilly drafts near your windows, rising energy bills, or even subtle signs of moisture around your window frames, odds are your window caulking needs attention. Caulking is the unsung hero of home improvement—an affordable, DIY-friendly project that can dramatically enhance your home’s comfort, efficiency, and longevity. Yet, many homeowners overlook or rush this task, resulting in ineffective seals and recurring problems.
This comprehensive, step-by-step tutorial will arm you with the knowledge, confidence, and practical skills to caulk your windows like a seasoned pro. We’ll cover everything from choosing the right materials and tools to a detailed budget breakdown, plus insider tricks to ensure long-lasting, professional-looking results. Whether you’re tackling old, cracked caulk or prepping windows in a new home, this guide will empower you to take control of your indoor climate and reduce unnecessary energy costs.
By the end, you’ll know exactly how to assess your windows, select and use the best caulk, avoid common pitfalls, and maintain your seals for years of comfort. Let’s get started!
Assessing Your Windows: When and Where Should You Caulk?
Signs Your Windows Need Caulking
- Visible gaps or cracks between the window frame and siding or wall.
- Drafts felt around window edges, especially on windy days.
- Condensation or moisture near window frames.
- Chipped, peeling, or missing old caulk.
- Increased dust or pollen indoors, especially near windows.
Where to Apply Caulk
Focus on the exterior perimeter of the window frame where it meets the siding or masonry. For some homes, interior caulking (between frame and drywall) is also beneficial, but exterior sealing is most critical for weatherproofing.
Budget Breakdown: What Does DIY Window Caulking Cost?
One of the best parts of window caulking is the minimal investment for meaningful results. Here’s a realistic cost breakdown for a standard DIY job on 10 average-sized windows:
- Caulking tubes (silicone or polyurethane): $4–$8 each; 2–3 tubes typically cover 10 windows ($8–$24 total).
- Caulking gun: $8–$20 (reusable; only needed for first project).
- Painters tape: $4–$7 per roll.
- Utility knife or scraper: $5–$15 (if you don’t already own one).
- Rags and denatured alcohol (for cleaning): $5–$10.
- Gloves and safety glasses: $3–$10.
Total estimated cost: $25–$60 if you have no tools, or under $20 for repeat projects. Compare this to $150–$400 for a professional caulking service on 10 windows.
Essential Tools and Materials for Flawless Results
Choosing the Right Caulk
- Exterior silicone caulk: Best for weather resistance and flexibility; lasts 20+ years. Choose paintable if you plan to paint over it.
- Polyurethane caulk: Extremely durable and paintable; ideal for siding or masonry but harder to apply.
- Acrylic latex caulk: Easiest to apply and clean, but less flexible—best for interiors.
Tool Checklist
- Quality caulking gun (dripless style recommended)
- Painters tape (for clean lines)
- Utility knife or old putty knife (for removing old caulk)
- Wire brush (for cleaning joints)
- Rags and denatured alcohol (for residue removal)
- Gloves and safety glasses
- Ladder (for upper windows)
- Bucket and mild soap (for washing window area before caulking)
Preparation: Setting Up for Success
1. Check the Weather
Plan your project for a dry, mild day (ideally 40–90°F) to ensure proper curing. Avoid rain and extreme humidity for at least 24 hours after application.
2. Remove Old Caulk
- Carefully cut away old caulk using a utility knife or putty knife.
- Use a wire brush to remove stubborn residue and dirt from the seam.
- Vacuum or wipe away debris to create a clean, dust-free surface.
3. Clean the Surface
- Wash the area with mild soap and water. Rinse thoroughly.
- Allow the area to dry completely before proceeding.
- Wipe surfaces with denatured alcohol for maximum adhesion.
4. Mask Off with Painter’s Tape
- Apply painter’s tape along the window frame and siding, leaving a 1/4″ gap for caulk. This ensures crisp, professional lines.
Step-by-Step Caulking Tutorial
1. Load the Caulking Gun
- Cut the tip of the caulk tube at a 45-degree angle (about 1/8″–1/4″ opening).
- Puncture the inner seal with a long nail or the built-in tool on your gun.
- Place the tube in the gun and squeeze a little caulk onto scrap paper to practice.
2. Apply the Caulk
- Hold the gun at a 45-degree angle to the seam.
- Apply steady, even pressure as you move the gun smoothly along the joint.
- Keep the bead continuous and slightly convex (not sunken or bulging).
- Work in manageable sections (2–3 feet at a time), especially if temperatures are warm and the caulk skins quickly.
3. Tool the Caulk for a Professional Finish
- Dampen your finger or use a caulk finishing tool to smooth the bead within 5–10 minutes of application.
- Maintain light, even pressure for a uniform, attractive finish.
- Remove painter’s tape immediately after tooling the bead to prevent pulling cured caulk.
4. Clean Up
- Wipe away smears with a damp rag and denatured alcohol (for silicone or polyurethane), or soap and water (for acrylic latex).
- Clean tools promptly for future use.
5. Let It Cure
- Check the caulk manufacturer’s instructions for curing time—typically 24 hours for most exterior caulks.
- Avoid exposure to rain or washing until fully cured.
Pro Tips for Long-Lasting, Airtight Seals
- Don’t caulk weep holes: Leave small weep holes or drainage channels at the bottom of window frames open for moisture escape.
- Choose the right color: White is classic, but many caulks come in colors to match your trim. Paintable caulk offers maximum flexibility for future changes.
- Cut the tip small: Start with a smaller opening and expand as needed; this reduces mess and waste.
- Replace caulk every 5–10 years: Even premium caulks degrade over time; inspect annually and touch up as needed.
- Store leftover caulk properly: Seal the tip with a nail or screw and store upright in a cool, dry place.
Common Mistakes to Avoid
- Applying caulk to dirty or wet surfaces: This undermines adhesion, leading to premature failure.
- Skipping surface prep: Old caulk, dust, or oils will prevent new caulk from sealing properly.
- Overfilling or underfilling gaps: Too much caulk is messy and wastes material; too little leaves gaps vulnerable.
- Not smoothing the bead promptly: Caulk skins quickly; always tool the bead within a few minutes of application.
- Using the wrong caulk: Interior caulks can break down outdoors—always use rated exterior products for windows.
Maintenance: How to Keep Your Windows Draft-Free Year After Year
- Annual inspection: Every spring and fall, walk around your home and inspect exterior window caulking for cracks, gaps, or peeling.
- Spot repairs: Clean and reapply caulk to any damaged or missing sections promptly to prevent moisture and air leaks.
- Clean window frames regularly: Dirt and mold can degrade caulk; a quick wipe-down every few months extends its life.
- Monitor for condensation or drafts: Persistent issues may indicate deeper problems with insulation or window structure—address these promptly.
Frequently Asked Questions
How do I know if I need to remove all old caulk?
If the old caulk is cracked, peeling, or missing in spots, remove it entirely for best results. If it’s intact and well-adhered, you can clean it and apply a new bead on top, but removal is always safest.
Can I caulk windows in winter?
Cold temperatures slow curing and can impact adhesion. Most caulks cure best above 40°F. If you must caulk in cold weather, use products rated for low-temperature application and allow extra curing time.
What’s the difference between interior and exterior caulk?
Exterior caulk is formulated to withstand UV exposure, temperature swings, and moisture. Never use interior caulk for outdoor windows.
Conclusion: Maximizing Comfort and Savings with Smart Caulking
Window caulking is a small project with outsized rewards. With a modest investment in high-quality materials and a few hours of hands-on effort, you can make your home more comfortable, energy-efficient, and protected from the elements. The step-by-step process outlined here—thorough prep, careful application, and regular maintenance—ensures that your efforts will yield lasting, professional results.
Remember that the key to a truly draft-free home lies in the details: clean surfaces, the right caulk, and attention to proper technique. Don’t rush the prep, and don’t skip the final inspection. With practice, you’ll be able to tackle this task quickly and confidently, adding real value to your home and peace of mind for your family.
If you’re looking for one home improvement project that delivers immediate comfort and long-term savings, window caulking is hard to beat. So gather your tools, pick a sunny afternoon, and give your windows the airtight seal they deserve. Happy caulking!