Dreaming of building your own home workshop? Whether you want a dedicated space for woodworking, DIY repairs, or creative projects, setting up a home workshop can transform your capabilities and enjoyment of home improvement. But creating a safe, efficient, and budget-conscious workshop requires more than hauling tools into a spare garage bay. This comprehensive guide offers a step-by-step approach to designing, budgeting, and equipping a home workshop—plus critical safety and organization strategies. From choosing the right location and planning your layout, to selecting tools that match your needs and budget, you’ll find practical, expert-backed advice for making your workshop productive and future-proof. Let’s explore how to set up a space that works as hard as you do, whether you’re a weekend DIYer or a passionate maker.
Choosing the Ideal Location for Your Home Workshop
Evaluating Your Available Spaces
The first step is to assess where your workshop will fit best. Common options include:
- Garage: Popular for its size and accessibility. Watch for temperature swings, dust, and vehicle storage needs.
- Basement: Offers isolation, but may require moisture control, ventilation, and noise mitigation.
- Shed or Outbuilding: Ideal for larger projects and noisy work, but may need electrical upgrades and climate control.
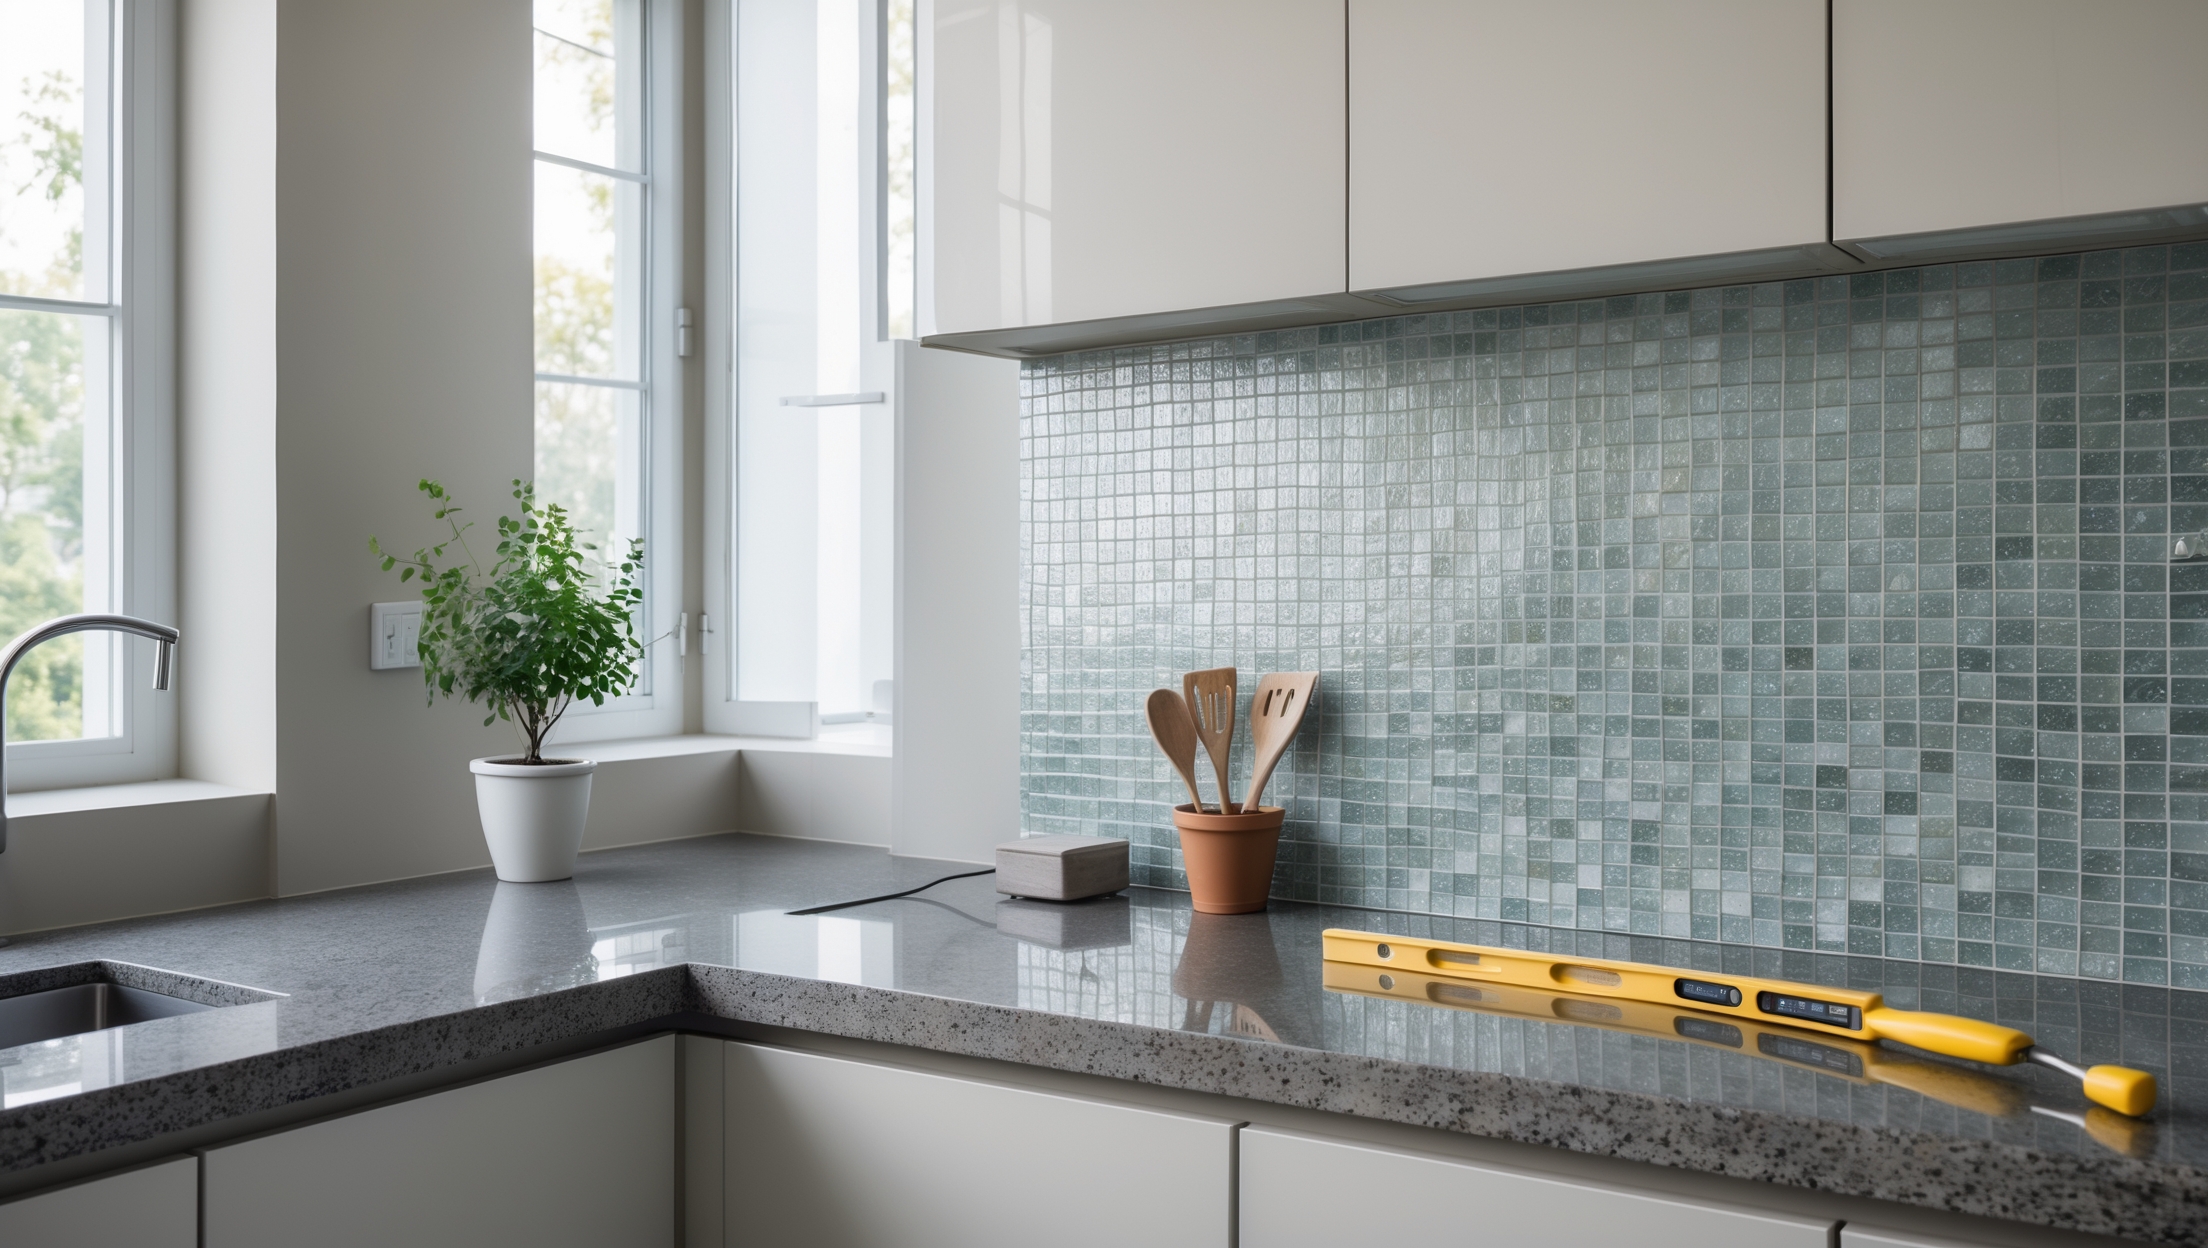
- Spare Room: Suitable for hobby work, electronics, or crafts—less so for heavy-duty carpentry or metalworking.
Key Considerations
- Accessibility: Easy entry for bringing in materials and moving out finished work.
- Utilities: Access to power, lighting, and possibly water.
- Ventilation: Essential for safety, especially with paints or solvents.
- Noise: Consider proximity to living spaces and neighbors.
Designing Your Workshop Layout for Efficiency and Safety
Workflow Planning
Efficient workshops follow a logical flow. Consider these zones:
- Tool Storage: Keep frequently used tools within arm’s reach.
- Work Surface: Centralized bench for assembly, cutting, or repairs.
- Material Storage: Allocate space for lumber, hardware, and project components.
- Finishing Area: A clean, dust-free spot for painting, staining, or detail work.
Essential Layout Tips
- Leave at least 3 feet of clearance around main work zones for safety and maneuverability.
- Group noisy or dust-producing tools (like saws or sanders) near ventilation or dust collection ports.
- Plan electrical outlets along every wall; consider higher amperage circuits for large power tools.
- Install adequate overhead and task lighting—shadows can be hazardous.
Budget Planning: How Much Should You Spend?
Setting a Realistic Budget
Workshop costs vary based on size, intended use, and the quality of tools and furnishings. Here’s a breakdown of typical initial expenses:
- Basic hand tools: $200–$500
- Workbenches and storage: $300–$1,200
- Power tools: $500–$2,000 (start basic; upgrade as needed)
- Electrical and lighting upgrades: $150–$1,000
- Safety equipment: $100–$300
- Ventilation/dust collection: $250–$1,000
Total: $1,500–$6,000+ (for a well-equipped amateur workshop)
Money-Saving Strategies
- Purchase high-quality used tools from estate sales or online marketplaces.
- Build your own workbench and shelves with basic lumber.
- Start with multipurpose tools; add specialty equipment as your skills and needs grow.
- Look for tool combo kits and buy during holiday sales.
- Consider tool libraries or rental for rarely used equipment.
Essential Tools and Equipment for Every Home Workshop
Must-Have Hand Tools
- Claw hammer
- Tape measure
- Set of screwdrivers (flathead and Phillips)
- Utility knife
- Pliers (needle-nose, slip-joint)
- Adjustable wrench
- Level
- Chisels (woodworking, if needed)
- Hand saw
Starter Power Tools
- Drill/driver (corded or cordless)
- Circular saw
- Jigsaw
- Orbital sander
- Shop vacuum (for dust and debris)
Workshop Infrastructure
- Sturdy workbench (DIY or store-bought)
- Pegboard or wall-mounted tool rack
- Shelving units or cabinets
- Magnetic strips for tool storage
- Parts bins or drawer organizers for screws, hardware, and small parts
Safety Gear
- Safety glasses/goggles
- Hearing protection (earmuffs or earplugs)
- Dust masks or respirators (especially for sanding or painting)
- Heavy-duty gloves
- Fire extinguisher (ABC-rated)
- First-aid kit
Organization and Storage Solutions That Maximize Space
Vertical Storage
Install shelves, pegboards, and wall-mounted racks to keep tools and supplies off the floor and visible at a glance. Use adjustable shelving to adapt as your collection grows.
Mobile Workstations
Adding locking casters to workbenches or tool cabinets makes it easy to rearrange your space for different projects or to create more room for large assemblies.
Smart Small Parts Storage
- Drawer organizers or stackable bins for screws, nails, and fasteners
- Label everything for quick identification
- Recycle clear plastic containers for hardware storage
Managing Lumber and Materials
- Wall-mounted lumber racks for boards and pipes
- Vertical bins for sheet goods (plywood, MDF)
- Keep heavy materials close to the floor to prevent tipping hazards
Workshop Safety: Non-Negotiable Best Practices
Electrical and Fire Safety
- Never overload electrical outlets; use surge-protected power strips.
- Keep extension cords away from walkways.
- Install a smoke detector and check batteries regularly.
- Store flammable materials (paints, solvents) in a dedicated, ventilated cabinet.
- Keep a fire extinguisher within easy reach and know how to use it.
Tool Safety
- Read and follow the manufacturer’s safety instructions for every tool.
- Disconnect power tools before changing blades or bits.
- Keep blades and bits sharp to prevent accidents from forcing cuts.
- Wear appropriate safety gear at all times.
- Use clamps to secure workpieces, keeping hands clear of blades and bits.
Air Quality and Ventilation
- Install a shop fan or ventilation system if using paints, adhesives, or generating dust.
- Use a dust collection system or shop vacuum when sanding or sawing.
- Wear a properly rated dust mask or respirator for your tasks.
Ergonomics and Injury Prevention
- Set workbenches at a comfortable height to reduce back strain.
- Use anti-fatigue mats if standing for long periods.
- Organize tools to minimize excessive reaching, bending, or twisting.
Future-Proofing and Upgrading Your Workshop
Electrical and Lighting Enhancements
- Add dedicated 20-amp circuits for heavy-duty tools.
- Upgrade to LED lighting for energy efficiency and better visibility.
- Install task lights over benches and machines.
Climate Control
- Portable heaters or fans for seasonal comfort.
- Insulate walls and doors to maintain stable temperatures and protect sensitive tools.
Advanced Tool Upgrades
- Stationary power tools (table saw, drill press, planer) as your projects demand.
- Dust collection systems for cleaner air and easier cleanup.
- Digital measuring tools and smart storage solutions for precision and efficiency.
Technology Integration
- Add a Wi-Fi extender for easy access to tutorials and streaming guides.
- Install smart outlets or timers for safety and convenience.
- Use a wall-mounted tablet or monitor for plans and reference materials.
Conclusion: Building a Workshop That’s Safe, Efficient, and Inspiring
Setting up a home workshop goes far beyond simply assembling a pile of tools. A thoughtfully planned workspace can boost your productivity, protect your investment in equipment, and most importantly, keep you safe. By considering your unique needs, available space, and budget, you can create a workshop that grows with you—whether you’re starting with weekend repairs or aspiring to master cabinetry. Remember, organization and safety are the real foundations of any productive shop. Take the time to plan your layout, invest in the right storage, and prioritize good lighting and ventilation. Don’t overlook essential safety gear and protocols; a single accident can derail months of progress. As you gain experience, you’ll discover which upgrades truly matter to your workflow. The satisfaction of completing projects in a space tailored to your needs can’t be overstated. With this guide as your blueprint, your home workshop can become the creative engine for all your home improvement dreams—safe, efficient, and ready for anything you can imagine.