Introduction: Why Case Studies Matter in Home Improvement
Every homeowner dreams of maximizing their living space, but knowing where to start—and what to expect—can be daunting. Case studies offer a rare, behind-the-scenes look at real projects, revealing the challenges, decisions, and solutions that define successful home improvement. In this deep dive, we’ll walk through a real-world basement transformation: how one family converted their underutilized basement into a multifunctional living area that serves as a family lounge, guest suite, home office, and organized storage hub. We’ll detail every stage, from initial planning and budgeting to tool selection, construction hurdles, and maintenance best practices. Whether you’re considering your own basement upgrade or simply curious about what it takes, this case study will arm you with actionable insights, creative ideas, and lessons learned that generic guides simply can’t provide.
Project Overview: The Vision and Goals
Identifying the Problem
The Smith family had a 900-square-foot unfinished basement, used mainly for storing seasonal items and old furniture. Dampness, poor lighting, and exposed utilities made it uninviting. With a growing need for extra living space—especially for remote work and visiting relatives—they set their sights on a complete transformation.
Setting Clear Objectives
- Create a comfortable lounge for family movie nights
- Include a flexible guest area with privacy
- Add a compact home office nook
- Maximize storage without clutter
- Address moisture and insulation issues
- Stay within a $35,000 budget
Planning and Design: Laying a Solid Foundation
Initial Assessment and Professional Input
The Smiths started by scheduling a home inspection to check for structural issues, water intrusion, and code compliance. The inspector flagged minor cracks in the foundation and elevated humidity levels but found no major structural concerns.
Space Planning and Layout
- Zone 1: Main lounge (350 sq. ft.)
- Zone 2: Guest area with Murphy bed (200 sq. ft.)
- Zone 3: Home office nook (70 sq. ft.)
- Zone 4: Organized storage wall and utility closet
Simple 3D design software helped the family visualize furniture placement and traffic flow, avoiding costly layout mistakes.
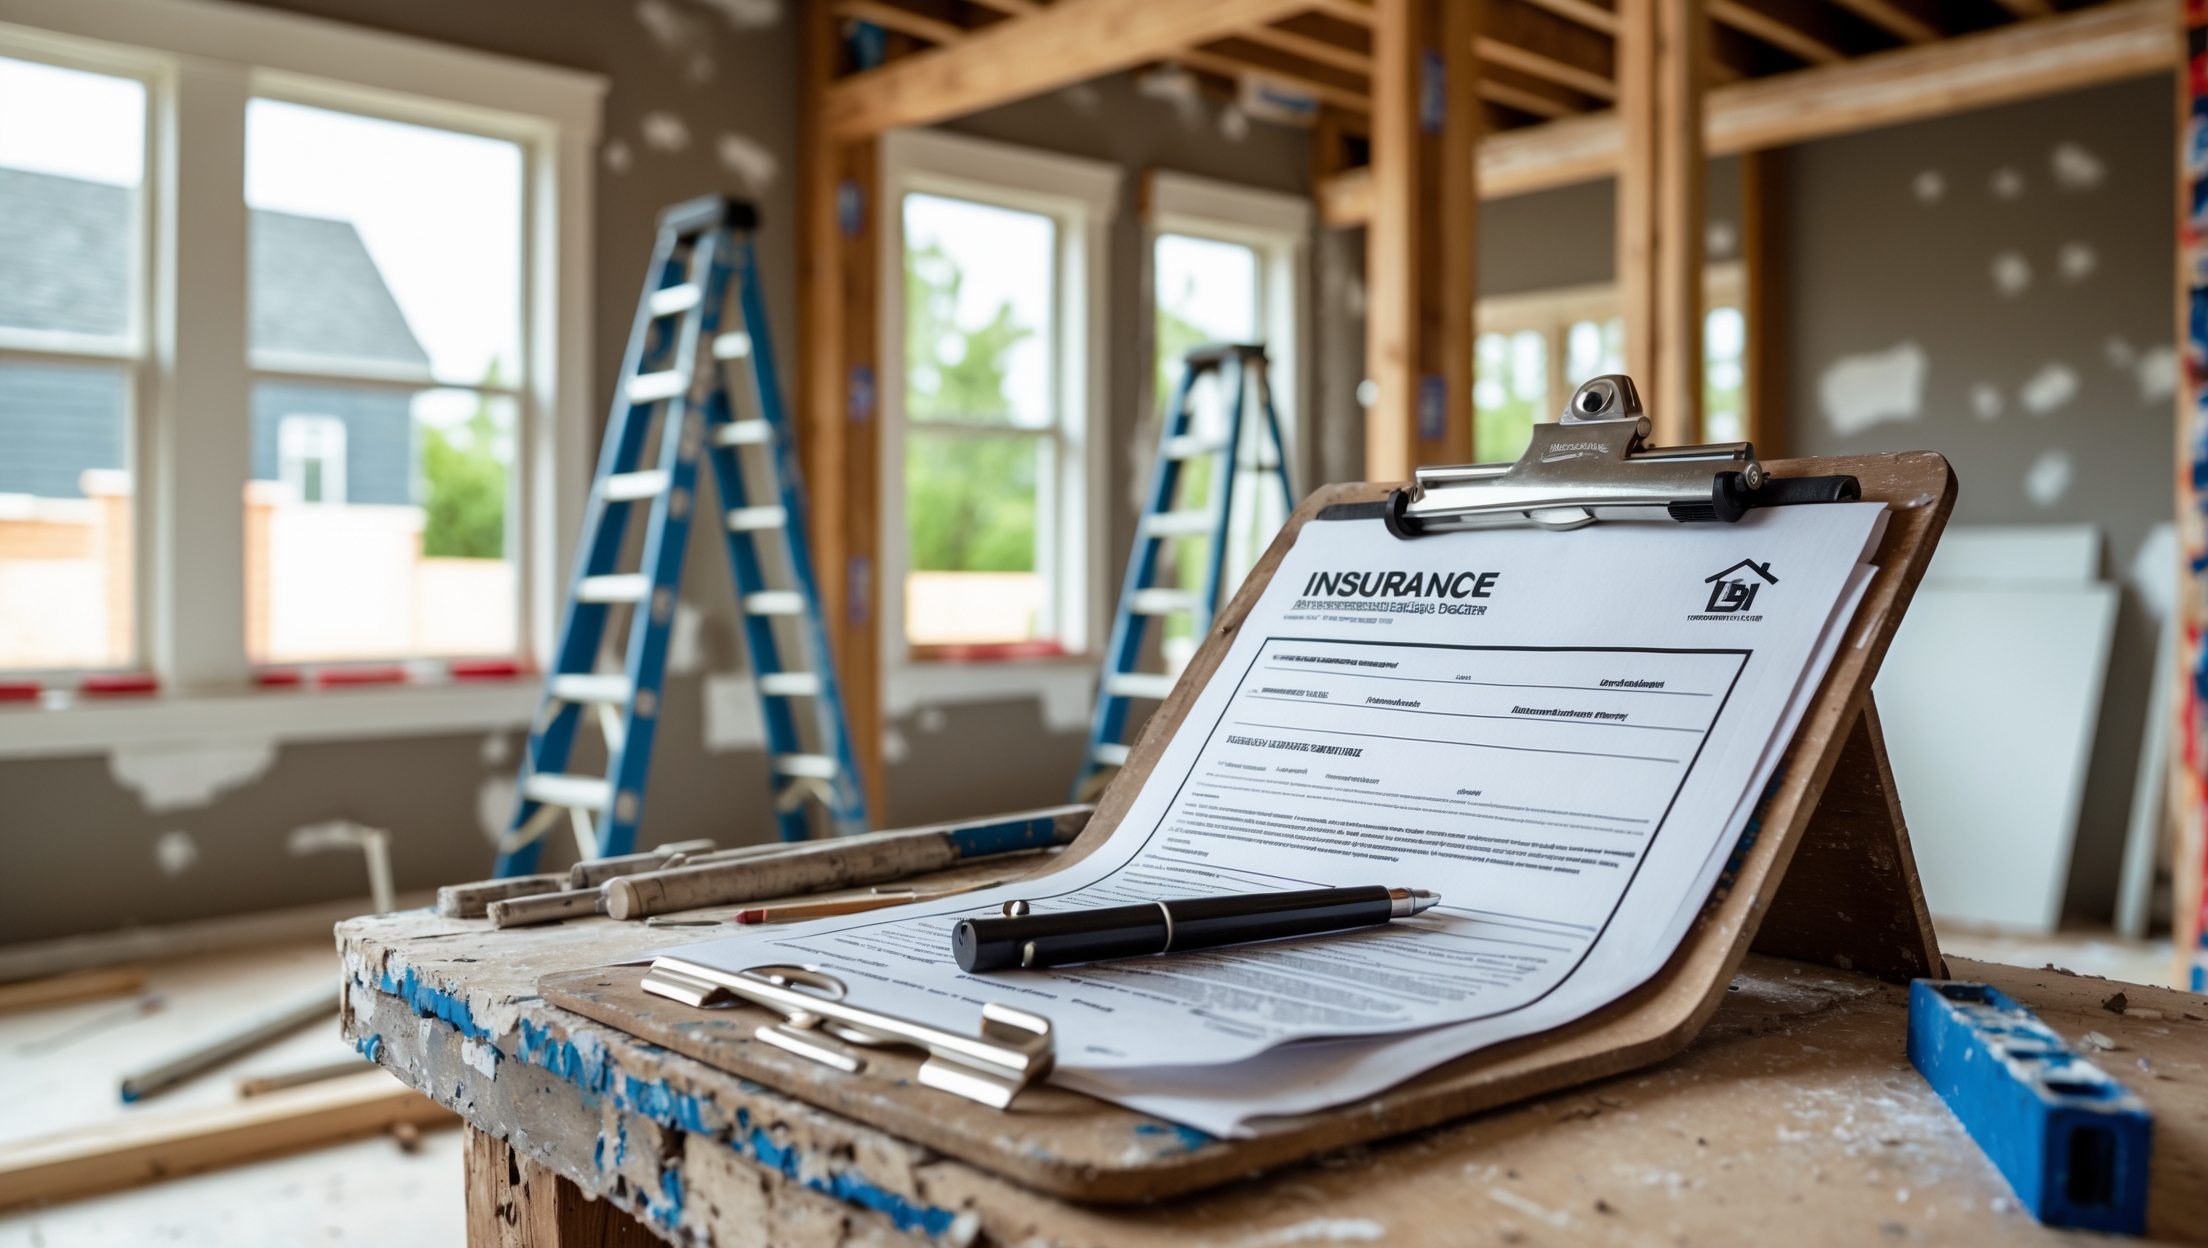
Legal and Compliance Considerations
They consulted local building authorities. Because the project involved framing, insulation, plumbing (adding a half bath), and electrical work, permits were required. The Smiths submitted detailed plans and secured approvals before beginning.
Budget Breakdown: Where the Money Goes
Cost Categories
- Professional Fees: $2,500 (permits, inspection, designer)
- Moisture Control: $4,000 (sump pump, vapor barrier, dehumidifier)
- Framing and Insulation: $5,000
- Electrical and Lighting: $3,500
- Plumbing: $4,200 (half bath installation)
- Drywall and Paint: $3,800
- Flooring: $4,500 (luxury vinyl plank, moisture barrier)
- Built-in Storage: $2,000
- Furniture and Fixtures: $3,000
- Contingency: $2,000
Total: $34,500
Budgeting Lessons Learned
- Always factor in a 5–10% contingency for surprises.
- Moisture control is a must—never skimp, as future repairs are costly.
- DIY where possible, but hire pros for plumbing, electrical, and code-critical tasks.
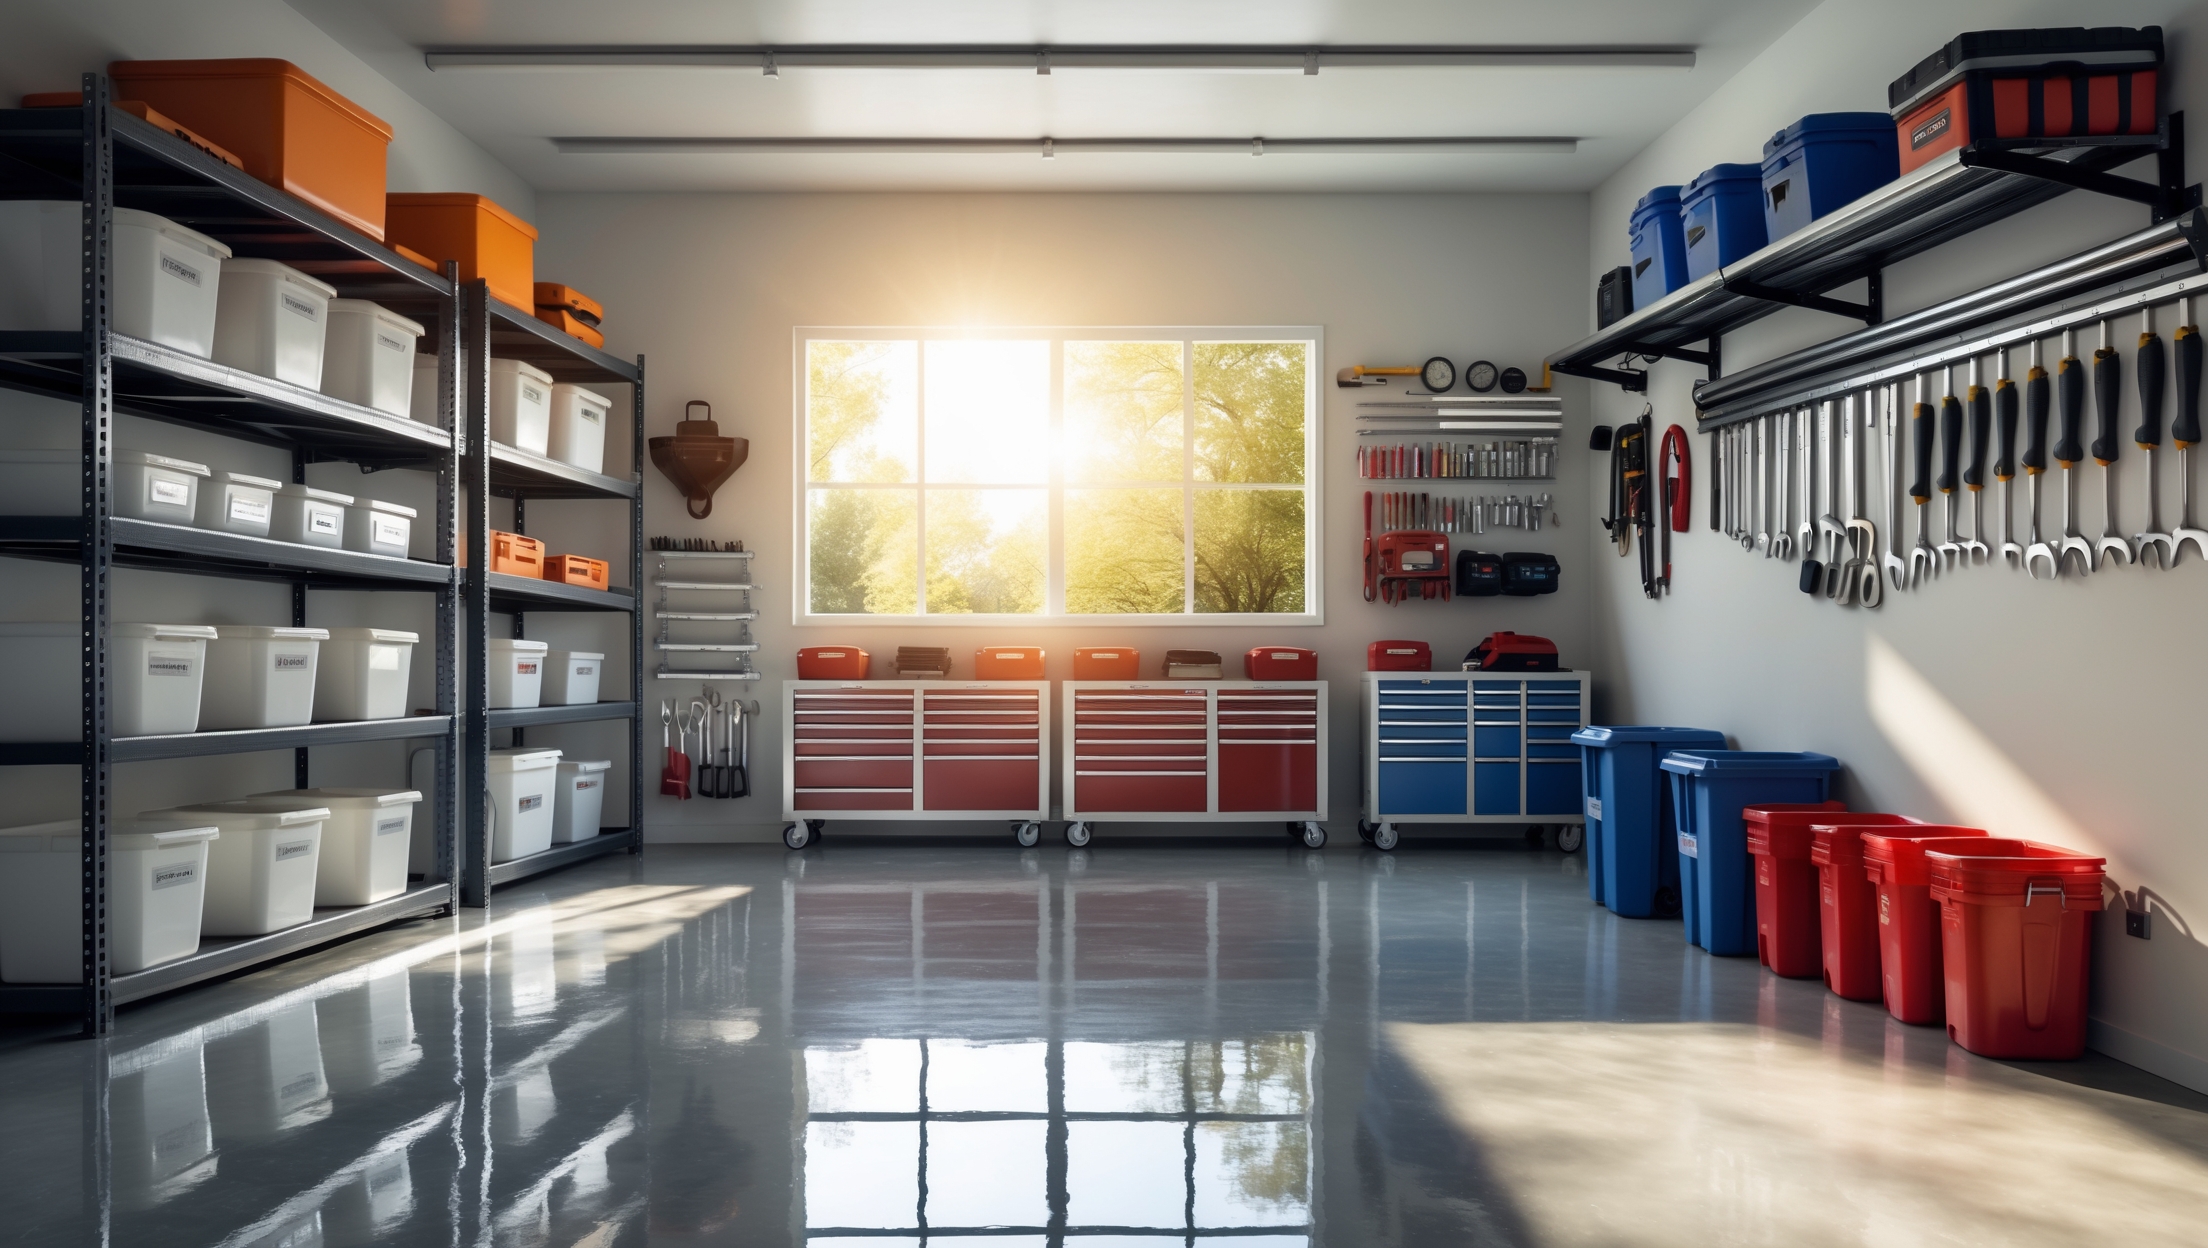
Choosing the Right Tools and Materials
Essential Tools Used
- Cordless drill and impact driver
- Miter saw
- Utility knife
- Laser level
- Stud finder
- Wet/dry vacuum
- Moisture meter
- Personal protective equipment (PPE): gloves, goggles, respirator
Material Selection Criteria
- Flooring: Chose luxury vinyl plank for water resistance and warmth
- Insulation: Closed-cell spray foam for moisture barrier and R-value
- Lighting: LED recessed fixtures for energy efficiency and low clearance
- Paint: Mold-resistant primer and washable wall paint
- Storage: Custom shelving with adjustable components
The Smiths rented larger tools (like a drywall lift and floor roller) to save on costs and storage space after the project.
Step-by-Step Transformation: From Demo to Decor
1. Clearing and Demolition
- Removed old shelving, debris, and unnecessary stored items
- Donated or recycled what wasn’t needed
- Used a wet/dry vacuum to clean all surfaces
2. Moisture Remediation
- Installed a new sump pump and sealed foundation cracks
- Laid a heavy-duty vapor barrier on floors and walls
- Set up a commercial-grade dehumidifier
3. Framing and Insulation
- Framed new walls for zoning and privacy
- Added spray foam insulation to all exterior walls and rim joists
4. Electrical and Plumbing
- Ran new circuits for outlets, lighting, and electronics
- Installed LED recessed lights and dimmers
- Plumbed for a compact half bath in the guest area
5. Drywall, Paint, and Flooring
- Hung moisture-resistant drywall, mudded and sanded seams
- Primed with mold-inhibiting primer, applied two coats of washable paint
- Installed luxury vinyl plank flooring with an underlayment moisture barrier
6. Custom Storage and Built-Ins
- Built a wall of adjustable shelving for seasonal storage
- Integrated storage under the stairs and in the utility closet
- Installed a Murphy bed with built-in side cabinets in the guest zone
7. Furnishing and Final Touches
- Added a sectional sofa, dedicated work desk, and compact entertainment center
- Used area rugs to define zones and add comfort
- Hung artwork and used smart lighting to enhance ambiance
Challenges and How They Were Overcome
Dealing With Unexpected Moisture
After framing, a heavy rain revealed a minor leak around a basement window. The Smiths halted work, sealed the exterior window well, and added a drainage extension. This delayed the timeline by a week but prevented future headaches.
Staying on Schedule
Coordinating subcontractors for plumbing and electrical work was trickier than expected. They created a project calendar, set weekly milestones, and communicated regularly to keep everyone aligned.
Balancing DIY and Professional Help
The family handled demolition, painting, and shelving installation themselves, but wisely hired pros for waterproofing, insulation, and all code-related work. This balanced cost savings with safety and compliance.
Maintenance Best Practices for a Healthy, Lasting Basement
Moisture Management
- Check and empty the dehumidifier reservoir weekly
- Inspect sump pump function every 3 months
- Monitor for signs of condensation, especially after heavy rain
Cleaning and Upkeep
- Vacuum and dust surfaces regularly to prevent mold and allergens
- Use washable paint for easy wall maintenance
- Declutter storage areas every season to prevent overloading
Systems Check
- Test smoke and CO detectors every 6 months
- Review circuit breakers and wiring annually
- Schedule a plumbing inspection every 2 years to prevent leaks
Results: Before-and-After Impact
Functionality Boost
The Smiths now enjoy a bright, welcoming space that adapts to their needs—movie nights, overnight guests, home office work, and even indoor play during bad weather. Storage is accessible yet hidden, and the new half bath adds comfort for visitors.
Home Value Increase
A post-renovation appraisal showed a $48,000 increase in the home’s value—more than covering the total project cost. Realtors cited the high-quality finish and smart, flexible layout as key selling points.
Lessons Learned
- Never underestimate the importance of moisture control
- Permits and compliance add time but protect your investment
- Clear zoning and built-in storage maximize utility in confined spaces
- DIY where possible, but call in experts for complex challenges
Conclusion: Key Takeaways for Your Own Basement Makeover
Transforming a basement isn’t just about adding square footage—it’s about unlocking your home’s full potential. The Smith family’s journey from dark storage room to vibrant, multi-use living space illustrates the power of thoughtful planning, careful budgeting, and a willingness to tackle challenges as they arise. By prioritizing moisture control, legal compliance, and smart layout choices, they created a basement that will serve their family for years to come. Their story underscores the value of balancing DIY initiative with professional expertise and highlights the importance of ongoing maintenance to protect your investment.
If you’re considering a similar project, start with a clear vision and realistic budget. Get professional input for moisture and structural issues before you build. Choose durable, water-resistant materials and invest in quality lighting to make the space inviting. And remember—smart storage solutions can turn even the smallest basement into a functional, organized extension of your home. Most importantly, learn from real-world experiences like this case study to avoid common mistakes and set your project up for lasting success.
Your basement can be more than just storage—make it a cornerstone of your family’s daily life, comfort, and future home value.