Introduction: Why Flooring Mistakes Are Costly and Preventable
Flooring upgrades are among the most rewarding home improvement projects—beautiful new floors can transform the look, feel, and value of any space. But all too often, homeowners dive into flooring installation without full awareness of the pitfalls that can turn a dream project into a costly nightmare. From poor subfloor prep to rushing acclimation, even a seemingly minor mistake can result in unsightly gaps, buckling, premature wear, or repeated repairs. The good news? Most flooring fiascos are entirely preventable with the right planning, knowledge, and attention to detail.
This comprehensive guide highlights the most common mistakes made during DIY and even some professional flooring installations. Whether you’re tackling hardwood, laminate, luxury vinyl plank (LVP), or tile, you’ll learn actionable tips for every stage—choosing materials, prepping the subfloor, proper installation techniques, and post-installation care. We’ll also cover special considerations for climate, room use, and hidden costs that often catch homeowners off guard. By the end, you’ll be equipped to sidestep the classic errors and achieve a flawless, long-lasting floor you’ll be proud of for years to come.
Choosing the Right Flooring: Avoiding Early Regrets
Mistake #1: Picking the Wrong Material for the Room
The first and most costly mistake happens before installation even begins—selecting a flooring material that isn’t suitable for the room’s function or environment. For example, solid hardwood is a poor choice for moisture-prone areas like bathrooms or basements, where warping and mold can develop. Conversely, porcelain tile or waterproof LVP excel in these settings but may feel cold or hard in bedrooms.
- Solution: Assess each room’s humidity, traffic level, and intended use. Choose materials designed for those conditions. If unsure, consult manufacturer specs and get input from reputable flooring suppliers.
Mistake #2: Underestimating Wear and Tear
High-traffic areas like entryways and kitchens demand durable surfaces. Installing softwood, cheap laminate, or low-grade carpet in these spaces leads to rapid deterioration.
- Solution: Opt for materials with high abrasion and scratch resistance ratings for busy areas. Don’t skimp on wear layers for engineered or vinyl products.
Mistake #3: Ignoring Color and Pattern Practicality
White carpets or glossy black tiles may look stunning in showrooms but quickly reveal every speck of dust, pet hair, and scuff in real homes.
- Solution: Choose colors and patterns that suit your lifestyle and maintenance preferences. Subtle grain, mid-tones, and matte finishes often hide dirt best.
Budgeting and Planning: Avoiding Financial Surprises
Mistake #4: Not Accounting for All Costs
Many homeowners budget only for the flooring material, overlooking necessary extras like underlayment, adhesives, trim, delivery, removal of old flooring, and installation tools. These can add 10–30% to the total project cost.
- Solution: Request a complete quote from suppliers and installers, or create a detailed budget spreadsheet. Include a 10% contingency for unexpected issues.
Mistake #5: Ordering Too Little or Too Much Material
Running out of flooring mid-project causes frustrating delays, while over-ordering wastes money. Failing to factor in cuts, waste, and pattern matching compounds this issue.
- Solution: Always order 10–15% extra material for cutting waste and future repairs, especially with patterned or natural products (like tile or hardwood).
Subfloor and Preparation: Foundations for Success
Mistake #6: Skipping Subfloor Inspection and Repairs
Laying new floors over uneven, damaged, or moist subfloors nearly guarantees problems—think squeaks, shifting, or mold growth.
- Solution: Inspect the subfloor for levelness, moisture, and structural soundness. Fix squeaks, patch holes, and use a moisture meter to test for hidden dampness. Replace compromised sections as needed.
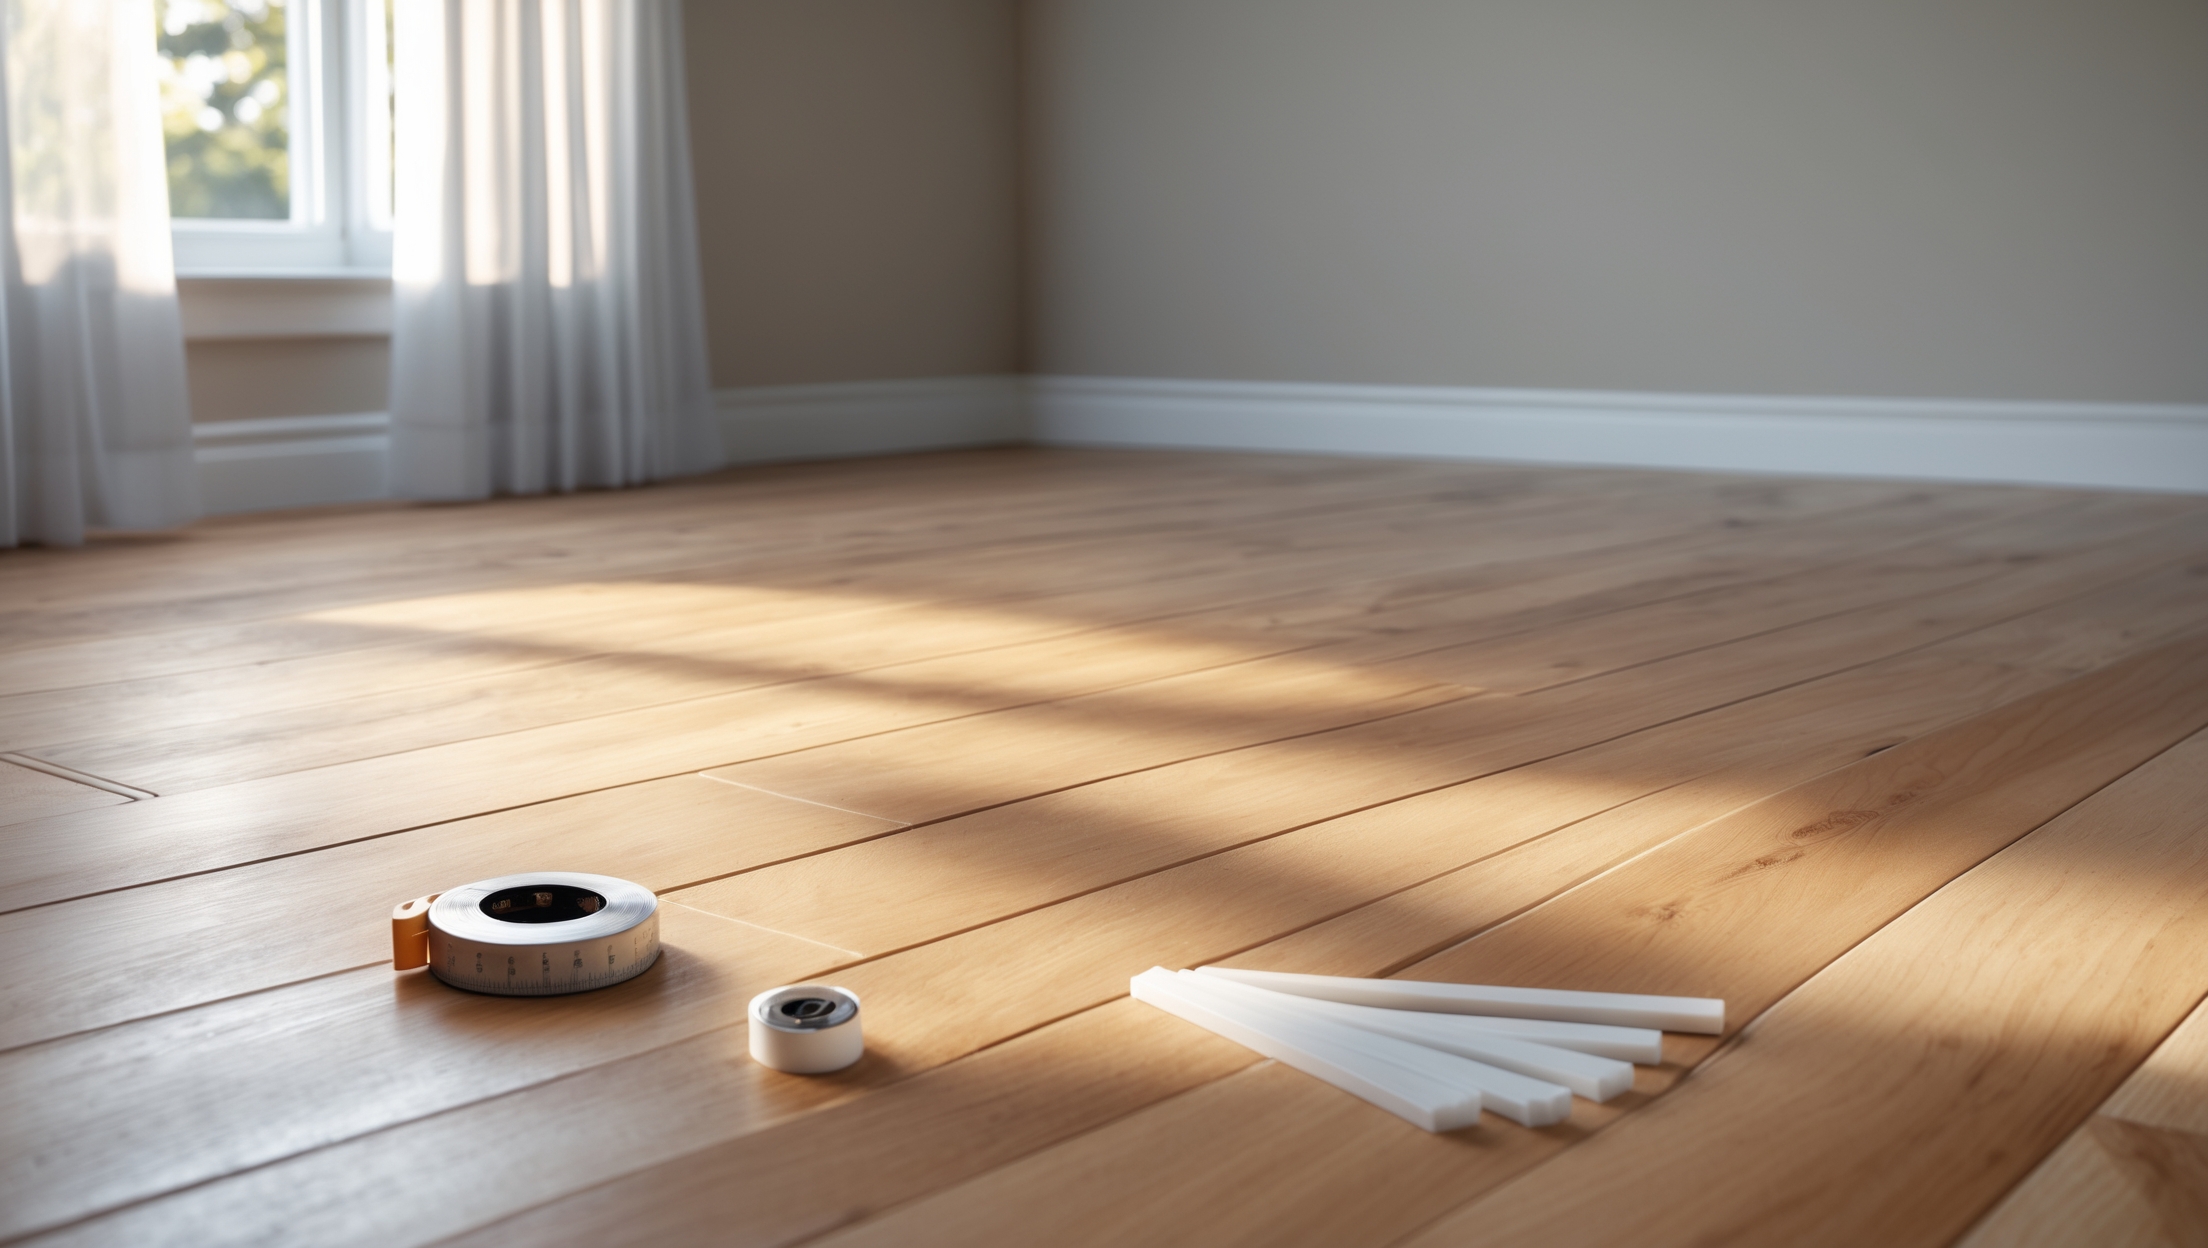
Mistake #7: Ignoring Acclimation Requirements
Wood, laminate, and some vinyl products need time to adjust to your home’s temperature and humidity before installation. Installing “cold” flooring can lead to gapping or buckling as the material expands or contracts.
- Solution: Follow manufacturer guidelines to acclimate flooring—usually 48–72 hours, in the installation room, out of the box but stacked to allow air flow.
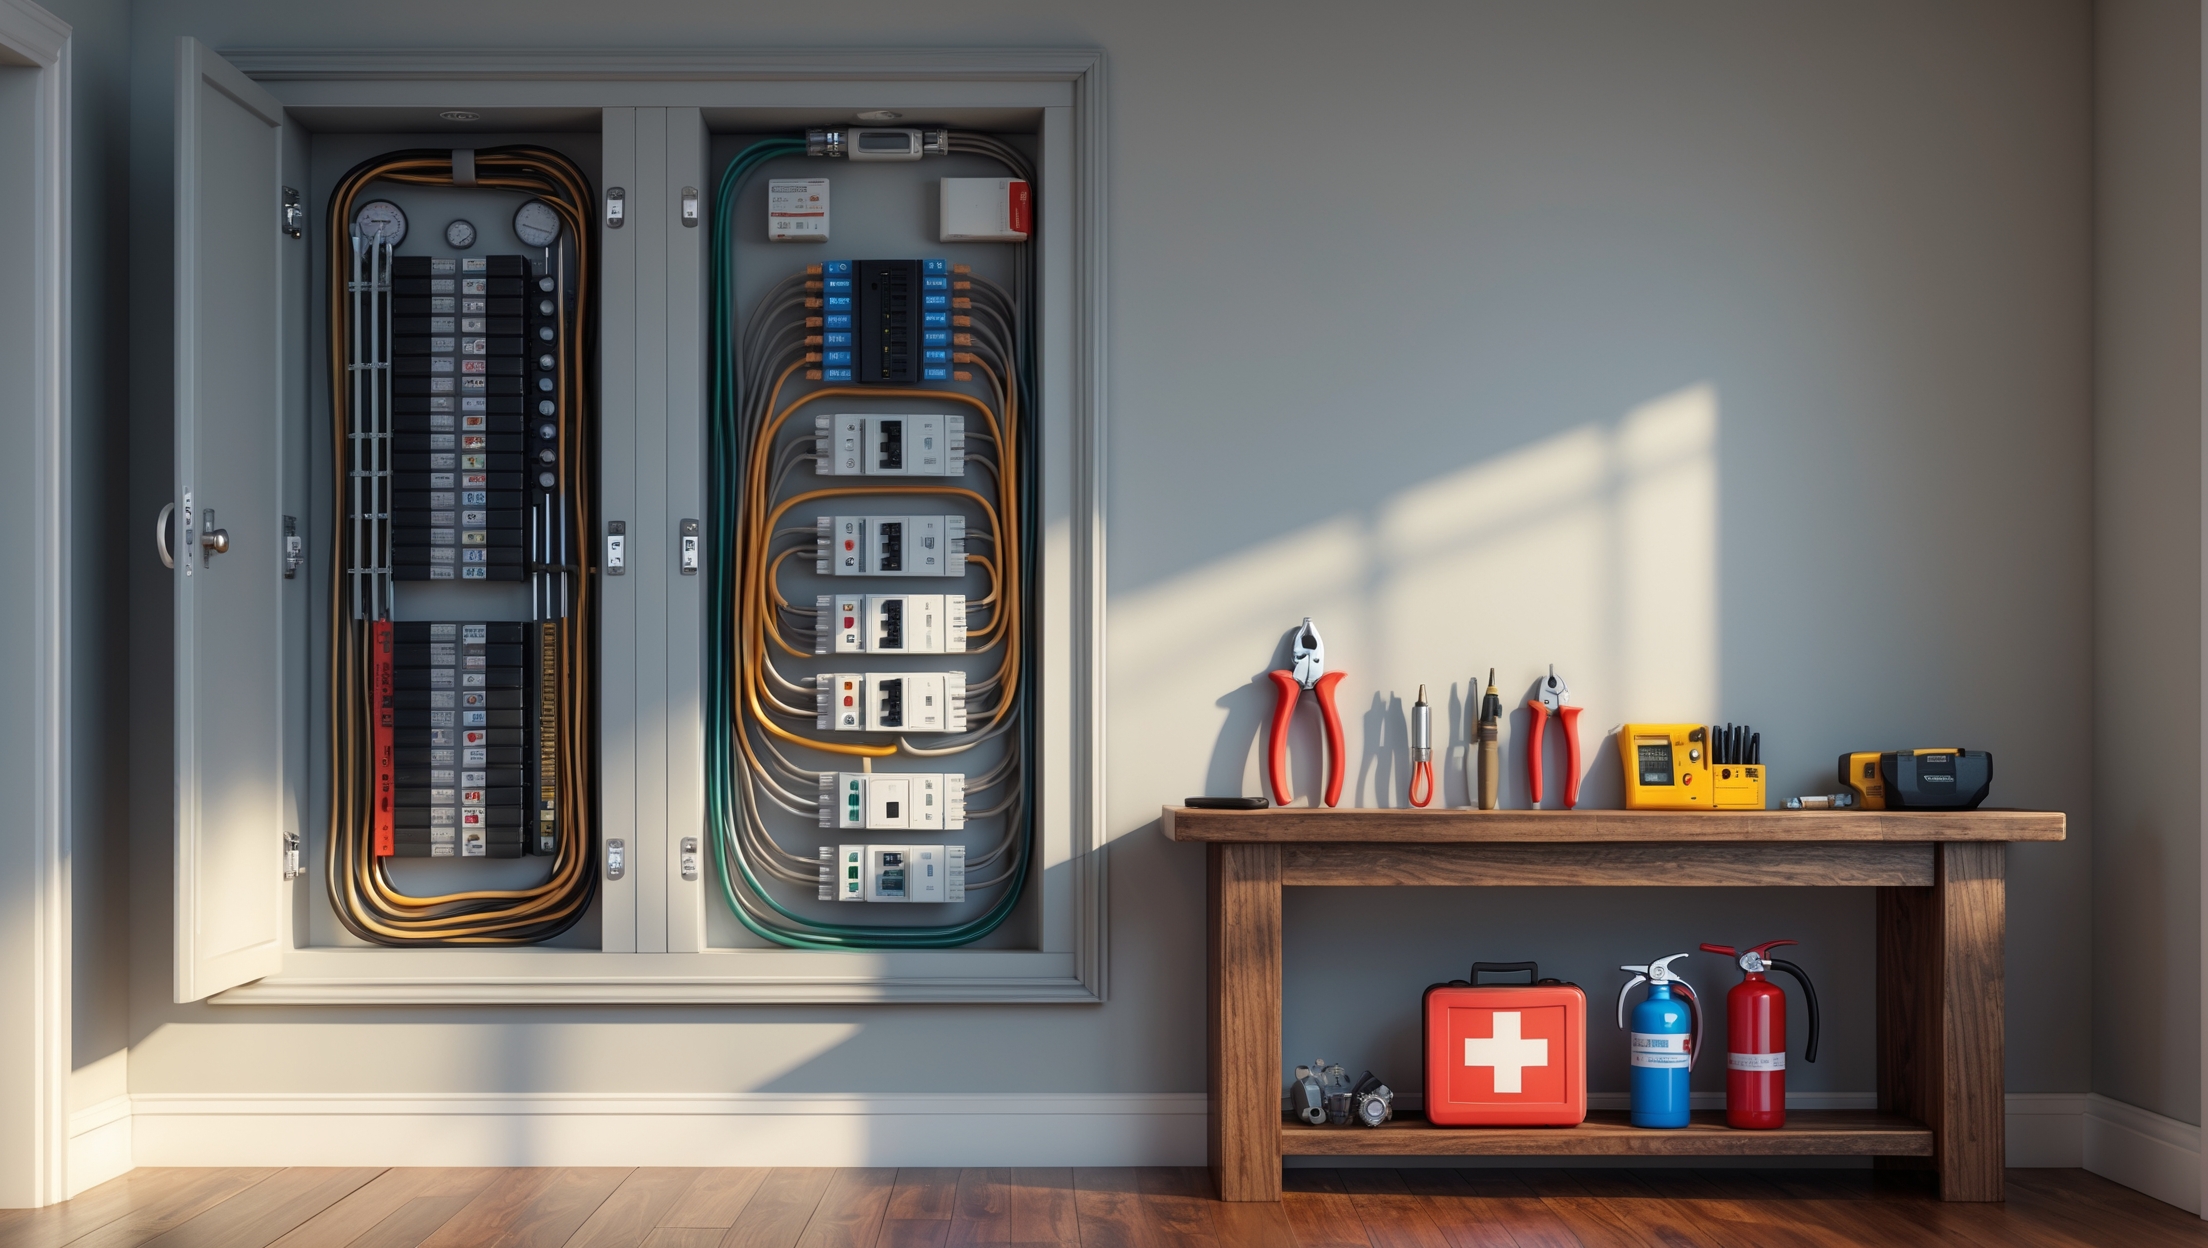
Mistake #8: Neglecting Moisture and Vapor Barriers
Skipping moisture barriers on concrete or below-grade installations is a recipe for warping, swelling, and mold, especially with wood-based floors.
- Solution: Install the correct vapor barrier or underlayment as specified for your flooring type and subfloor. Don’t improvise with non-approved materials.
Installation Techniques: Precision Makes Perfect
Mistake #9: Not Allowing for Expansion Gaps
Floating floors (like laminate and LVP) expand and contract with humidity and temperature. Failing to leave proper gaps at walls and fixed objects causes buckling, lifting, or seams splitting open.
- Solution: Maintain a 1/4″ to 1/2″ expansion gap around the perimeter, per your product’s instructions. Use spacers during installation, and cover gaps with baseboards or quarter round.
Mistake #10: Poor Staggering of Seams
Aligning planks or tiles so seams form straight lines weakens the floor and looks unprofessional.
- Solution: Stagger seams by at least 6–8 inches for hardwood/laminate or as specified for tiles. Mix boards from multiple boxes to distribute color and grain variations.
Mistake #11: Rushing Adhesive or Grout Curing
Walking on freshly glued, nailed, or grouted floors too soon can cause shifting, unevenness, or cracked joints.
- Solution: Respect drying and curing times—typically 24–48 hours for adhesives and grout. Keep pets and heavy furniture off until the manufacturer’s recommended period has elapsed.
Mistake #12: Skipping Professional Tools
Attempting to make precision cuts with dull or inappropriate tools leads to ragged edges, splinters, or wasted material.
- Solution: Rent or borrow quality tools—flooring saws, spacers, tapping blocks, pull bars, and jamb saws. Sharp blades and the right saw type make all the difference.
Special Considerations: Climate, Sound, and Safety
Mistake #13: Forgetting Soundproofing Where Needed
Upstairs rooms or multi-family dwellings often require sound-dampening underlayments to reduce noise transmission.
- Solution: Add acoustic underlayment as required by building codes or HOA rules. Even in single-family homes, it can reduce echo and footsteps.
Mistake #14: Overlooking Transition Strips and Thresholds
Failing to properly transition between flooring types or at doorways creates tripping hazards and unsightly edges.
- Solution: Use appropriate transition strips—T-moldings, reducers, or threshold strips—at every interface between different flooring materials or rooms.
Mistake #15: Failing to Check for Hazardous Materials
Older homes may have asbestos tiles or lead-based adhesives underneath existing floors. Disturbing these can be dangerous.
- Solution: If your home was built before 1980, have old flooring professionally tested before removal. Hire certified abatement professionals if hazardous materials are present.
Post-Installation: Maintenance and Longevity
Mistake #16: Using the Wrong Cleaning Products
Harsh chemicals or excess water can quickly damage new floors—especially wood, laminate, and some vinyls.
- Solution: Use manufacturer-approved cleaners and methods. Generally, a dry or slightly damp microfiber mop is best. Avoid steam mops unless specifically recommended.
Mistake #17: Neglecting Regular Care
Failing to use felt pads under furniture, ignoring spills, or skipping routine cleaning accelerates wear and tear.
- Solution: Place mats at entrances, use protective pads, and establish a regular cleaning routine tailored to your flooring type.
Mistake #18: Not Saving Extra Material for Repairs
Discontinued flooring can make future repairs nearly impossible if you don’t have matching planks or tiles.
- Solution: Store unopened boxes or several spare pieces in a dry, climate-controlled area for future use.
Pro Tips for a Flawless Flooring Installation
- Read all manufacturer instructions cover-to-cover before starting.
- Lay out the first few rows dry (without adhesive) to plan for seam staggering and tricky edges.
- Measure twice, cut once—triple-check against walls, door jambs, and built-ins.
- Work in manageable sections, especially for glue-down or tile flooring.
- Keep your workspace clean; dust and debris under planks or tiles can cause unevenness.
- Have a helper for long planks, heavy tiles, or complex layouts—many mistakes happen when working solo.
- Photograph your progress and keep receipts and warranty information in a safe place.
Conclusion: Invest in Planning for Flooring Success
Flooring installation is a high-impact home improvement project that rewards care and preparation. While mistakes can be costly and time-consuming, nearly all are avoidable with the right knowledge and attention to detail. By understanding common pitfalls—like improper material selection, inadequate subfloor prep, skipping acclimation, or rushing through installation steps—you can sidestep the issues that trap so many DIYers and even some pros.
Remember, flawless floors start with a realistic budget and a detailed plan. Don’t rush material choices or underestimate the hidden costs of underlayment, adhesives, or disposal. Take time to inspect and prepare your subfloor, follow manufacturer instructions to the letter, and use the proper tools for precision cuts and finishes. Respect curing times and don’t skimp on finishing touches like transition strips or soundproofing where appropriate.
Once installed, protect your investment with the right cleaning products and preventative care. Save leftover material for future repairs to ensure your floors always look their best. If you ever feel in over your head, don’t hesitate to consult a flooring professional—fixing major mistakes is far more expensive than doing it right the first time.
By approaching your flooring upgrade with patience, thoroughness, and a little expert guidance, you’ll enjoy beautiful, durable floors that enhance your home for years to come. Happy renovating!