Introduction: Why Your Home’s Electrical System Deserves Attention
If you live in a home that’s more than a decade old—or if you’ve recently moved into a house with an uncertain renovation history—your electrical system could be overdue for an update. Outdated wiring, overloaded circuits, and insufficient outlets aren’t just inconvenient; they can pose serious safety risks or even violate modern electrical codes. With smart devices, high-powered appliances, and increasingly complex entertainment systems becoming standard, many homeowners find their existing electrical infrastructure lagging behind their needs. Upgrading your electrical system isn’t just about convenience—it’s about safety, future-proofing, and protecting your investment.
This comprehensive guide will walk you through the process of assessing your current electrical setup, recognizing red-flag issues, deciding when and how to upgrade, understanding cost implications, and ensuring compliance with local codes. Whether you’re a seasoned DIYer or a cautious beginner, you’ll gain practical knowledge to tackle this critical home improvement project with confidence and care. Safety is paramount, so we’ll highlight when it’s wise to call in a licensed professional and what you can responsibly handle on your own. Let’s shed some light on this electrifying topic—your home (and your peace of mind) will be better for it.
Understanding Your Home’s Electrical System: Key Components and Functions
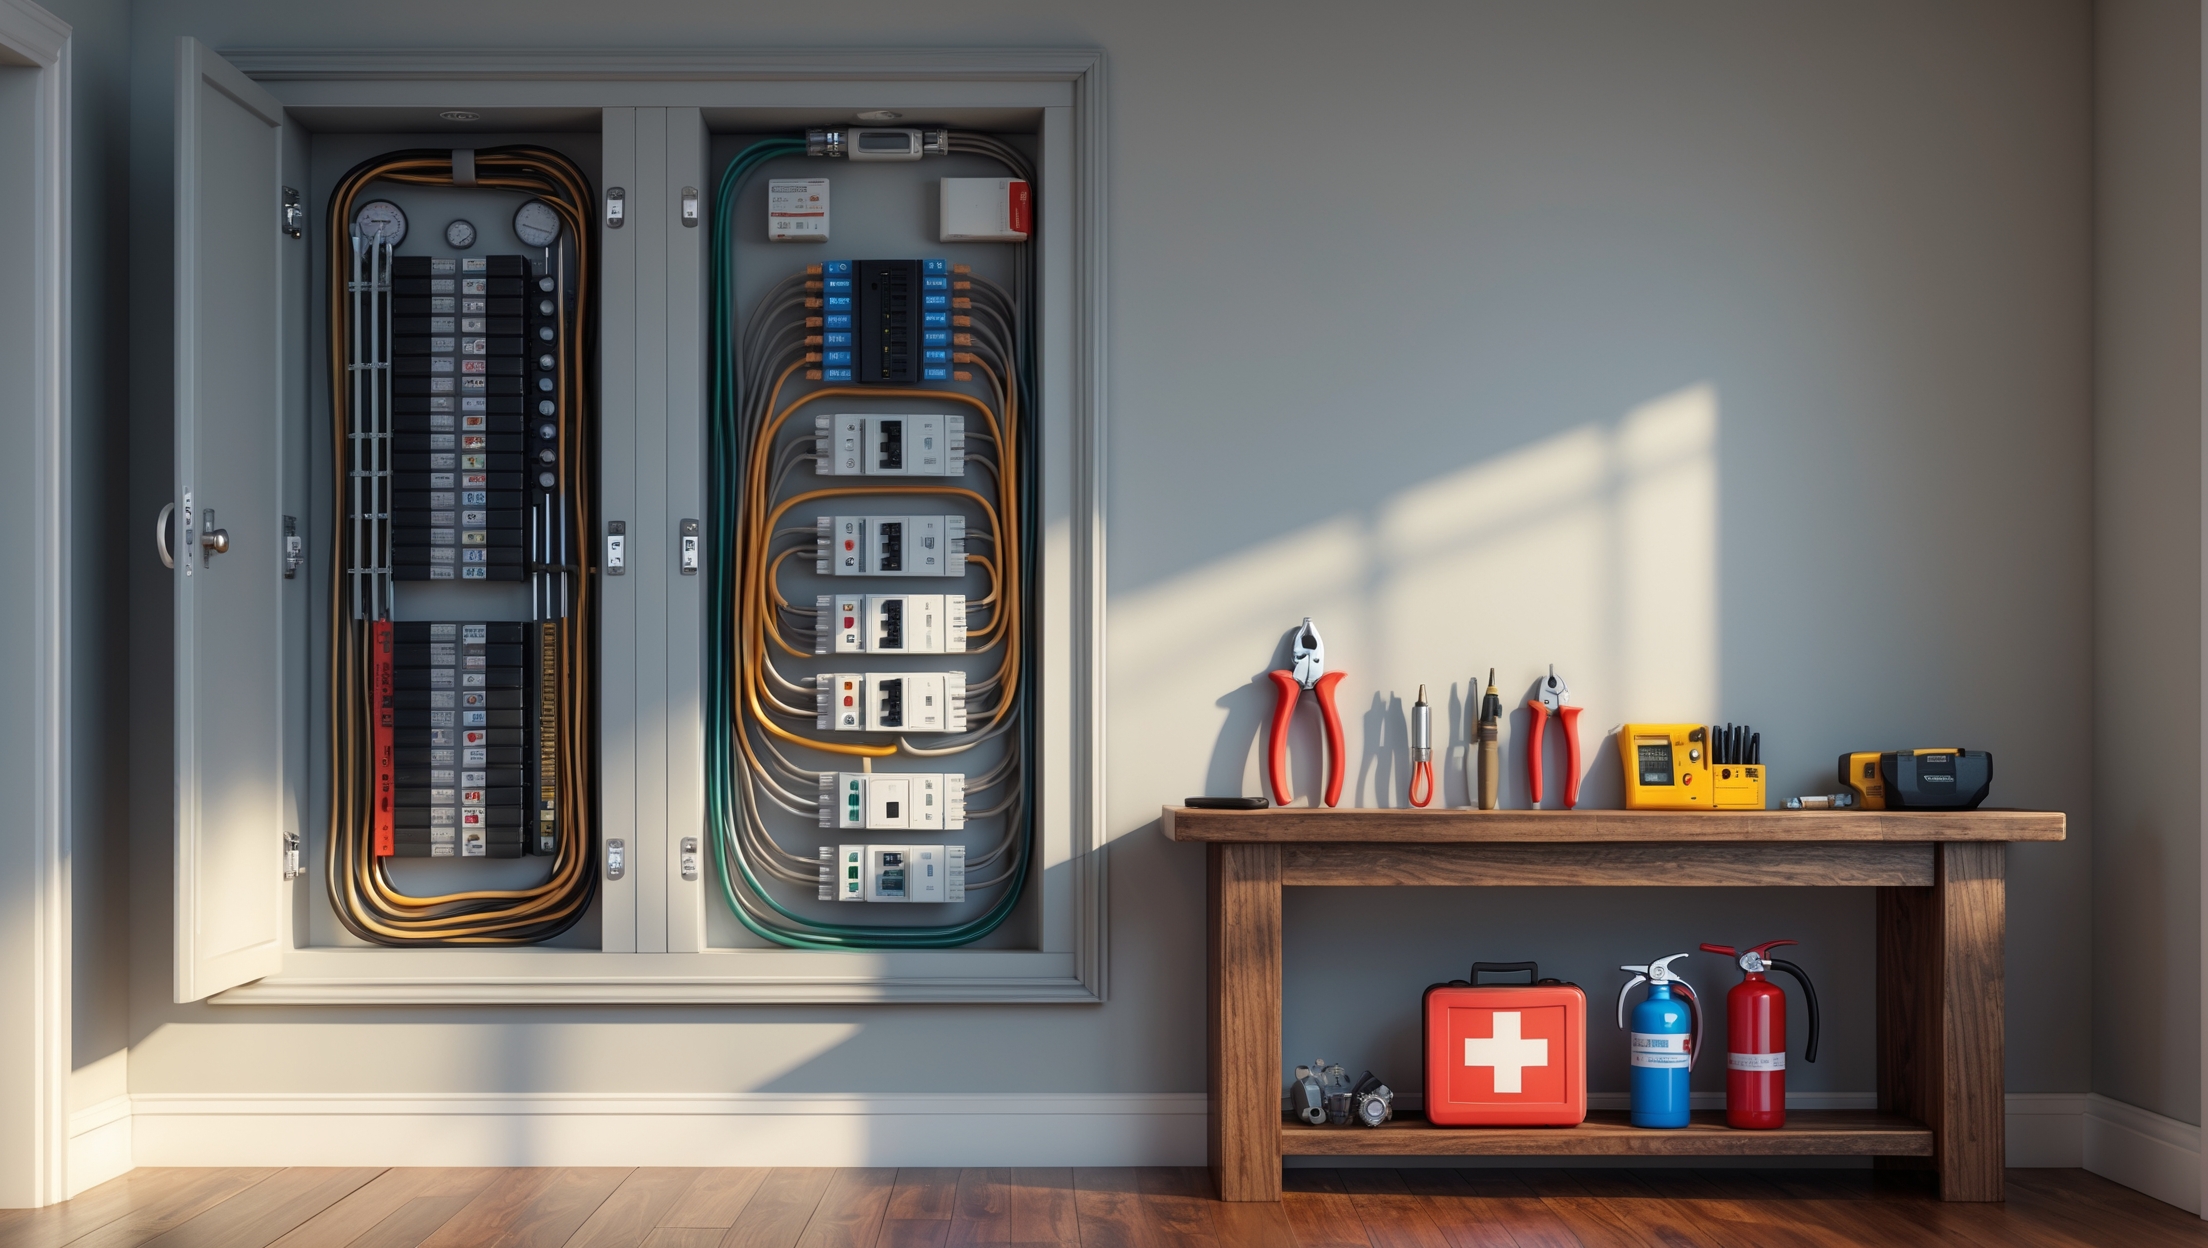
The Main Service Panel
Often called the “breaker box” or “fuse box,” the service panel is the nerve center of your home’s electrical system. It distributes power from the utility line to various circuits throughout the house. Modern panels use circuit breakers for overload protection, while older systems may rely on fuses.
- Location: Typically found in basements, garages, or utility rooms.
- Capacity: Measured in amps (most modern homes require at least 100-200 amps).
- Signs of Problems: Rust, heat damage, or a panel that’s warm to the touch signal potential hazards.
Branch Circuits
These wires fan out from the service panel to supply power to outlets, lights, and appliances. Circuits are designed for specific loads; overburdening them can cause breakers to trip or, worse, start a fire.
- Dedicated Circuits: Heavy appliances (ovens, dryers) should have their own circuits.
- AFCI/GFCI Protection: Modern codes require Arc Fault and Ground Fault protection in many areas for added safety.
Wiring Types
The type and condition of your home’s wiring is a key factor in determining if an upgrade is needed.
- Knob-and-Tube: Found in homes built pre-1950s; lacks grounding and can’t handle modern loads.
- Aluminum Wiring: Common in homes from the 1960s-70s; poses a higher fire risk unless properly maintained.
- Modern Copper Wiring: Safer and standard in newer homes.
Step-by-Step: Assessing Your Existing Electrical System
1. Safety Precautions First
Before starting any inspection, turn off power at the main panel and use a non-contact voltage tester to confirm circuits are de-energized. Always wear insulated gloves and safety glasses.
2. Visual Inspection: What to Look For
- Breaker Panel: Check for signs of corrosion, burn marks, or buzzing sounds.
- Outlets and Switches: Look for discoloration, warmth, or loose-fitting plugs—these are signs of faulty wiring.
- Wiring: If accessible, inspect attic and basement wiring for fraying, rodent damage, or outdated materials.
3. Testing Outlets and Circuits
- Use a plug-in outlet tester to check for grounding and proper wiring.
- Test GFCI outlets (typically in kitchens, bathrooms, garages) by pressing the “test” and “reset” buttons.
- Note circuits that frequently trip or areas with insufficient outlets—these indicate overloading.
4. Evaluating Your Power Needs
List all major appliances and electronics in your home. Pay special attention to additions like EV chargers, hot tubs, or home theaters, which may require dedicated circuits or increased panel capacity.
Common Red Flags: Signs You Need an Upgrade
- Frequent Breaker Trips: Indicates overloaded circuits or faulty breakers.
- Flickering or Dimming Lights: May signal overloaded wiring or loose connections.
- Two-Prong Outlets: Lack of grounding is a major safety issue.
- Burning Smells or Warm Outlets: Immediate attention required—turn off power and consult an electrician.
- Insufficient Outlets: Extension cords are not a substitute for proper wiring.
Planning Your Upgrade: Options and Considerations
Panel Upgrades
If your home is still running on a 60 or 100-amp panel, consider upgrading to a 200-amp service, especially if you plan to renovate or add high-demand appliances. Upgrading the panel increases available power and allows for future expansion.
Adding Dedicated Circuits
Heavy-duty appliances should each have their own circuit. This includes ovens, microwaves, freezers, HVAC systems, washers, dryers, and EV chargers. Dedicated circuits reduce overload risk and improve safety.
Wiring Replacement
- Replace knob-and-tube or aluminum wiring with modern copper wiring to meet current codes and insurance requirements.
- Upgrade to AFCI and GFCI outlets where required for added protection.
Smart Home Integration
Modernize your home by installing smart switches, dimmers, and outlets. Ensure your wiring supports these upgrades.
Cost Breakdown: What to Expect
Panel Upgrade Costs
- Materials: $500–$2,000 for a new 200-amp panel, depending on brand and features.
- Labor: $1,000–$3,000, depending on complexity and region.
- Total: $1,500–$5,000 on average.
Rewiring Costs
- $6–$12 per linear foot (materials and labor).
- Whole-house rewiring for a 2,000 sq. ft. home: $8,000–$15,000.
Adding Outlets or Circuits
- Single outlet: $120–$250 (installed).
- New dedicated circuit: $250–$450 per line.
Permits and Inspections
- Permit fees vary by municipality: $50–$500.
- Mandatory inspections ensure compliance and safety.
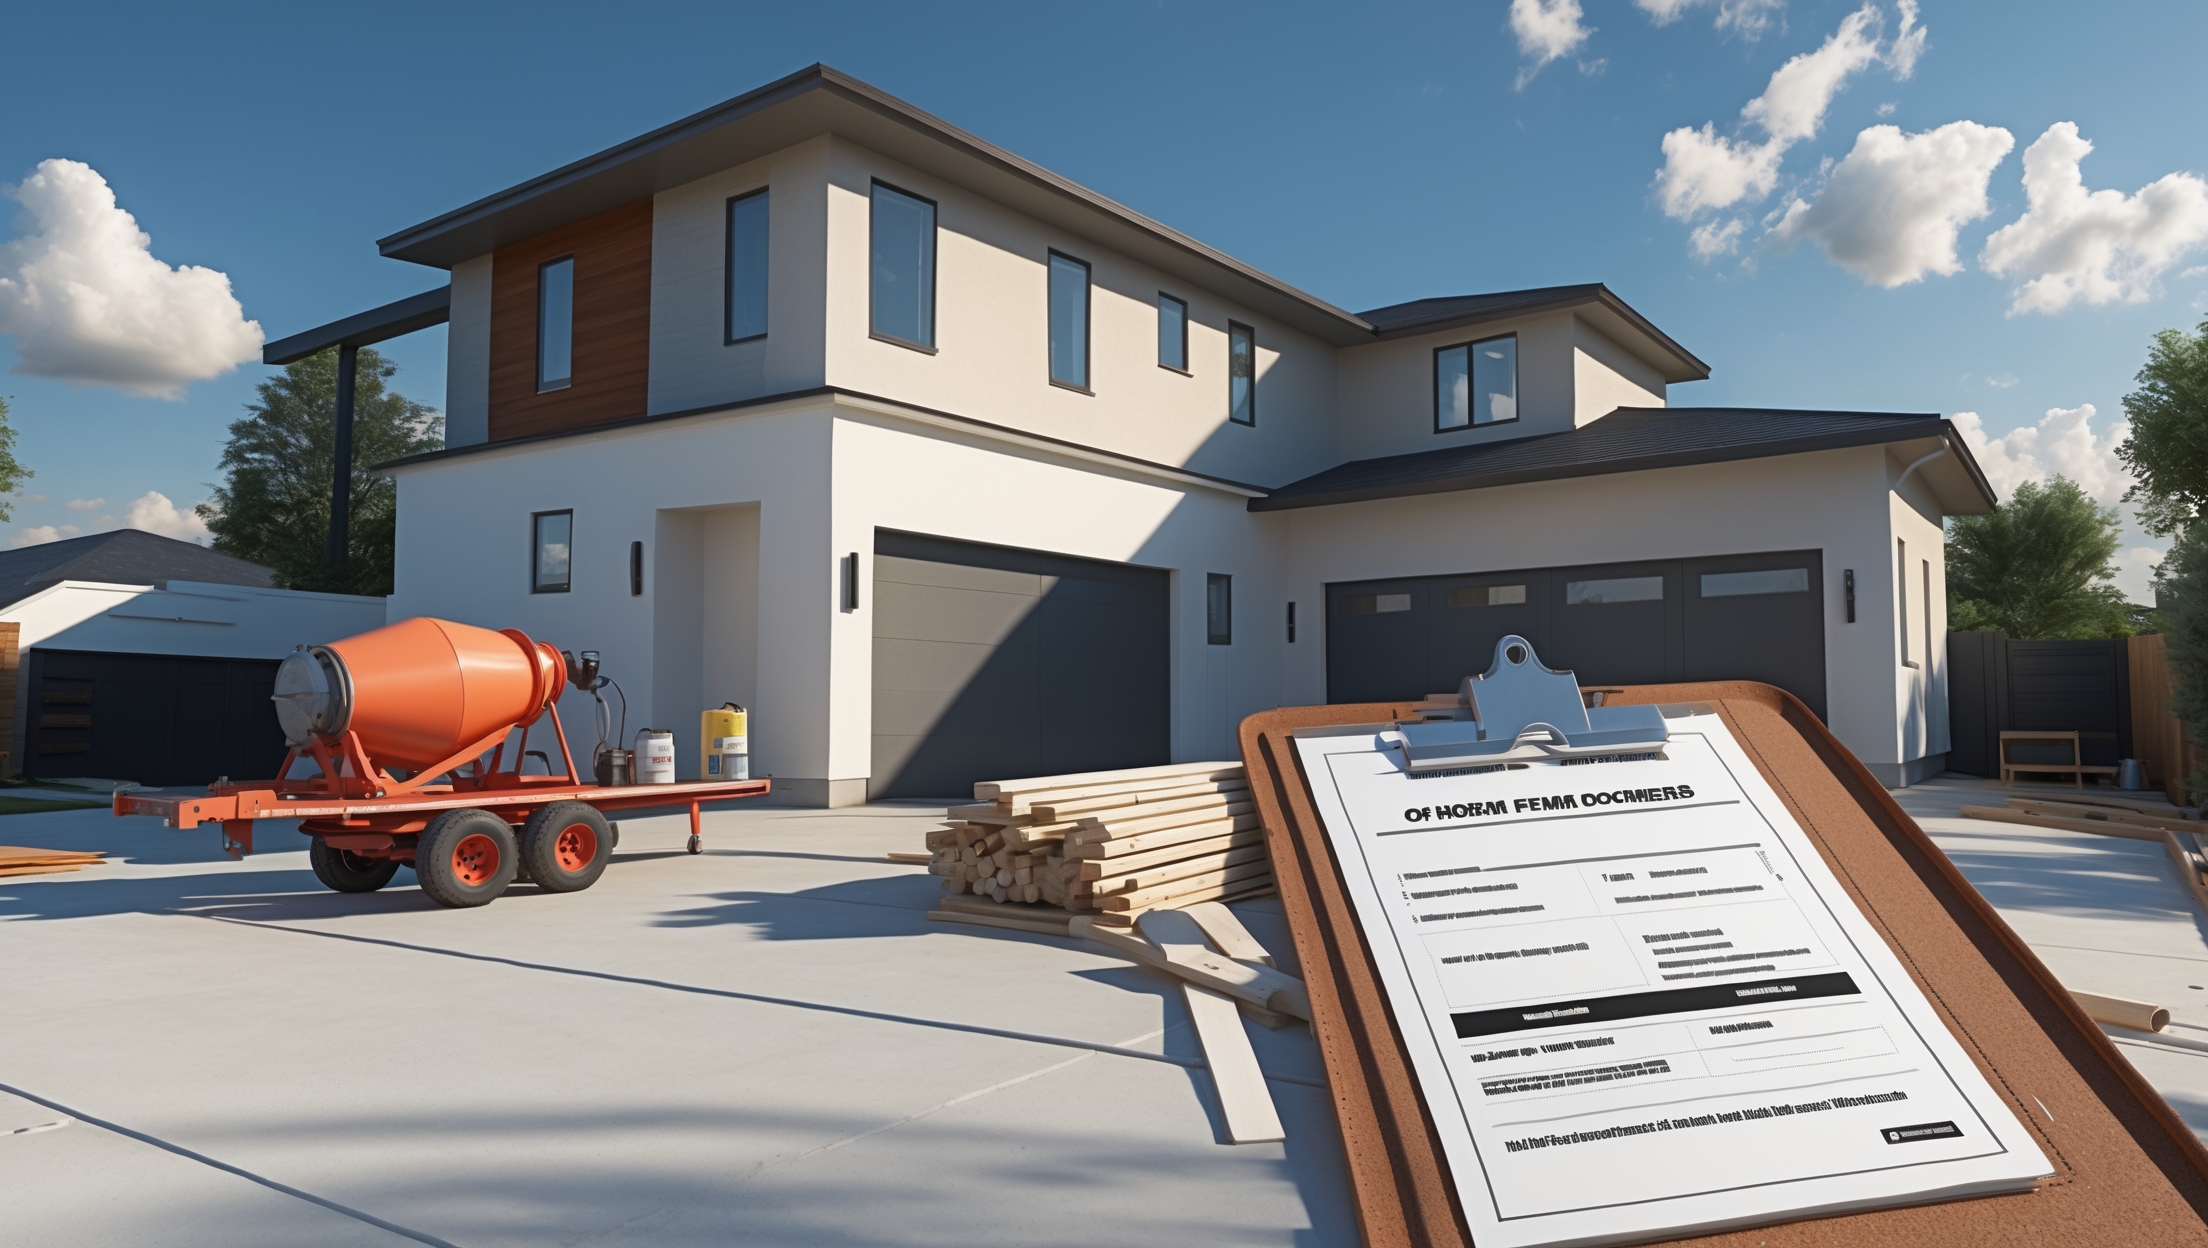
Permits, Codes, and Compliance: What DIYers Must Know
Electrical work is tightly regulated for safety. Most municipalities require permits and inspections for panel upgrades, rewiring, and adding circuits. Even if you’re qualified to do the work, skipping permits can result in fines, insurance issues, or failed home sales.
- Always check your local building department’s requirements before starting.
- DIY work may be limited to non-structural wiring in some areas.
- Licensed electricians are required for panel replacements or complex upgrades in most regions.
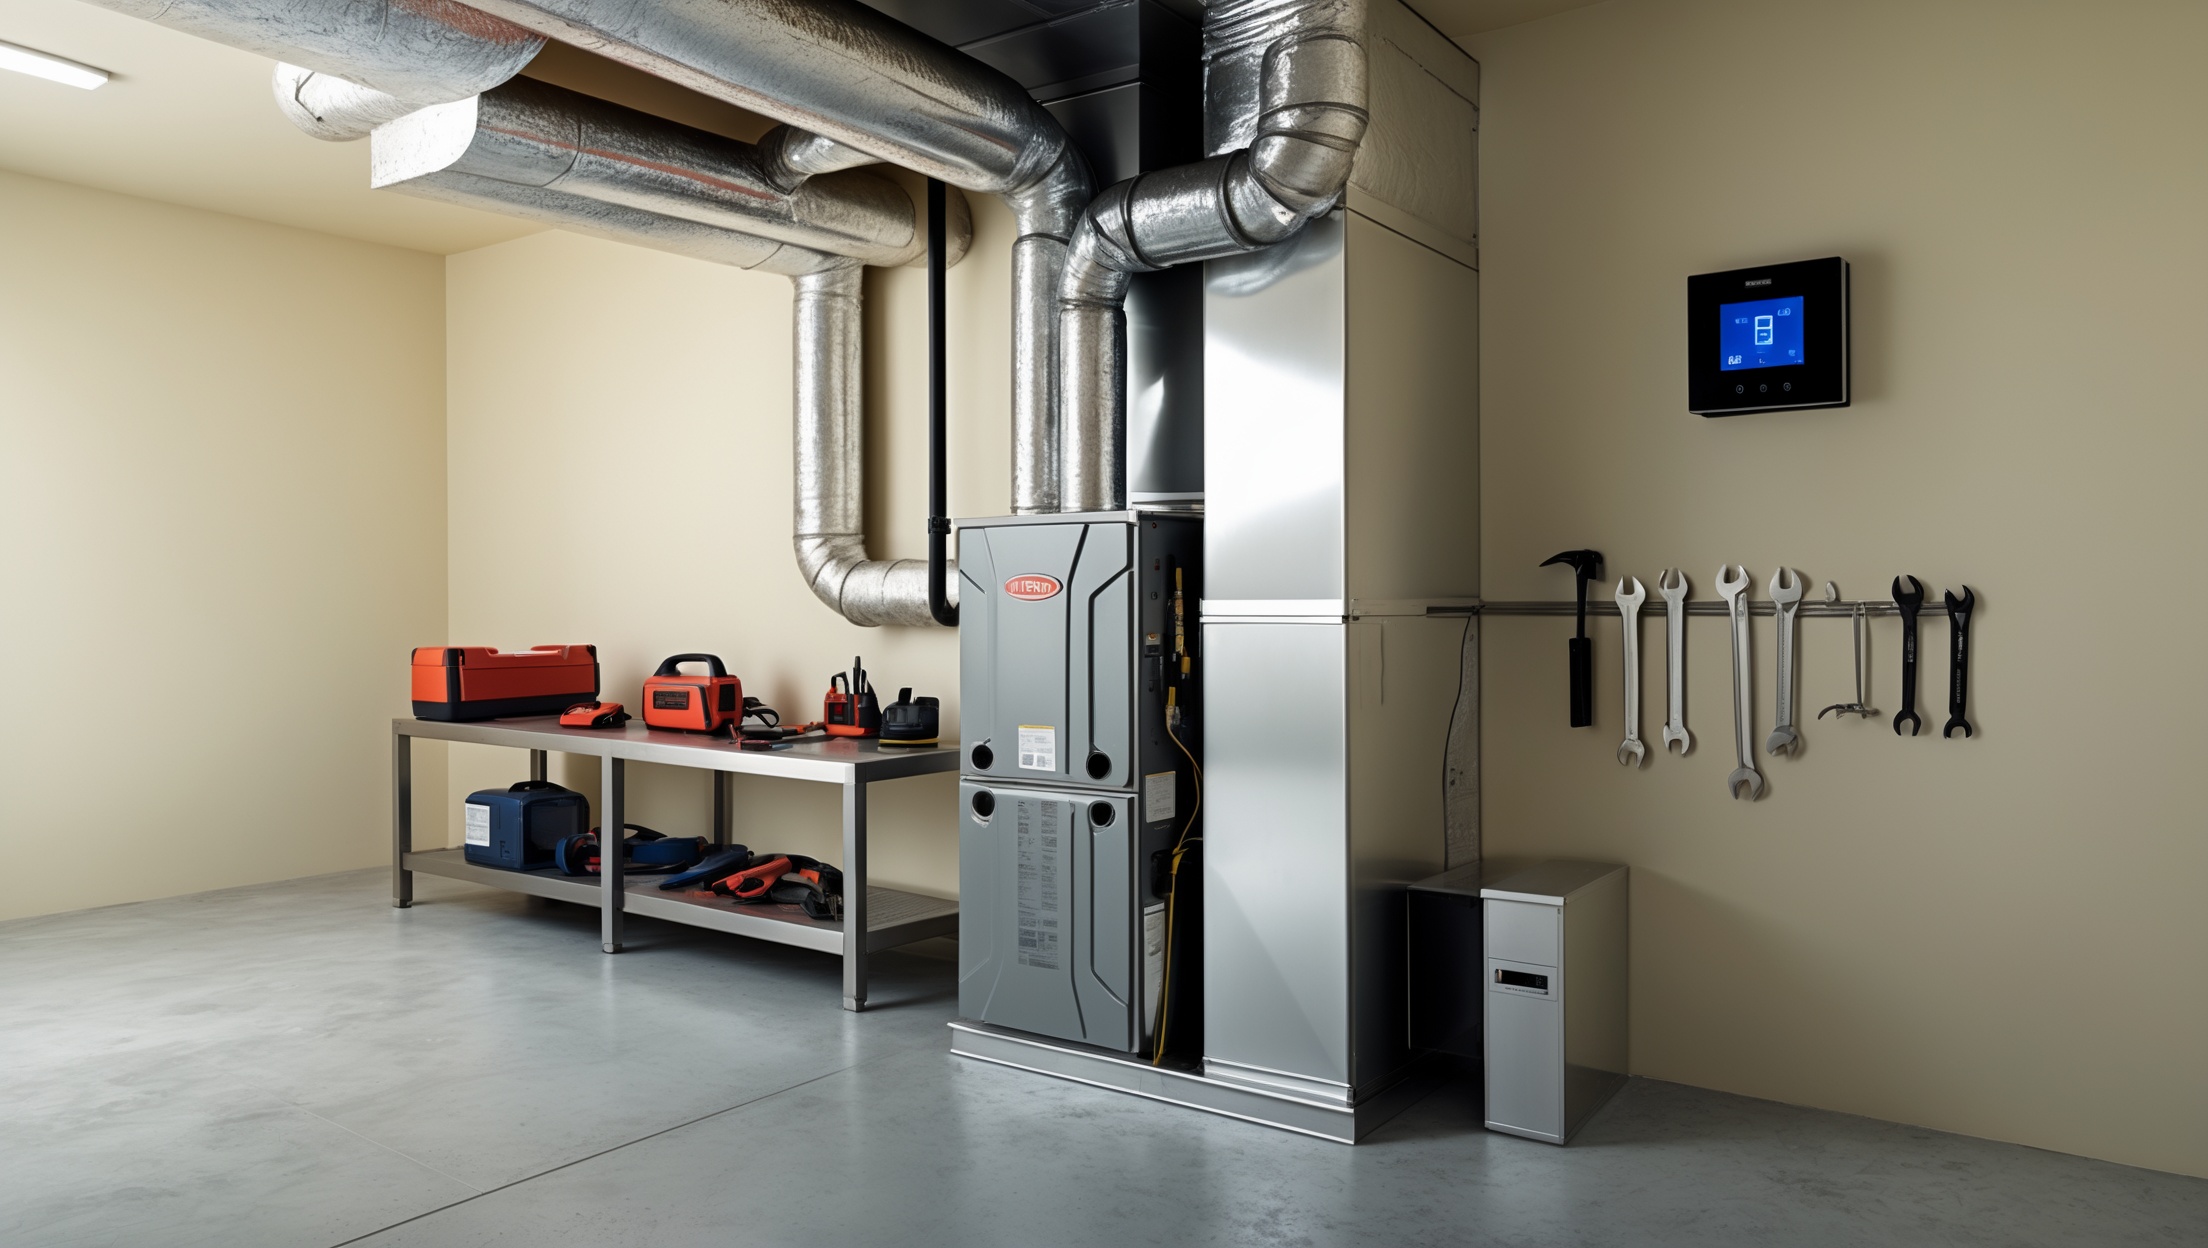
Essential Tools and Safety Equipment
- Non-contact voltage tester
- Multimeter
- Wire strippers and cutters
- Insulated screwdrivers and pliers
- Fish tape (for pulling wires through walls)
- Headlamp or portable work light
- Safety glasses and insulated gloves
- Label maker or tape for marking circuits
DIY vs. Pro: When to Call an Electrician
While basic tasks like replacing outlets or installing light fixtures can be DIY-friendly, panel upgrades, circuit additions, and whole-house rewiring should be left to licensed professionals. Electrical mistakes can have severe consequences, including fire, electrocution, or legal liability. Always err on the side of caution if you’re unsure.
Step-by-Step: Upgrading an Outlet or Installing a New One
1. Plan the Circuit
Determine which circuit will feed the new outlet, and ensure the breaker is rated for the additional load. Mark the outlet location, avoiding plumbing and HVAC runs.
2. Shut Off Power
Turn off the circuit at the main panel. Use a voltage tester to confirm wires are de-energized.
3. Cut and Fish Cable
- Drill holes as needed to route new cable through studs.
- Run NM (non-metallic) cable from the power source to the new outlet box location.
4. Install the Outlet Box
Mount an “old work” electrical box securely in the wall. Make sure it’s flush with the drywall surface.
5. Wire the Outlet
- Strip insulation and connect black (hot), white (neutral), and bare (ground) wires to the appropriate terminal screws.
- Double-check connections for tightness and correct polarity.
6. Test and Label
Turn the power back on and test the outlet using a plug-in tester. Clearly label the new circuit at the main panel.
Maintenance Best Practices for Electrical Systems
- Test GFCI and AFCI outlets monthly.
- Inspect the main panel annually for signs of corrosion or overheating.
- Keep the area around the panel clear for easy access.
- Check for loose outlets or switches and tighten as needed.
- Upgrade surge protection to safeguard devices from voltage spikes.
Insurance and Documentation: Protecting Your Investment
After any electrical upgrade, keep all permits, inspection reports, and receipts. Notify your homeowner’s insurance provider of major upgrades to ensure coverage reflects your home’s current value and risk profile. Proper documentation also simplifies future claims or resale disclosures.
Conclusion: Empowering Your Home for Safety and Modern Living
Upgrading your home’s electrical system is one of the most impactful—and often overlooked—ways to enhance safety, functionality, and value. While the prospect of tackling electrical improvements can be daunting, a careful assessment, solid planning, and respect for local codes go a long way toward a successful, stress-free project. Remember, your electrical system is the backbone of modern comfort, supporting everything from kitchen appliances to smart home devices. A professional upgrade not only addresses immediate safety concerns but also anticipates your household’s future needs, ensuring you won’t be left scrambling when it’s time to add new technology or appliances.
For DIYers, knowing your limits is key. Small projects like upgrading outlets or swapping light fixtures can be satisfying and safe with the right precautions. But for anything involving new circuits, panel work, or whole-house rewiring, partnering with a licensed electrician is the best investment you can make. Permits, inspections, and detailed documentation aren’t bureaucratic red tape—they’re safeguards designed to protect your family and your property.
Take the time to evaluate your home’s electrical health today. Whether you’re planning a major renovation or simply want peace of mind, a proactive approach will reward you with safer, more reliable power for years to come. Empower your home—and yourself—by making electrical upgrades a top priority in your home improvement journey.