Introduction: Why Safety Matters in Attic Insulation Upgrades
Upgrading attic insulation is one of the most effective ways to boost your home’s energy efficiency and comfort. However, homeowners often underestimate the physical and environmental hazards associated with this project. Working in attics means contending with confined spaces, extreme temperatures, airborne particulates, electrical wiring, and the risk of stepping through ceilings. Moreover, improper installation may lead to code violations, fire hazards, or even voided home insurance policies.
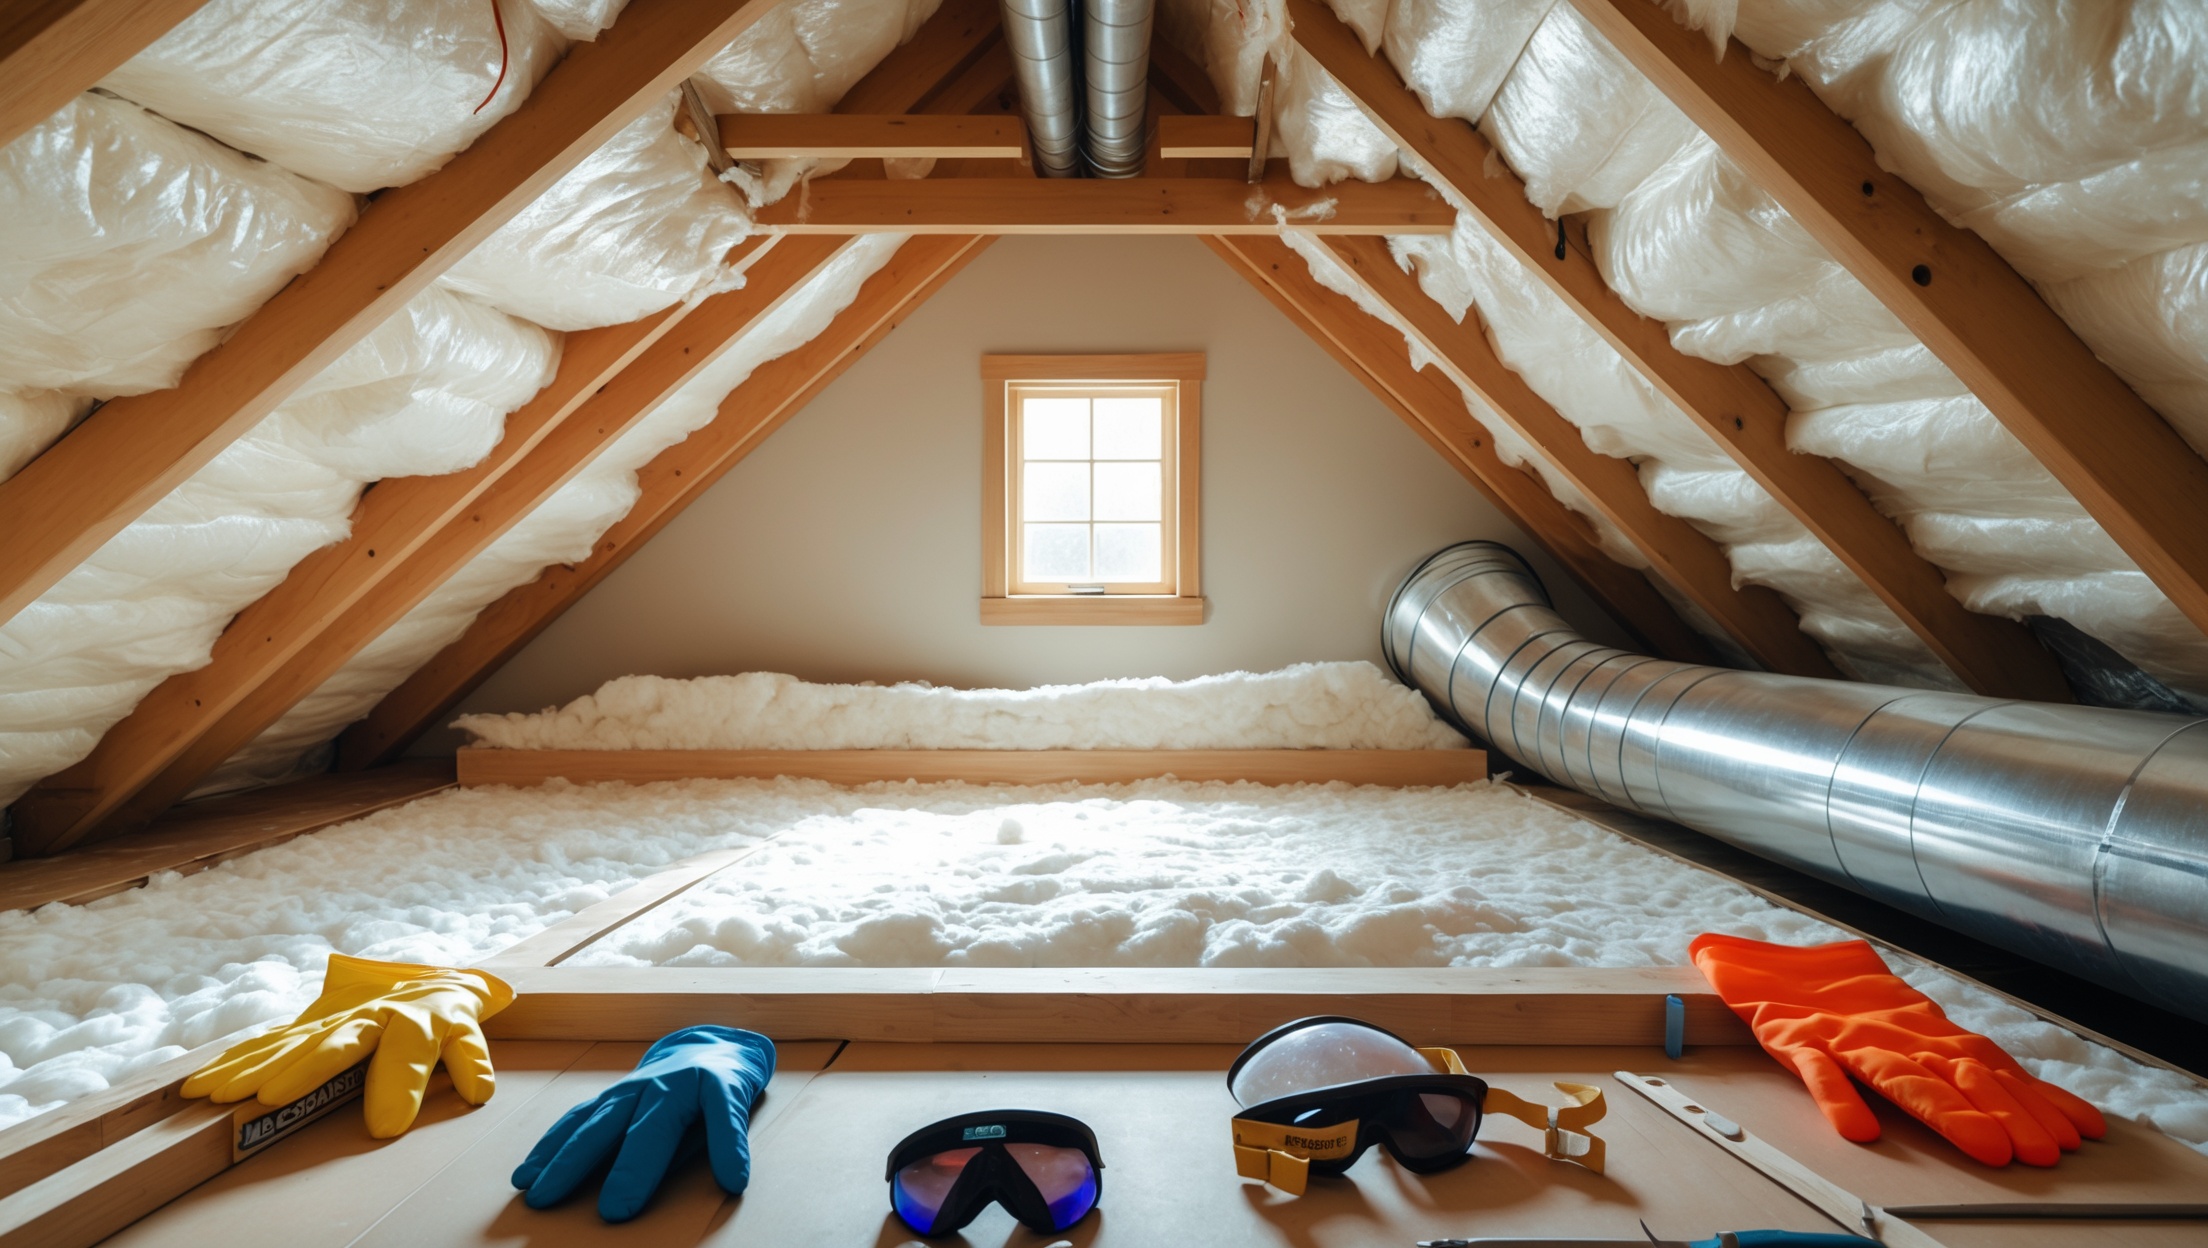
This comprehensive safety checklist demystifies the process of attic insulation upgrades. Whether you are considering batt, blown-in, or spray foam insulation, this guide will help you systematically address risks, comply with regulations, and protect your investment. We’ll cover essential personal protective equipment (PPE), workspace preparation, electrical safety, ventilation requirements, material handling, and post-installation checks. Our goal is to ensure your upgrade is not only energy-smart but also safe, compliant, and built to last.
Understanding the Hazards of Attic Insulation Projects
Common Physical Risks
- Heat Stress: Attics can reach dangerous temperatures even in moderate weather.
- Falls: Exposed joists and ceiling drywall create a risk of stepping through the ceiling.
- Sharp Objects: Nails, screws, and splinters are frequent in attic spaces.
- Trip Hazards: Low clearance and cluttered storage increase the likelihood of tripping.
Environmental and Health Hazards
- Airborne Particulates: Fiberglass insulation, dust, and rodent droppings are common irritants.
- Mold and Mildew: Existing moisture problems can expose you to allergens or toxins.
- Asbestos: Homes built before the 1980s may contain hazardous insulation materials.
Electrical and Fire Dangers
- Live Wiring: Exposed or aging wires pose electrocution and fire risks.
- Overheating: Covering recessed lights or electrical boxes with insulation can cause overheating.
- Combustibility: Some insulation types are flammable or lose effectiveness near heat sources.
Pre-Project Safety Preparation
Research and Planning
- Check Local Codes: Research building code requirements for minimum R-value, fire barriers, and vapor barriers.
- Assess Existing Insulation: Identify insulation type, thickness, and any signs of moisture or contaminant issues.
- Test for Asbestos: If your home was built before 1980, have a professional test for asbestos before disturbing any insulation.
- Plan for Waste Disposal: Local regulations may require special disposal methods for old insulation or hazardous materials.
Gathering Safety Equipment
- Personal Protective Equipment (PPE):
- N95 or P100 respirator (not a simple dust mask)
- Safety goggles or sealed eye protection
- Thick work gloves (nitrile or heavy-duty fabric)
- Disposable coveralls (Tyvek or similar)
- Long sleeves, pants, and closed-toe shoes
- General Tools:
- Bright LED work lights or headlamp
- Sturdy extension cords (if needed)
- Portable fan for ventilation
- Shop vacuum with HEPA filter
- Utility knife, staple gun, measuring tape
- First aid kit
- Fall Protection: For larger attics or professional projects, consider lightweight kneeboards or crawl boards to distribute weight and prevent ceiling damage.
Workspace Preparation: Creating a Safe Environment
Clearing and Inspecting the Attic
- Remove stored items and debris to create a clear workspace.
- Visually inspect for animal nests, droppings, or insects.
- Check for signs of water leaks, mold, or mildew—address these issues before beginning insulation work.
Marking Hazards and Access Points
- Identify and mark all electrical wiring, junction boxes, and light fixtures.
- Flag or temporarily cover exposed nails or fasteners.
- Mark the location of ceiling joists—use a laser pointer, painter’s tape, or temporary boards so you only step on structural supports.
- Ensure the attic ladder or access hatch is secure and in good condition.
Ventilation and Lighting
- Open gable, soffit, or ridge vents for air circulation.
- Set up a portable fan at the access hatch to exhaust dust and fumes.
- Position LED work lights to eliminate shadows and improve visibility.
Electrical and Fire Safety
Power Down When Possible
- Turn off power at the circuit breaker to attic lighting and outlets before handling insulation near electrical wiring.
- If you must work with the power on, use insulated tools and avoid contact with exposed wires.
Dealing with Recessed Lighting and Electrical Boxes
- Check for IC-rated (insulation contact-rated) recessed lights. Only these fixtures can be safely covered with insulation.
- If lights are not IC-rated or the rating is unclear, maintain a 3-inch clearance around fixtures. Use insulation dams made of sheet metal or hardware cloth.
- Never cover electrical junction boxes; leave at least a 3-inch gap and ensure access for future repairs.
Wiring and Code Compliance
- Inspect visible wiring for cracking, fraying, or rodent damage. Replace or repair as needed before installing new insulation.
- Follow local code for minimum clearance between insulation and heat-producing elements (e.g., chimneys, exhaust vents).
- Secure loose wires and keep them above the insulation layer when possible for future access and inspection.
Material Handling and Installation Best Practices
Fiberglass and Mineral Wool Insulation
- Always wear gloves, goggles, and a respirator. Fiberglass can cause skin, eye, and lung irritation.
- Cut batts to fit snugly between joists, avoiding compression (compressed insulation loses effectiveness).
- For attic floors, do not block soffit vents. Use baffles if needed to maintain airflow from soffits to the ridge vent.
Blown-In (Loose-Fill) Insulation
- Rent or borrow a blowing machine. Two people are usually needed—one to feed the hopper, one in the attic to direct the hose.
- Seal all attic air leaks before blowing in insulation. This prevents heat loss and moisture problems.
- Install depth markers to ensure even coverage and meet code-required R-values.
- Be vigilant about not blocking vents, light fixtures, or access paths.
Spray Foam Insulation
- Only attempt small-scale spray foam jobs (e.g., sealing cracks) as a DIYer. Large projects should be handled by professionals due to chemical hazards.
- Ventilate the attic thoroughly, as spray foam chemicals can produce toxic fumes.
- Follow manufacturer’s cure times before re-entering the space.
- Keep all sources of ignition (open flames, pilot lights) away from the workspace.
Dealing with Moisture and Ventilation
Moisture Detection and Remediation
- Check the attic for staining, rot, or musty odors. Use a moisture meter if available.
- Seal roof leaks, flashing gaps, and plumbing penetrations before installing new insulation.
- Replace any water-damaged wood or insulation to prevent mold growth.
Maintaining Proper Ventilation
- Never cover attic vents with insulation. This traps moisture and can lead to rot or ice dams.
- Install baffles (rafter vents) to keep insulation from blocking airflow at the eaves.
- Confirm that bathroom and kitchen exhaust fans vent outside, not into the attic.
Safe Work Practices During Installation
Managing Heat and Fatigue
- Work during cool hours (morning or evening), especially in summer.
- Take frequent breaks. Set a timer to avoid overexertion in hot, stuffy conditions.
- Stay hydrated and know the signs of heat exhaustion (dizziness, nausea, confusion).
Preventing Falls and Ceiling Damage
- Always step on joists or use crawl boards to distribute your weight.
- Do not lean on or place tools on unsupported ceiling drywall.
- Keep the workspace organized and free of tripping hazards.
Material Cleanup and Waste Disposal
- Double-bag removed insulation for safe disposal.
- Use a shop vacuum with HEPA filter to clean up fine dust and debris.
- Dispose of hazardous materials (e.g., asbestos, moldy insulation) in accordance with local regulations.
Post-Installation Safety and Compliance Checks
Inspection Checklist
- Confirm that all vents, recessed lights, and electrical boxes are clear of insulation as required.
- Check insulation depth and coverage—use a measuring stick or depth markers.
- Inspect for any new signs of moisture or air leaks.
- Ensure access paths to HVAC equipment or other attic utilities remain clear.
Documentation and Future Safety
- Take photos of the finished work for insurance and warranty purposes.
- Label attic access with insulation type, installation date, and any special instructions (e.g., areas where insulation must not be disturbed).
- Keep documentation of code compliance or permits if required in your municipality.
When to Call a Professional
DIY attic insulation is achievable for many homeowners, but certain scenarios warrant professional involvement. If you discover asbestos, significant mold, or major electrical hazards, stop work and consult a licensed contractor or abatement specialist. Large-scale spray foam projects, structural repairs, or homes with complicated ventilation systems can quickly exceed DIY expertise. A professional can also perform blower door tests to ensure your upgrade delivers maximum efficiency and safety.
Conclusion: Protecting Your Investment with Diligent Safety Practices
Upgrading attic insulation is a powerful way to enhance your home’s comfort and energy performance, but it is not a project to approach casually. Every step—from pre-installation prep to final inspection—requires a keen awareness of safety, code compliance, and long-term maintenance. By following the safety checklist outlined in this guide, you can dramatically reduce the risk of injury, property damage, or costly mistakes.
Remember: PPE is non-negotiable, electrical safety must always be prioritized, and careful planning is your best defense against surprises. Take the time to inspect and prepare your attic, mark all hazards, and work methodically. Always err on the side of caution when dealing with potential toxins like asbestos or mold, and do not hesitate to call in professionals for specialized tasks.
Your diligence now will pay off in lower energy bills, a healthier living environment, and peace of mind knowing your home improvement investment is safe and secure. Make safety your top priority, and your attic insulation upgrade will deliver comfort and value for years to come.


Could you clarify how homeowners can tell if their attic has asbestos-containing insulation, especially in houses built before the 1980s, and what steps they should take if they suspect it’s present before starting an upgrade?
Homeowners can suspect asbestos-containing insulation if their attic has loose, grayish, fluffy material (often called vermiculite) or old insulation installed before the 1980s. If you think asbestos may be present, avoid disturbing the material. Do not start any work. Instead, contact a licensed asbestos professional for an inspection and testing. Only proceed with upgrades after asbestos removal or confirmation that it’s safe.
When working around live wiring in the attic, is it necessary to shut off the power to the entire house, or are there safer ways to isolate only the attic circuits during installation?
You do not always need to shut off power to the entire house. It’s much safer to identify which circuit breakers control the attic wiring and switch off only those circuits before starting work. Always test wires with a voltage tester to confirm they’re not live. If you’re unsure which breakers to use, or if multiple circuits run through the attic, turning off the main breaker is the safest option.