
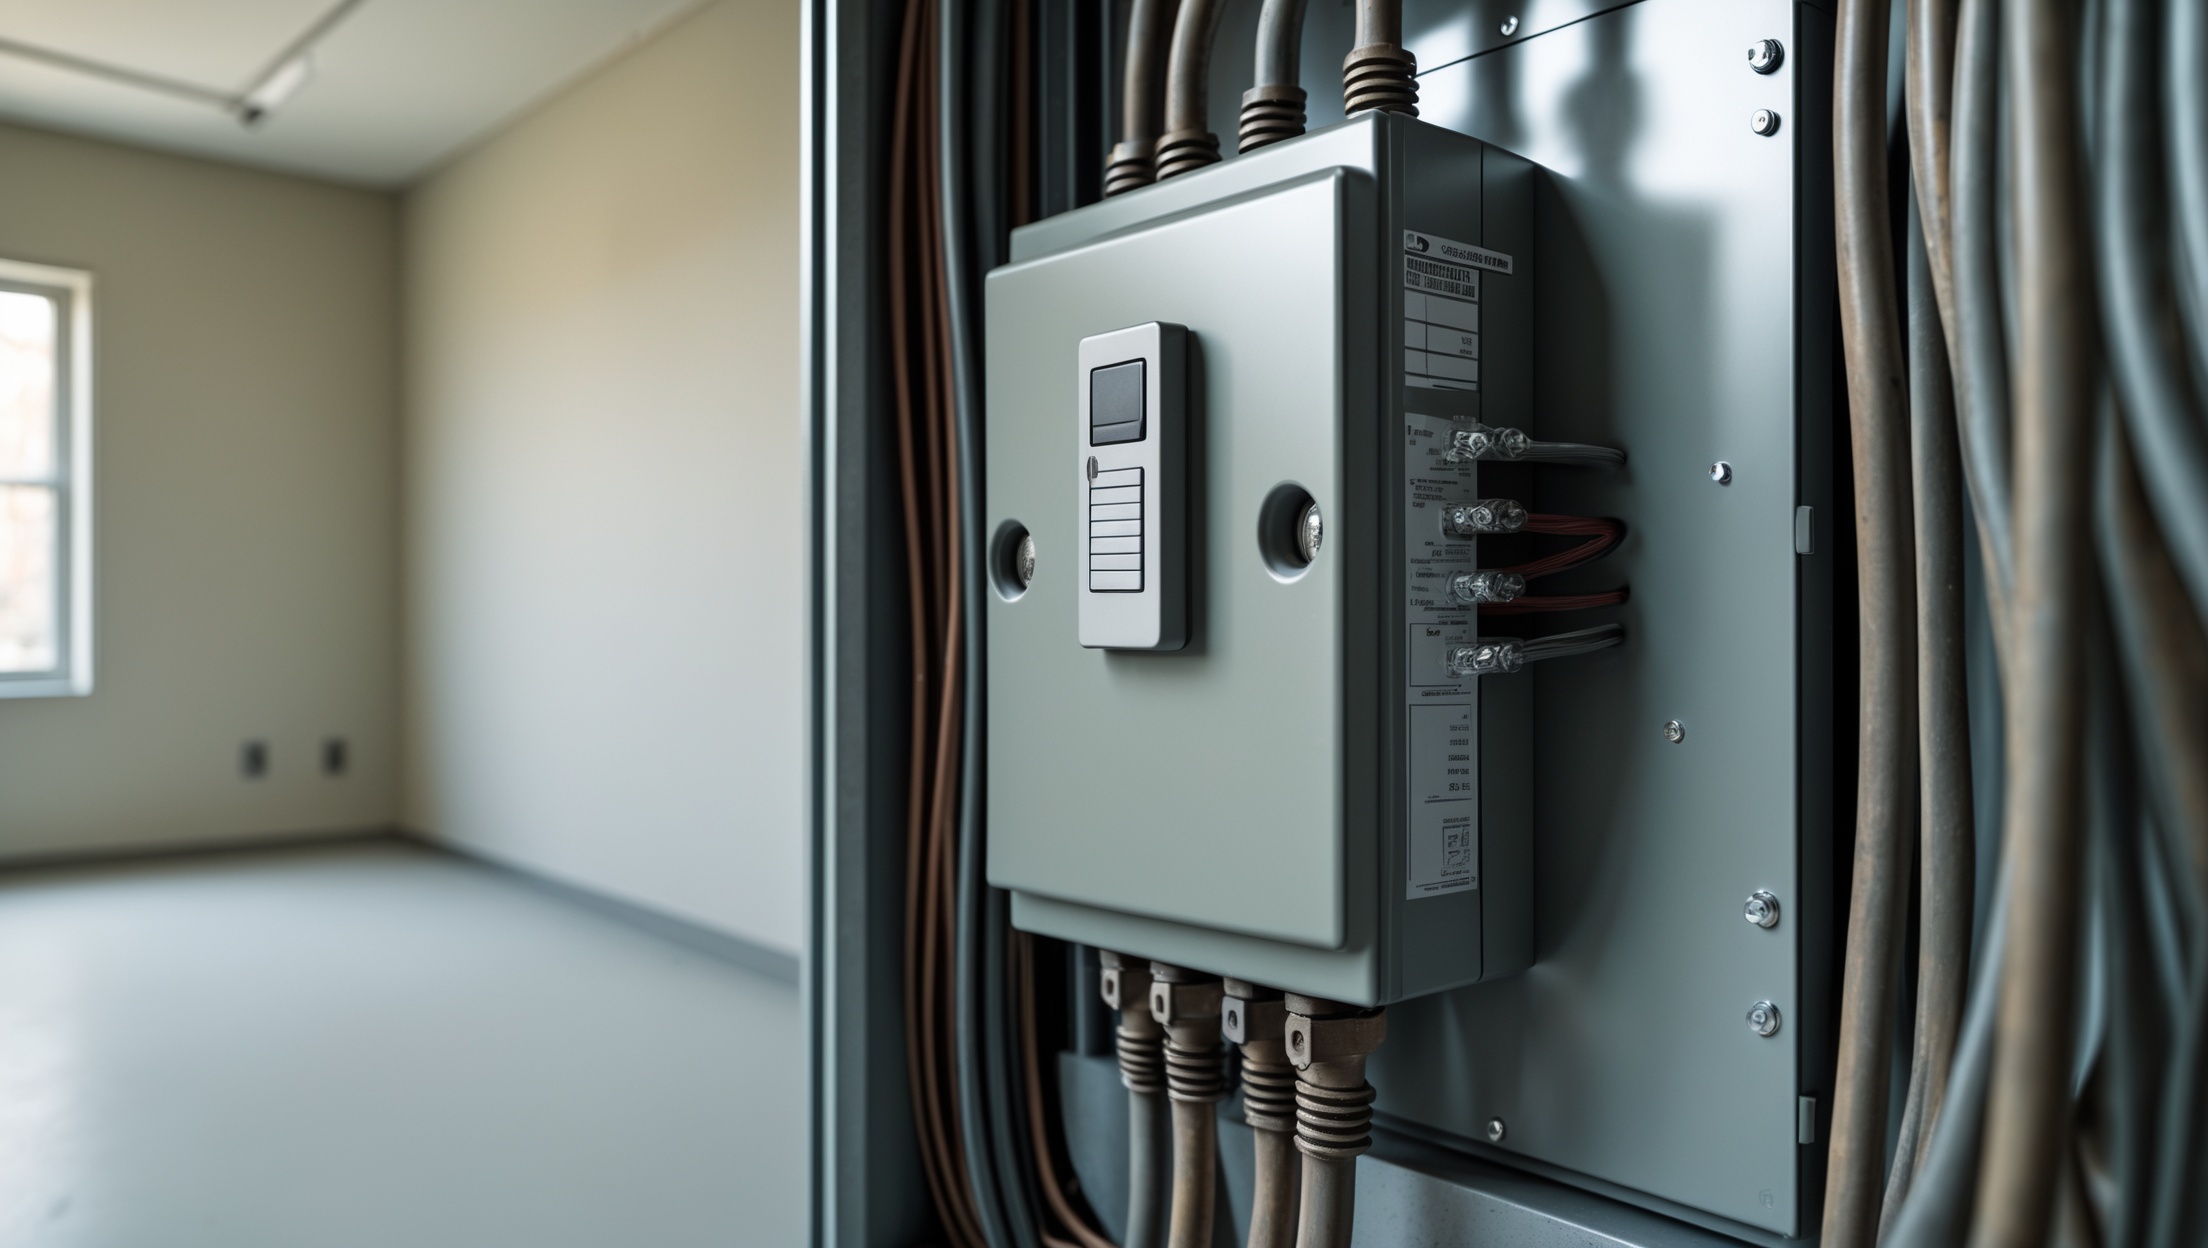
Introduction: Why Every Home Needs a Whole-House Surge Protector
Modern homes are filled with sensitive electronics and smart devices, from kitchen appliances to entertainment systems and home automation hubs. While many homeowners rely on plug-in surge protectors for individual devices, these are often not enough to shield against powerful surges caused by lightning strikes, power grid fluctuations, or faulty wiring. A whole-house surge protector, installed directly at your home’s electrical panel, acts as a first line of defense for your entire electrical system, protecting everything from your HVAC system to your refrigerator.
This guide will walk you through everything you need to know to safely and effectively install a whole-house surge protector. We’ll cover the step-by-step installation process, break down the costs involved, list all the essential tools and equipment, and provide a comprehensive safety checklist. Whether you’re a seasoned DIYer or an ambitious beginner, you’ll gain practical insights and actionable tips to protect your biggest investment: your home.
Understanding Power Surges and Their Risks
What Is a Power Surge?
A power surge is a sudden, short increase in voltage that travels through your home’s electrical wiring. Surges can range from minor spikes to massive jolts capable of destroying appliances and electronics in an instant.
Common Causes of Power Surges
- Lightning Strikes: The most dramatic source, although rare, can cause catastrophic damage.
- Utility Grid Switching: Occurs when the power company switches grids or restores power after an outage.
- Large Appliances: Devices like air conditioners and refrigerators cycling on/off can cause internal surges.
- Wiring Issues: Faulty or outdated wiring can increase the risk and magnitude of surges.
Potential Damage to Your Home
- Destroyed or shortened lifespan for electronics and appliances
- Fire hazards from overloaded circuits
- Hidden damage leading to expensive repairs
Cost Breakdown and Budgeting for a Whole-House Surge Protector
Typical Price Range
The cost of purchasing a whole-house surge protector varies based on brand, features, and capacity. Expect to spend:
- Surge Protector Unit: $70 – $300
- Additional Materials (wiring, conduit, fittings): $20 – $50
- Professional Installation (if not DIY): $150 – $300
If you have basic tools and electrical knowledge, DIY installation can save you significant labor costs.
Budgeting Tips
- Don’t Skimp on Quality: Choose a protector rated for at least 40,000 to 80,000 amps and UL 1449 listed.
- Consider Warranty: Some units offer equipment protection policies or warranties—factor this into your cost analysis.
- Electrical Permit: Some municipalities require a permit for this work, which may cost $25–$100. Check local codes.
- Tools: If you lack necessary tools, budget an extra $40–$100 for purchases or rentals.
Essential Tools and Equipment
- Whole-House Surge Protector: Choose a reputable, UL-listed model suitable for your panel type (breaker or panel-mounted).
- Screwdrivers: Flathead and Phillips for panel and device screws.
- Voltage Tester or Multimeter: To verify power is off before working.
- Wire Strippers: For preparing wires for connections.
- Drill and Drill Bits: To mount the unit and run conduit if needed.
- Needle-nose Pliers: For bending and positioning wires.
- Conduit and Fittings: If running wires outside the panel.
- Electrical Tape: For securing wire nuts or connections.
- Wire Nuts or Lugs: For safe, secure connections.
- Personal Protective Equipment (PPE): Insulated gloves, safety glasses, and work boots.
- Flashlight or Headlamp: For clear visibility inside the panel.
- Label Maker or Electrical Tape: For marking connections and new installations.
Safety Checklist: Read Before You Begin
- Turn Off Main Power: Always shut off power at the main breaker before opening the panel.
- Test for Power: Use a voltage tester to double-check that all circuits are de-energized.
- Wear PPE: Insulated gloves and eye protection are a must.
- Keep Work Area Dry: Never work near water or with wet hands.
- Remove Jewelry: Rings and watches can conduct electricity.
- Have an Emergency Plan: Know how to call for help in case of shock or injury.
- Check Local Codes: Ensure your installation complies with local electrical codes and permitting requirements.
- Work in Daylight: If possible, schedule work during daylight for maximum visibility.
- Have a Partner: Someone should be nearby in case of emergency.
- Know Your Limits: If you feel uncomfortable, hire a licensed electrician.
Step-by-Step Installation Tutorial
1. Preparation and Planning
- Read the manufacturer’s instructions for your surge protector model.
- Identify an appropriate mounting location: Most devices mount on the side of or inside the main electrical panel.
- Gather all tools and PPE before starting.
- Clear the area around your electrical panel for safe working conditions.
2. Shutting Off Power
- Locate your home’s main breaker and switch it to the OFF position.
- Use a voltage tester to verify that the panel is de-energized.
- Double-check with a multimeter at different points in the panel for safety.
3. Removing the Panel Cover
- Carefully unscrew and remove the panel cover, setting screws aside in a safe place.
- Use a flashlight or headlamp for clear visibility inside the panel.
4. Mounting the Surge Protector
- If panel-mounted, follow instructions for attaching directly to a knockout on the panel side.
- If wall-mounted, drill pilot holes and secure the surge protector near the panel, using conduit if required.
- Ensure cables will reach the breakers and neutral/ground bars without straining or crossing over other wiring.
5. Wiring the Surge Protector
- Strip the ends of the surge protector wires as needed (usually ½ inch).
- Connect the black wires to a double-pole (240V) circuit breaker as specified by the manufacturer.
- Connect the white (neutral) wire to the neutral bus bar.
- Connect the green (ground) wire to the ground bus bar.
- Use wire nuts or lugs to secure connections and electrical tape for added safety if required.
- Route wires neatly and avoid sharp bends or tight stretches.
6. Final Checks and Restoring Power
- Double-check all connections for tightness and correct placement.
- Replace the panel cover, securing all screws.
- Label the new breaker as “Surge Protector.”
- Turn the main breaker back ON.
- Observe the surge protector’s indicator lights to confirm proper operation (refer to manual for light codes).
Maintenance Best Practices
- Monthly Visual Inspection: Check indicator lights—most surge protectors have a status LED or light strip.
- After Major Storms: Inspect for damage or tripped breakers. Some models require replacement after a major surge.
- Test Functionality: Use the built-in test button if provided, or consult the manual for testing procedures.
- Keep Records: Note installation date and warranty period. Log any incidents or maintenance for insurance purposes.
- Replace as Needed: Most units have a lifespan of 5–10 years or after a major surge—plan for periodic replacement.
Common Mistakes to Avoid
- Skipping the Permit: Even DIYers may need a permit—failure to obtain one can void insurance or lead to fines.
- Incorrect Breaker Sizing: Using the wrong size breaker can cause nuisance tripping or unsafe conditions. Always match the surge protector’s specs.
- Loose Connections: Can lead to overheating and reduced protection—double-check all wiring.
- Improper Grounding: A poor ground means the protector can’t safely divert surges. Verify ground bar connection.
- Ignoring Manufacturer’s Instructions: Every model is different—don’t assume universal steps.
- Installing in a Damp Location: Moisture accelerates corrosion and can cause dangerous shorts. If your panel is in a basement or garage, ensure it’s dry and ventilated.
FAQs: Whole-House Surge Protection
- Do I still need plug-in surge strips? Yes—layered protection is best. Whole-house units protect against large surges, while plug-in strips guard sensitive electronics from minor spikes.
- Can I install more than one surge protector? Yes, but it’s rarely necessary unless you have multiple subpanels or outbuildings.
- Does a surge protector affect my home insurance? Some policies offer discounts for surge protection—contact your provider.
- What’s the difference between a Type 1 and Type 2 protector? Type 1 installs between the utility meter and main panel (often by a pro), while Type 2 installs at the main or subpanel—most homeowners use Type 2.
Conclusion: Protecting Your Home for the Future
Installing a whole-house surge protector is one of the smartest investments you can make in your home’s long-term safety and resilience. As our reliance on electronics and smart appliances grows, so does the potential cost of even a single voltage surge. This guide has equipped you with the knowledge to plan, budget, and execute a safe, code-compliant installation.
Remember, while the process is within reach for confident DIYers, electrical work always carries risks—never hesitate to consult a licensed electrician if you’re unsure at any stage. Beyond installation, commit to regular maintenance and keep a careful eye on your surge protector’s indicator lights, especially after storms or utility work in your area.
By taking these proactive steps, you’ll not only prevent expensive damage but also gain peace of mind knowing your home’s electrical backbone is protected. A whole-house surge protector is an upgrade you’ll rarely notice—until the moment you need it most.


I noticed the article mentions installing the whole-house surge protector at the main electrical panel. For homes with older or outdated wiring, are there any special considerations or extra steps required during installation to make sure the surge protector functions properly?
For homes with older or outdated wiring, it’s important to check that your main electrical panel and grounding system are up to modern code before installing a surge protector. Poor or insufficient grounding can reduce the protector’s effectiveness. You may need to upgrade grounding or address any damaged wiring first. It’s a good idea to have a licensed electrician evaluate your panel and wiring to ensure a safe installation.
Can you explain what to look for when choosing a surge protector for the electrical panel? Are there specific ratings or features that are more important for older homes with outdated wiring?
When choosing a surge protector for your panel, prioritize its surge current rating (measured in kA)—higher is better, especially for older homes that may be more vulnerable. Look for UL 1449 certification, a low clamping voltage (400V or less is ideal), and compatibility with your panel’s amperage. For outdated wiring, consider protectors that handle both line-to-neutral and line-to-ground surges, and be sure it fits your panel’s type and size.
Can you expand on the typical price range for whole-house surge protectors mentioned in your cost breakdown, including installation if I decide not to do it myself? I’m trying to plan my home improvement budget for this year.
Whole-house surge protectors themselves usually cost between $70 and $300, depending on brand and features. If you hire a licensed electrician for installation, expect to pay an additional $100 to $300 for labor. So, in total, budgeting $200 to $600 should cover both the device and professional installation for most homes. This range may vary a bit based on your location and any specific electrical panel requirements.
Could you provide more details about the essential tools needed for a safe installation? Are any of these specialized tools that a typical homeowner might not already have on hand?
For a safe installation, you’ll need a flathead and Phillips screwdriver, a voltage tester, wire strippers, needle-nose pliers, and electrical tape. The voltage tester is essential for confirming power is off before you start working. Most of these tools are common in household toolkits. However, if you don’t already have a voltage tester or wire strippers, you can easily find them at most hardware stores and they’re not considered highly specialized.
If I follow the steps and something doesn’t seem right after installation—like appliances still trip or lights flicker—what are the first troubleshooting steps I should take before calling a professional?
If issues persist after installing the surge protector, first double-check that all wiring connections are secure and match the manufacturer’s instructions. Ensure the main breaker is fully seated and turned on. Inspect your home’s circuit breakers for any that may have tripped during the installation. Also, confirm that the surge protector’s indicator lights show normal operation. If these checks don’t resolve the problem, it’s safest to contact a licensed electrician.