Introduction: Why Annual HVAC Maintenance Matters
Your home’s heating, ventilation, and air conditioning (HVAC) system is the unsung hero that keeps your living spaces comfortable year-round. From the biting chill of winter to the sweltering heat of summer, your HVAC system works tirelessly in the background. But like any complex machine, it needs regular care to operate efficiently and avoid costly breakdowns. Neglecting maintenance can lead to decreased performance, higher energy bills, reduced air quality, and even premature system failure. The good news? With a clear seasonal checklist, a practical understanding of maintenance tasks, and a grasp of costs involved, you can keep your system running smoothly without breaking the bank. This comprehensive guide walks you through a detailed annual HVAC maintenance checklist, cost breakdowns for DIY and professional tasks, and pro tips to ensure your comfort all year long.
Understanding Your HVAC System
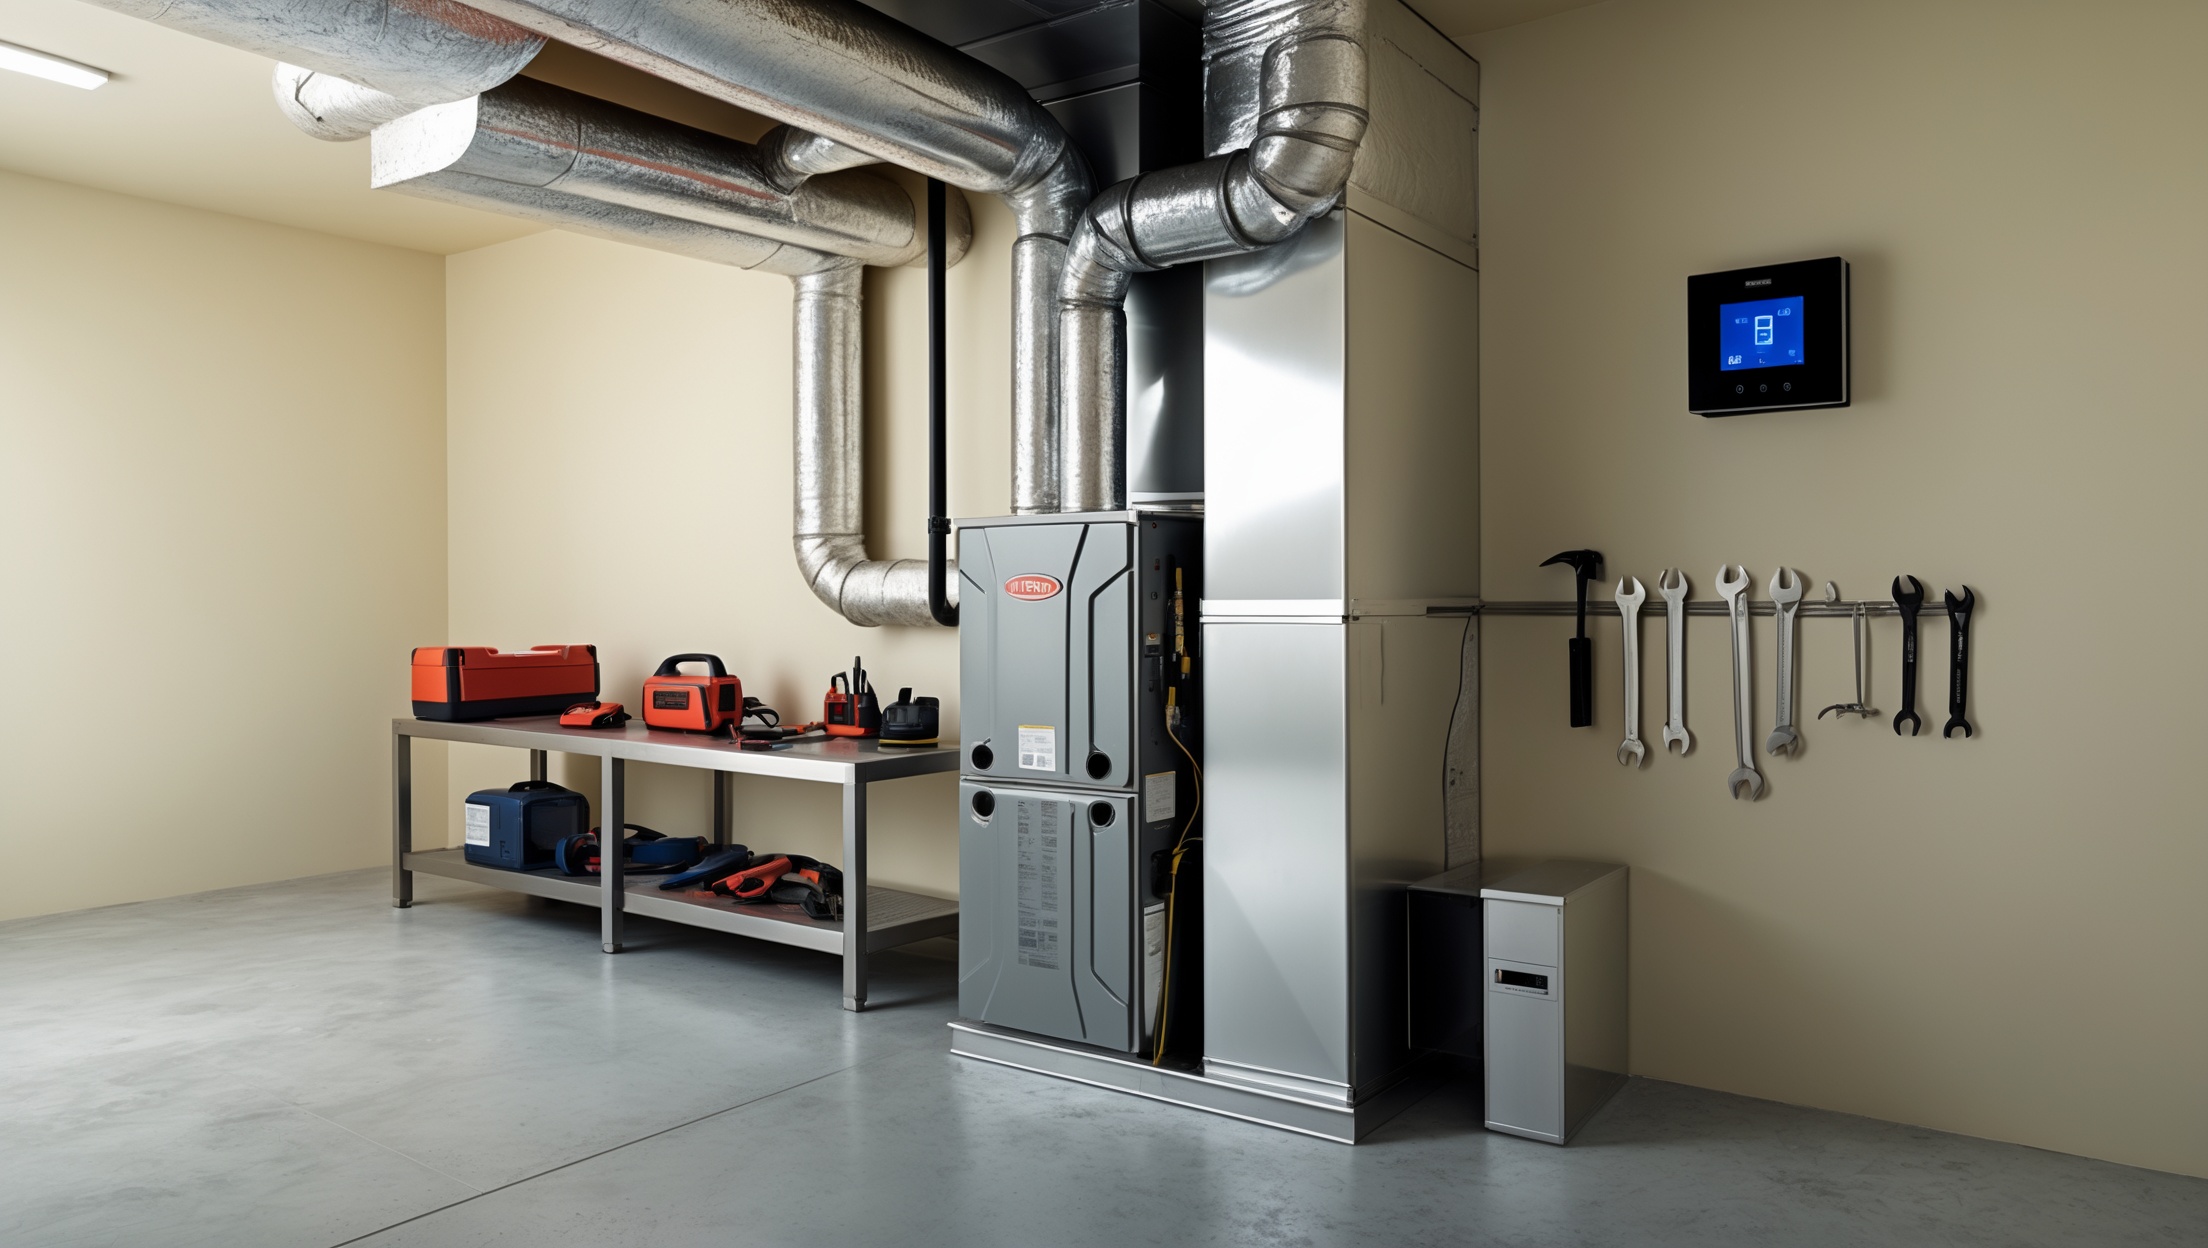
Before diving into the checklist, it’s essential to understand the core components of your home’s HVAC system. While systems vary, most include:
- Furnace or Heat Pump: Provides heating.
- Air Conditioner: Cools the air in summer.
- Air Handler and Ductwork: Circulates air throughout the home.
- Thermostat: Controls temperature settings.
- Ventilation/Exhaust Systems: Removes stale air and brings in fresh air.
- Filters and Humidifiers: Improve air quality and comfort.
Understanding these parts will help you perform targeted maintenance and communicate effectively with professionals.
Seasonal HVAC Maintenance Checklist
Spring: Preparing for Cooling Season
- Change or Clean Air Filters: Replace disposable filters or clean reusable ones. Clogged filters restrict airflow and reduce efficiency. Most filters should be checked monthly and replaced at least every 2-3 months.
- Inspect Outdoor Unit (Condenser): Clear debris, leaves, and dirt from around the condenser. Gently hose off the unit’s exterior fins.
- Check Refrigerant Lines: Inspect insulation on refrigerant lines running into the house. Replace any damaged or missing insulation sleeves.
- Test Air Conditioner: Run the system for at least 15 minutes to ensure it cools effectively. Listen for unusual noises and monitor for uneven cooling.
- Clean and Adjust Thermostat: Dust the thermostat and check batteries if it’s battery-operated. Consider upgrading to a programmable or smart thermostat for energy savings.
- Schedule Professional Inspection: For peace of mind, book a pro to check refrigerant levels, system pressure, and look for leaks.
Summer: Peak Cooling Performance
- Monitor System Operation: Regularly listen for abnormal noises (rattling, buzzing) and check for water leaks around the indoor unit.
- Check for Blocked Vents: Ensure all supply and return vents are unblocked by furniture or curtains for optimal airflow.
- Inspect Drain Line: Check the condensate drain for clogs, which can cause water damage. Pour a cup of vinegar or bleach solution down the line to prevent mold and algae.
- Replace Filters as Needed: If your system is running constantly, filters may need replacement more than every 2-3 months.
Fall: Preparing for Heating Season
- Replace or Clean Filters: A crucial step as heating ramps up.
- Inspect Heat Exchanger: Look for cracks or corrosion if accessible. Cracks can lead to dangerous carbon monoxide leaks; professional inspection is advised.
- Check Thermostat Settings: Switch to heating mode and test system response. Program schedules for colder weather if using a programmable thermostat.
- Inspect Ductwork: Look for visible gaps, loose connections, or signs of dust buildup. Seal minor gaps with foil tape; major repairs may need a pro.
- Clean Return Air Grilles and Vents: Dust and vacuum grilles for better air quality and airflow.
- Schedule Annual Furnace Tune-Up: Professional maintenance includes checking burners, ignition systems, gas pressure, and safety controls.
Winter: Ensuring Safe and Efficient Heating
- Monitor for Unusual Noises or Smells: Rattling, banging, or burning odors may signal issues that need immediate attention.
- Check for Carbon Monoxide: If you have gas heating, install and regularly test a carbon monoxide detector near sleeping areas.
- Keep Vents Clear of Snow and Ice: For heat pumps or high-efficiency furnaces with exterior vents, ensure snow isn’t blocking airflow.
- Replace Filters Regularly: System use is high in winter—don’t neglect filter changes.
- Monitor Energy Bills: Unexpected spikes could indicate a system issue or inefficiency.
Cost Breakdown: DIY vs. Professional Maintenance
DIY Maintenance Tasks and Costs
Many routine HVAC maintenance tasks are homeowner-friendly and require minimal investment. Here’s a breakdown:
- Air Filters: $10–$40 each. Annual cost depends on filter type and replacement frequency.
- Cleaning Supplies: $10–$20 for a soft brush, vacuum attachments, and mild detergent.
- Thermostat Batteries: $3–$10 annually.
- Duct Sealing Tape: $15–$30 per roll (foil tape, not standard duct tape).
- Condensate Drain Cleaner: White vinegar or a commercial solution, $5–$10.
- Total DIY Annual Cost: Typically $50–$150, depending on system size and frequency of maintenance.
Professional Maintenance: What’s Included and Cost Range
Annual or semi-annual professional tune-ups offer comprehensive inspections, cleaning, and system optimization. Most service contracts include:
- Inspecting and cleaning burners, coils, and blower components
- Checking refrigerant levels and pressures
- Testing electrical connections and controls
- Measuring airflow and system performance
- Lubricating moving parts as needed
Average Cost: $150–$400 per visit, depending on your location, system type, and contract terms. Some companies offer annual maintenance plans that include discounts on repairs and priority scheduling.
Repairs and Unexpected Costs
- Capacitor Replacement: $100–$250
- Fan Motor Replacement: $200–$700
- Refrigerant Recharge: $200–$600 (note: recharging indicates a leak, which must also be fixed)
- Major Repairs (heat exchanger, compressor): $800–$2,500+
Regular maintenance helps prevent these expensive repairs by catching issues early.
Tools and Equipment: What Every Homeowner Should Have
- Replacement Air Filters: Stock up for the year to avoid skipped changes.
- Vacuum with Hose Attachment: For cleaning vents and grilles.
- Soft-Bristle Brush: Removes dust from sensitive components.
- Foil Tape: For minor duct sealing.
- Level: Ensures your thermostat is installed properly for accurate readings.
- Fin Comb: Straightens bent condenser or evaporator fins.
- Flashlight: Helps inspect dark ducts and equipment corners.
- Carbon Monoxide Detector: Essential for homes with gas heating.
Pro Tips for Maximizing HVAC Efficiency and Longevity
- Upgrade to a High-Efficiency Filter: Look for filters with a MERV 8–13 rating. Higher isn’t always better; consult your HVAC manual to avoid restricting airflow.
- Seal Air Leaks: Check for drafts around doors, windows, and ducts. Proper sealing reduces the load on your HVAC system.
- Set Smart Thermostat Schedules: Lower heat or cooling when you’re away to reduce energy use.
- Keep Outdoor Units Clear: Maintain at least 2 feet of clearance around outdoor units for proper airflow.
- Check Attic Insulation: Proper insulation reduces heating/cooling demands, saving on bills and system wear.
- Don’t Block Vents: Avoid closing or obstructing vents in unused rooms, as it can disrupt system balance and efficiency.
When to Call a Professional
While many maintenance tasks are easy for homeowners, call a certified HVAC technician if you notice:
- Strange noises: Banging, screeching, or grinding
- Weak or no airflow: Even after filter changes
- Thermostat not responding: Or system short-cycling
- Water leaks: Around the indoor unit
- Unexplained increases in energy bills
- Visible mold or musty odors from vents
Annual professional inspections not only keep your system running efficiently but also maintain manufacturer warranties.
Frequently Asked Questions
How often should I replace HVAC filters?
Most homes should replace or clean filters every 2–3 months. Homes with pets, allergies, or heavy use may need more frequent changes.
Can I skip professional maintenance if I do DIY tasks?
DIY maintenance tackles basic upkeep, but professionals inspect deeper system components, refrigerant levels, and safety features. Annual pro service is still recommended.
Does regular maintenance really save money?
Yes—well-maintained systems run more efficiently, use less energy, experience fewer breakdowns, and can last years longer than neglected systems.
Conclusion: Year-Round Comfort and Savings Start with Maintenance
Homeowners often overlook HVAC maintenance until something goes wrong—but proactive care is a smart investment that pays off in comfort, reliability, and cost savings. By following a structured seasonal checklist, you can tackle many tasks yourself, keeping filters fresh, vents clean, and outdoor units free from debris. Investing in the right tools and keeping an eye on your system’s performance will help prevent costly repairs and extend your equipment’s lifespan.
For deeper system health, don’t skip annual professional tune-ups. Certified technicians have the experience to catch small issues before they become big problems, optimize your system for efficiency, and keep warranties intact. A modest annual investment in maintenance—whether DIY or professional—can save you hundreds or even thousands over the life of your HVAC equipment.
With this comprehensive guide, you’re equipped to build a maintenance routine that fits your home, budget, and comfort needs. Start with the basics this season, and enjoy cleaner air, lower bills, and peace of mind all year long. Your HVAC system—and your wallet—will thank you.
Can you give more details on how to know when to replace versus just clean an HVAC air filter? I always wonder if my reusable filters are actually getting clean enough or if I should be swapping them out more often.
Reusable HVAC filters should be replaced if they show signs of wear like tears, holes, or if the frame is damaged. If you notice persistent dust or odors after cleaning, or if the filter looks discolored or clogged even after thorough washing and drying, it’s likely time to replace it. Generally, reusable filters last several years, but check them monthly and clean as needed. If in doubt, compare your filter to a new one to see if it still looks serviceable.
The checklist mentions clearing debris from the outdoor condenser in spring. If I see bent fins or damage on the condenser, is that something a beginner can safely fix, or should I call in a professional right away?
If you notice bent fins on your condenser, you can gently straighten minor bends yourself using a fin comb, which is made for this purpose. However, if the fins are badly damaged or if you see other signs of damage beyond just bent fins, it’s best to call a professional. Trying to fix more serious issues yourself could cause further damage or affect your system’s efficiency.