Introduction: Why Install a Smart Irrigation System?
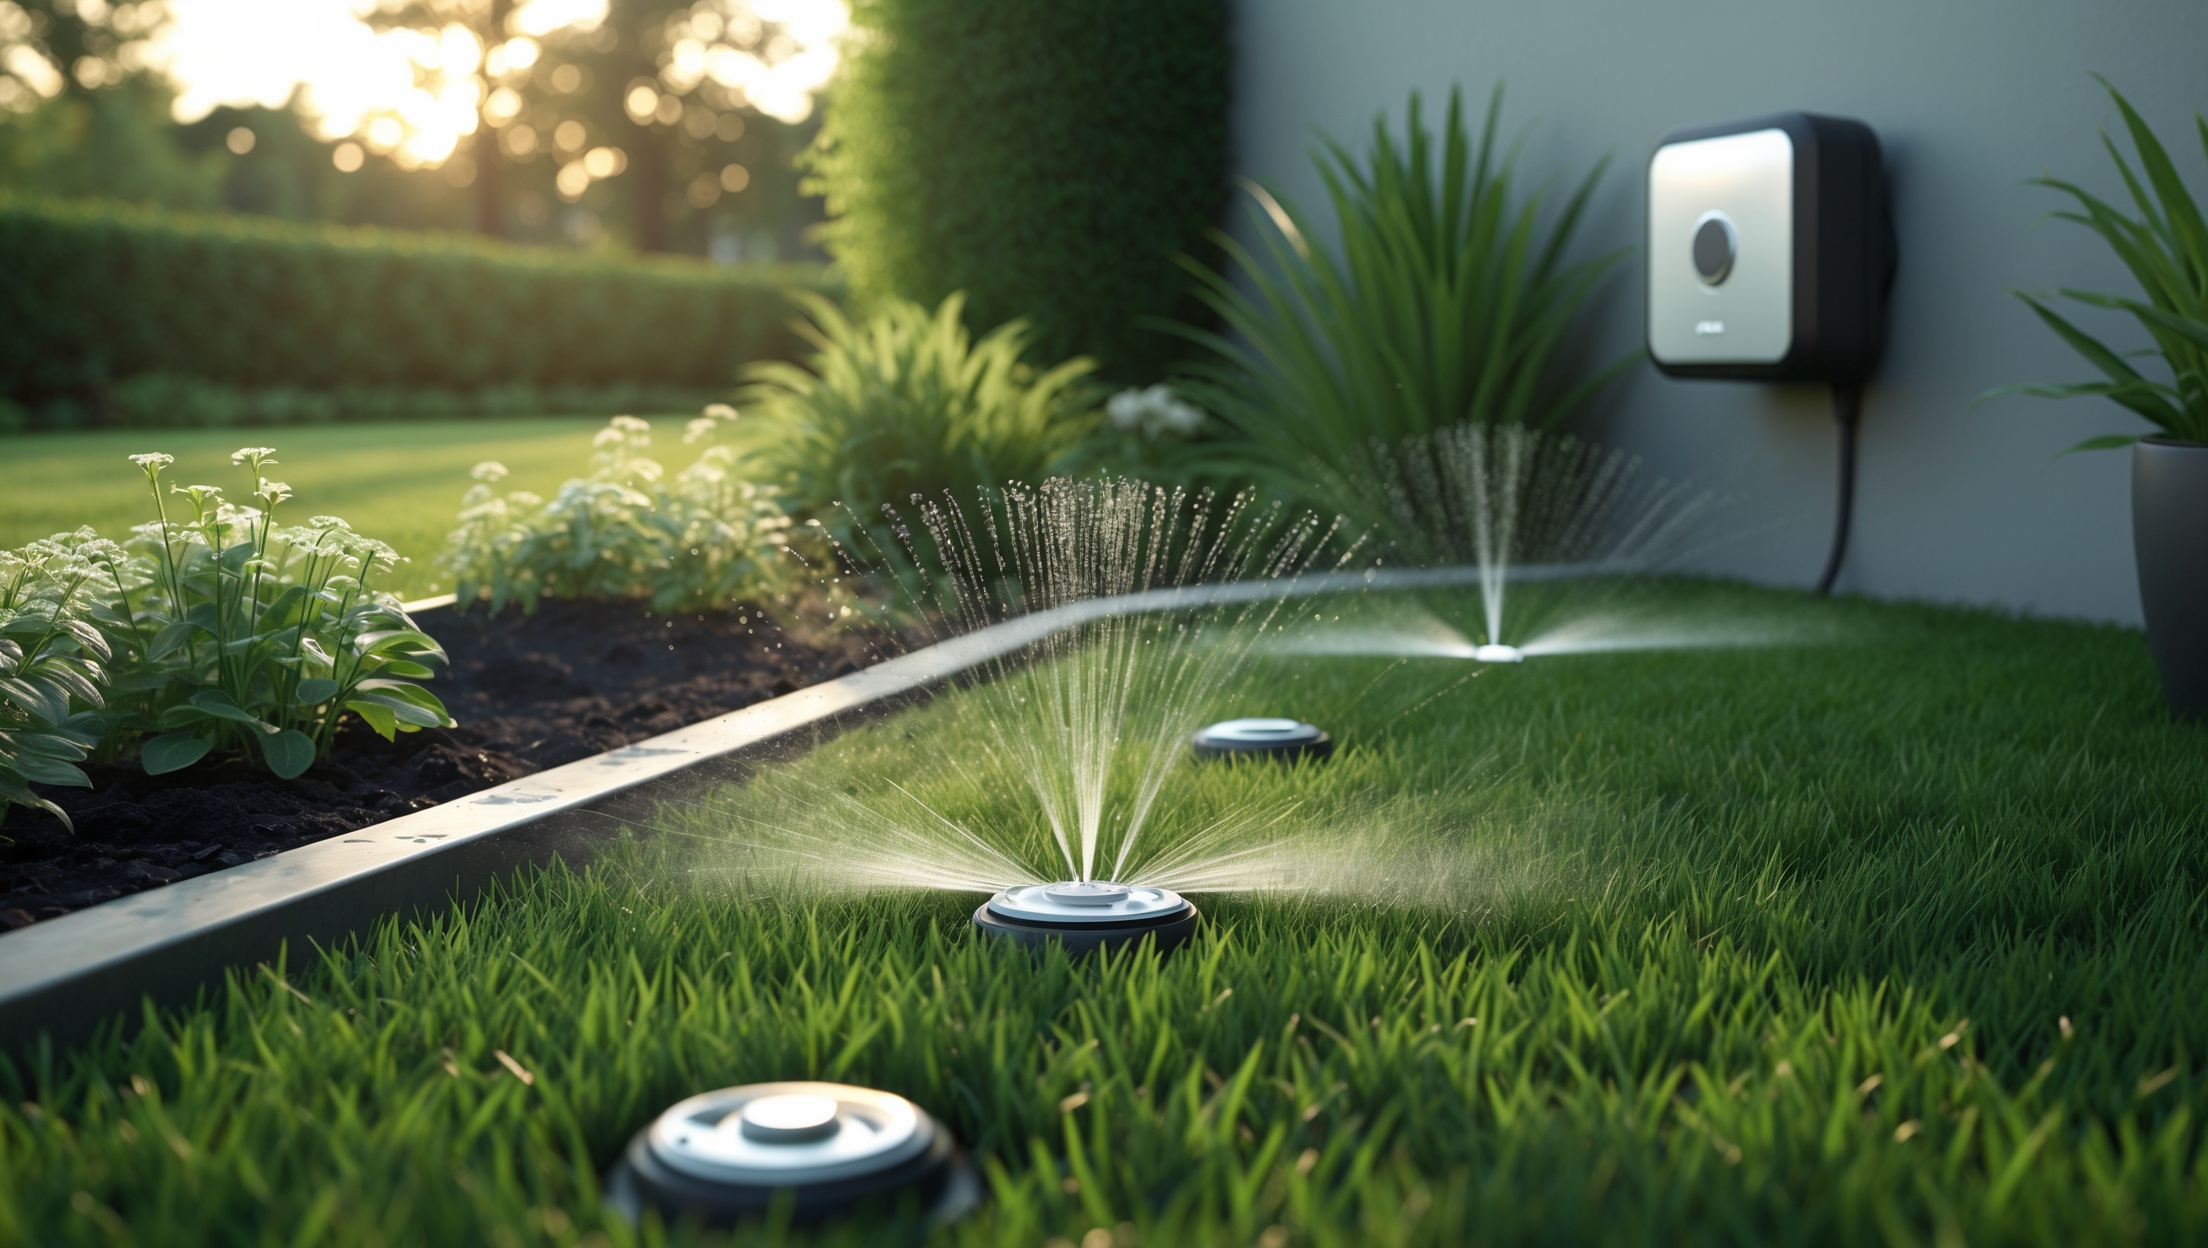
Watering your lawn and garden is essential for maintaining healthy, vibrant landscaping, but traditional irrigation systems and manual hoses often waste water and fail to adapt to changing weather. Enter smart irrigation systems: these advanced setups use weather data, soil sensors, and programmable controls to deliver water precisely when and where your plants need it. The result? Lush greenery, lower water bills, and a more sustainable home.
This comprehensive tutorial will guide you through every step of installing a smart irrigation system for your yard. Whether you’re aiming to retrofit your existing setup or start from scratch, you’ll learn how to plan your layout, choose the right system, navigate budgeting, gather the necessary tools, and execute a seamless installation. We’ll cover maintenance best practices and troubleshooting tips, ensuring your investment delivers lasting results. With smart irrigation, you can make your outdoor space more beautiful and eco-friendly—without wasting a drop.
Understanding Smart Irrigation Systems
What Makes an Irrigation System “Smart”?
Unlike traditional timers, smart irrigation controllers connect to Wi-Fi and monitor weather forecasts, rainfall, temperature, and soil moisture. Some systems integrate with home automation platforms, allowing you to control watering from your smartphone or through voice assistants. Core features include:
- Weather-based adjustments: Automatically skips watering on rainy or cool days.
- Zone customization: Tailors schedules for lawn, flowerbeds, and vegetable gardens.
- Remote access: Adjust settings from anywhere via an app.
- Water usage tracking: Monitors and reports consumption for improved efficiency.
- Integration with sensors: Uses soil moisture sensors to determine real-time watering needs.
Main Types of Smart Irrigation Systems
Homeowners typically choose between two main configurations:
- Smart sprinkler controllers: Upgrade an existing sprinkler system with a smart controller, keeping current pipes and sprinkler heads.
- Complete smart drip or sprinkler systems: Install new piping, emitters, and a controller for tailored zones.
Your choice depends on your yard’s size, existing infrastructure, and landscaping needs.
Planning and Budgeting Your Smart Irrigation Project
Assess Your Yard
Map your lawn, flower beds, shrubs, and garden areas. Note sun exposure, plant types, and slopes—these factors influence water needs and zone design. Sketch your yard layout on graph paper or use online tools to visualize zones and sprinkler head placement.
Determine System Size and Zones
Divide your landscape into zones based on plant type and sun exposure. Turf grass, ornamental beds, and vegetable patches typically require separate zones. Each zone will have its own schedule for optimal efficiency.
Choose Your Smart Controller
Popular choices include:
- Rachio 3: Excellent app control, easy setup, multiple zone support.
- Orbit B-hyve: Affordable, robust weather intelligence, Alexa integration.
- RainMachine: Advanced customization, open API, broad sensor compatibility.
Check compatibility with your valves, Wi-Fi, and desired features. For complex yards, select a model supporting 8–16 zones.
Cost Breakdown
- Smart controller: $100–$300
- Rain sensors/soil moisture sensors: $30–$100 per sensor
- PVC tubing, piping, sprinkler heads/drip emitters: $100–$600 (depending on yard size)
- Valves and manifolds: $40–$100 per zone
- Miscellaneous (connectors, wire, tools): $50–$150
Total estimated DIY cost: $300–$1,500. Professional installation may add $1,000–$2,500, but most homeowners can handle basic setups with careful planning.
Permits and Compliance
Check with your local municipality for irrigation installation rules. Some areas require backflow preventers or permits for new water line connections. Homeowners’ associations may have additional landscaping restrictions.
Essential Tools and Equipment
- Shovel and trenching tool (for new lines)
- Pipe cutter or hacksaw
- PVC primer and cement
- Wire stripper (for valve wiring)
- Phillips and flathead screwdrivers
- Measuring tape and stakes
- Voltage tester (for controller installation)
- Wi-Fi enabled device for setup (smartphone or tablet)
- Drill and masonry bit (if mounting controller on brick or concrete)
- Waterproof wire connectors
- Gloves and safety glasses
Gather all materials before you begin to avoid mid-project delays.
Step-by-Step Installation Guide
1. Layout and Mark Sprinkler/Emitter Locations
Using your yard sketch, place flags or stakes at each planned sprinkler head or drip emitter location. Maintain proper spacing—typically 8–15 feet for standard spray heads, or as recommended for your system. Avoid overlapping spray patterns to prevent water waste.
2. Trenching and Laying Pipe
For new installations, dig trenches 6–12 inches deep along planned pipe routes. Lay out PVC or polyethylene tubing, cutting to fit each segment. For retrofits, you may only need to replace above-ground components or add new lines for expanded zones.
3. Connecting Sprinkler Heads and Emitters
Attach sprinkler heads or drip emitters to tubing using manufacturer-supplied connectors. Ensure a snug fit and test each connection for leaks. For drip systems, punch emitter holes using a specialized tool and insert emitters at each plant location.
4. Installing Zone Valves and Manifolds
Group valves in an accessible location, such as a valve box near your main water line. Connect each zone’s pipe to a separate valve. Use waterproof connectors for all wiring. Ensure the main water source is shut off before making connections.
5. Mounting and Wiring the Smart Controller
- Mount the controller indoors or in a weatherproof outdoor box near your valves.
- Connect each zone valve’s wire to the corresponding terminal on the controller.
- Connect the common wire (usually white) as indicated in the manual.
- Plug the controller into a GFCI-protected outlet.
Follow manufacturer instructions for wiring, and double-check connections before powering on.
6. Installing Sensors (Optional but Recommended)
Install rain sensors or soil moisture sensors in representative locations for your yard. Run wires to the controller and connect per manufacturer guidance. Wireless sensors may require pairing via the controller app.
7. Connecting to Wi-Fi and App Setup
Download the manufacturer’s app on your smartphone or tablet. Follow prompts to connect the controller to your Wi-Fi network. Configure:
- Your location (for weather data)
- Zone names and plant types
- Watering schedules and restrictions
- Sensor integration
Test each zone through the app to verify all valves and sprinklers operate as intended.
8. Testing and Adjustments
Turn on each zone and observe coverage. Adjust sprinkler heads for optimal spray patterns. Check for leaks or pooling. Make necessary tweaks to timing, duration, and zone assignments in the app based on plant needs and sun exposure. Fill in trenches and restore landscaping.
Maintenance Best Practices
Regular System Checks
- Monthly: Inspect sprinkler heads and drip emitters for clogs or leaks.
- Seasonally: Test sensors, update schedules in the app, and clear debris from valve boxes.
- Annually: Flush lines to remove sediment, check controller firmware updates, and winterize before freezing weather.
Troubleshooting Common Issues
- Zone won’t turn on: Check valve wiring and app settings.
- Uneven watering: Adjust head placement or replace clogged emitters.
- Wi-Fi drops: Improve signal strength with a Wi-Fi extender or move controller closer to router.
- High water bills: Audit schedule, check for leaks, and use sensor data to fine-tune watering.
Upgrading and Expanding
Most smart controllers allow you to add new zones or sensors as your landscaping evolves. When adding new plants or beds, extend lines and update your zone map and app configuration accordingly.
Safety and Compliance Checklist
- Shut off water supply before working on plumbing.
- Use GFCI outlets for all electrical components.
- Call 811 before digging to avoid underground utilities.
- Install a backflow preventer to protect potable water (required by code in many areas).
- Check local ordinances and HOA rules before major landscaping changes.
- Wear gloves and eye protection when cutting pipe, digging, or working with wiring.
Conclusion: Enjoying a Smarter, Greener Yard
Installing a smart irrigation system is one of the most impactful home improvement projects for your yard, combining convenience, savings, and sustainability. With the right planning, tools, and attention to compliance, most homeowners can successfully complete this upgrade over a weekend or two. You’ll immediately benefit from automated, weather-aware watering—eliminating guesswork and minimizing waste—while supporting the health and beauty of your landscape for years to come.
Remember, the key to a successful system lies in thoughtful design: clearly defined zones, appropriate sensor placement, and regular maintenance. Take time to fine-tune your schedules using real-world observations and the app’s water usage data. Don’t hesitate to consult manufacturer support or local irrigation professionals if you encounter challenges outside your expertise.
With a smart irrigation system, you’re not just saving water—you’re investing in the long-term value and curb appeal of your home. Enjoy the peace of mind that comes from greener, healthier landscaping, and the satisfaction of a project well done. Your yard—and your wallet—will thank you every season.


I see the article mentions both smart sprinkler controllers and different system types. If I’m retrofitting an older irrigation setup, what compatibility issues should I look out for when choosing a smart controller to make sure it works with my existing wiring and valves?
When retrofitting an older irrigation system, make sure your existing valves are standard 24V AC type, as most smart controllers require this. Check if your wiring is intact and long enough to reach the new controller. Also, note how many zones you have so you choose a controller with enough zones. Double-check if your system uses any specialty valves or uncommon voltages, as these might not be compatible.
I’m new to smart irrigation and was wondering how much of a difference the soil moisture sensors actually make compared to just relying on the weather-based adjustments. Is it worth the extra effort and expense to include sensors in my setup?
Soil moisture sensors can make a real difference by measuring the actual water content in your soil, not just estimating needs based on weather data. This means your system waters only when truly necessary, helping avoid both over- and under-watering. For most landscapes, adding moisture sensors improves efficiency and can save water in the long run. If you want the most precise and responsive system, the extra investment is usually worth it.