Introduction: Why Install an Under-Sink Water Leak Detector?
Water damage is among the costliest and most disruptive issues homeowners can face. Leaks from under-sink plumbing—whether in the kitchen, bathroom, or laundry—often go unnoticed until significant damage has occurred. Insurance claims for water damage frequently reach thousands of dollars, not to mention the inconvenience of repairs, the risk of mold growth, and the possible loss of valuables stored in cabinets.
Fortunately, technological advances have made it possible for homeowners to proactively protect themselves with under-sink water leak detectors. These compact devices sense the presence of moisture and sound an alarm, send alerts to your phone, or even shut off the water supply depending on the model. Installing one is a straightforward project that can prevent catastrophic damage, and it requires minimal tools, moderate DIY skill, and a modest budget.
This comprehensive guide will walk you through the process of choosing, installing, and maintaining an under-sink water leak detector. You’ll learn what tools you need, how much to budget, how to avoid common mistakes, and how to keep your detector working reliably for years. Whether you’re a seasoned DIYer or just starting out, this guide will give you the confidence to protect your home from unexpected water leaks—one of the most intelligent upgrades you can make.
Understanding Under-Sink Water Leak Detectors
How Do Leak Detectors Work?
Under-sink water leak detectors are electronic devices designed to sense water where it shouldn’t be. Most models work using moisture-sensitive probes that trigger an alarm or send a wireless alert when water bridges the contacts. There are three common types:
- Standalone Audible Alarms: Emit a loud sound when water is detected.
- Smart Detectors: Connect to Wi-Fi or Bluetooth and send alerts to your phone.
- Shutoff Valve Systems: Automatically close a valve to stop water flow when a leak is detected.
For under-sink use, basic audible alarms and smart detectors are most common, while shutoff valve systems are more involved and expensive.
Where Should You Install a Leak Detector?
Place detectors where leaks are likely to occur and where water would pool first. Typical locations include:
- Directly beneath the P-trap or supply lines under the sink.
- Near the back of the cabinet, where leaks can go unnoticed.
- On the floor near water filter canisters or garbage disposals.
Ensure the device is not in a spot where it will be soaked by regular cleaning or splashes, which could cause false alarms.
Budget Breakdown: What Does Installation Cost?
Device Costs
Under-sink leak detectors range in price based on features:
- Basic audible models: $12–$25 per unit
- Smart Wi-Fi/Bluetooth models: $30–$65 per unit
- Shutoff valve systems: $90–$250+ (not covered in detail here)
Additional Supplies
- Double-sided adhesive pads or mounting brackets: $3–$10
- Fresh batteries (if not included): $2–$5 per detector
Estimated Total Budget
- Basic installation: $15–$35
- Smart detector installation: $35–$80
This assumes you already have basic tools (screwdriver, flashlight). Professional installation is rarely needed for these devices, but if you hire a handyman, expect to pay $50–$150 for labor.
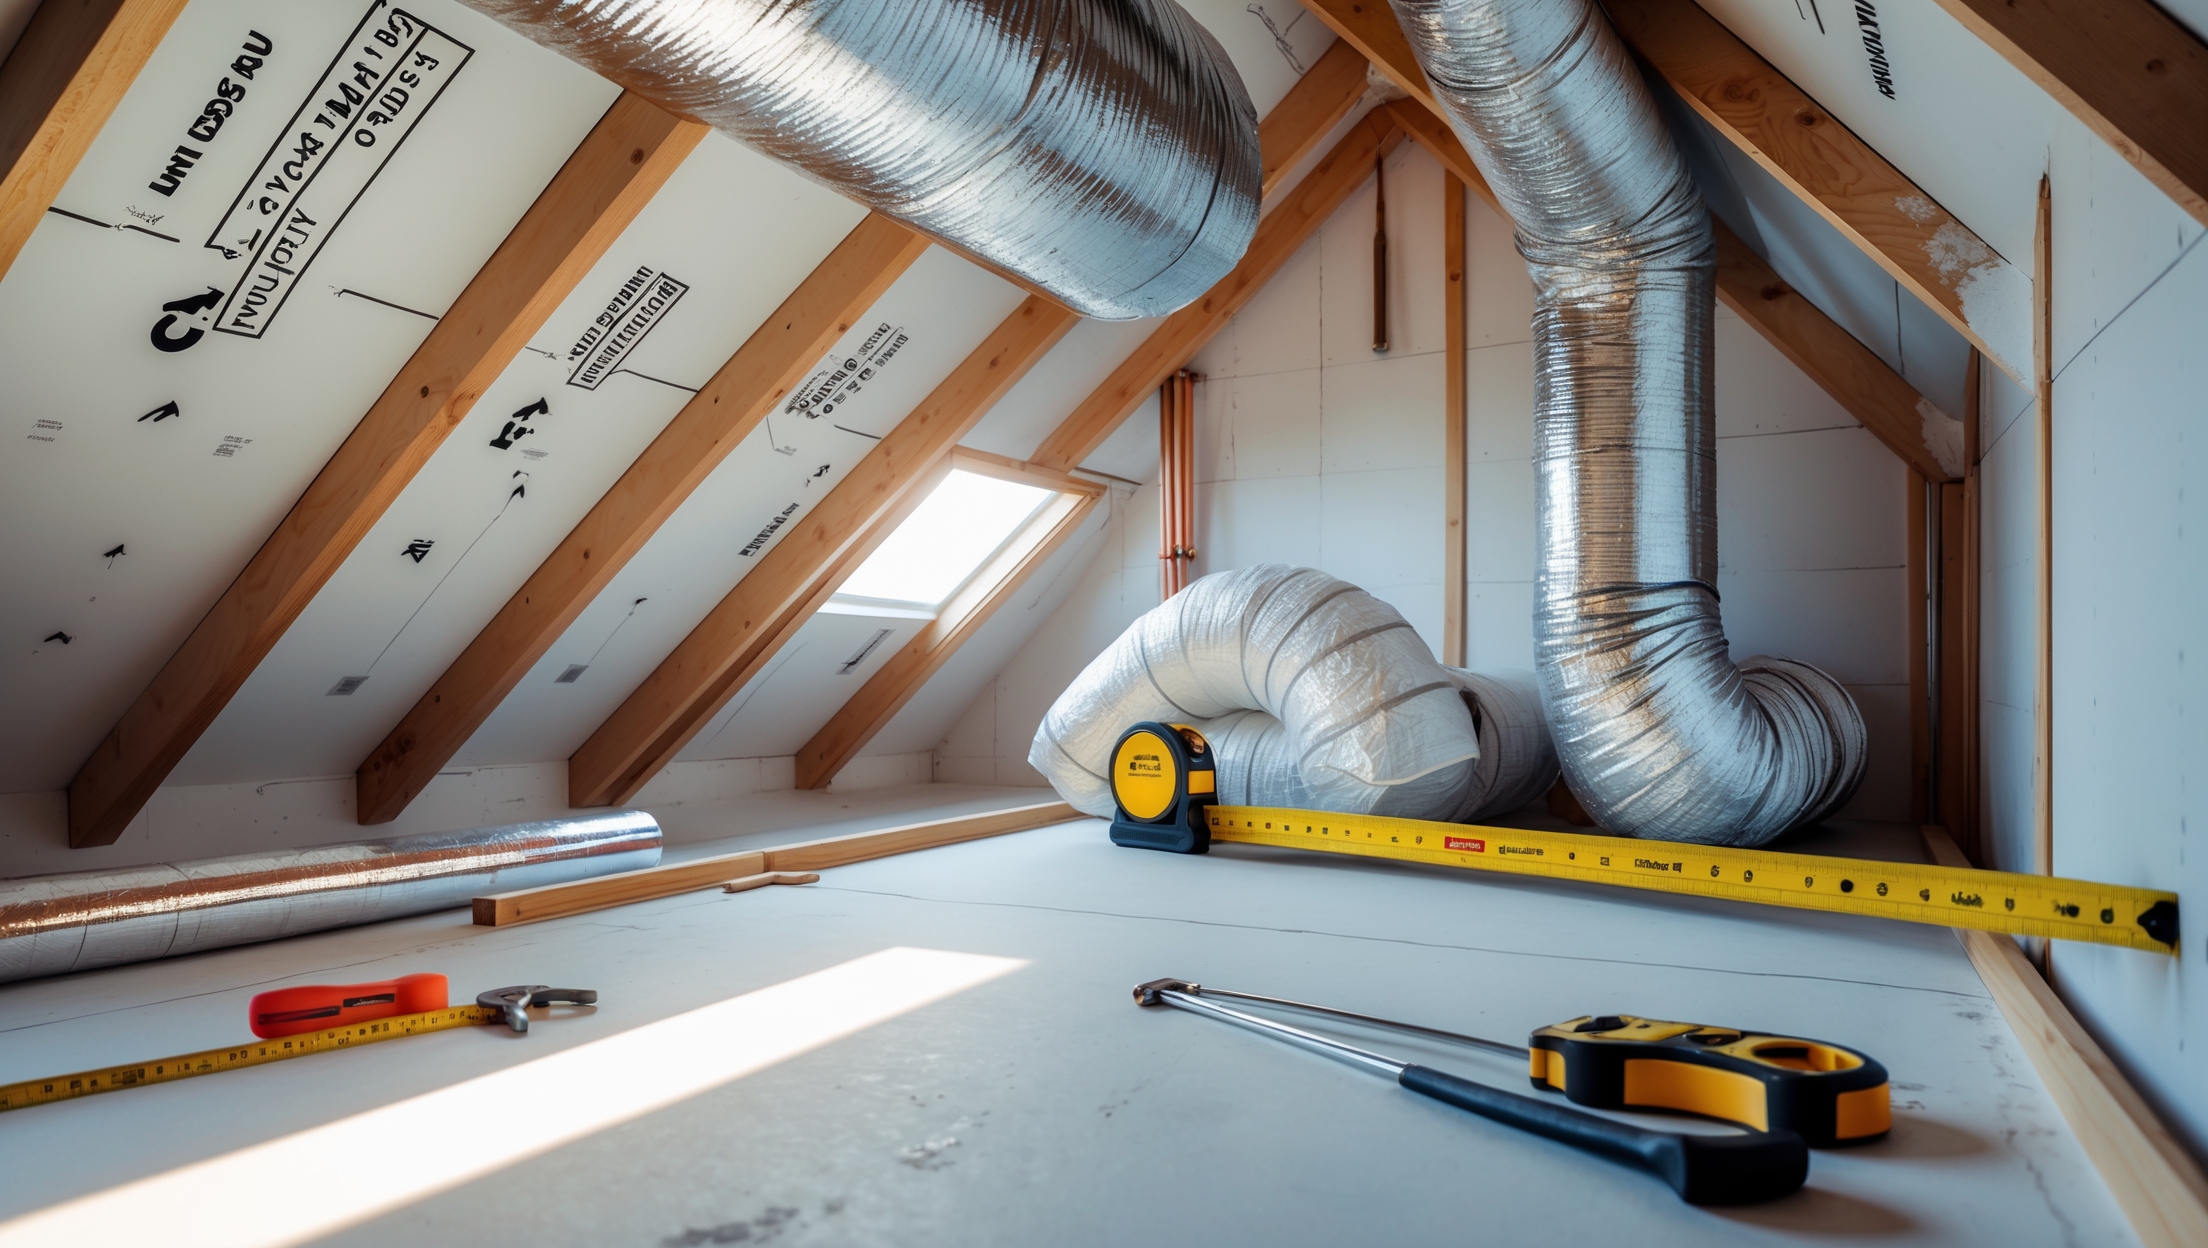
Essential Tools and Preparation
What You’ll Need
- Under-sink water leak detector (chosen based on your needs)
- Fresh batteries (if required)
- Double-sided tape or mounting brackets (as recommended by the manufacturer)
- Screwdriver (for opening battery compartment or mounting bracket)
- Flashlight or headlamp
- Rubbing alcohol and cloth (for cleaning mounting surface)
- Smartphone (for setup if using Wi-Fi/Bluetooth detector)
Preparation Steps
- Clear out the area under the sink for easy access.
- Check for existing leaks or moisture before installation. Address repairs if needed.
- Clean the cabinet floor or mounting surface thoroughly and allow to dry.
- Read the manufacturer’s instructions for your specific detector model.
Step-by-Step Installation Guide
Step 1: Unpack and Inspect the Device
Remove the leak detector from its packaging and inspect it for any visible defects. Confirm that all included parts (batteries, mounting hardware, instructions) are present.
Step 2: Install or Check Batteries
Open the battery compartment using a screwdriver if needed. Insert batteries, following polarity markings. Press the test button to ensure the unit powers on and triggers an audible or visual alert.
Step 3: (For Smart Detectors) Connect to Wi-Fi or Bluetooth
Download the manufacturer’s app onto your smartphone. Power on the device and follow the in-app instructions to connect it to your home network. Test push notifications to confirm connectivity.
Step 4: Choose the Optimal Placement
Select a flat surface on the cabinet floor directly beneath the sink pipes, or as close as possible to the likely leak source. Avoid placing the detector under cleaning supplies or where it will be knocked during regular access.
Step 5: Secure the Detector in Place
- Adhesive Mount: Peel the backing from the double-sided tape, apply it to the base of the detector, and press it firmly onto the cleaned surface.
- Bracket Mount: Use the screwdriver to attach the bracket to the cabinet, then snap the detector into place.
- Freestanding: Some detectors are simply placed on the cabinet floor. Ensure it is stable and not prone to tipping or being moved accidentally.
Step 6: Test the Detector
Dampen a cloth or cotton swab and briefly touch it to the sensor contacts. The device should emit an alarm or trigger a notification. Wipe the contacts dry afterwards.
Step 7: Replace Items and Record Installation
Return stored items to the cabinet, keeping the area around the detector clear. Record the installation date, battery type, and location in your home maintenance log or smartphone notes for future reference.
Maintenance Best Practices
Monthly Checks
- Test the detector by pressing the test button or briefly contacting the sensor with a damp cloth.
- Verify smart detector connectivity by checking the app for device status.
Battery Replacement
- Replace batteries as soon as the low-battery alert sounds or at least every 12 months.
- Use high-quality alkaline or lithium batteries for best longevity.
Cleaning and Inspection
- Gently dust the detector during regular cabinet cleaning.
- Inspect for corrosion or residue on sensor contacts and clean with a dry cloth.
Firmware and App Updates (Smart Detectors)
- Update the app and device firmware regularly to maintain reliability and security.
- Test notification settings after each update.
Common Mistakes to Avoid
- Skipping Monthly Tests: Neglecting regular checks can result in unnoticed device failure.
- Poor Placement: Installing the detector too far from plumbing or in a high-traffic area reduces effectiveness.
- Ignoring Battery Alerts: Dead batteries render the detector useless.
- Using Adhesive on Dusty/Wet Surfaces: This can cause the detector to fall off or shift, missing leaks.
- Not Registering the Device: For smart detectors, registration is often required for warranty or remote alerts.
Insurance and Home Value Considerations
Many insurance providers view proactive leak detection favorably, as it reduces the risk of water damage claims. Some may offer policy discounts for installing water leak detectors—check with your insurer and provide proof of installation. Even if discounts are not available, having a documented history of leak detection upgrades can aid in future claims and may increase buyer confidence when selling your home.
Choosing the Right Detector for Your Needs
Key Features to Consider
- Audible Alarm Volume: Should be loud enough to be heard in adjacent rooms or above background noise.
- Smart Features: Look for compatibility with your home network and notification preferences.
- Battery Life: Longer battery life means less frequent maintenance.
- Size and Mounting Options: Ensure the detector fits under your sink and can be secured appropriately.
- Expandability: Some systems allow multiple detectors to be linked for whole-home coverage.
Recommended Brands and Models
- Honeywell Lyric Wi-Fi Water Leak & Freeze Detector – Smart, reliable, with app notifications.
- Govee WiFi Water Leak Detector – Affordable, easy to set up, multiple sensors per hub.
- Glentronics Watchdog Water Alarm – Simple, loud, battery-powered audible alarm.
- D-Link Wi-Fi Water Sensor – Compact, integrates with smart home platforms.
Purchase from reputable retailers and check for warranty/support options.
Troubleshooting: What If Your Detector Alarms?
- False Alarms: Check for spilled cleaning solutions, condensation, or accidental splashes. Relocate detector if persistent.
- Genuine Leak: Turn off the water supply immediately. Inspect pipes, fittings, and appliances for the source. Dry the area thoroughly and contact a plumber if needed.
- Detector Not Responding: Replace batteries, check sensor contacts for corrosion, or reset the device. For smart models, verify Wi-Fi connectivity.
Conclusion: A Small Investment for Major Peace of Mind
Installing an under-sink water leak detector is a simple yet powerful way to safeguard your home from one of the most common and expensive sources of property damage. The upfront cost is modest compared to the thousands of dollars in repairs and time lost to a major leak—especially when a single unnoticed drip can escalate into a disaster. With just a few tools, a bit of planning, and about 30 minutes of your time, you can ensure that a hidden leak won’t catch you by surprise.
Regular maintenance and testing are critical to ensuring your detector continues to protect your home. Add monthly checks to your household routine, replace batteries annually, and keep your detector free from dust and debris. If you choose a smart detector, take advantage of app notifications and firmware updates for maximum reliability.
Whether you’re a homeowner looking to avoid costly repairs, a landlord protecting your investment, or simply someone who values peace of mind, installing an under-sink leak detector is a proactive step that pays dividends for years to come. Don’t wait for disaster to strike—take action today and protect your home from the silent threat of water damage.