
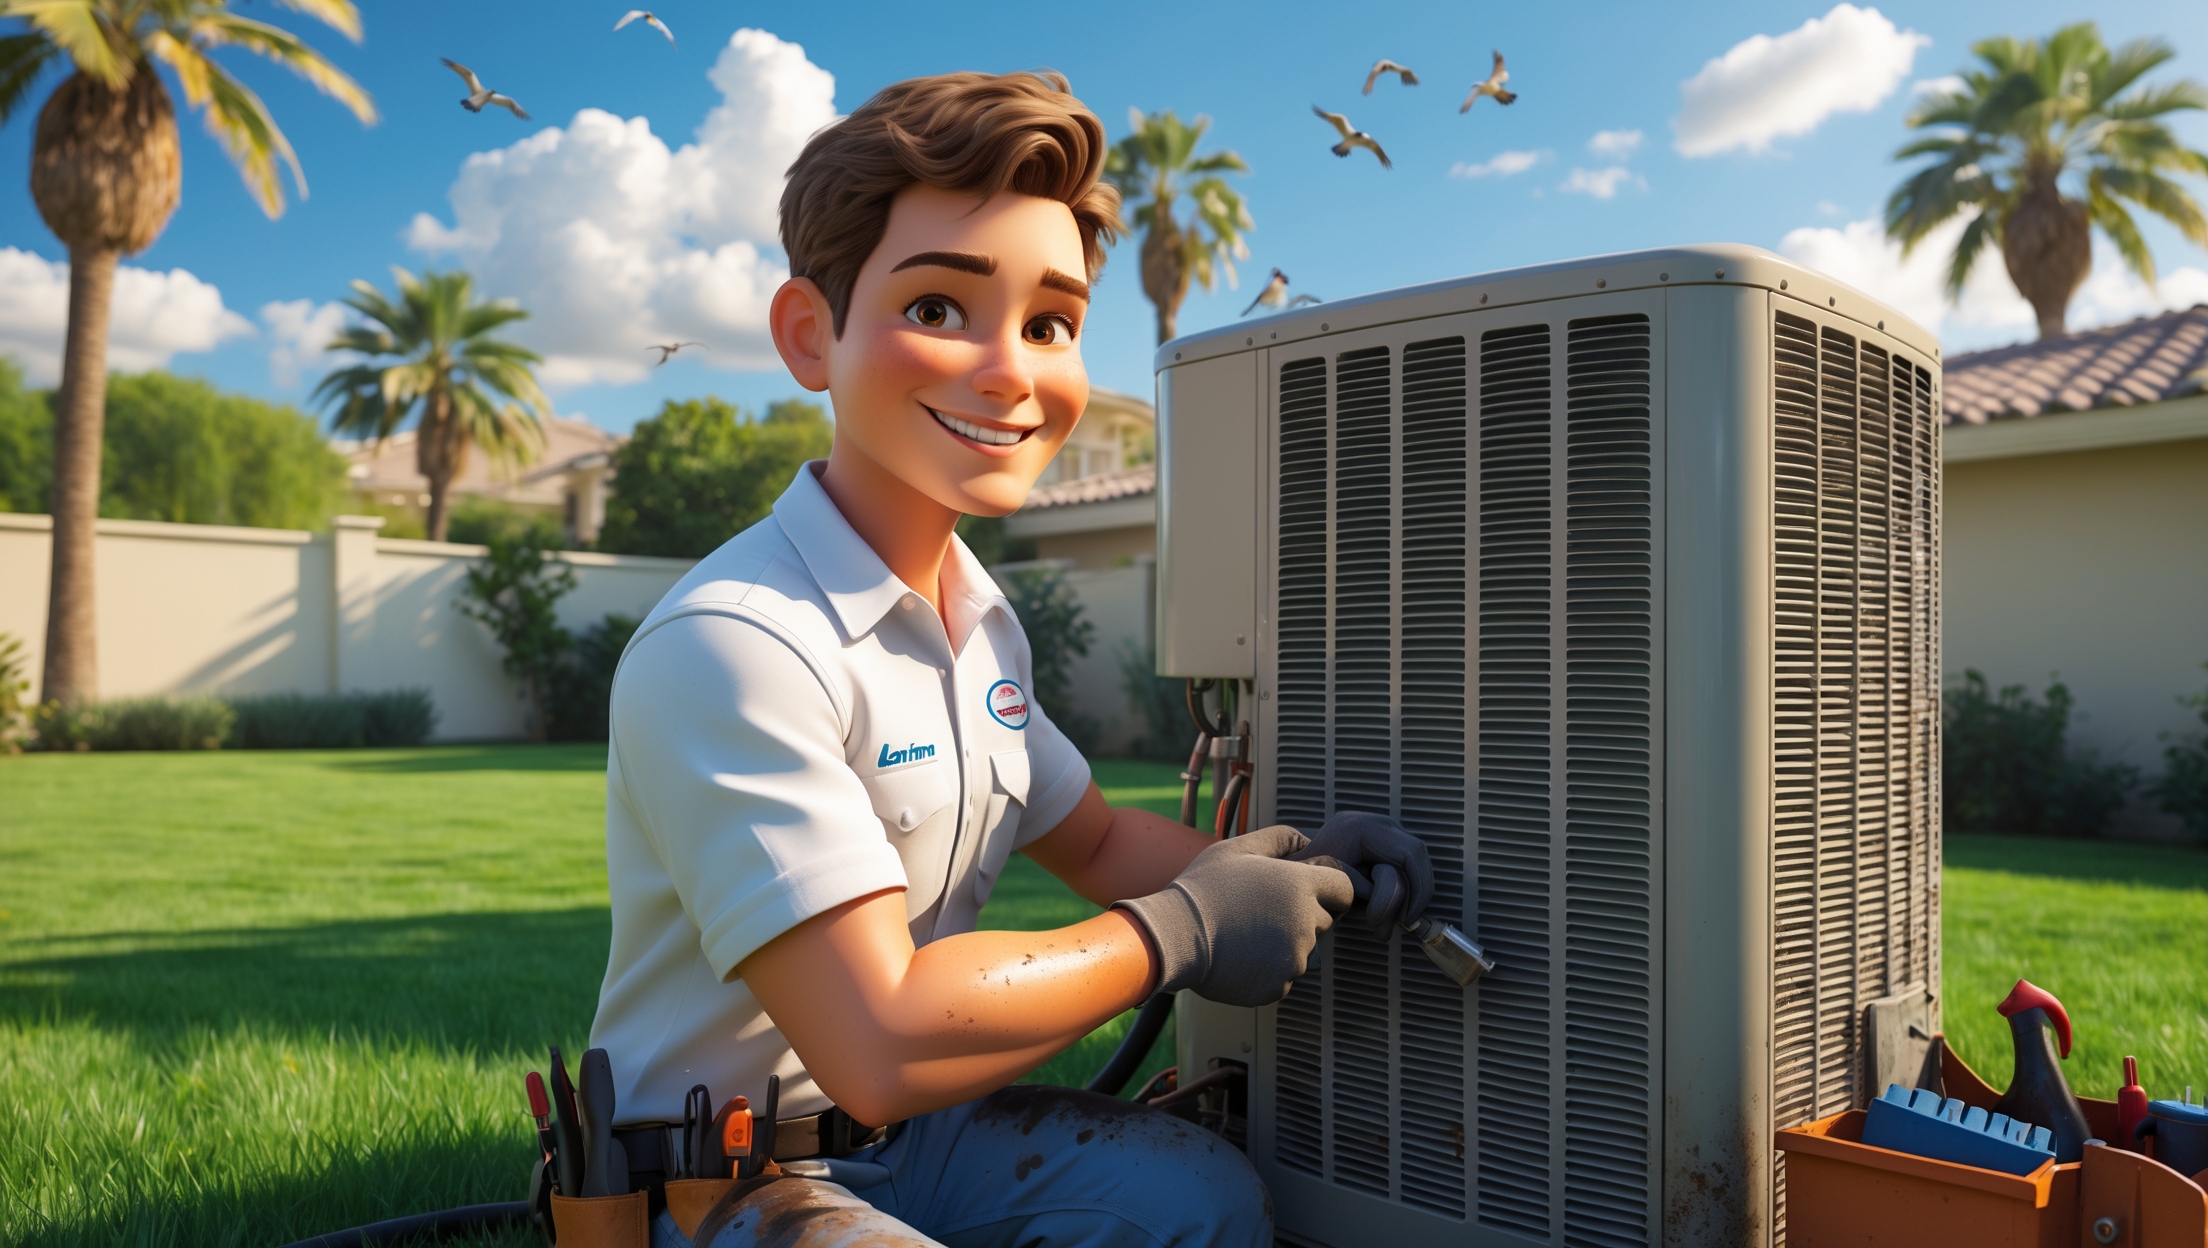
Introduction: Why Crawl Space Encapsulation Matters
Crawl space encapsulation is often overlooked in home improvement, but it’s a transformative upgrade that can dramatically improve indoor comfort, air quality, energy efficiency, and even property value. Unlike quick fixes, encapsulation addresses the root causes of moisture, mold, and pest problems that commonly plague homes with vented crawl spaces. Whether you’re aiming to protect your investment, enhance your family’s health, or reduce your energy bills, understanding the nuts and bolts of crawl space encapsulation is essential.
In this comprehensive guide, we’ll break down the true costs—including materials, labor, and hidden expenses—equip you with a detailed tools and supplies checklist, walk you step-by-step through a professional-grade encapsulation process, and outline long-term maintenance strategies to keep your crawl space dry and healthy for years to come. We’ll also touch on compliance and permit considerations to ensure your project runs smoothly from start to finish. Let’s dive in and make this often-neglected space work for you!
Understanding Crawl Space Encapsulation
What Is Crawl Space Encapsulation?
Encapsulation involves sealing the crawl space beneath your home with a heavy-duty vapor barrier, insulating exposed surfaces, and often installing a dehumidification system. The goal is to isolate the space from ground moisture and outside air, creating a clean, conditioned environment that resists mold, pests, and structural decay.
Benefits of Encapsulation
- Moisture control: Prevents wood rot, mold growth, and structural issues.
- Improved air quality: Reduces allergens, musty odors, and radon infiltration.
- Energy savings: Lowers heating and cooling costs by minimizing air leaks.
- Pest deterrence: Seals out insects and rodents attracted to damp environments.
- Preserved home value: Protects against damage that can reduce property resale value.
Cost Breakdown: Budgeting for Crawl Space Encapsulation
Typical Cost Ranges
The national average for professional crawl space encapsulation ranges from $4,000 to $10,000, depending on crawl space size, existing conditions, and material choices. DIY costs can be as low as $1,500–$3,000 for smaller spaces, but labor-intensive and technical aspects must be considered. Here’s what goes into the budget:
Key Cost Factors
- Size of crawl space: Larger spaces require more materials and labor.
- State of repair: Water damage, mold remediation, or pest infestations increase costs.
- Material selection: Thicker vapor barriers, closed-cell spray foam, and commercial-grade dehumidifiers are more expensive.
- Local labor rates: Vary by region and contractor experience.
- Permits and inspections: Some localities require permits for encapsulation work.
Detailed Cost Breakdown
- Vapor barrier (12–20 mil reinforced plastic): $0.50–$1.00/sq ft
- Tape, sealant, fasteners: $100–$250
- Insulation (rigid foam or spray foam): $1.50–$3.00/sq ft (walls & rim joists)
- Dehumidifier: $700–$1,500 (if needed)
- Drainage system (optional): $1,000–$3,000 (French drain, sump pump if water intrusion is present)
- Lumber/plywood (for access doors, repairs): $50–$200
- Labor (if hiring out): $2–$5/sq ft
- Permit fees: $50–$200
Always budget an extra 10–15% for unforeseen repairs or supply overages.
Tools and Equipment Checklist
Basic Tools
- Utility knife with extra blades
- Measuring tape (at least 25 ft)
- Hammer and masonry nails (for securing vapor barrier)
- Heavy-duty stapler and staples
- Caulking gun and high-quality sealant
- Drill/driver with masonry and wood bits
- Work lights or headlamp (crawling spaces are dark!)
- Extension cords
- Safety goggles, gloves, and knee pads
- Dust mask or respirator (recommended for moldy or dusty spaces)
Specialized Equipment
- Moisture meter (to check wood and humidity levels)
- Infrared thermometer (to detect air leaks and cold spots)
- Dehumidifier (crawl space-rated)
- Sump pump (if drainage is required)
- HVAC tape or specialized vapor barrier tape
- Rigid foam insulation panels or closed-cell spray foam kit
- HEPA vacuum (for mold cleanup, if needed)
Step-by-Step Crawl Space Encapsulation Process
1. Inspection and Preparation
- Clear the space: Remove debris, old insulation, and any stored items.
- Check for water intrusion: Identify standing water, leaks, or signs of past flooding.
- Inspect for mold and pests: Treat any infestations before beginning encapsulation.
- Assess wood and structural condition: Repair any rot or damage.
2. Address Drainage and Moisture Issues
- Install perimeter drains or a sump pump if you detect water seepage. Ensure the ground slopes toward the drainage system.
- Seal foundation cracks with hydraulic cement or appropriate sealant.
3. Seal Vents and Gaps
- Close off crawl space vents with foam board and caulk.
- Seal gaps around pipes, ducts, and wiring where outside air can enter.
- Insulate rim joists with cut-to-fit rigid foam, sealing edges with spray foam.
4. Install Vapor Barrier
- Lay out 12–20 mil reinforced vapor barrier sheets over the crawl space floor, overlapping seams by at least 12 inches.
- Extend the barrier up walls at least 6–12 inches, attaching securely with masonry nails or construction adhesive.
- Seal all seams and edges with specialized vapor barrier tape.
- Carefully cut around piers and supports, sealing the barrier snugly to prevent gaps.
5. Insulate Crawl Space Walls
- Install rigid foam insulation or closed-cell spray foam on foundation walls, not the ceiling. This keeps the crawl space within the home’s thermal envelope.
- Seal all joints and edges with tape or spray foam to prevent air leaks.
6. Condition the Space
- Install a crawl space-rated dehumidifier, ideally with a drain line routed outdoors or to a sump basin.
- Some homes may benefit from a small HVAC supply vent to regulate temperature and humidity (check local codes).
7. Final Sealing and Inspection
- Double-check all seams, penetrations, and wall junctions for gaps or unsealed areas.
- Test dehumidifier and drainage systems for proper operation.
- Take humidity and temperature readings to confirm success (target: <50% relative humidity).
Compliance, Permits, and Safety Considerations
Permits and Local Codes
Some municipalities require permits for crawl space encapsulation, especially if electrical work or HVAC modifications are involved. Always check with your local building department before starting work. Encapsulation must not block necessary access to plumbing, electrical, or structural features.
Ventilation Requirements
While sealing vents is standard, certain climates or building codes may require a mechanical ventilation solution, such as a supply vent or exhaust fan. Always follow local regulations to avoid issues during resale or inspection.
Health and Safety
- Wear personal protective equipment (PPE) when working in confined, dusty, or moldy spaces.
- Never work in the crawl space alone—have a helper or phone handy in case of emergency.
- Ensure electrical systems (lights, dehumidifiers) are GFCI-protected to prevent shocks in damp environments.
Long-Term Maintenance Best Practices
Inspect Regularly
- Check the crawl space every 3–6 months for signs of moisture, standing water, or tears in the vapor barrier.
- Monitor the dehumidifier’s operation and clean its filter monthly.
- Keep an eye out for pest activity or new cracks in the foundation.
Maintain Drainage Systems
- Test sump pumps at least twice per year—pour water into the pit to ensure automatic activation and proper discharge.
- Clear any debris from French drains or exterior downspouts to prevent backups.
Monitor Humidity and Air Quality
- Invest in a remote humidity sensor for ongoing monitoring. Target relative humidity below 50%.
- If musty odors return, check for new leaks or compromised vapor barrier seams.
Address Repairs Promptly
- Patch any rips or holes in the vapor barrier using compatible tape or barrier scraps.
- Seal new cracks in the foundation with appropriate materials.
- Replace dehumidifiers or insulation as needed to maintain effectiveness.
When to Call a Professional
While DIY encapsulation is feasible for handy homeowners, certain scenarios warrant professional intervention:
- Extensive mold contamination or hazardous materials (asbestos, lead paint)
- Standing water that requires advanced drainage solutions
- Structural repairs to joists or foundation walls
- Complex electrical or HVAC modifications
Professionals can also conduct blower door tests or thermal imaging to identify hidden leaks and fine-tune your encapsulation system for maximum efficiency.
Conclusion: The Lasting Value of Crawl Space Encapsulation
A properly encapsulated crawl space is one of the most impactful—and often underappreciated—home improvements you can make. While the initial investment in materials, tools, and labor may seem substantial, the long-term rewards far outweigh the costs. An encapsulated crawl space acts as a shield against moisture, mold, pests, and structural decay, safeguarding your home’s foundation and improving indoor air quality for everyone inside.
Beyond health and safety, encapsulation can translate to measurable energy savings, lower maintenance expenses, and increased property value—a triple win for homeowners looking to maximize their investment. With a clear understanding of the project’s cost components, the right tools at your disposal, and a commitment to routine maintenance, you can ensure your crawl space remains clean, dry, and trouble-free for decades.
If you’re ready to tackle crawl space encapsulation yourself, use this guide as your blueprint for success. And if the job seems daunting or your crawl space presents unique challenges, don’t hesitate to consult a trusted professional. Either way, you’re making a smart move to protect both your home and your family’s well-being for the long haul.

You mentioned hidden expenses in the cost breakdown. Besides labor and materials, what are some less obvious costs that tend to surprise homeowners during crawl space encapsulation projects?
Some often-overlooked expenses in crawl space encapsulation include the cost of repairing or replacing damaged subfloor, joists, or insulation uncovered during the project. You might also encounter fees for mold remediation, pest control, or relocating plumbing or HVAC lines. Disposal of debris and permits can add to the bill as well, so it’s wise to budget a little extra for these possibilities.
I’m new to DIY home projects, and I was wondering how difficult it actually is to install a vapor barrier in the crawl space myself. Are there parts of the process that are better left to professionals, especially when it comes to sealing and dealing with insulation?
Installing a vapor barrier in your crawl space can be manageable for a beginner if you’re comfortable with basic DIY tasks like measuring, cutting, and stapling plastic sheeting. However, sealing seams and edges properly to prevent moisture entry can be tricky, and working around insulation, wiring, or HVAC systems may require extra caution. If your crawl space has mold, standing water, or complex insulation needs, it’s safer to consult a professional for those parts.
I run a small remodeling business and wonder about the permitting side you mentioned—what common compliance or code issues should I watch for when quoting crawl space encapsulation jobs in different municipalities?
When quoting crawl space encapsulation jobs, be aware that codes vary by municipality. Common issues to watch for include vapor barrier thickness requirements (often 6–20 mil), fire retardant ratings, proper ventilation or mechanical dehumidification, and sealing of vents and access doors. Some areas require permits and inspections for encapsulation, especially when electrical or HVAC work is involved. Always check local building codes and obtain the necessary permits before starting work.
Can you elaborate on what kind of dehumidification system is recommended for encapsulated crawl spaces in humid states like Georgia? I’m interested in whether a standard home dehumidifier works or if a specialized unit is needed for long-term control.
For humid states like Georgia, it’s best to use a crawl space-specific dehumidifier rather than a standard home unit. Crawl space dehumidifiers are designed to handle higher moisture loads, fit in tight spaces, and operate efficiently over time. They often have drainage options and humidity controls suitable for long-term moisture management, making them more reliable for encapsulated areas than typical household dehumidifiers.
The article mentions hidden expenses in the cost breakdown—could you give some examples of those? I want to budget realistically, but I’m worried about getting hit with surprise costs halfway through the project.
Some hidden expenses you might encounter during crawl space encapsulation include repairing structural damage, replacing rotted joists, dealing with unexpected mold or pest infestations, and upgrading drainage systems. You may also need to pay for permits or waste disposal. Planning some extra funds in your budget for these surprises can help you avoid being caught off guard.
If my crawl space already has a mild musty odor, should I be doing anything different during encapsulation to handle existing moisture or mold, or will following your steps be enough?
If you notice a musty odor, it’s important to address any existing moisture or mold before encapsulation. While the general steps in the article cover moisture control, you should first inspect for mold and clean it thoroughly with a suitable cleaner. Repair any water leaks and dry the area completely before installing vapor barriers or insulation. This ensures the encapsulation seals in a dry, healthy space and prevents lingering odors or future problems.
Could you elaborate on the hidden expenses you referenced in the cost breakdown? I’m trying to create an accurate budget and want to avoid being surprised by unexpected costs during or after the encapsulation project.
Hidden expenses in crawl space encapsulation can include issues like unexpected mold remediation, pest control, or structural repairs if damage is found once work starts. You might also face extra costs for drainage improvements, electrical wiring adjustments, or permits depending on local codes. Always allow a contingency of 10–20% in your budget to cover these surprises and consider a professional inspection before starting to spot any potential problems early.