Introduction: Why Upgrade to a Smart Thermostat?
In recent years, smart thermostats have surged in popularity as homeowners seek better control over their comfort, energy bills, and environmental impact. These innovative devices go far beyond traditional thermostats by offering features like remote control via smartphone, learning your daily routines, and even integrating with broader smart home ecosystems. Yet, many homeowners hesitate to install a smart thermostat, often due to concerns about wiring, compatibility, or perceived installation complexity. This guide is designed to demystify the process, providing you with a detailed, step-by-step approach to installing a smart thermostat—including a clear cost breakdown, a list of essential tools, compliance considerations, and ongoing maintenance tips. Whether you’re a DIY enthusiast eager to tackle your next project or a beginner wanting to avoid costly mistakes, this guide will empower you to upgrade your home’s HVAC controls confidently and efficiently.
Understanding Smart Thermostat Benefits
Energy Savings
Smart thermostats are designed to optimize your heating and cooling schedules, resulting in significant energy savings. According to the U.S. Department of Energy, adjusting your thermostat by 7-10 degrees Fahrenheit for eight hours a day can save up to 10% a year on heating and cooling. Smart thermostats automate this process, learning your habits and making adjustments automatically.
Convenience and Control
With Wi-Fi connectivity, you can control your home’s climate from anywhere using your smartphone or voice assistants like Alexa, Google Assistant, or Siri. Features like geofencing, scheduling, and vacation modes make managing your comfort effortless.
Integration with Smart Home Ecosystems
Modern smart thermostats integrate seamlessly with other smart devices, such as window sensors, humidifiers, and air purifiers, enabling holistic home automation and enhancing your home’s energy efficiency and comfort.
Cost Breakdown: Budgeting for Your Smart Thermostat Installation
Device Price Range
- Entry-Level Models: $60–$120 (basic Wi-Fi connectivity, scheduling)
- Mid-Range Models: $130–$200 (learning algorithms, geofencing, humidity control)
- Premium Models: $220–$350+ (full smart home integration, color touchscreens, advanced sensors)
Additional Installation Materials
- Screwdriver Set: $10–$30 (if you don’t already own one)
- Drill (optional): $30–$70 (for mounting on hard surfaces such as masonry)
- Wire Labels: $5–$10 (for marking HVAC wires)
- Level: $5–$15 (to ensure your thermostat is mounted evenly)
- Electrical Tester: $10–$20 (to confirm power is off before installation)
Professional Installation (Optional)
If you prefer to hire a professional, expect to pay $100–$250 for labor, depending on your region and existing HVAC wiring complexity.
Total DIY Cost Estimate:
- Basic Installation: $60–$150 (if tools are already owned)
- With New Tools: $100–$250
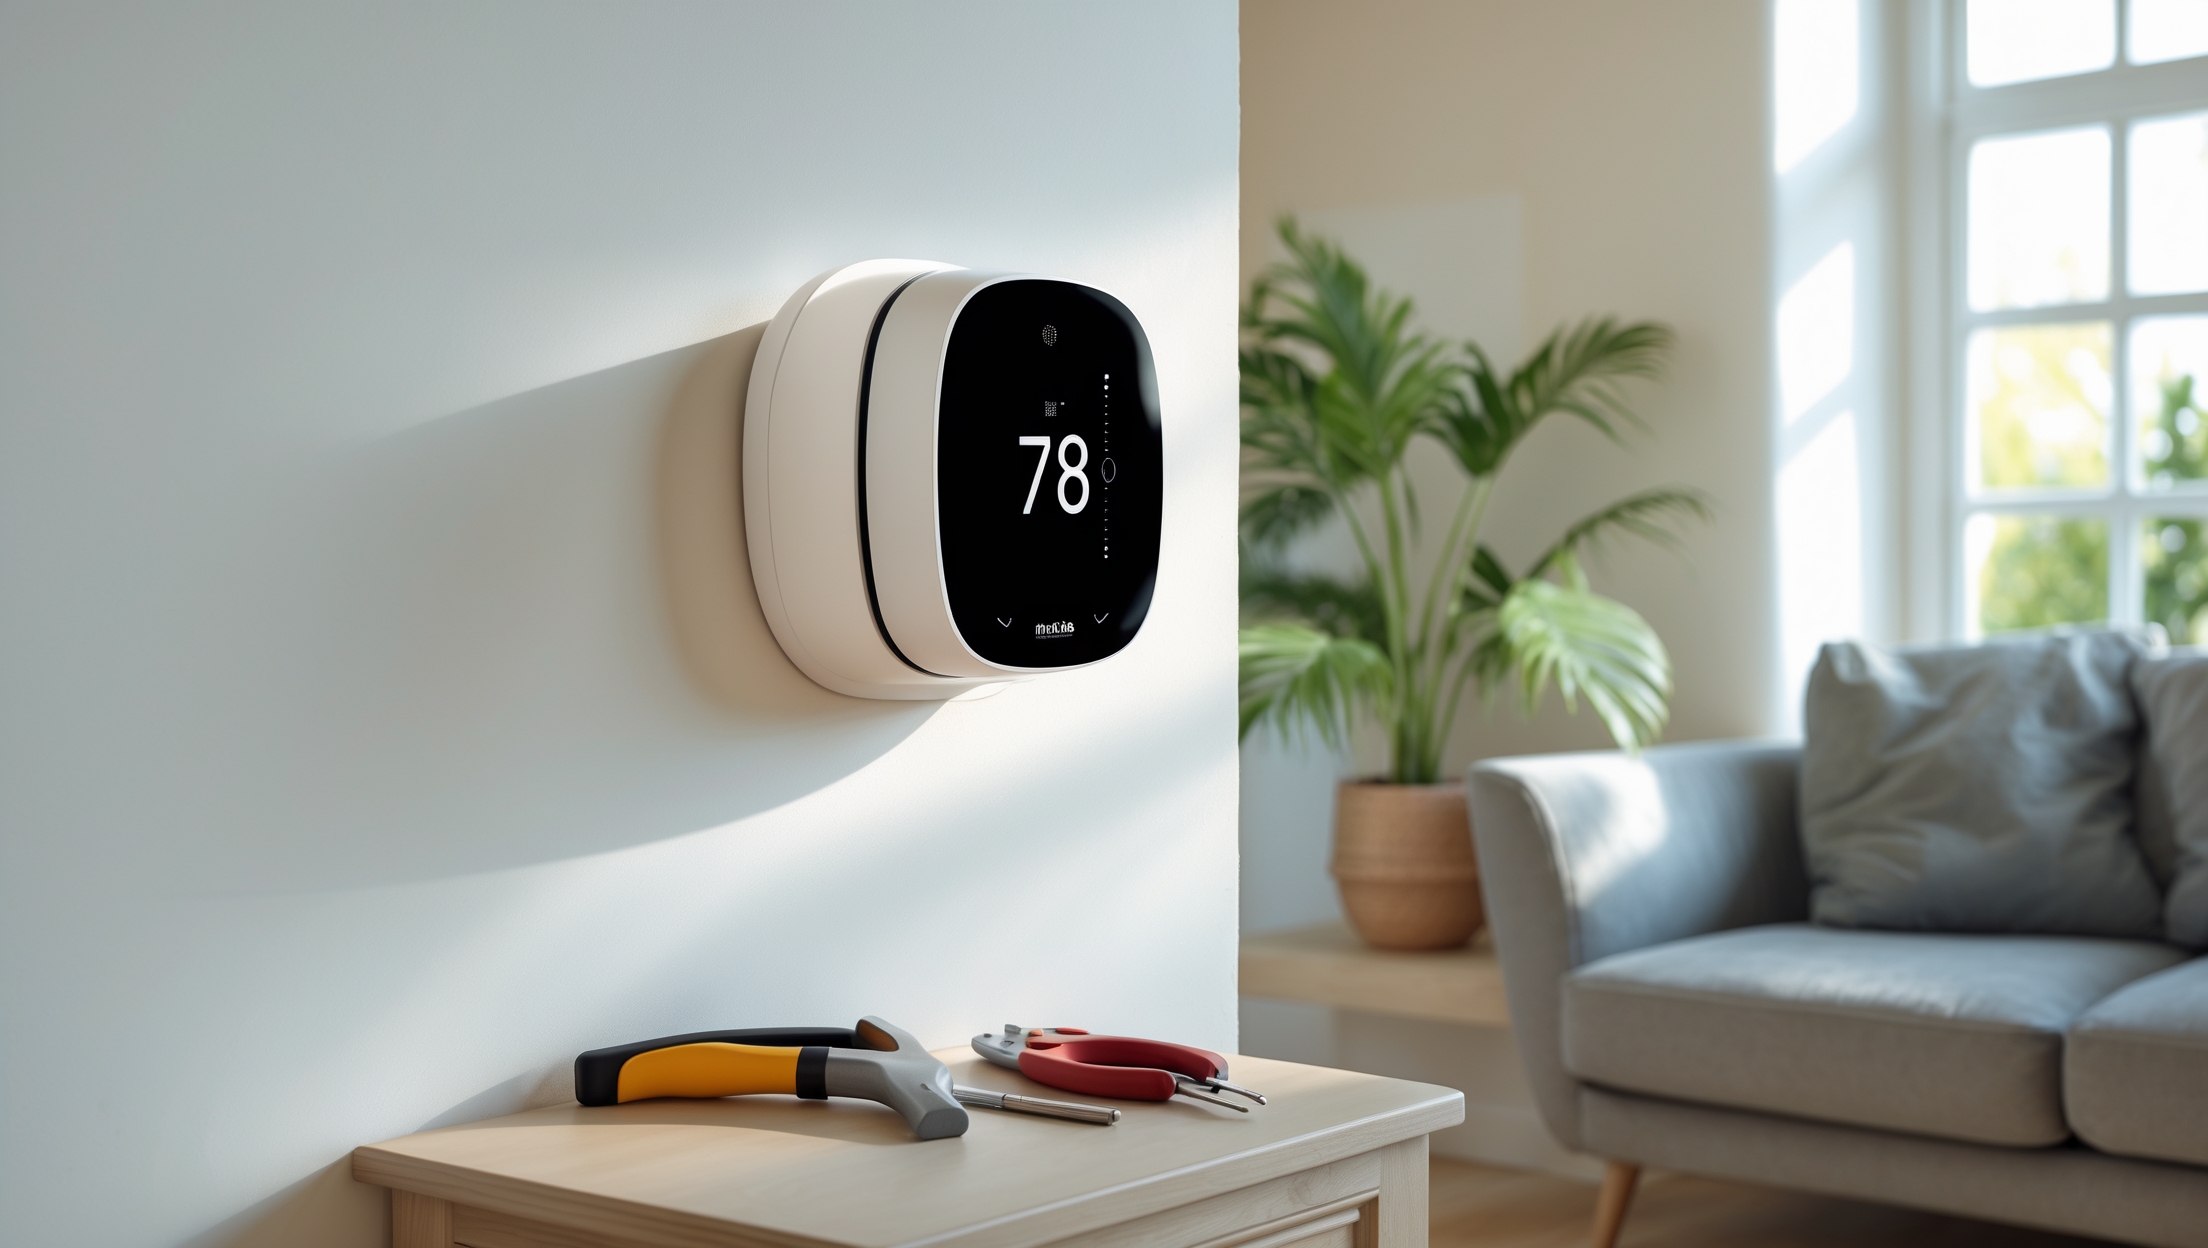
Essential Tools & Equipment Checklist
- Phillips and flathead screwdrivers
- Drill with drill bits (if mounting to masonry or plaster)
- Wire stripper/cutter (for neat wire connections)
- Electrical tester (for safety)
- Level (to keep installation straight)
- Wire labels or masking tape (to mark wires)
- Smartphone or tablet (for configuring the thermostat app)
- Owner’s manual for your HVAC system (reference for wiring)
Before starting, gather all tools and read through your thermostat’s installation instructions to check for any model-specific requirements.
Pre-Installation: Compatibility and Compliance Considerations
Check HVAC Compatibility
Not all smart thermostats work with every heating and cooling system. Most are compatible with standard 24V systems, but homes with high-voltage (line voltage) systems, proprietary HVAC setups, or older equipment may require adapters or special models. Use the manufacturer’s online compatibility checker and confirm your wiring matches the thermostat’s requirements.
The C-Wire Question
Many smart thermostats require a ‘C’ (common) wire for continuous power. If your current setup lacks a C-wire, you may need to run a new wire, use a power extender kit (often included), or choose a model designed for C-wire-free installation.
Permits and Code Compliance
In most jurisdictions, replacing a thermostat does not require a permit. However, if you are running new wiring or making changes to the HVAC system, check your local electrical codes. Ensure all work follows National Electrical Code (NEC) standards for low-voltage wiring.
Safety First
- Turn off power to your HVAC system at the breaker panel before starting.
- Test with an electrical tester to confirm no voltage is present.
- Work in a dry area and avoid wet hands or tools.
Step-by-Step Installation Guide
1. Power Down and Remove the Old Thermostat
- Shut off HVAC power at the breaker.
- Remove the thermostat cover and unscrew the base from the wall.
- Take a clear photo of the existing wiring for reference.
2. Label the Wires
- Use wire labels or masking tape to mark each wire according to the terminal it’s connected to (e.g., R, W, Y, G, C).
- Disconnect each wire carefully, ensuring none fall back into the wall.
3. Prepare the Wall and Mount the New Base Plate
- Patch any holes or paint touch-ups if needed.
- Hold the new thermostat base plate against the wall; use a level to ensure it is straight.
- Mark and drill pilot holes as necessary.
- Attach the base plate using the provided screws and anchors.
4. Connect the Wires to the New Thermostat
- Match each labeled wire to the corresponding terminal on the new thermostat base.
- Secure wires firmly; ensure no copper is exposed outside the terminal.
- Refer to the installation guide for any model-specific wiring nuances (e.g., jumper wires, sensor connections).
5. Attach the Thermostat and Restore Power
- Snap the thermostat unit onto the base plate.
- Restore power to your HVAC system at the breaker.
6. Configure the Thermostat
- Follow on-screen setup prompts, connecting the thermostat to your Wi-Fi network.
- Download the manufacturer’s app and complete registration.
- Set your location, schedule, and preferred temperature ranges.
- Enable features like geofencing, learning routines, or energy reports as desired.
Troubleshooting Common Issues
- If the thermostat does not power on, double-check wiring—especially the C-wire connection.
- If your HVAC system does not respond, review wiring photos and installation steps.
- Contact manufacturer support for compatibility questions or error codes.
Post-Installation: Maintenance Best Practices
Regular System Checks
- Test the system’s heating and cooling functions at the start of each season.
- Update thermostat firmware regularly via the app to ensure security and feature improvements.
Cleaning and Care
- Dust the thermostat gently with a soft cloth every month.
- Avoid using sprays or wet cloths on the device.
Monitor Energy Reports
- Review monthly energy reports (available on most smart thermostats) to analyze patterns and optimize your settings for additional savings.
Battery and Power Issues
- If your thermostat uses backup batteries, replace them annually or as needed.
- Address any low-power warnings promptly to avoid system disruptions.
Integrating with Other Smart Home Devices
Voice Assistants
Link your thermostat to Alexa, Google Assistant, or Apple HomeKit for hands-free temperature adjustments and automation routines.
Sensors and Automation
- Add remote room sensors for more accurate temperature control in multi-room homes.
- Integrate with window/door sensors to pause HVAC when windows are open.
- Pair with smart humidifiers or air quality monitors for comprehensive environmental control.
When to Call a Professional
- You have a high-voltage (120/240V) or proprietary HVAC system.
- Existing wiring is damaged or unsafe.
- You lack a C-wire and are uncomfortable running new wires or using adapters.
- There are persistent error codes or malfunctions after installation.
A certified HVAC technician can ensure safe, code-compliant installation and system compatibility.
Conclusion: Enjoying the Rewards of Your Smart Thermostat
Upgrading to a smart thermostat is one of the most impactful, cost-effective improvements you can make for your home’s comfort and energy efficiency. With the right tools, a clear understanding of your HVAC system, and a careful step-by-step approach, you can confidently tackle the installation process yourself—saving on professional fees and gaining valuable DIY skills in the process. Remember to prioritize safety by turning off power and verifying wiring before you begin, and don’t hesitate to consult a professional for unique or complex systems.
Once installed, your new smart thermostat will offer more than just convenience. You’ll benefit from lower energy bills, enhanced control over your living environment, and valuable insights into your home’s energy usage patterns. Integrating your thermostat with other smart devices can further streamline your routines, ensuring your home is always comfortable and efficient. And with regular maintenance—like keeping the device clean, updating firmware, and reviewing energy reports—you’ll enjoy reliable performance and peace of mind for years to come.
Whether you’re looking to reduce costs, shrink your carbon footprint, or simply enjoy the latest in home technology, installing a smart thermostat is a rewarding project well within reach for most homeowners. With the guidance provided in this comprehensive tutorial, you’re ready to embark on your upgrade and unlock the full potential of your home’s comfort and efficiency.


For maintenance after installation, do you have recommendations on how often to check connections or update firmware to avoid future issues? Also, what signs might indicate that something isn’t working correctly with the thermostat?
It’s a good idea to check the thermostat’s wiring and connections every 6 to 12 months to make sure everything is secure. For firmware, enable automatic updates if possible or check the manufacturer’s app for updates every few months. Signs of trouble include unexpected temperature changes, the thermostat not responding, frequent disconnections from Wi-Fi, or error messages on the display. If you notice any of these, it’s best to troubleshoot promptly.
You mentioned that smart thermostats can integrate with other smart devices like humidifiers and window sensors. Are there certain brands or models that offer better compatibility for integrating with a broader range of smart home products?
Yes, some smart thermostat brands are known for broader compatibility. Ecobee and Google Nest are popular choices because they support integration with many other smart home devices and platforms, like Apple HomeKit, Amazon Alexa, and Google Home. Ecobee, in particular, often works well with accessories like humidifiers and third-party sensors. Before purchasing, check each thermostat’s compatibility list to ensure it meets your home’s needs.
I’m interested in integrating a smart thermostat with other smart home devices, like sensors or purifiers as the article suggests. Are there particular brands or systems that tend to work better together, or is there a risk of compatibility issues?
Smart thermostats generally work best when paired with devices that support the same smart home platform, like Google Home, Amazon Alexa, or Apple HomeKit. For example, Nest thermostats integrate smoothly with other Google devices, while Ecobee works well with Alexa. Sticking to one ecosystem helps avoid compatibility issues, but check device specs for supported platforms before purchasing to ensure seamless integration.
When it comes to wiring, how can I tell if my existing thermostat setup is actually compatible with popular smart models? The article mentions compatibility concerns, but are there common homes or HVAC systems in the US that usually run into problems during DIY installation?
To check compatibility, look for a C-wire (common wire) behind your current thermostat—most smart thermostats need one for power. Older homes or houses with high-voltage systems (like baseboard heaters) often lack a C-wire or use incompatible wiring. Systems labeled as ‘millivolt’, or those with only two wires, may not work easily with popular smart models. Always turn off power before checking the wiring, and consult the smart thermostat’s compatibility checker for your exact HVAC setup.