Introduction
Water conservation is more important than ever, and homeowners are increasingly turning to rainwater harvesting systems as a sustainable solution. By collecting and storing rainwater, you not only reduce your water bill but also contribute to environmental preservation and garden vitality. Whether you’re looking to irrigate your garden, wash your car, or simply lower your home’s environmental footprint, a rainwater harvesting system can be a smart investment. However, successful installation requires thoughtful planning, an understanding of local regulations, the right tools, and a solid maintenance routine. In this comprehensive guide, we’ll walk you step by step through the process of installing a rainwater harvesting system at home. From initial budgeting and compliance checks to the final setup and ongoing care, you’ll find practical advice to ensure your system is both efficient and durable. Let’s dive in and turn your home into a model of water-wise living!
Understanding Rainwater Harvesting Systems
What Is a Rainwater Harvesting System?
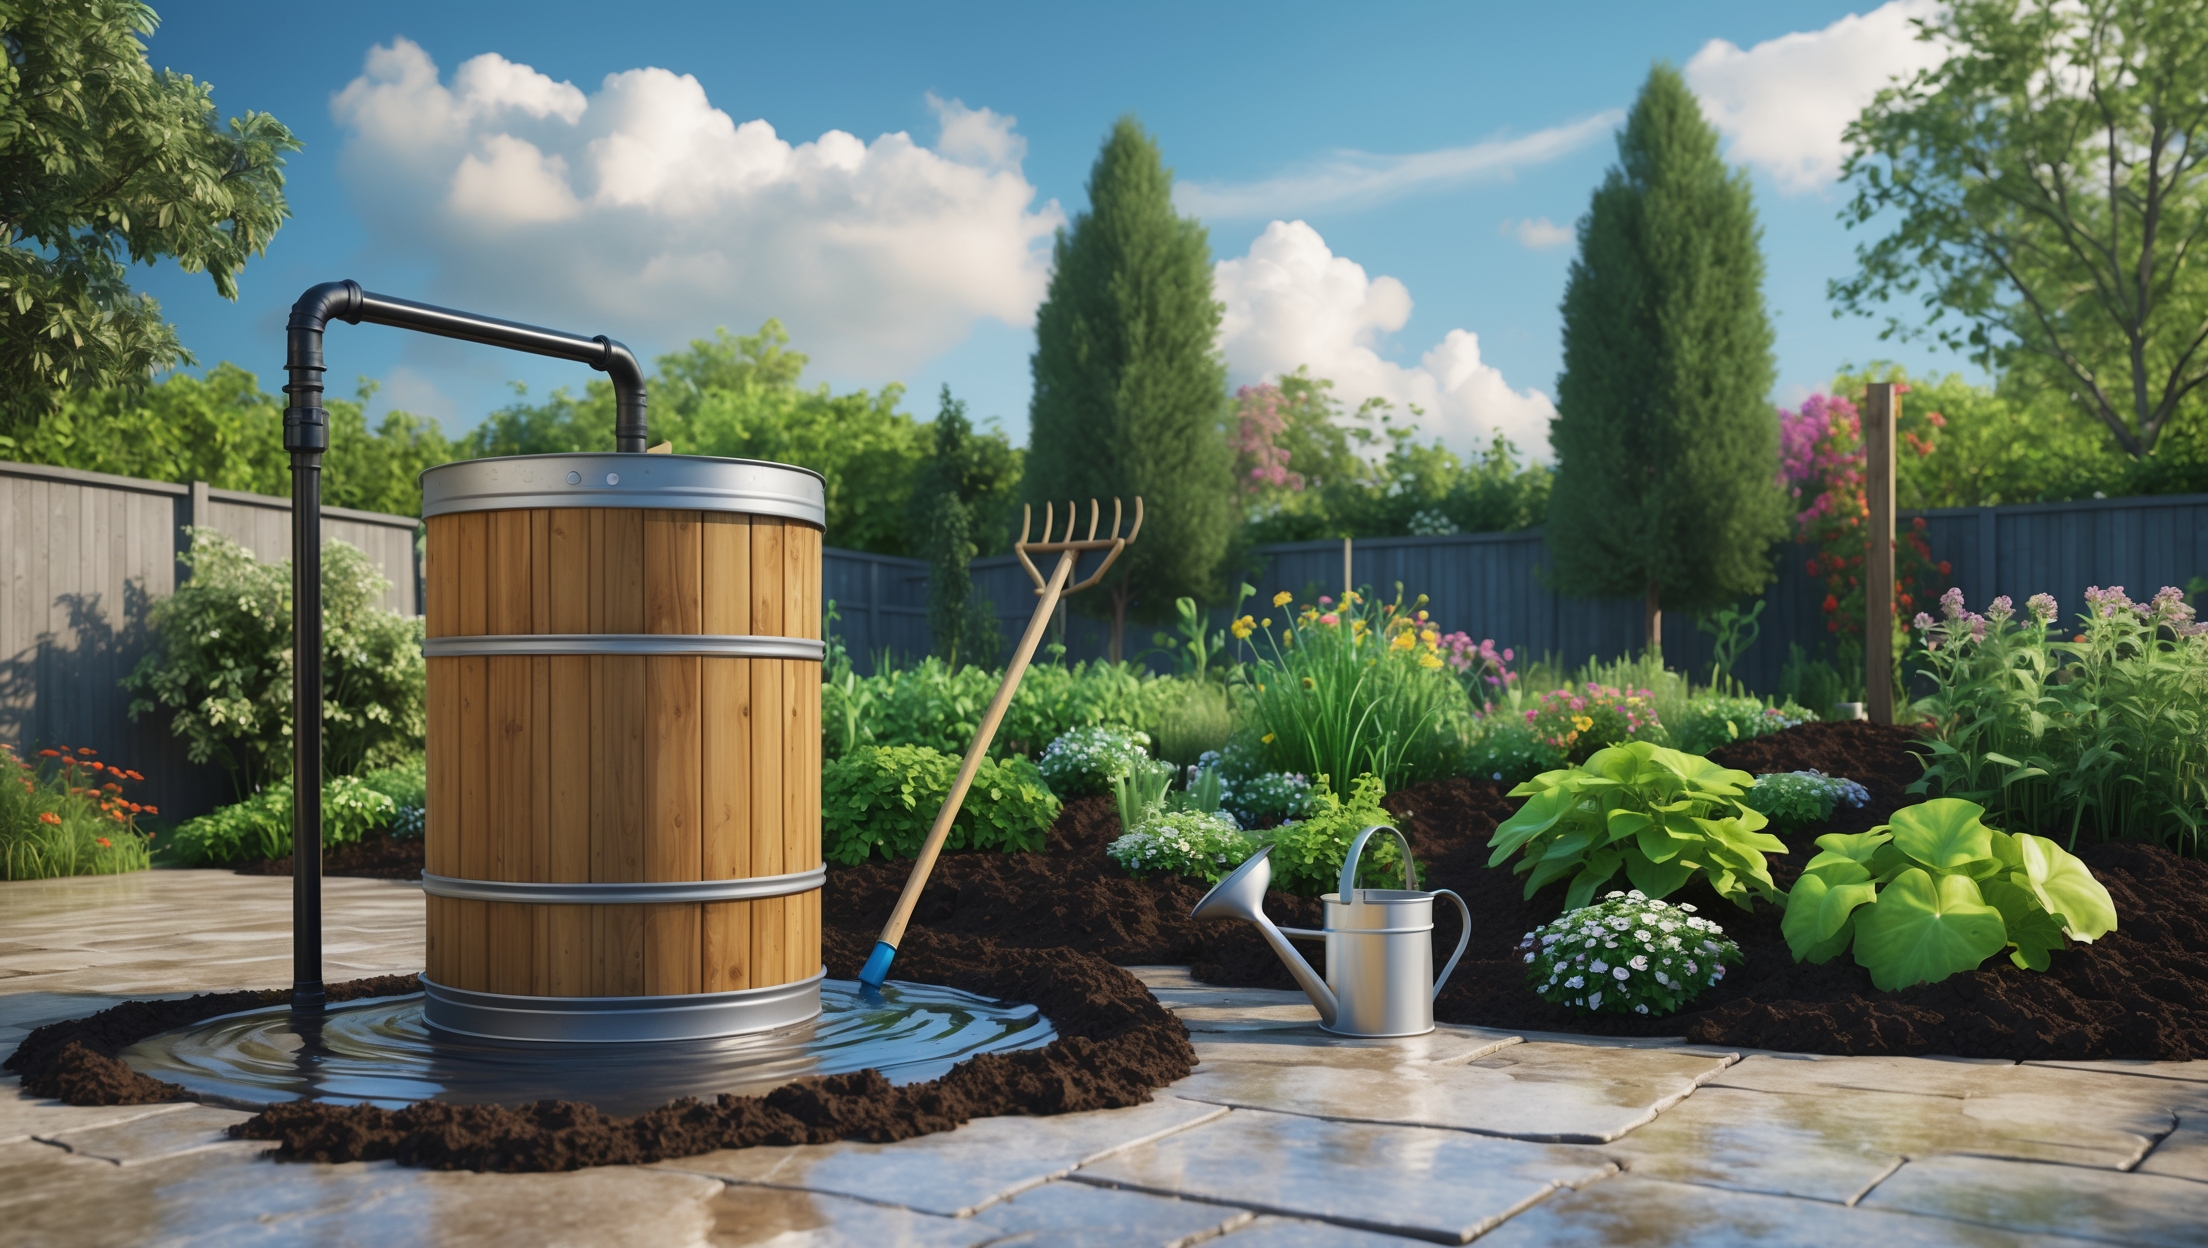
A rainwater harvesting system collects rain from rooftops or other surfaces and stores it for later use. Most residential systems capture water from roof gutters and direct it into storage tanks or barrels. The collected water can be used for various non-potable purposes, such as gardening, landscape irrigation, flushing toilets, or washing vehicles.
Main Components
- Catchment Surface: Usually the roof, where rainwater is collected.
- Gutters and Downspouts: Channel water from the roof to the storage area.
- Leaf Screens and First-Flush Diverters: Remove debris and the initial, most contaminated runoff.
- Storage Tank or Barrel: Holds the harvested water; can range from 50-gallon barrels to 1,000-gallon tanks.
- Distribution System: Hoses, spigots, or pumps that move water from storage to its point of use.
Types of Rainwater Harvesting Systems
- Simple Barrel Systems: Inexpensive and easy for beginners, typically used for garden irrigation.
- Plumbed Storage Systems: Larger tanks with integrated pumps and sometimes filtration, suitable for more demanding uses.
Budgeting: Cost Breakdown for Home Rainwater Harvesting
Upfront Costs
- Rain Barrels (50–80 gallons): $50–$200 each
- Large Storage Tanks (200–1,000 gallons): $200–$1,500
- Guttering/Downspout Modifications: $50–$250 depending on materials and length
- Leaf Screens/First-Flush Diverters: $20–$100
- Pumps (if needed): $60–$300
- Basic Tools and Materials: $40–$100
Ongoing Costs
- Maintenance Supplies: Filters, cleaning tools, repair parts ($20–$50/year)
- Winterization Materials: Insulation or covers for cold climates ($10–$40/year)
Potential Savings
Depending on your region, garden size, and water rates, a well-used system can save 1,000–3,000 gallons of municipal water each year, translating to $20–$60 in annual savings. Over time, the system can pay for itself, especially if local rebates or tax incentives are available.
Compliance and Permitting
Check Local Regulations
Before you begin, research your city or state’s rules on rainwater harvesting. Some regions encourage it with rebates, while others have restrictions—especially on potable use or large storage tanks. Key points to investigate:
- Is rainwater collection legal in your area?
- Are there capacity limits for tanks/barrels?
- Do you need a permit for installation, especially for plumbed or buried tanks?
- Are there guidelines on mosquito prevention and overflow management?
- Can harvested rainwater be used indoors?
Insurance Considerations
If you’re installing a large tank or modifying your home’s structure (e.g., reinforcing decks or roofs), check with your homeowners insurance provider. Some insurers may want to know about major additions or plumbing changes. Document your project and keep receipts for future reference.
Tools and Materials Checklist
Essential Tools
- Measuring tape
- Level
- Drill and drill bits
- Screwdriver set
- Hacksaw (for cutting downspouts)
- Pliers and wrenches
- Utility knife
- Work gloves and safety glasses
Materials
- Rain barrel or storage tank
- Gutter and downspout diverter kit
- Leaf screen or debris filter
- First-flush diverter (optional, highly recommended)
- Overflow hose or pipe
- Spigot kit (usually included with barrels)
- Waterproof sealant or tape
- Pump (if using for irrigation or indoor use)
- Concrete pavers or cinder blocks (for tank support)
Step-by-Step Installation Tutorial
Step 1: Plan Your System
- Survey your roof and gutters: Choose a location where downspouts collect significant runoff.
- Estimate your water needs: Calculate average rainfall and roof area to size your storage.
- Check ground slope and drainage: Barrels and tanks should be on level, stable ground.
- Decide on above-ground vs. below-ground: Most homeowners opt for above-ground barrels for simplicity and cost.
Step 2: Prepare the Site
- Clear the area where your tank or barrel will sit.
- Level the ground and compact the soil.
- Place concrete pavers or cinder blocks to create a stable, elevated base. Elevating the barrel allows gravity-fed water flow.
Step 3: Modify Downspouts and Install Diverters
- Measure and mark the downspout at the height of your barrel inlet.
- Cut the downspout with a hacksaw.
- Install the diverter kit per manufacturer instructions. Many kits include flexible hoses to direct water into the barrel while allowing overflow when full.
Step 4: Attach Leaf Screens and First-Flush Diverters
- Install a leaf screen at the top of the barrel or gutter to block debris.
- Attach a first-flush diverter below the gutter; this device diverts the initial flow (which may contain dust and contaminants) away from the tank.
Step 5: Connect Storage Barrel or Tank
- Position the tank or barrel securely on its base.
- Use waterproof sealant at all inlet and outlet points.
- Install the spigot near the bottom of the barrel for easy access.
- Connect overflow hose or pipe to direct excess water away from your foundation.
Step 6: Test and Adjust
- Simulate rainfall by running hose water into the gutter above the diverter.
- Check for leaks at all connections and seal as needed.
- Ensure water flows properly from the downspout to the barrel and that the overflow system works.
Step 7: Optional Additions
- Install a small pump if you want to irrigate larger gardens or supply water to indoor systems.
- Add a basic filter if you plan to use the water for washing vehicles or flushing toilets.
- Consider linking multiple barrels in series for greater capacity.
Maintenance Best Practices
Seasonal Checklist
- Spring: Clean out gutters and leaf screens; check for winter damage.
- Summer: Inspect for algae growth; ensure mosquito screens are intact; use water regularly to prevent stagnation.
- Fall: Remove accumulated leaves and debris; inspect diverters and overflow outlets.
- Winter: In freezing climates, drain and disconnect barrels or insulate to prevent cracking.
Monthly Tasks
- Check for leaks at all joints and seals.
- Flush the first-flush diverter.
- Inspect and clean filters and screens.
- Test the spigot and overflow for blockages.
Annual Tasks
- Fully empty and clean the tank or barrel with a mild bleach solution (1 tablespoon bleach per gallon of water).
- Replace any worn gaskets or hoses.
- Review the structural integrity of the base and supports.
Safety Checklist
- Always wear gloves and safety glasses when cutting or drilling.
- Secure barrels and tanks to prevent tipping, especially if children or pets are present.
- Use mosquito-proof screens on all openings to prevent breeding.
- Install overflow pipes away from foundations to avoid water damage.
- Never drink harvested rainwater unless properly filtered and treated.
- If using a pump, ensure it’s rated for outdoor use and protected from weather.
Common Mistakes to Avoid
- Ignoring Permits: Some municipalities require permits, especially for larger tanks.
- Poor Siting: Placing barrels where overflow could damage your home’s foundation.
- Skipping Screens: Failing to install debris and mosquito screens can lead to blockages and pests.
- Insufficient Maintenance: Allowing water to stagnate or neglecting regular cleaning can create health hazards.
- Improper Sizing: Overestimating storage needs can result in wasted money and space; underestimating can lead to overflow and missed savings.
Case Study: Suburban Garden Rainwater Harvesting
Project: A family in a suburban neighborhood wanted to reduce their municipal water use for gardening. They installed two 60-gallon rain barrels connected to their roof’s main downspout, with leaf screens, a first-flush diverter, and overflow hoses draining into a flower bed.
- Total Cost: $280 (including barrels, diverter kits, screens, and materials)
- Permitting: Not required in their area for systems under 500 gallons
- Time to Complete: One weekend, with two adults working together
- Challenges: Needed to reinforce the barrel base after heavy rains shifted the soil
- Results: Collected over 1,400 gallons in the first year, dramatically reducing outdoor water bills and improving plant health
Conclusion
Installing a rainwater harvesting system at home is a rewarding project that pays dividends in sustainability, savings, and self-sufficiency. With careful planning, compliance with local regulations, and proper installation, you can enjoy a reliable supply of water for your garden and other non-potable uses. Remember that the key to a successful system is not just in the setup, but in ongoing maintenance—cleaning gutters and screens, monitoring for leaks, and protecting against pests and winter weather. By following the steps and checklists outlined in this guide, you’ll avoid common pitfalls and maximize your system’s benefits.
Whether you start with a simple rain barrel or opt for a larger tank and pump setup, each drop of harvested rainwater is a small victory for your home and the environment. As water scarcity and costs rise, being proactive about water conservation is a smart choice for every homeowner. If you’re ready to get started, use this guide as your blueprint—and join the growing movement of households making sustainable living a reality, one rainstorm at a time.