Introduction: Why Home Improvement Safety Should Be Your First Priority
Home improvement projects are exciting opportunities to update, personalize, and add value to your living space. Whether you’re replacing kitchen cabinets, installing a new floor, or tackling a bathroom remodel, the sense of accomplishment that comes with completing a project yourself is unmatched. However, amidst the buzz of new materials and creative possibilities, safety must remain your top priority. Far too often, DIY enthusiasts and even experienced homeowners overlook crucial safety steps, leading to accidents, injuries, and costly damage that could have been easily prevented.
Taking a proactive, checklist-driven approach to safety can spell the difference between a successful project and a disastrous setback. From selecting the right protective equipment to handling power tools, managing hazardous materials, and preparing for unforeseen emergencies, a comprehensive safety strategy is essential. This guide is designed to help you develop safe habits before, during, and after any home improvement project—no matter the size or complexity. With practical tips, detailed checklists, and expert insights, you’ll gain the confidence to complete your next project safely and with peace of mind.
Pre-Project Planning: Laying the Foundation for Safety
1. Assess the Project Scope
Before you pick up a hammer or drill, take time to analyze what the project entails. Ask yourself:
- What is the full scope of the work?
- Are there structural, electrical, or plumbing components?
- What skills and tools are required?
- Will you need to move heavy objects or work at height?
Understanding the full picture helps you anticipate risks and prepare accordingly.
2. Gather Project Information and Documentation
Obtain any relevant building plans, manuals, or instructions for appliances and materials. If previous renovations have been done, review existing documentation to identify hidden hazards such as old wiring or asbestos.
3. Identify Potential Hazards
- Locate gas lines, water pipes, and electrical wiring before cutting, drilling, or nailing into walls, floors, or ceilings.
- Survey the area for mold, lead paint, asbestos, or other hazardous materials common in older homes.
- Check for physical hazards like loose floorboards, wet surfaces, or unstable ladders.
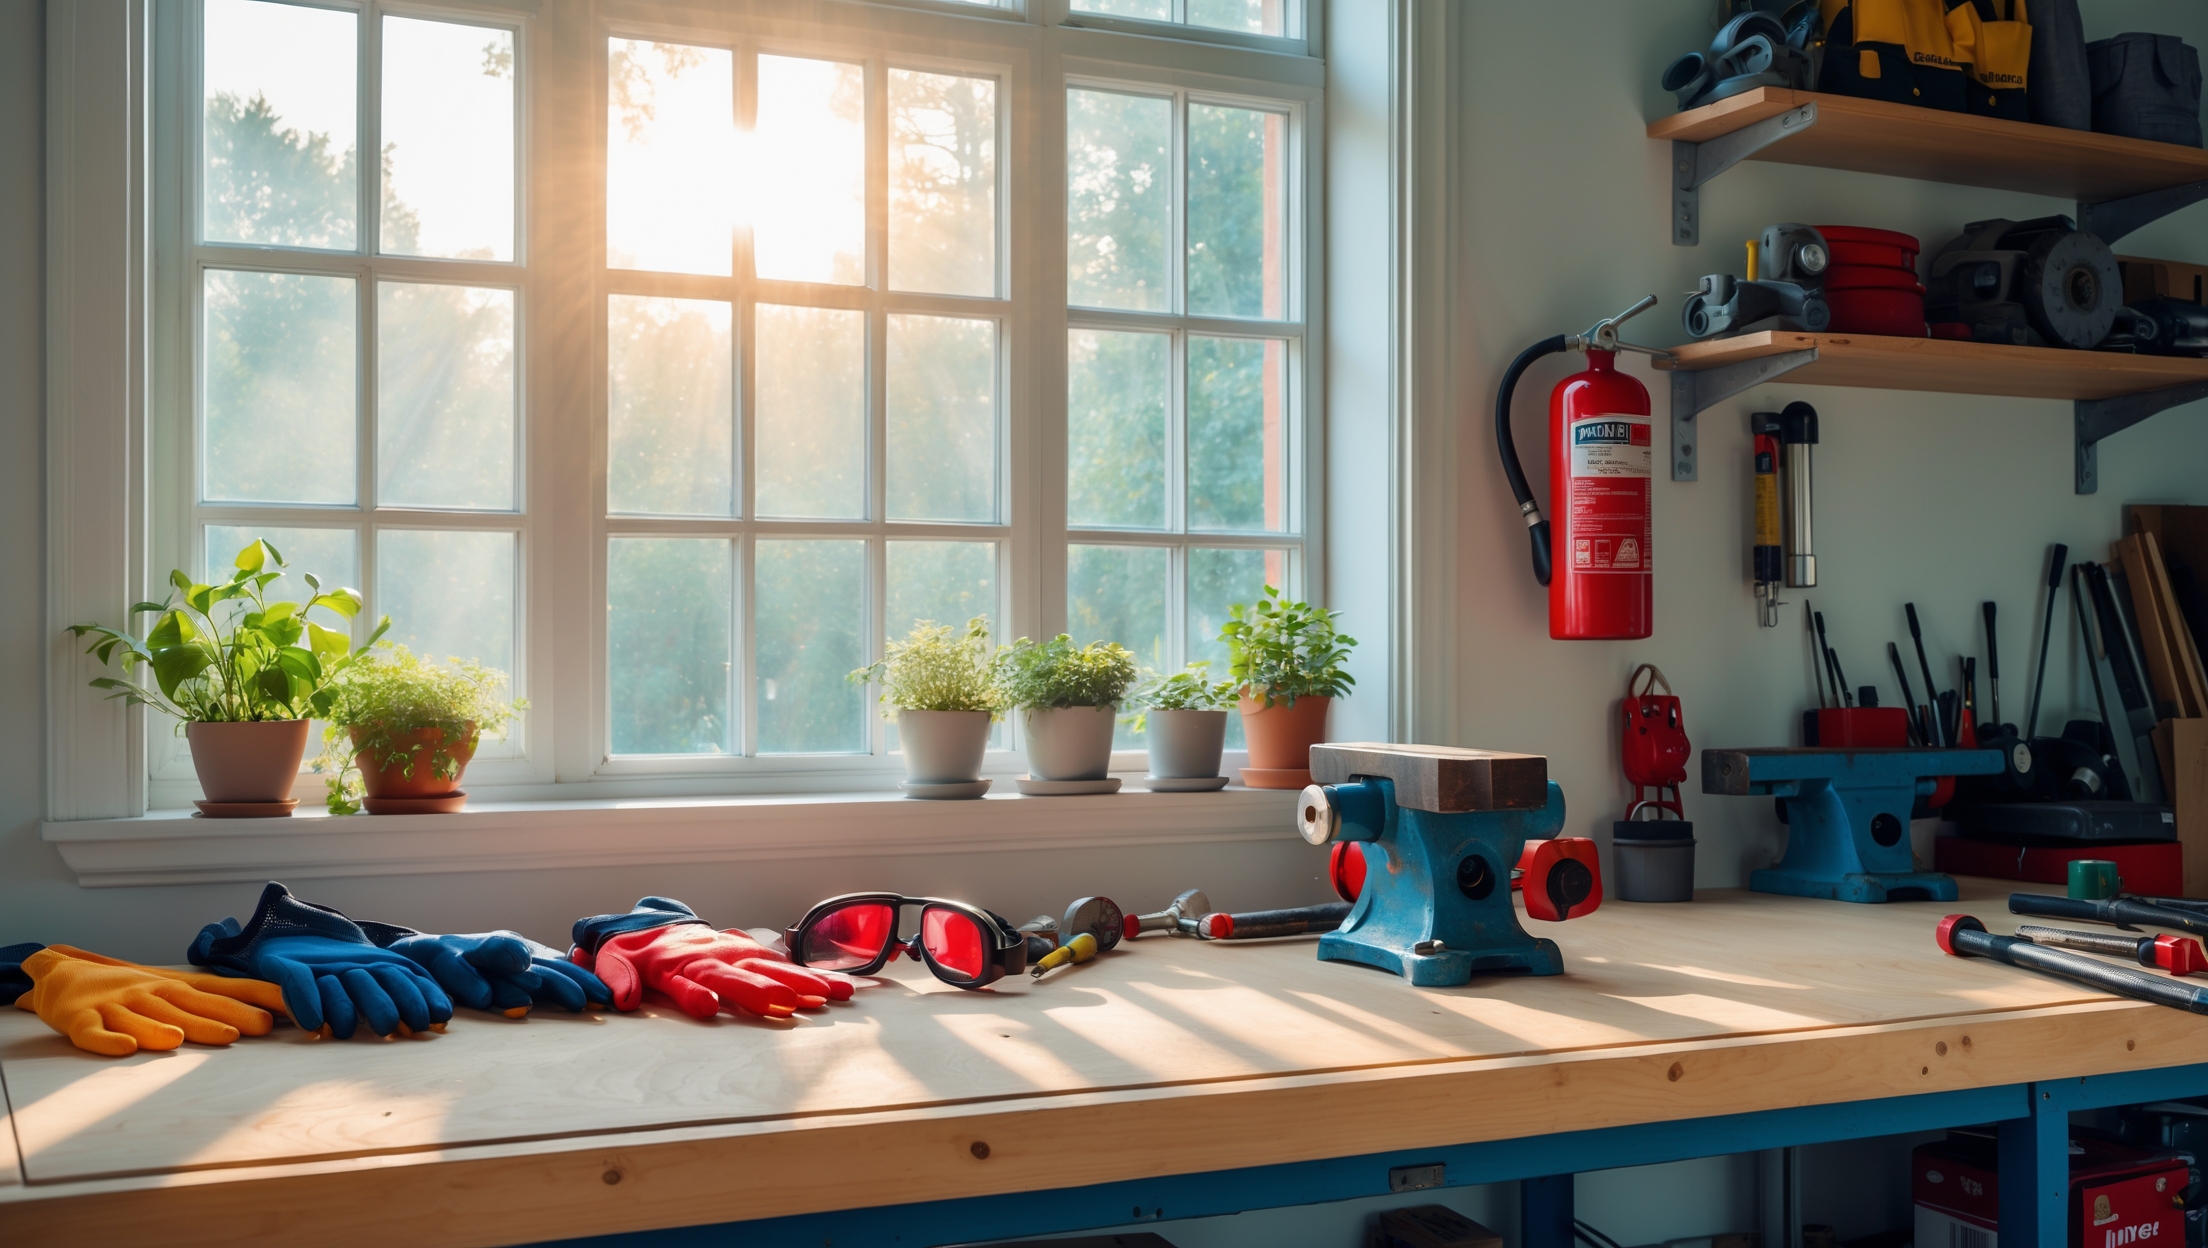
4. Prepare a Safety Equipment List
Essential safety gear varies by project but typically includes:
- Safety goggles or glasses
- Work gloves (cut-resistant for demolition, rubber for chemicals)
- Dust masks or respirators
- Ear protection (earplugs or earmuffs)
- Non-slip, steel-toe footwear
- Hard hats (especially for overhead work)
- Knee pads, harnesses, or other ergonomic supports
5. Plan for Emergency Situations
- Keep a well-stocked first-aid kit easily accessible.
- Know the location of the nearest fire extinguisher and how to use it.
- Have emergency contact numbers posted in a visible spot.
- Ensure a charged phone is always within reach.
Setting Up Your Workspace: Safe Preparation Is Key
1. Clear the Area
Remove unnecessary furniture, rugs, and clutter from your work zone. Make sure walkways are unobstructed to prevent trips and falls. If working outdoors, watch for uneven ground or wet patches.
2. Ensure Proper Lighting and Ventilation
- Use portable work lights if ambient lighting is insufficient.
- Open windows or use fans to ventilate dust, fumes, or chemical odors.
- For projects involving paint or adhesives, consider using a respirator with the correct filter.
3. Organize Tools and Materials
Set up a dedicated area for tools, with commonly used items within easy reach. Store sharp, heavy, or hazardous tools out of children’s or pets’ access. Keep materials like paint, solvents, and adhesives in labeled, sealed containers.
4. Inspect Tools and Equipment
- Check power tools for frayed cords, missing guards, or loose parts.
- Ensure hand tools are clean, sharp, and in good repair.
- Test ladders and scaffolding for stability; never use damaged equipment.
During the Project: Safe Work Habits in Action
1. Wear the Right Protective Gear
- Always wear safety goggles when cutting, sanding, or drilling.
- Use gloves suited to the specific task (e.g., nitrile for chemicals, leather for demolition).
- Don ear protection for loud tools such as saws, sanders, or jackhammers.
- Wear a dust mask or respirator when handling insulation, sanding drywall, or working with volatile chemicals.
2. Practice Electrical Safety
- Turn off power at the breaker box before working on outlets, fixtures, or wiring.
- Use a voltage tester to confirm circuits are de-energized.
- Never use power tools with wet hands or while standing on damp surfaces.
- Run extension cords away from walkways to avoid tripping.
3. Ladder and Height Safety
- Always use the right ladder for the job—never stand on chairs or makeshift supports.
- Set ladders on stable, level ground and lock spreaders in place.
- Maintain three points of contact (two hands and one foot, or two feet and one hand) when climbing.
- Don’t overreach; reposition the ladder as needed.
- Have a spotter for high or awkward jobs.
4. Safe Lifting Techniques
- Bend at the knees, not the waist, and keep objects close to your body.
- Lift with your legs, not your back.
- Get help for heavy or bulky items; don’t risk injury by lifting alone.
5. Handling Hazardous Materials
- Store flammable liquids (paint, solvents, adhesives) away from heat sources.
- Read product labels and safety data sheets before use.
- Dispose of chemicals and waste according to local regulations.
- Wash hands thoroughly after handling any hazardous substances.
6. Maintain Cleanliness and Organization
- Clean up spills immediately to prevent slips.
- Keep the workspace tidy; return tools after use.
- Regularly sweep up debris, especially sharp objects like nails or screws.
7. Take Scheduled Breaks
Fatigue increases the risk of accidents. Schedule regular breaks to hydrate, stretch, and assess your progress. If you’re tired or frustrated, step away and return with a fresh perspective.
Special Considerations for Common Project Types
Electrical Work
- Always use insulated tools.
- Label circuit breakers and outlets while working.
- Never bypass safety devices like GFCIs.
- For complex wiring jobs, consult a licensed electrician.
Plumbing Projects
- Shut off the water supply before starting.
- Use proper pipe cutters, not makeshift tools.
- Wear waterproof gloves and eye protection when working with chemicals or sewage.
Demolition
- Wear a hard hat and steel-toe boots.
- Check for load-bearing walls before removing any structural elements.
- Contain dust with plastic sheeting and use a HEPA vacuum for cleanup.
Painting and Finishing
- Ventilate the area to avoid inhaling fumes.
- Wear safety goggles and a respirator for spraying or sanding.
- Dispose of oily rags in a sealed metal container to prevent fire.
Post-Project Safety: Wrapping Up Responsibly
1. Inspect Your Work
- Check for loose fittings, exposed wires, or unfinished surfaces.
- Test electrical components for proper operation.
- Ensure plumbing is leak-free before closing up walls or floors.
2. Clean Up Thoroughly
- Dispose of debris, dust, and hazardous waste properly.
- Return unused materials to storage or recycle as appropriate.
- Store tools and equipment in their designated places.
3. Restore Safety Features
- Reinstall smoke detectors, carbon monoxide alarms, and safety rails if removed.
- Ensure fire extinguishers and first-aid kits are accessible and fully stocked.
4. Review and Record
- Document any changes made to your home for future reference.
- Update household members about new features or safety procedures.
Comprehensive Home Improvement Safety Checklist
Use this checklist as a reference before, during, and after each project:
- Project assessed and hazards identified
- Permits and documentation obtained, if needed
- Emergency contacts and first-aid kit available
- Personal protective equipment selected and worn
- Workspace cleared, lit, and ventilated
- Tools and materials organized and inspected
- Ladders/scaffolding checked for stability
- Electrical power and water supplies safely managed
- Hazardous materials handled and stored properly
- Regular clean-up during work
- Final inspection and thorough clean-up post-project
- Safety features restored and documented
Conclusion: Safe Habits Build Successful Projects
Every home improvement project, whether a simple paint job or a multi-room renovation, brings with it unique risks. By treating safety as the bedrock of your planning and execution, you not only protect yourself and your loved ones from harm but also safeguard your investment and the future value of your home. The checklist provided here isn’t just a formality—it’s a proven roadmap to prevent injuries, avoid costly mistakes, and ensure your projects are completed efficiently and confidently.
Make safety a non-negotiable part of your home improvement routine. Develop the habit of reviewing this checklist before every project, no matter how small. Teach your household the basics of tool safety, emergency preparedness, and hazardous material handling. Update your safety gear and first-aid supplies regularly, and never hesitate to consult professionals for jobs beyond your expertise.
Remember, successful home improvement is more than great results—it’s about completing your vision with care, confidence, and the peace of mind that comes from knowing you did everything the right way. Prioritize safety, and every project will be a step toward a more beautiful, secure, and enjoyable home.