Introduction: Why Exterior Paint Prep Matters
Painting your home’s exterior is one of the most dramatic—and valuable—improvements you can make. Not only does a fresh coat of paint boost curb appeal, but it also acts as a shield against weather, pests, and age. Yet, the secret to a paint job that lasts for years isn’t just the paint itself; it’s the quality of the preparation. Rushed or skipped prep leads to flaking, blistering, and premature failure, costing homeowners time and money. In this detailed guide, we’ll walk through every step needed to properly prepare your home’s exterior for painting, from initial inspection to final surface cleaning. You’ll learn how to select the right tools, address common surface problems, manage safety, and set yourself up for success—whether you’re tackling the job yourself or hiring a pro. By following these expert techniques, you’ll maximize your investment and enjoy long-lasting, beautiful results.
Assessing Your Home’s Exterior: What to Look For
Identifying Substrate Materials
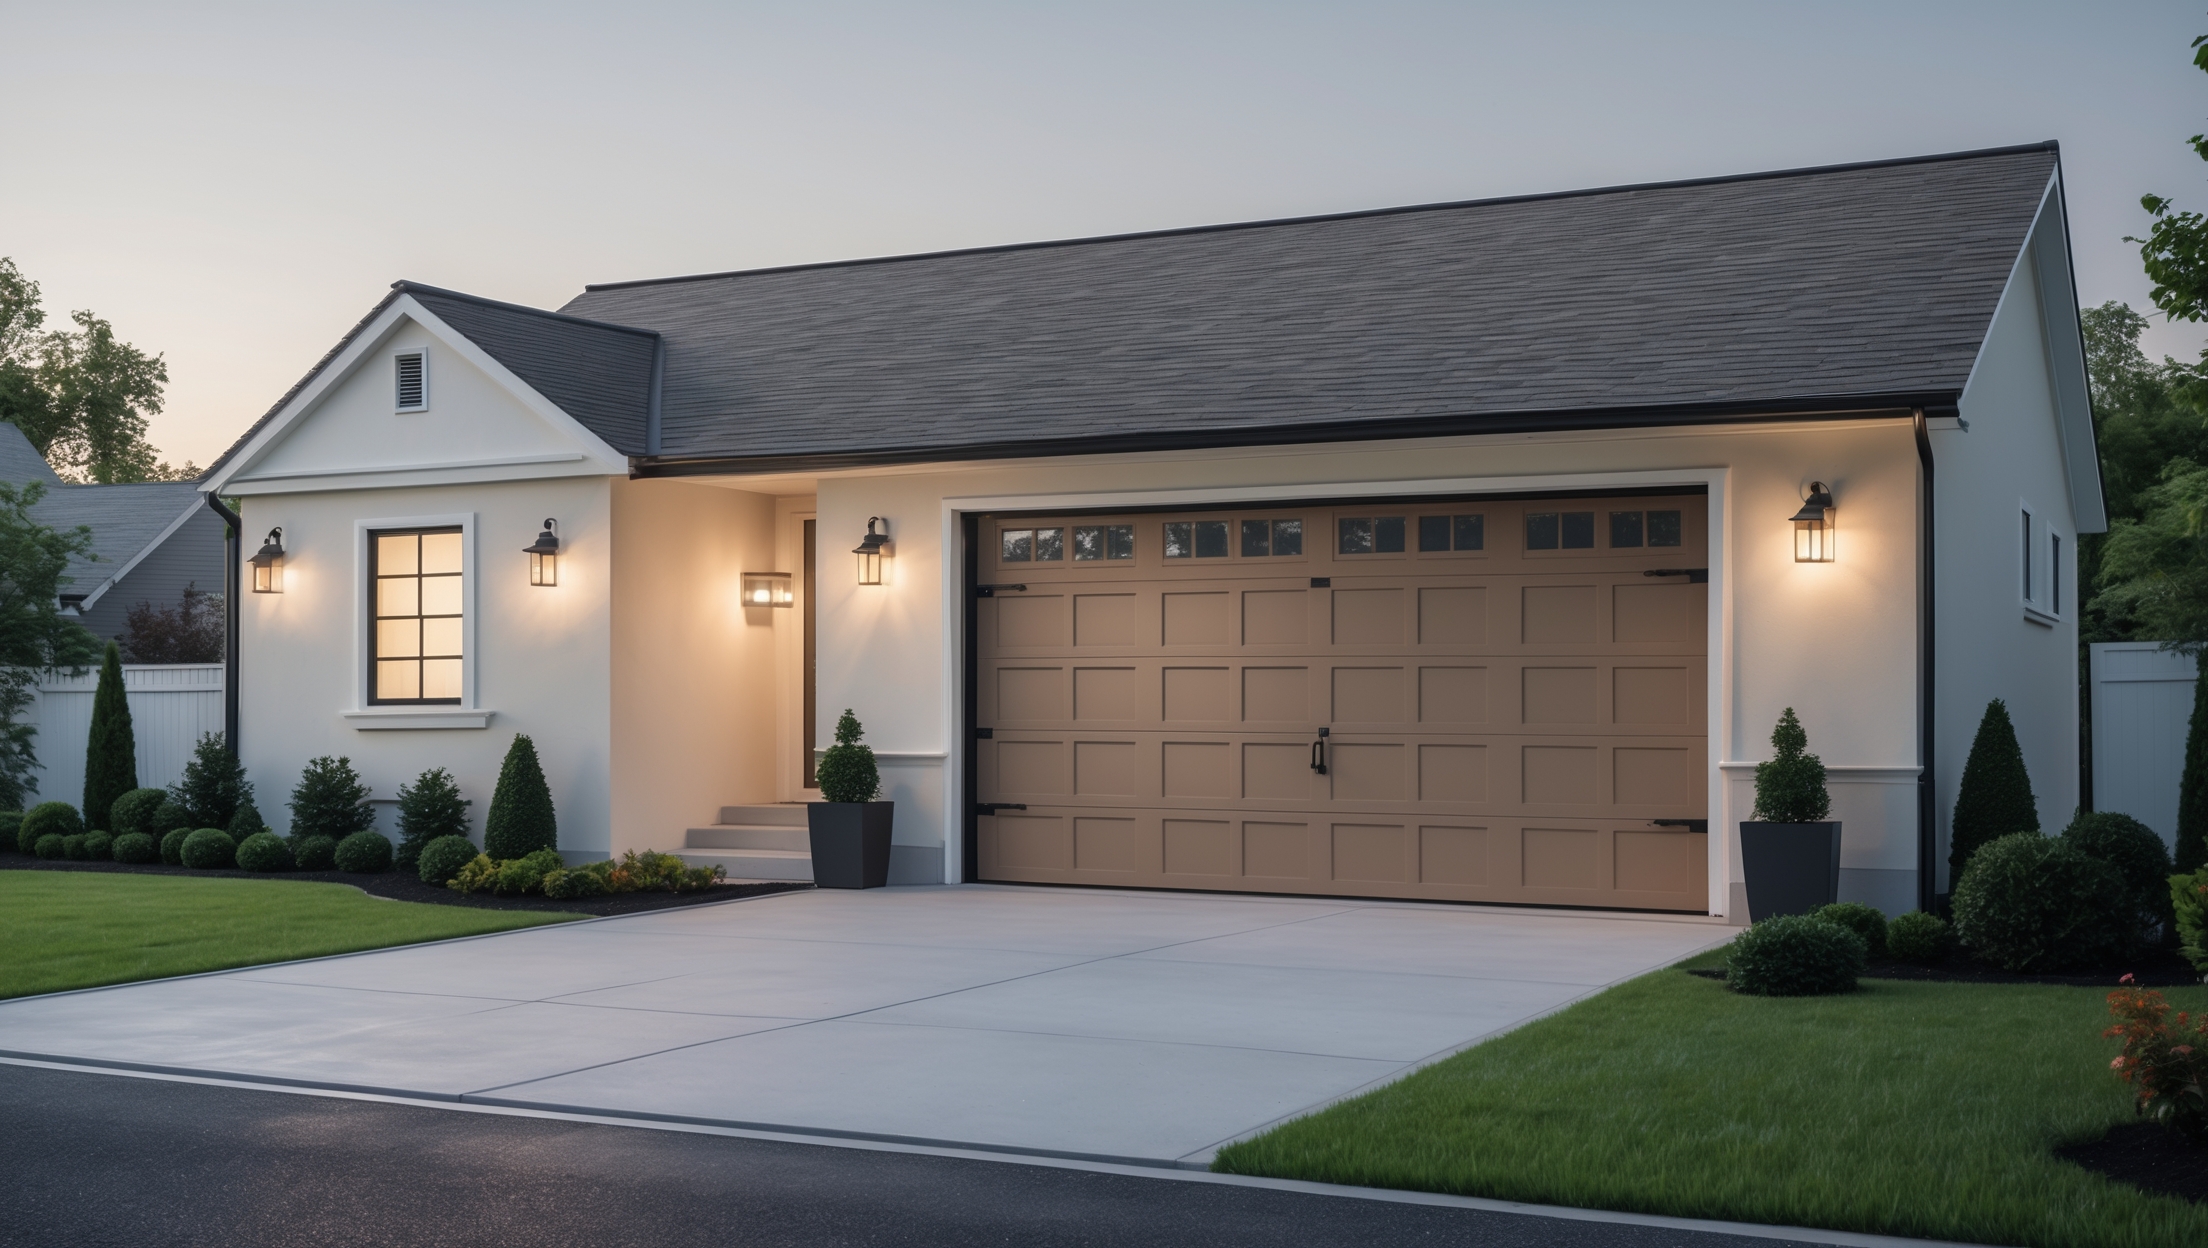
Before you begin, identify your home’s exterior surfaces—these may include wood, fiber cement, stucco, brick, vinyl, or aluminum. Each material requires different prep methods and compatible paint.
Spotting Damage and Problem Areas
- Peeling or flaking paint: Indicates moisture issues or poor adhesion.
- Cracks and holes: Found in siding, trim, or stucco; these allow water intrusion.
- Mildew or mold: Appears as dark spots, especially in shaded, damp areas.
- Chalking: Powdery residue from sun exposure, common on older paint.
- Warped, rotten, or rusted elements: Especially on wood and metal trim.
Walk around your home with a notepad, making a list of repairs and cleaning tasks for each wall.
Scheduling: Choosing the Right Weather Window
Paint performance is highly sensitive to weather. Plan your project for a stretch of dry, mild days. Avoid rain, high humidity, and extreme temperatures (below 50°F or above 85°F). Early summer and early fall are ideal in most regions. Check overnight lows as well—paint needs time to cure before dew forms.
Essential Tools & Materials Checklist
- Scrapers: Both wide and detail for removing loose paint
- Wire brushes: For tough residue and rust
- Sandpaper and sanding blocks: Various grits for smoothing
- Power washer (with appropriate pressure): For deep cleaning
- Caulk and caulk gun: For sealing gaps and joints
- Exterior wood filler or patching compound: For repairing holes and dents
- Primer: Stain-blocking and substrate-specific
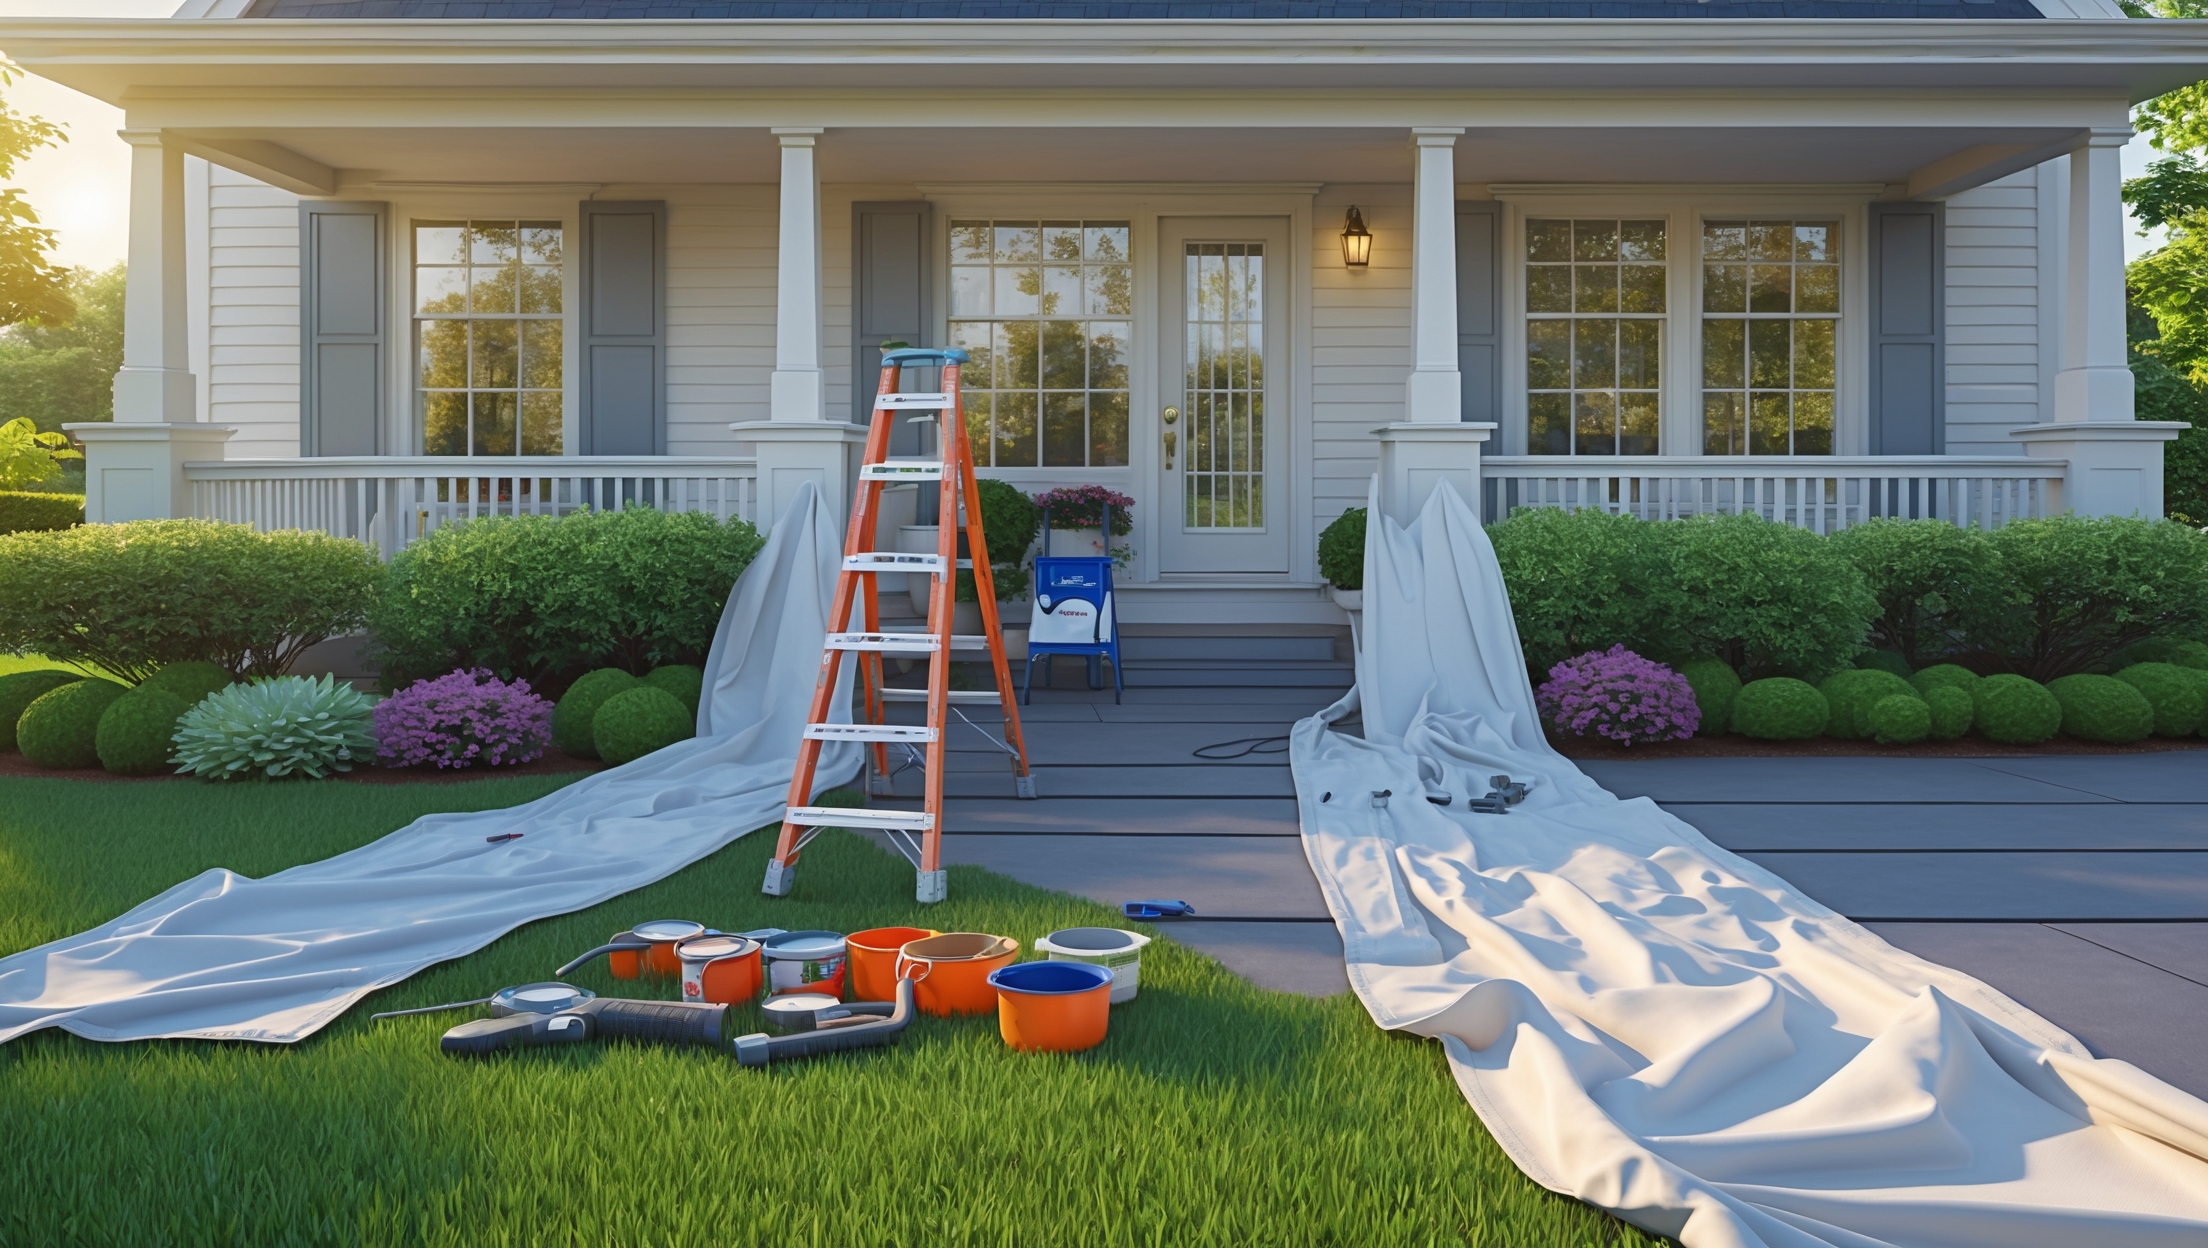
- Drop cloths and masking tape: For protecting landscaping and fixtures
- Ladders and safety gear: Extension ladders, harnesses, gloves, eye protection, mask
Gather all supplies before starting. Renting equipment such as a power washer or scaffolding may be worthwhile for larger homes.
Step 1: Clearing the Work Area
Remove or cover all outdoor furniture, grills, potted plants, and decorations. Trim back shrubs and trees at least 18 inches from the siding to allow access and airflow. Cover landscaping with drop cloths or plastic sheeting to protect from debris and chemicals.
Step 2: Cleaning the Surface Thoroughly
Power Washing
Use a power washer with the correct pressure setting (1200–2500 psi for most wood or masonry; lower for delicate surfaces). Spray from top to bottom, keeping the nozzle at a 45-degree angle. Avoid forcing water under siding or into window seams. Allow at least 24–48 hours for surfaces to dry completely before proceeding.
Hand Washing
For small areas or delicate features, scrub with a sponge and a mixture of mild detergent and water. Rinse thoroughly. Remove all dirt, dust, and chalky residue.
Mildew and Mold Removal
Mix one part bleach with three parts water and apply with a garden sprayer or sponge. Let sit for 15 minutes, then scrub and rinse. Wear gloves and eye protection. Ensure all traces of mildew are gone to prevent paint failure.
Step 3: Removing Loose Paint
Scrape all peeling or blistered paint with a sharp scraper. For stubborn spots, use a wire brush or sanding block. Feather rough edges with medium-grit sandpaper (80–120 grit) to create a smooth transition. For large areas, consider a paint removal tool or disc sander. Collect paint chips in a drop cloth for safe disposal.
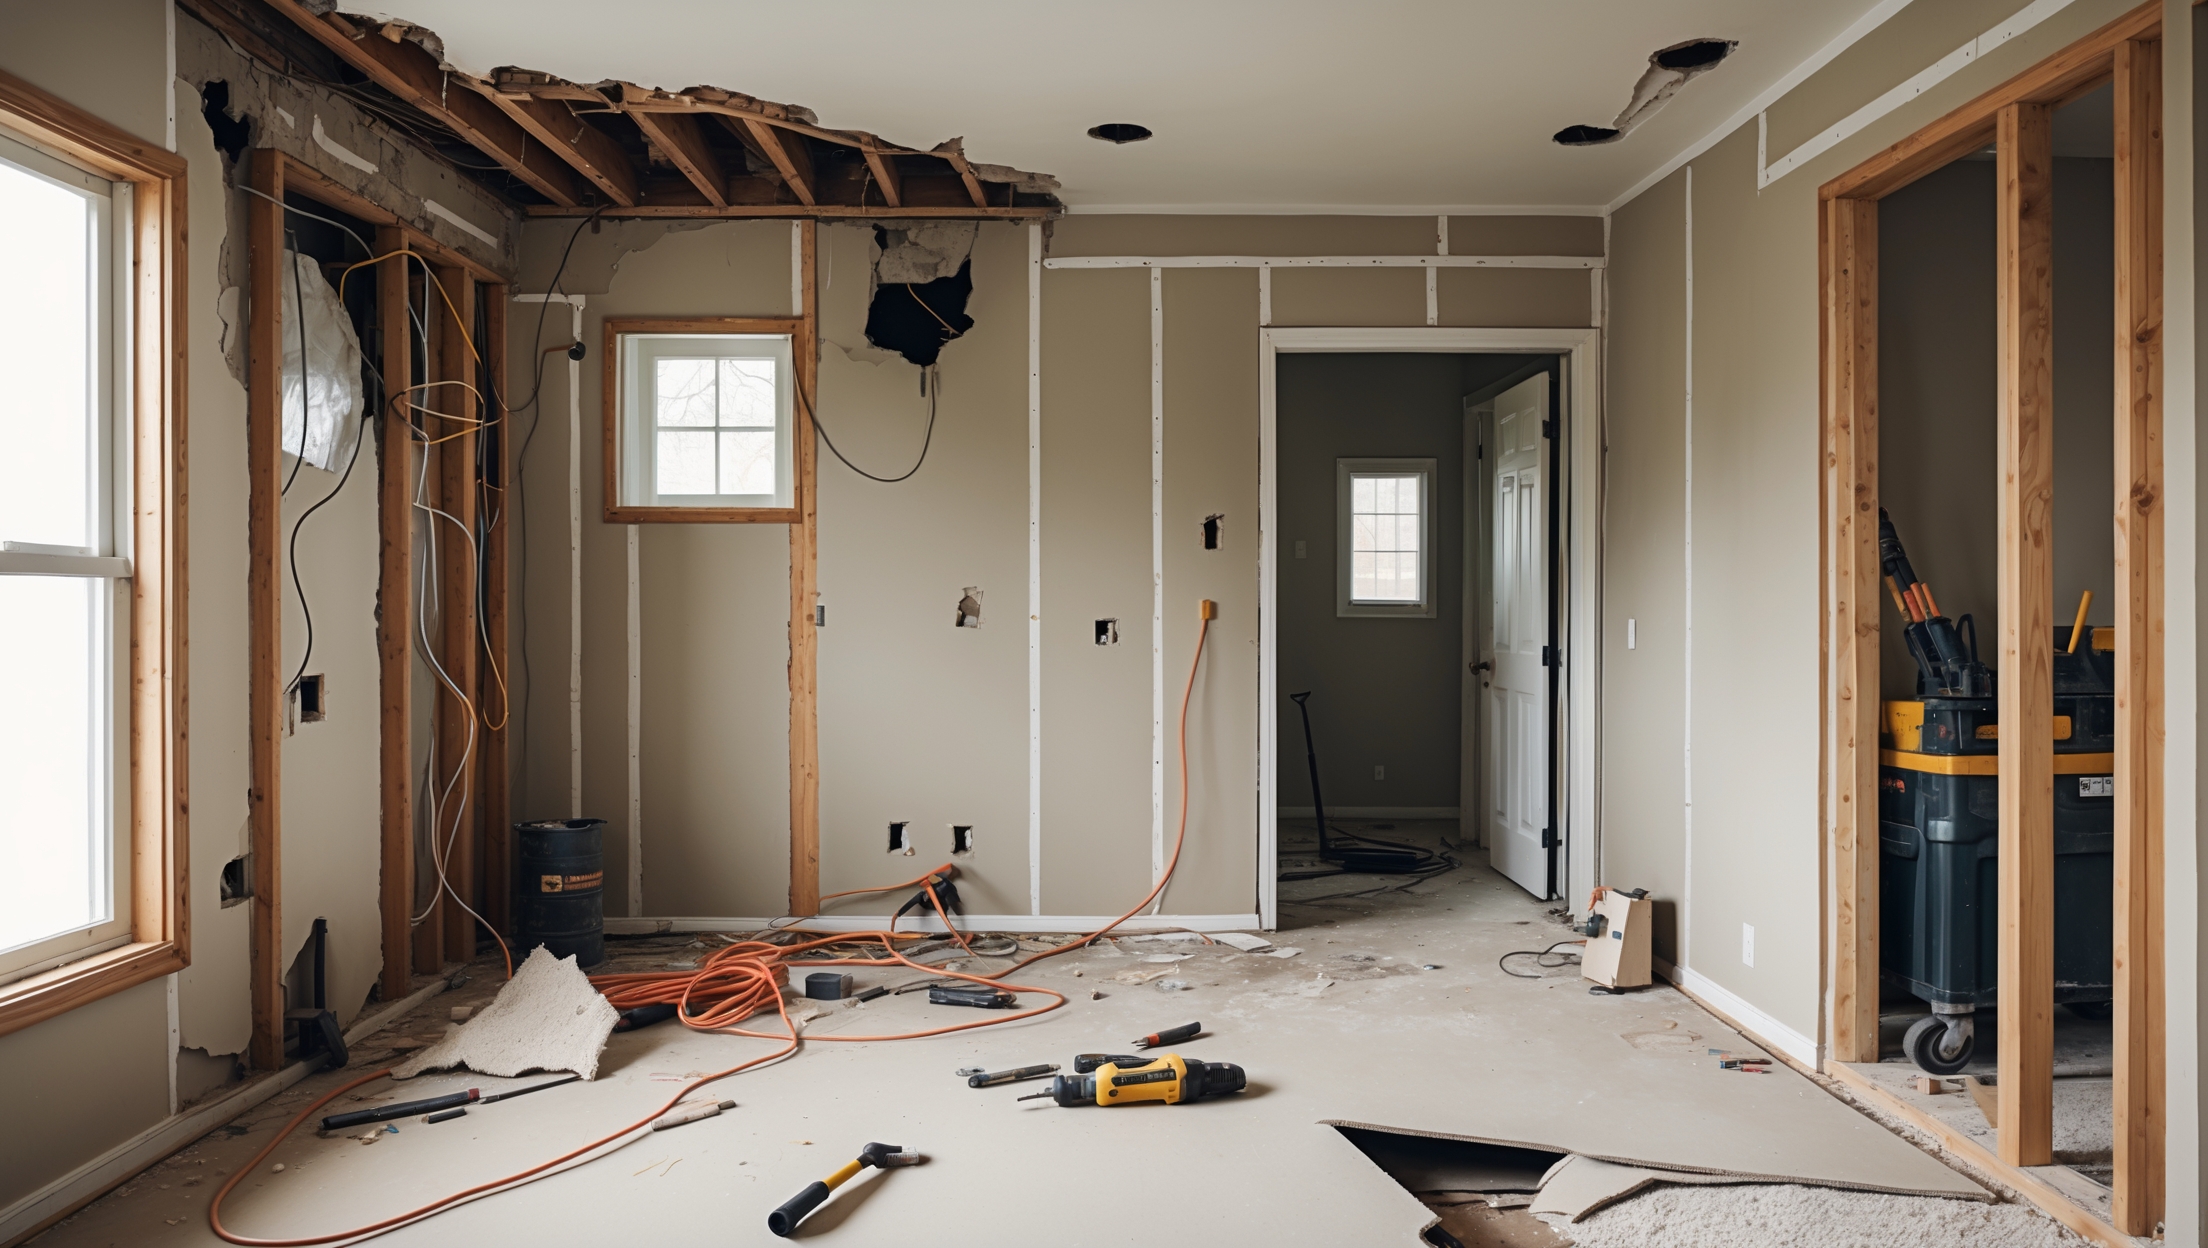
Step 4: Repairing and Patching Surfaces
Wood Repairs
- Rot: Cut out and replace all rotten wood. Seal end grains with wood preservative.
- Holes and Gouges: Fill with exterior-grade wood filler. Let dry, then sand flush.
Stucco and Masonry
- Patch cracks with masonry caulk or patching compound, following manufacturer instructions.
- Allow repairs to cure fully before priming—timing may vary by product.
Metal Surfaces
- Sand rust spots to bare metal. Apply a rust-inhibiting primer before painting.
Inspect caulking around windows, doors, and trim. Remove cracked or shrunken caulk and apply fresh, paintable exterior caulk in a continuous bead. Smooth with a damp finger or caulk tool for a neat finish. Let cure as directed.
Step 5: Sanding and Smoothing
Sanding is crucial for adhesion. Use medium-grit sandpaper to dull glossy surfaces and smooth repaired areas. For detailed trim, use sanding sponges. Wipe down all sanded areas with a damp cloth to remove dust residue.
Step 6: Priming for Lasting Results
Primer ensures a uniform surface and improves paint adhesion. Choose a high-quality, exterior-grade primer suited to your substrate (wood, masonry, metal, etc.).
- Stain-blocking primer: For water stains, tannin bleed, or patched areas
- Bonding primer: For glossy or chalky surfaces
- Masonry primer: For stucco or brick
Apply primer to bare wood, repaired patches, and any area where old paint was removed. For best results, prime the entire surface if the previous paint is very faded or chalky. Allow primer to dry fully before painting—usually 1–24 hours, depending on product and weather.
Step 7: Masking and Protecting Non-Paint Surfaces
Mask windows, doors, light fixtures, and hardware with painter’s tape and plastic sheeting. Lay drop cloths over decks, walkways, and plants. Secure all coverings against wind. Take extra care around rooflines and gutters to keep paint off shingles and flashing.
Pro Tips for Paint Selection and Application
Choosing Long-Lasting Paint
- Opt for 100% acrylic latex exterior paint for most siding types—offers best flexibility and weather resistance.
- Use paint with added mildewcide for shaded or damp areas.
- Consider lighter colors to reflect heat and reduce fading.
- Check for compatibility with your primer and substrate.
Application Techniques
- Use quality brushes for trim and sash, and rollers or sprayers for broad surfaces.
- Work in manageable sections, maintaining a wet edge to avoid lap marks.
- Apply two finish coats for maximum durability.
- Paint in shade whenever possible to prevent premature drying.
Safety Essentials for Exterior Painting Prep
- Always use ladders on stable, level ground. Never overreach—move the ladder instead.
- Wear gloves, safety glasses, and a dust mask when scraping, sanding, or handling chemicals.
- Test for lead paint in homes built before 1978. Follow EPA guidelines for safe removal and disposal.
- Keep children and pets away from the work area until all prep and painting is complete.
- Work with a partner when using tall ladders or scaffolding.
Maintenance Tips to Extend Your Paint Job’s Life
Once your exterior is freshly painted, regular care ensures it stays beautiful for years:
- Inspect annually for cracks, peeling, or caulk failure—touch up as needed.
- Wash exterior walls with a garden hose and soft brush each spring to remove dirt and mildew.
- Keep gutters clean to prevent water damage to siding and trim.
- Trim vegetation regularly to maintain airflow and reduce moisture buildup.
- Promptly address any signs of insect or rodent damage.
Conclusion: Invest in Prep for Professional Results
Painting your home’s exterior is a significant investment, both in time and resources. The difference between a paint job that peels after two years and one that endures for a decade lies in the details of your preparation. Every hour spent on cleaning, repairing, priming, and protecting pays off in a finish that not only looks beautiful but also stands up to the elements. Whether you’re a seasoned DIYer or considering hiring out the work, understanding these preparation steps ensures smarter decisions and better results. Take the time to assess your home’s needs, gather the right tools, and follow proven processes for surface prep. Don’t rush through repairs or skip priming—these are the foundations of a paint job that truly lasts. With proper preparation, your home’s exterior will not only shine with fresh color but also remain protected for years to come, giving you peace of mind and a boost in curb appeal. If you’re ever in doubt about tackling repairs or working at heights safely, consult a professional. Otherwise, with careful prep and quality materials, you’ll enjoy the satisfaction of a job well done—and a home that looks its absolute best.