Introduction: Why Permits Matter More Than You Think
Home improvement is an exciting journey, but it’s all too easy for the thrill of planning new spaces, finishes, or features to overshadow one of the most crucial steps: securing the right permits. Homeowners often underestimate the complexity of building codes and permit requirements—sometimes with costly consequences. Permit pitfalls can lead to project delays, unexpected fines, forced removal of improvements, and even trouble selling your home down the line. Whether you’re planning a kitchen remodel, a deck addition, or a complete overhaul, understanding the permit process is vital to avoiding headaches and ensuring your investment is protected. This guide dissects the most common permit mistakes, explains how to navigate local regulations, and arms you with clear strategies to keep your home improvement project on time, on budget, and on the right side of the law.
Understanding Home Improvement Permits: The Basics
What Is a Home Improvement Permit?
A permit is an official approval issued by your local government or building department allowing you to proceed with a construction or renovation project. Permits ensure that work meets safety standards, zoning laws, and building codes. They exist not to hinder you, but to protect your safety, your property value, and your neighborhood’s integrity.
When Are Permits Required?
- Structural changes: Removing or adding walls, expanding rooms, or modifying the building envelope.
- Electrical, plumbing, or HVAC work: Adding fixtures, relocating outlets, or upgrading systems.
- Exterior modifications: Building decks, fences, sheds, or driveways.
- Major renovations: Kitchen and bathroom remodels, basement finishing, or roof replacements.
- New installations: Water heaters, fireplaces, solar panels, or pools.
Always check with your local building department, as requirements vary widely by municipality and state.
The Most Common Permit Pitfalls (And How to Avoid Them)
1. Assuming You Don’t Need a Permit
This is perhaps the most widespread—and risky—misconception. Even projects that seem minor, like installing a window or replacing a fence, may require permits depending on your location. Skipping permits can result in stop-work orders, forced demolition, or hefty fines. Before you swing a hammer, call your building department or check their website for a permit requirement checklist. When in doubt, ask in writing and keep documentation.
2. Relying on Your Contractor to Handle All Permits
Many homeowners assume their contractor will pull all necessary permits. While reputable pros often do, it’s ultimately your responsibility as the property owner. Some contractors cut corners to save time or costs, putting you at risk. Always clarify in your contract who is securing permits, and request copies of all approved permits before work begins.
3. Underestimating Permit Timelines
Permit approvals can take anywhere from a few days to several weeks, especially for larger projects or those requiring plan reviews. Delays are common if paperwork is incomplete or code requirements are unclear. Start the process early and build a permit buffer into your project timeline to avoid frustration and contractor scheduling issues.
4. Incomplete or Inaccurate Application Submissions
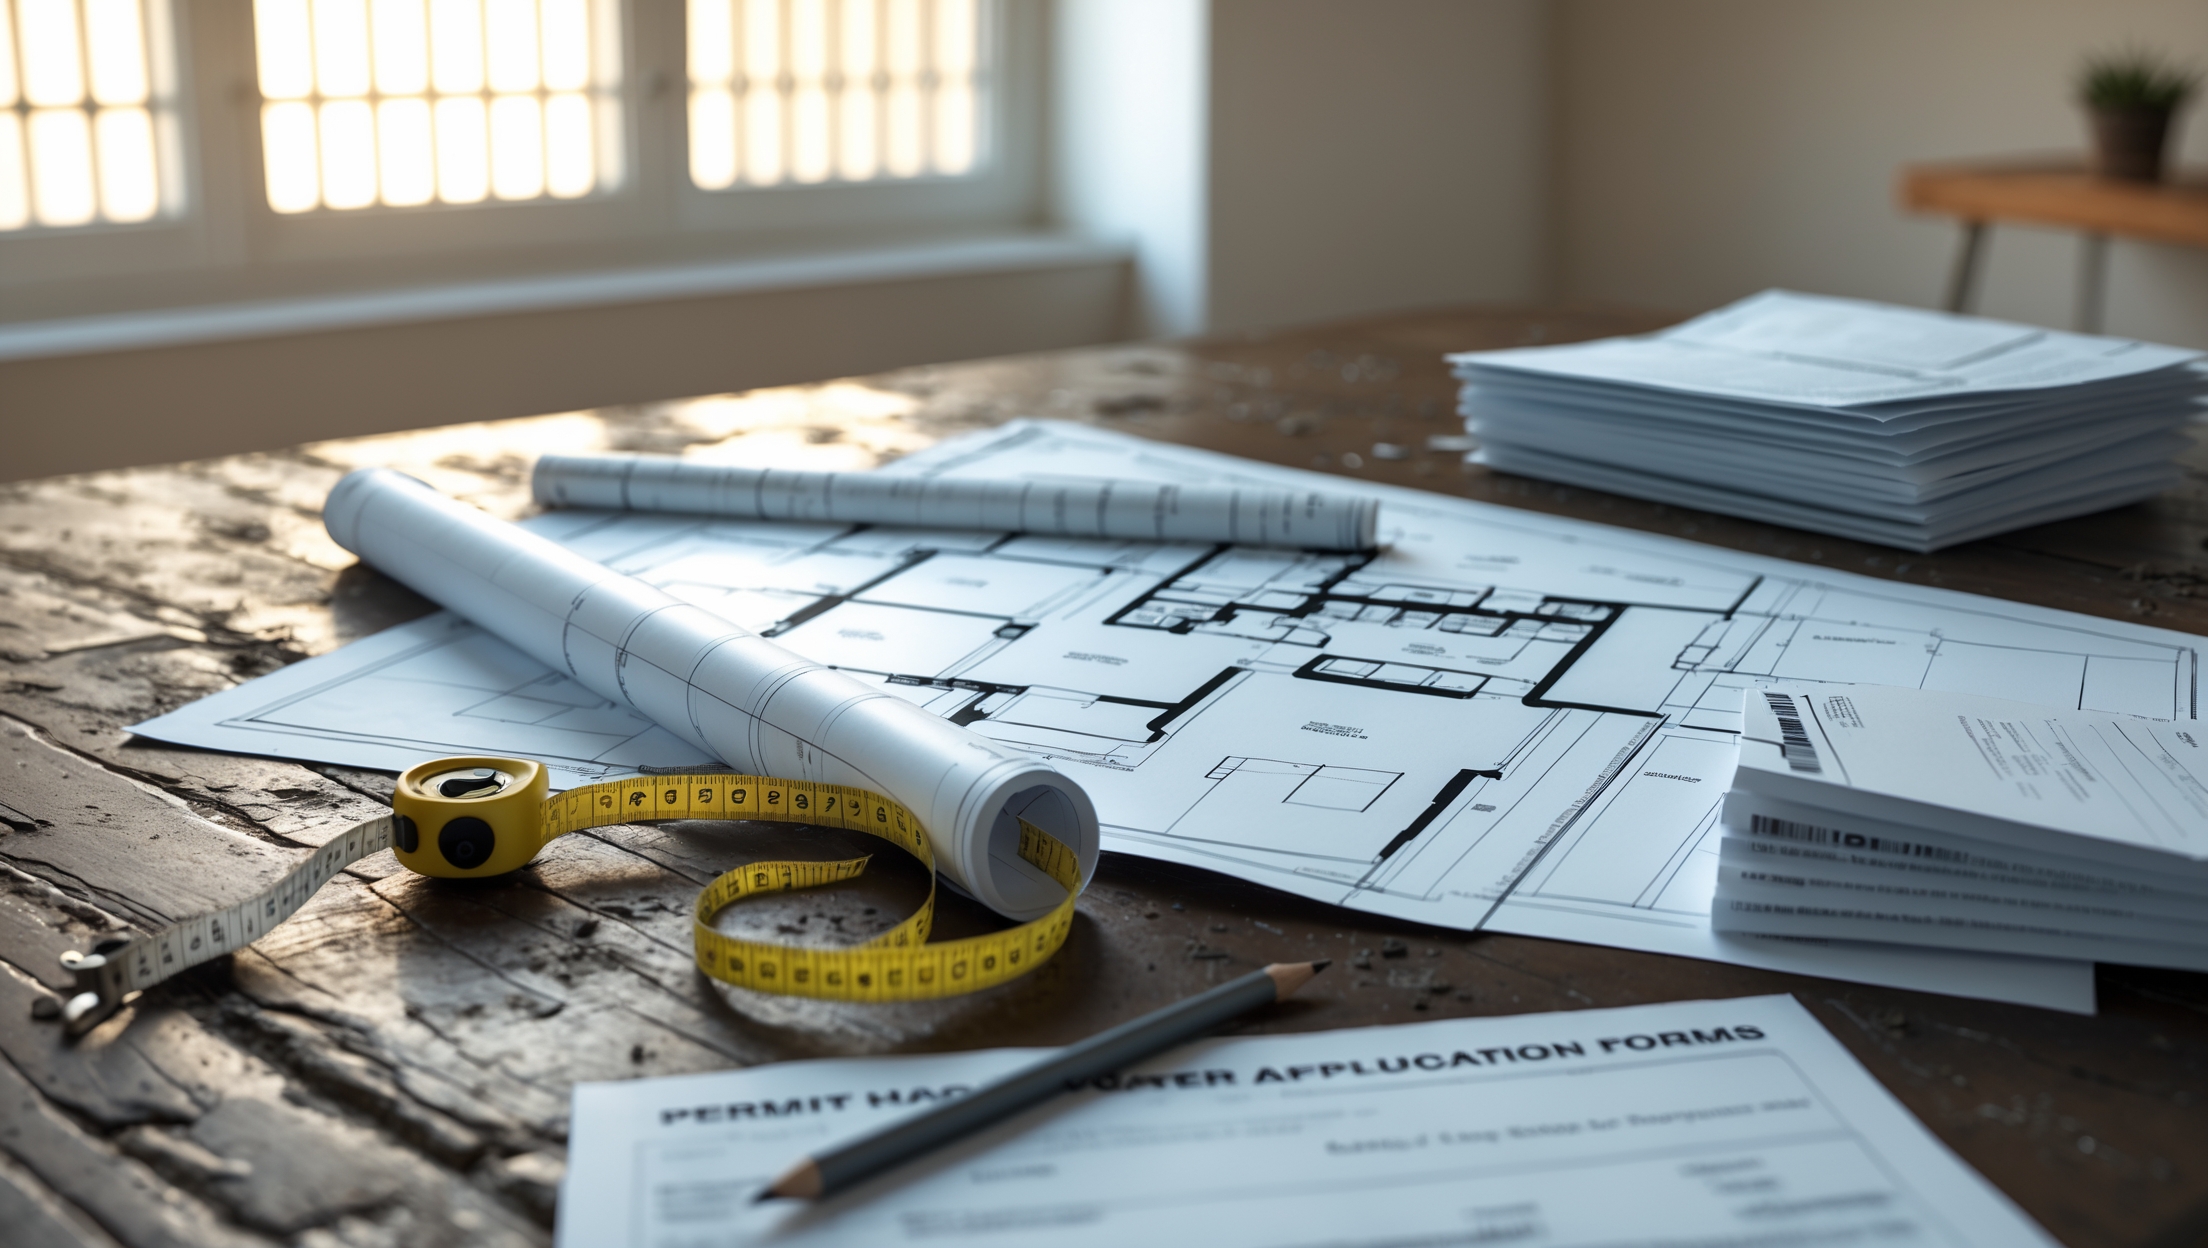
Missing documents, unclear plans, or incorrect information can stall your approval. Most permit applications require:
- Detailed project plans or blueprints
- Site plans (showing distances to property lines and other structures)
- Product specifications (for appliances, HVAC, etc.)
- Proof of contractor licensing and insurance
Ask your building department for a checklist and double-check every requirement before submitting.
5. Starting Work Without Final Approval
Do not begin demolition or construction before permits are fully approved—some areas issue preliminary permits, but most require you to wait for a final, stamped document. Starting early can lead to inspections, citations, and potentially having to redo or remove work already completed.
6. Ignoring Inspections
Permits typically require several inspections at different stages—framing, electrical, plumbing, and final sign-off. Skipping or delaying inspections can void your permit, delay occupancy, and create problems during future sales. Schedule inspections promptly and keep records of passed inspections.
7. Not Closing Out the Permit
Open permits linger on your property record and can cause headaches when refinancing or selling your home. Once work passes the final inspection, ensure the permit is officially closed. Request proof of closure from your building department.
Permitting Process: Step-by-Step Walkthrough
Step 1: Research Local Requirements
Visit your city or county building department’s website for guides on what requires a permit. Some municipalities offer online self-assessment tools. If the rules are unclear, call or visit in person with a description of your project.
Step 2: Prepare Detailed Plans
Accurate and detailed plans are the backbone of a smooth permit process. For simple projects, hand-drawn diagrams may suffice. For larger renovations, you’ll likely need professional blueprints created by an architect or designer. Plans should clearly show:
- Dimensions and layout
- Structural elements (beams, load-bearing walls)
- Electrical, plumbing, and HVAC details
- Materials and products used
Step 3: Complete the Permit Application
Each jurisdiction has its own forms. Fill them out completely, attach all supporting documents, and include contractor information if using one. Some cities allow online submissions, while others require in-person filing.
Step 4: Submit and Pay Fees
Permitting fees vary by project scope and location. Expect to pay anywhere from $50 for minor improvements to several thousand dollars for extensive renovations. Keep receipts for your records.
Step 5: Wait for Review and Approval
The review process ranges from a few days to several weeks. If corrections are requested, respond quickly. Larger projects may be routed through multiple departments (zoning, fire, environmental). Stay proactive and check your application status regularly.
Step 6: Receive Permit and Post On-Site
Once approved, you’ll receive a permit document—often a colored paper or placard—which must be displayed visibly at the job site. Inspectors will look for this during visits.
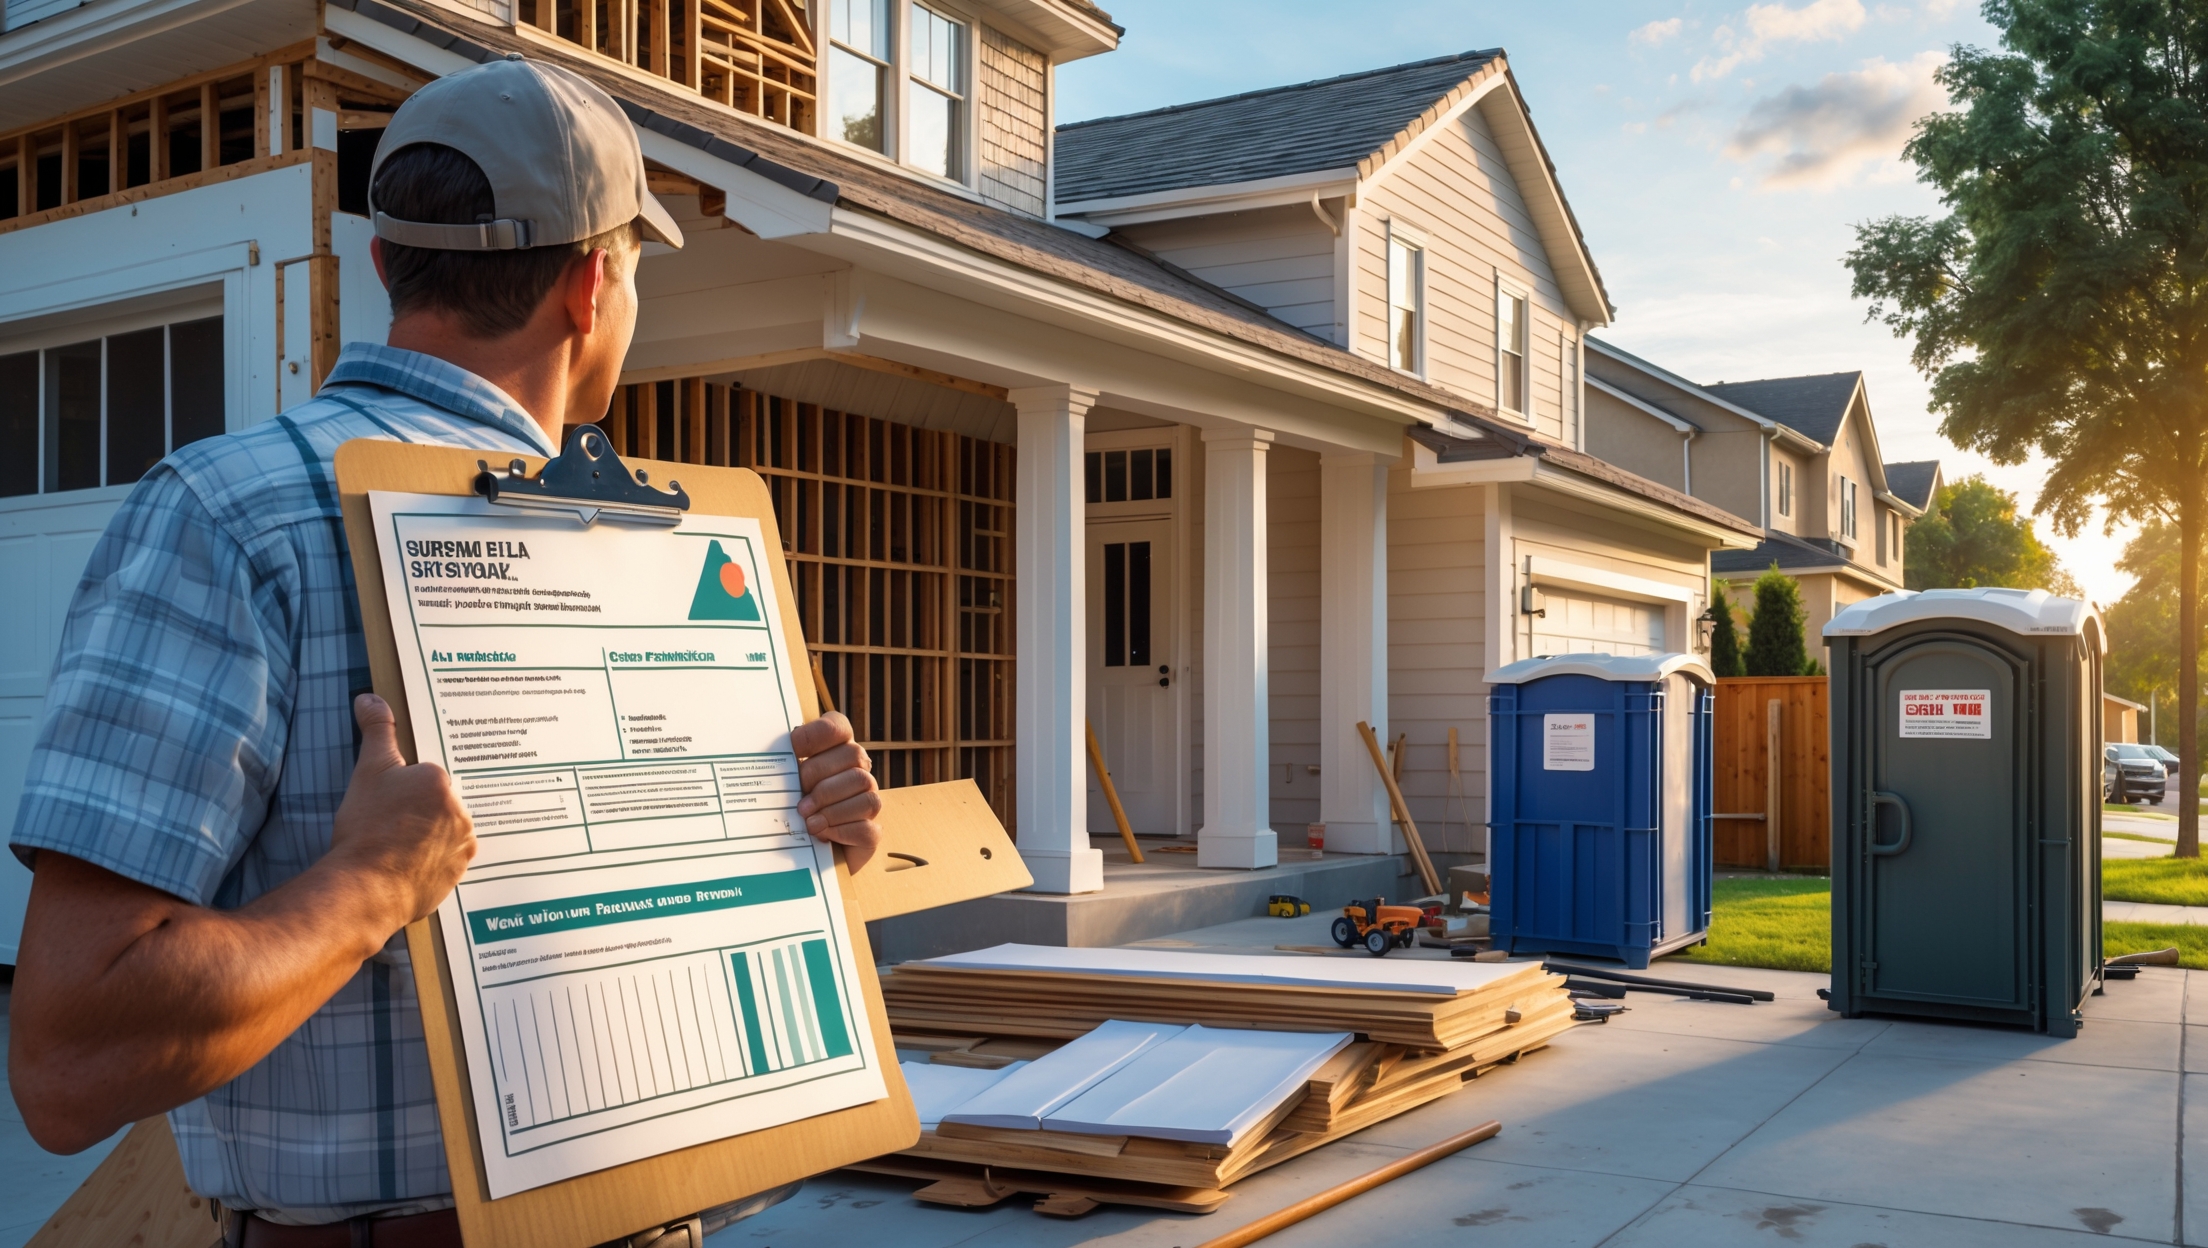
Step 7: Schedule Required Inspections
Inspections occur at key project milestones. Common inspection points include:
- Foundation
- Framing
- Rough-in (electrical, plumbing, HVAC)
- Insulation
- Final inspection
Coordinate with your contractor and inspectors’ schedules to avoid delays.
Step 8: Obtain Final Approval and Close Permit
After passing the final inspection, request documentation that the permit is closed. Keep this with your home records—it’s proof your project was completed to code.
What Happens If You Skip the Permit?
Financial and Legal Risks
- Fines: Penalties for unpermitted work can range from hundreds to thousands of dollars, depending on your jurisdiction.
- Stop-Work Orders: Inspectors can halt your project until permits are obtained.
- Demolition Orders: In severe cases, you may be required to remove completed work.
- Insurance Voidance: Homeowner’s insurance may not cover damage or injuries from unpermitted improvements.
- Resale Complications: Open or missing permits can delay or derail a home sale.
Case Example: The Cost of Cutting Corners
Consider a homeowner who finished their basement without a permit to save time. Years later, a buyer’s inspection revealed the unpermitted work. Not only did the sale stall, but the homeowner had to hire an engineer to confirm code compliance, pay double permit fees, and open walls for inspection—costing thousands more than doing it right from the start.
Tips for Smooth, Permit-Ready Projects
- Start Early: Build permit lead times into your planning process.
- Document Everything: Keep copies of permits, plans, and inspection records.
- Communicate with Inspectors: Treat building officials as partners. Their input can help you avoid costly mistakes.
- Work with Licensed Pros: Licensed contractors are familiar with local codes and can streamline approvals.
- Stay Up to Date: Codes change regularly. Refer to the latest requirements for your area.
- Clarify Responsibility: Ensure contracts specify who is responsible for permits and inspections.
- Close Permits Promptly: After project completion, follow up until the permit is officially closed.
Frequently Overlooked Permit Scenarios
- Accessory Structures: Sheds, pergolas, and gazebos often require permits, especially if over a certain size or with electrical connections.
- Driveway Expansions: Altering your driveway may trigger zoning reviews, especially for impervious surface limits.
- Window and Door Changes: Enlarging openings can affect structural integrity and energy codes.
- Fencing: Height, material, and location restrictions are common.
- Retaining Walls: Walls above a certain height almost always require engineering and permits.
- Landscaping Grading: Significant changes in grading can impact drainage and require approval.
How to Appeal Permit Denials or Disputes
Understanding the Appeals Process
If your permit is denied or you disagree with an inspector’s findings, you have options. Most municipalities offer an appeals process involving a hearing before a building board or code official. Prepare by gathering supporting documentation, such as engineering reports or code references, and present your case clearly and respectfully.
Seeking Professional Help
For complex appeals, consider hiring a code consultant, architect, or attorney specializing in construction law. Their expertise can help you navigate bureaucratic hurdles and negotiate solutions.
Conclusion: Invest in Compliance, Protect Your Project
Home improvement projects are significant investments—of money, time, and dreams of a better home. While permits may seem like bureaucratic hurdles, they are essential safeguards ensuring your renovations are safe, legal, and future-proof. Cutting corners by skipping permits or overlooking inspections can cost far more in the long run, in both dollars and stress. By proactively researching requirements, preparing thorough applications, and scheduling timely inspections, you’ll avoid the most common pitfalls that sideline homeowners’ projects. Remember: transparency and communication with your building department are your allies, not your adversaries. Keep meticulous records, clarify responsibilities with your contractor, and never hesitate to ask questions or seek expert advice. In the end, investing a little extra effort in compliance protects not only your current project, but also your home’s long-term value and your peace of mind. The permit process doesn’t have to be daunting—armed with the right knowledge, you can navigate it confidently and keep your home improvement dreams solidly (and legally) on track.