Introduction
Launching a home improvement project is exciting—transforming your living space, adding value, and bringing your vision to life. But before the first hammer swings or wall is painted, there’s a crucial step that can make or break your entire renovation: securing the right permits and ensuring compliance with local regulations. Many homeowners underestimate the importance of home improvement permits, only to face frustrating delays, costly fines, or even forced demolition. In this comprehensive guide, we’ll walk you through every stage of the permit compliance process, from understanding when permits are needed, to preparing flawless applications, passing inspections, and staying organized—all to help you achieve a smooth, stress-free renovation. Whether you’re a first-time DIYer or an experienced renovator, mastering permit compliance will save you time, money, and headaches while protecting your investment and keeping your project on track.
Understanding Home Improvement Permit Basics
What Is a Building Permit?
A building permit is an official approval issued by your local government allowing you to proceed with construction, alteration, or major repairs to your property. Permits ensure the work meets safety, health, and zoning standards. Without a permit, you risk fines, delays, and potentially having to undo completed work.
Why Are Permits Necessary?
- Safety: Permits ensure renovations meet current building codes and safety standards.
- Legal Protection: Work done without a permit may void insurance or cause legal issues during sales.
- Property Value: Properly permitted work adds value and avoids problems during inspections or appraisals.
Typical Projects That Require Permits
- Structural changes (removing or adding walls)
- Electrical system upgrades or rewiring
- Plumbing modifications
- Window or door replacements (if changing size or location)
- Roof replacement
- Deck or patio construction
- HVAC modifications
For purely cosmetic updates (painting, flooring, cabinetry), permits are usually not required—but always double-check with your local authority.
Step 1: Research Local Regulations
Identify the Correct Authority
Building permits are typically managed by your city or county’s building department. Some neighborhoods may also have HOA restrictions that add another layer of compliance. Visit your local government website or call the building department to confirm who oversees your area.
Gather Information
- Check if your project requires a permit—each locality has specific rules.
- Review zoning codes to ensure your plans meet lot coverage, setback, and height requirements.
- Request any required application forms, checklists, and fee schedules.
- Ask about typical timelines for approval.
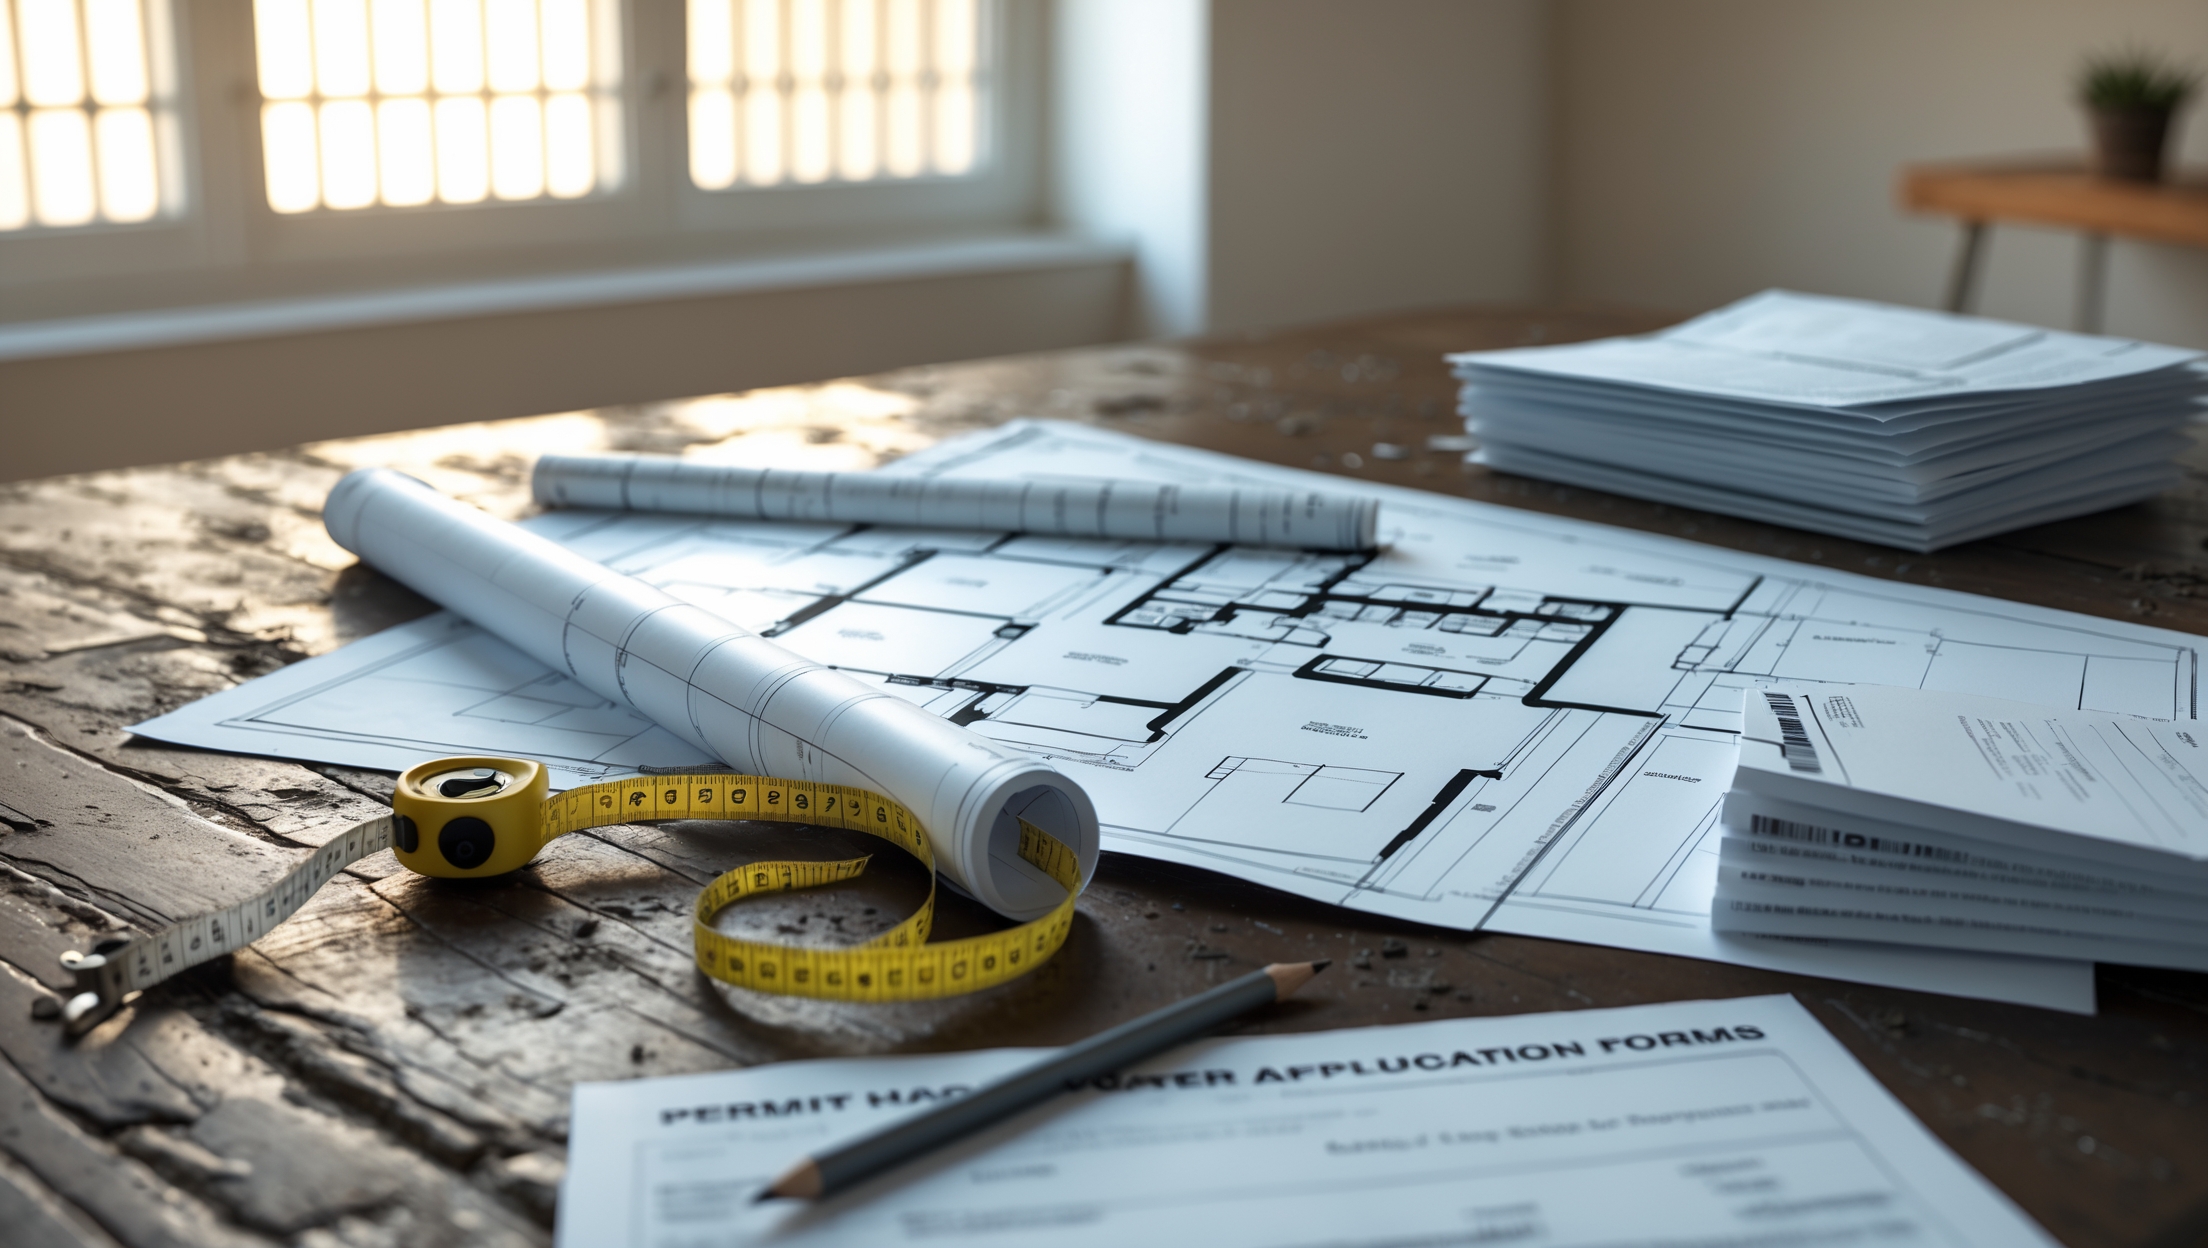
Step 2: Prepare Detailed Project Documentation
What You’ll Need
- Scaled Drawings: Detailed floor plans, site plans, and elevations as required.
- Scope of Work: A clear description of the work, including materials and methods.
- Contractor Information: If hiring professionals, include their license numbers and insurance.
- Product Specs: Data sheets for windows, doors, HVAC units, etc., if applicable.
Tips for Success
- Use clear, accurate measurements—errors cause delays.
- Label all drawings and documents with your address and applicant name.
- Double-check all requirements before submission; missing items can lead to immediate rejection.
- If unsure, ask for a pre-application meeting—many departments offer this service to catch issues early.
Step 3: Submit Your Permit Application
Filing Methods
- Online: Many cities now offer digital applications. Scan and upload your documents, pay fees online, and track status in real-time.
- In Person: Bring all required documents to the building department. Get a stamped copy as proof of submission.
Paying Fees
Permit fees vary by project type, size, and locality. Keep receipts for all payments. Your fees usually cover plan review and a certain number of inspections.
Step 4: Respond to Plan Review Feedback
Understanding Plan Review
After submission, your documents will undergo a plan review. The reviewer checks for compliance with building codes, zoning laws, and safety regulations. Common issues that trigger corrections include incomplete drawings, missing structural details, or unclear scope.
How to Address Corrections
- Read correction notices carefully and respond to each point.
- Revise drawings or descriptions as requested—don’t ignore any item.
- Resubmit corrected documents promptly. Delays here can stall your project for weeks.
- If you disagree with a correction, request clarification or a meeting before resubmitting.
Step 5: Permit Issuance & Posting Requirements
Receiving Your Permit
Once your application passes review, you’ll receive official approval—often as a printed document or digital certificate. Double-check the scope and conditions listed; only the approved work may proceed.
Posting the Permit
- Most jurisdictions require the permit to be posted in a visible location at the worksite, such as a front window or on-site notice board.
- Inspectors will check for proper posting during site visits. Failure to post can result in fines or inspection delays.
Step 6: Scheduling and Passing Inspections
Types of Inspections
- Foundation: Before pouring concrete or installing footings.
- Framing: After structural work, before walls are closed.
- Electrical/Plumbing: After rough-in, before fixtures are installed.
- Final Inspection: When all work is complete.
Inspector Expectations
- All work must be accessible and visible—do not cover walls, pipes, or wires before inspection.
- The permit, plans, and correction notices (if any) must be on site.
- Site must be safe and well-lit; clear hazards before the inspector arrives.
Handling Re-Inspections
- If your project fails inspection, you’ll receive a list of corrections.
- Make all required fixes, then reschedule the inspection. There may be a re-inspection fee.
- Keep a log of inspection dates and results for your records.
Step 7: Closing Out Your Permit
Final Sign-Off
Once all inspections are passed, your permit is considered closed. Obtain written confirmation (often called a Certificate of Completion or Occupancy, depending on project type). Keep this document for future reference—especially if you plan to sell your home.
What Happens If You Don’t Close Out?
- Open permits can delay property sales or refinancing.
- Unresolved permits may result in fines from your city or county.
Common Pitfalls and How to Avoid Them
Pitfall #1: Skipping the Permit Process
Tempted to save money or time by skipping permits? Don’t. Unpermitted work can lead to forced demolition, denial of insurance claims, or legal trouble when selling.
Pitfall #2: Incomplete or Inaccurate Documents
Vague plans or missing details are the #1 cause of delayed approvals. Take the time to prepare complete, precise documentation from the start.
Pitfall #3: Ignoring Zoning or HOA Rules
Zoning or HOA violations can halt your project even if you have a building permit. Always clear all layers of regulation before starting work.
Pitfall #4: Poor Communication With Inspectors
Be courteous, ask questions, and follow up promptly. Inspectors are there to help you build safely—not to cause trouble.
Staying Organized Throughout the Permit Process
- Create a dedicated folder (physical or digital) for all permit documents, plans, receipts, and correspondence.
- Log all communications with the building department—date, time, contact name, and summary.
- Set calendar reminders for inspection dates and permit deadlines.
- Take progress photos of your work at each inspection stage.
Frequently Asked Questions (FAQs)
- Q: How long does it take to get a permit?
A: Simple projects can be approved in a week or two; complex renovations may take a month or more. Plan ahead! - Q: Can I submit permit applications myself?
A: Yes, homeowners can usually apply directly, but some cities require licensed contractors for certain work. - Q: What if I discover unpermitted work from a previous owner?
A: Contact your building department about retroactive permits or inspections. Don’t ignore it—it can affect insurance and resale.
Conclusion
Securing permits and achieving compliance may seem daunting at first glance, but it’s an indispensable step for any successful home improvement project. By following the structured, step-by-step approach outlined in this guide, you’ll avoid common pitfalls, minimize delays, and gain peace of mind knowing your renovation is safe, legal, and up to code. Remember: the permit process is designed to protect you, your investment, and your community. Cutting corners can lead to expensive setbacks, while diligent compliance paves the way for a smooth project and lasting value. Make permit compliance a priority from the outset, keep meticulous records, communicate proactively with your local authorities, and never hesitate to seek clarification when needed. With the right preparation and attention to detail, you’ll move from application to final inspection with confidence—and enjoy the results of your home improvement for years to come.