Introduction: The Power of the Right Tools
Every successful home improvement project begins with the right tools. Whether you’re a weekend warrior tackling a bathroom refresh or a new homeowner eager to hang shelves and fix squeaky doors, your toolkit can make or break your DIY experience. But with aisles of gadgets at every hardware store and ever-flashier ads online, it’s easy to get overwhelmed—or worse, to overspend on tools you’ll rarely use. Equally, lacking the right equipment can lead to frustration, poor results, or even safety hazards. So, how do you build a toolkit that’s both practical and cost-effective?
This guide is your roadmap to assembling a set of essential tools tailored for home improvement enthusiasts. We’ll break down exactly what you need for most common projects, highlight smart upgrades as your skills grow, and—crucially—debunk myths about trendy gadgets that often collect dust. You’ll find clear recommendations, practical tips for buying, and honest advice about what to skip or borrow. Let’s help you save money, avoid clutter, and work safer and smarter on every DIY job.
Why Tool Selection Matters
Safety First
Using the right tool for the job isn’t just a matter of efficiency; it’s a core safety principle. For example, using a screwdriver as a pry bar can damage the tool and cause injury. Tools designed for specific tasks reduce the risk of slips, breakages, and accidents.
Quality of Work
The right tools deliver cleaner, more professional results. Precision is hard to achieve with makeshift solutions. Investing in a reliable level, for instance, ensures your shelves hang straight, while a quality drill produces cleaner holes and fewer wall repairs.
Saving Time and Money
Well-chosen tools save hours of frustration. They’re easier to use, require less maintenance, and often outlast bargain alternatives. Avoiding unnecessary purchases also keeps your budget focused on high-impact upgrades.
Core Tools: The Non-Negotiables
If you’re starting from scratch, these are the tools that should form the backbone of your DIY kit. Each is chosen for versatility and frequency of use in common home improvement tasks.
- Claw Hammer: For driving and pulling nails, light demolition, and countless quick fixes.
- Measuring Tape (at least 25 feet): Accurate measurements are crucial for everything from furniture placement to cutting lumber.
- Quality Screwdriver Set (flathead and Phillips): Essential for assembling furniture, tightening hinges, and removing outlet covers.
- Adjustable Wrench: Handles nuts and bolts of various sizes—vital for plumbing and furniture assembly.
- Utility Knife: For cutting drywall, opening boxes, trimming caulk, or scoring materials.
- Pliers (needle-nose and slip-joint): Used for gripping, twisting, and pulling wires or nails.
- Level (24-inch or digital): For ensuring straight shelves, frames, and installations.
- Stud Finder: Reduces the risk of damaging wiring or plumbing when affixing objects to walls.
- Cordless Drill/Driver with Bit Set: Makes quick work of drilling holes and driving screws; cordless is most practical for indoor tasks.
- Safety Gear: Includes safety glasses, dust mask, and ear protection—never overlook personal protection.
Tools Worth Upgrading as You Grow
Once you’re comfortable with core projects or planning bigger renovations, consider enhancing your toolkit with these high-impact upgrades:
- Circular Saw: For quick, straight lumber cuts—ideal for shelving, framing, or deck repairs.
- Power Sander (orbital or detail): Smooths wood, removes paint, and preps surfaces faster than manual sanding blocks.
- Socket Set: More efficient than adjustable wrenches for assembling furniture, bikes, or appliances.
- Adjustable Work Light: Illuminates dim spaces—crucial for basements, attics, or evening projects.
- Wet/Dry Vacuum: Cleans up sawdust, drywall debris, or minor water spills during renovations.
Tools You Can Skip (or Borrow Instead)
Not every shiny gadget deserves a permanent spot in your garage. Here’s what most DIYers can safely skip—at least until a specific project demands otherwise:
- Tile Saw: Only necessary for large tiling jobs; rent as needed.
- Paint Sprayer: Great for pros, but rollers and brushes suffice for most home painting.
- Plumbing Snake: Rent or call a pro for serious clogs; small hand augers are fine for basic blockages.
- Specialty Nail Guns: Unless building decks or framing walls, a hammer and drill handle most fastening needs.
- Laser Distance Measurer: Handy for large spaces, but a quality tape measure is almost always enough.
- Multi-Tool Blades for Rare Tasks: Only buy the attachments you’ll actually use.
Borrow or rent rarely used tools from neighbors, tool libraries, or local hardware stores. This saves money, storage space, and maintenance hassle.
Tool Quality vs. Budget: Finding the Sweet Spot
Buy Once, Buy Right
For your core tools, invest in reputable brands known for durability. Cheap screwdrivers and hammers can break or strip fasteners, costing more in the long run. Read reviews, test tool weight and ergonomics in-store, and look for lifetime warranties where possible.
Where to Save
For specialty tools you’ll rarely use, opt for mid-range or even pre-owned options. Many hardware stores offer quality refurbished tools, and online marketplaces can yield bargains for items like orbital sanders or pipe wrenches.
Tool Kits vs. Individual Purchases
Pre-assembled tool kits offer convenience but may include low-quality versions or unnecessary extras. Compare the kit contents to your actual needs and supplement with higher-quality standalones if necessary.
Smart Storage and Maintenance Tips
Tool Organization
- Toolbox or Bag: Keeps essentials portable and organized for small jobs.
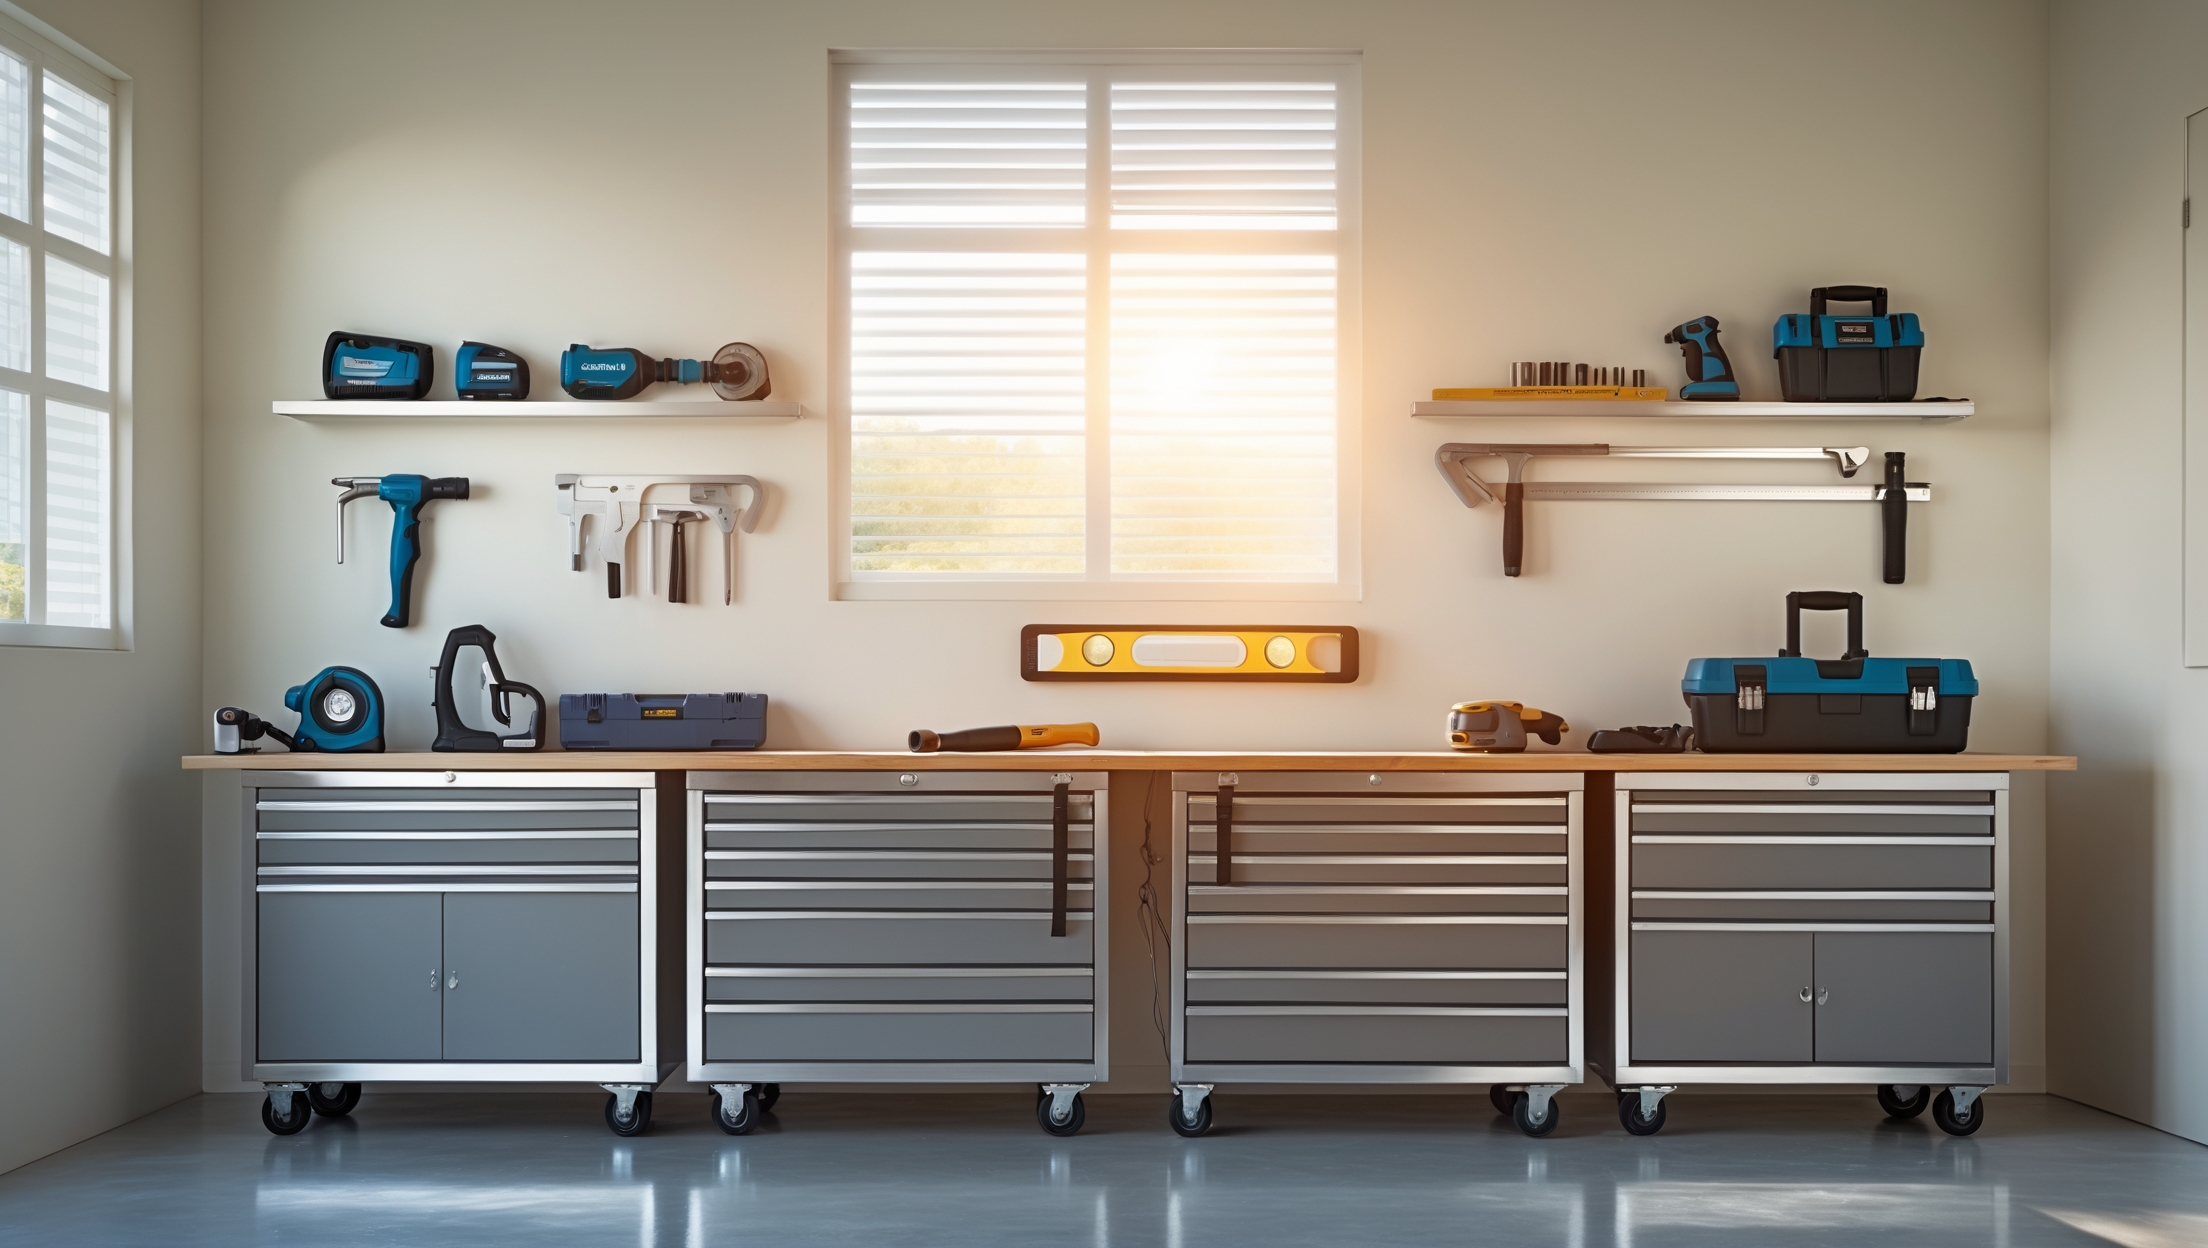
- Pegboard Wall: Ideal for garages or workshops—hang tools for easy access and inventory at a glance.
- Drawer Liners: Prevent tools from sliding and getting damaged in tool chests.
Maintenance Basics
- Wipe down tools after use to prevent rust.
- Sharpen blades (utility knives, chisels, saws) regularly for safer, cleaner cuts.
- Charge cordless tools and store batteries separately in a cool, dry place.
- Inspect electrical cords for damage before every use.
Building Your Toolkit: Step-by-Step Approach
Step 1: Assess Your Immediate Needs
List upcoming projects. Do you plan to paint, assemble furniture, or repair drywall? Start with the tools needed for these specific tasks.
Step 2: Buy Core Tools First
Invest in essentials you’ll use repeatedly. Prioritize quality for your hammer, screwdrivers, tape measure, and cordless drill.
Step 3: Upgrade Gradually
Add tools as projects demand. If you take on woodworking, invest in a circular saw or sander. For plumbing, add a basin wrench. Avoid buying tools “just in case.”
Step 4: Borrow or Rent When Possible
For one-off or rare tasks—like tiling a backsplash or cleaning gutters—consider borrowing from neighbors, tool libraries, or renting from hardware stores.
Step 5: Organize and Maintain
Use a toolbox, wall rack, or drawer system to keep tools accessible and in good condition. Clean, dry, and inspect tools after every project.
Special Considerations for Small Spaces and Apartments
Living in an apartment or small home? Focus on compact, multi-use tools. A multi-bit screwdriver, compact cordless drill, and folding step ladder can handle most indoor projects. Opt for a soft tool bag instead of a bulky toolbox, and store tools in closets or under beds. Always check lease agreements before making modifications or using power tools, and invest in protective mats to prevent floor damage.
Common Tool Myths—Debunked
- Myth: “More tools = better results.”
Reality: A smaller set of quality, well-chosen tools outperforms a cluttered collection of seldom-used gadgets. - Myth: “You need every specialty tool for DIY success.”
Reality: Most projects can be tackled with core tools, with only occasional need for niche equipment. - Myth: “All tools are created equal.”
Reality: Brand reputation, ergonomics, and material quality make a significant difference in safety and long-term value.
Safety Reminders When Using Tools
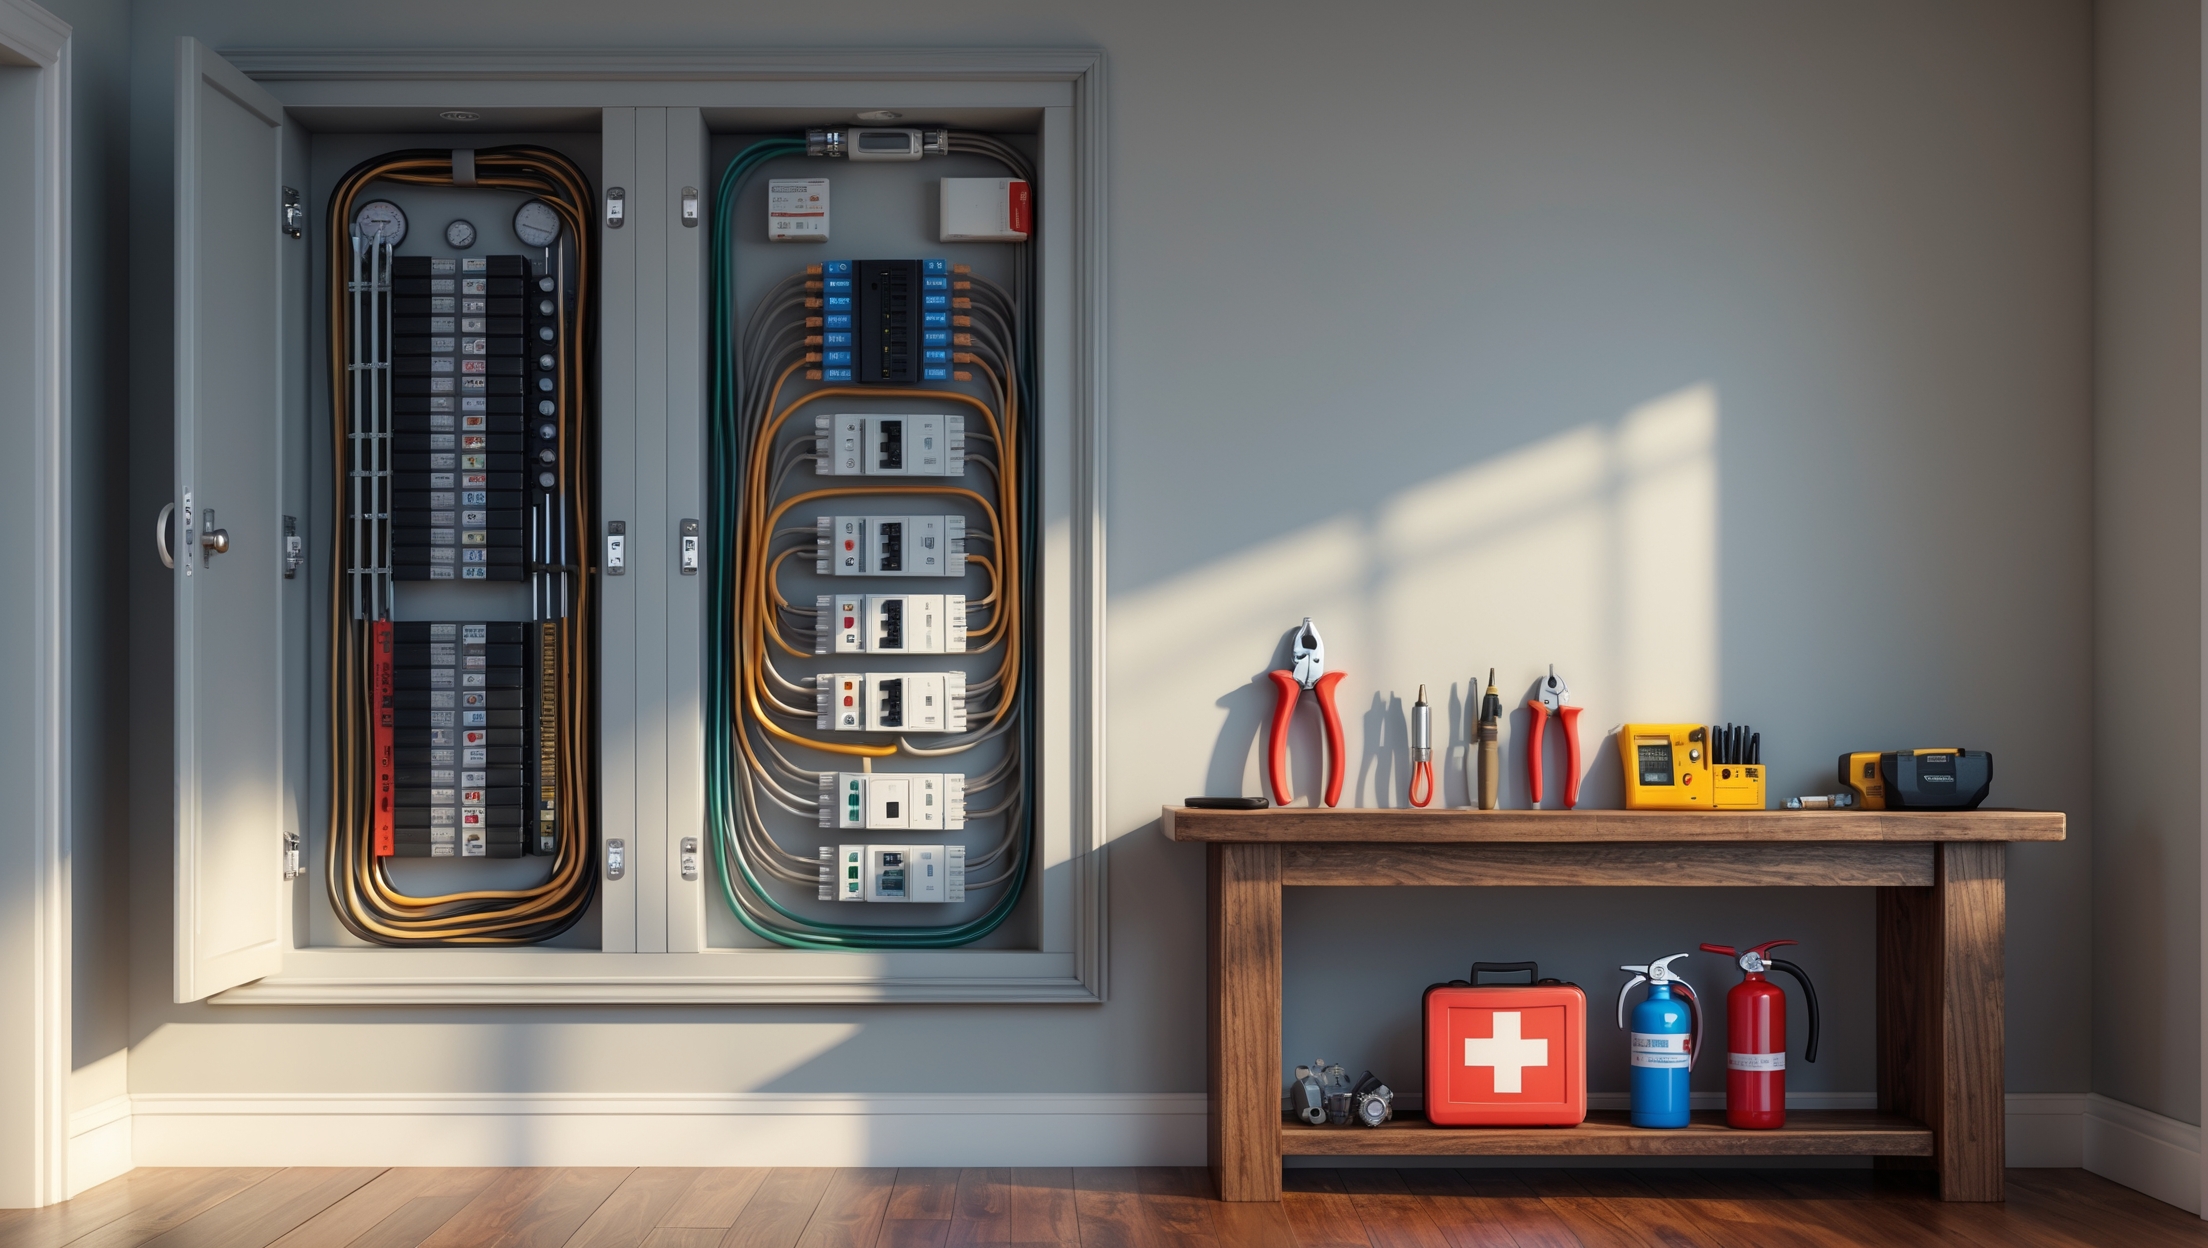
- Always wear appropriate safety gear—especially eye protection and dust masks.
- Read manufacturer instructions before using new or unfamiliar tools.
- Keep your work area clean and well-lit to prevent accidents.
- Unplug power tools before changing bits or blades.
- Store sharp tools securely, out of reach of children and pets.
Conclusion: Build Smart, Work Safe, Enjoy the Results
Assembling the right toolkit is a crucial foundation for any home improvement journey. With the essentials covered—hammer, screwdrivers, tape measure, level, pliers, and a cordless drill—you’ll be ready for the vast majority of repairs and upgrades. Upgrading thoughtfully as your ambitions grow ensures you’re not weighed down by unnecessary gear or expenses.
Remember, the best toolkit is one that matches your needs and space. By resisting the urge to buy every gadget, and focusing instead on quality and versatility, you’ll work more efficiently, safely, and confidently. Borrow or rent tools for rare specialty projects, and invest your savings into materials or future upgrades that truly enhance your home.
Stay organized, maintain your gear, and always put safety first. With these practices, you’ll enjoy the satisfaction of a well-executed project—whether it’s a perfectly hung gallery wall, a freshly painted room, or a smoothly running household. Happy DIYing!


