Introduction: Why EV Charging Station Installation Matters
The rapid rise of electric vehicles (EVs) has made home charging stations a staple of modern home improvement. Whether you’re a long-time EV enthusiast or a new owner eager to charge your car overnight, installing a home EV charger is one of the most impactful upgrades you can make for convenience and future-proofing your property. However, many homeowners make costly mistakes during the installation process—errors that can lead to safety hazards, compliance issues, unexpected expenses, or reduced charging efficiency. In this detailed guide, we’ll walk you through the most common pitfalls when setting up a home EV charging station, and provide actionable advice to help you avoid them. From budgeting and equipment selection to permits, safety, and maintenance, this post will empower you to complete your installation smoothly and confidently. Whether you plan to DIY or hire a professional, these practical tips will save you time, money, and frustration, while ensuring your EV charger operates safely and reliably for years to come.
Understanding Home EV Charging: Levels, Power, and Planning
Level 1 vs. Level 2 Charging: What’s the Difference?
Before starting your installation, it’s crucial to understand the difference between Level 1 and Level 2 charging:
- Level 1 Charging: Uses a standard 120V outlet; slowest charging speed (adds about 3-5 miles of range per hour). Best for plug-in hybrids or occasional charging.
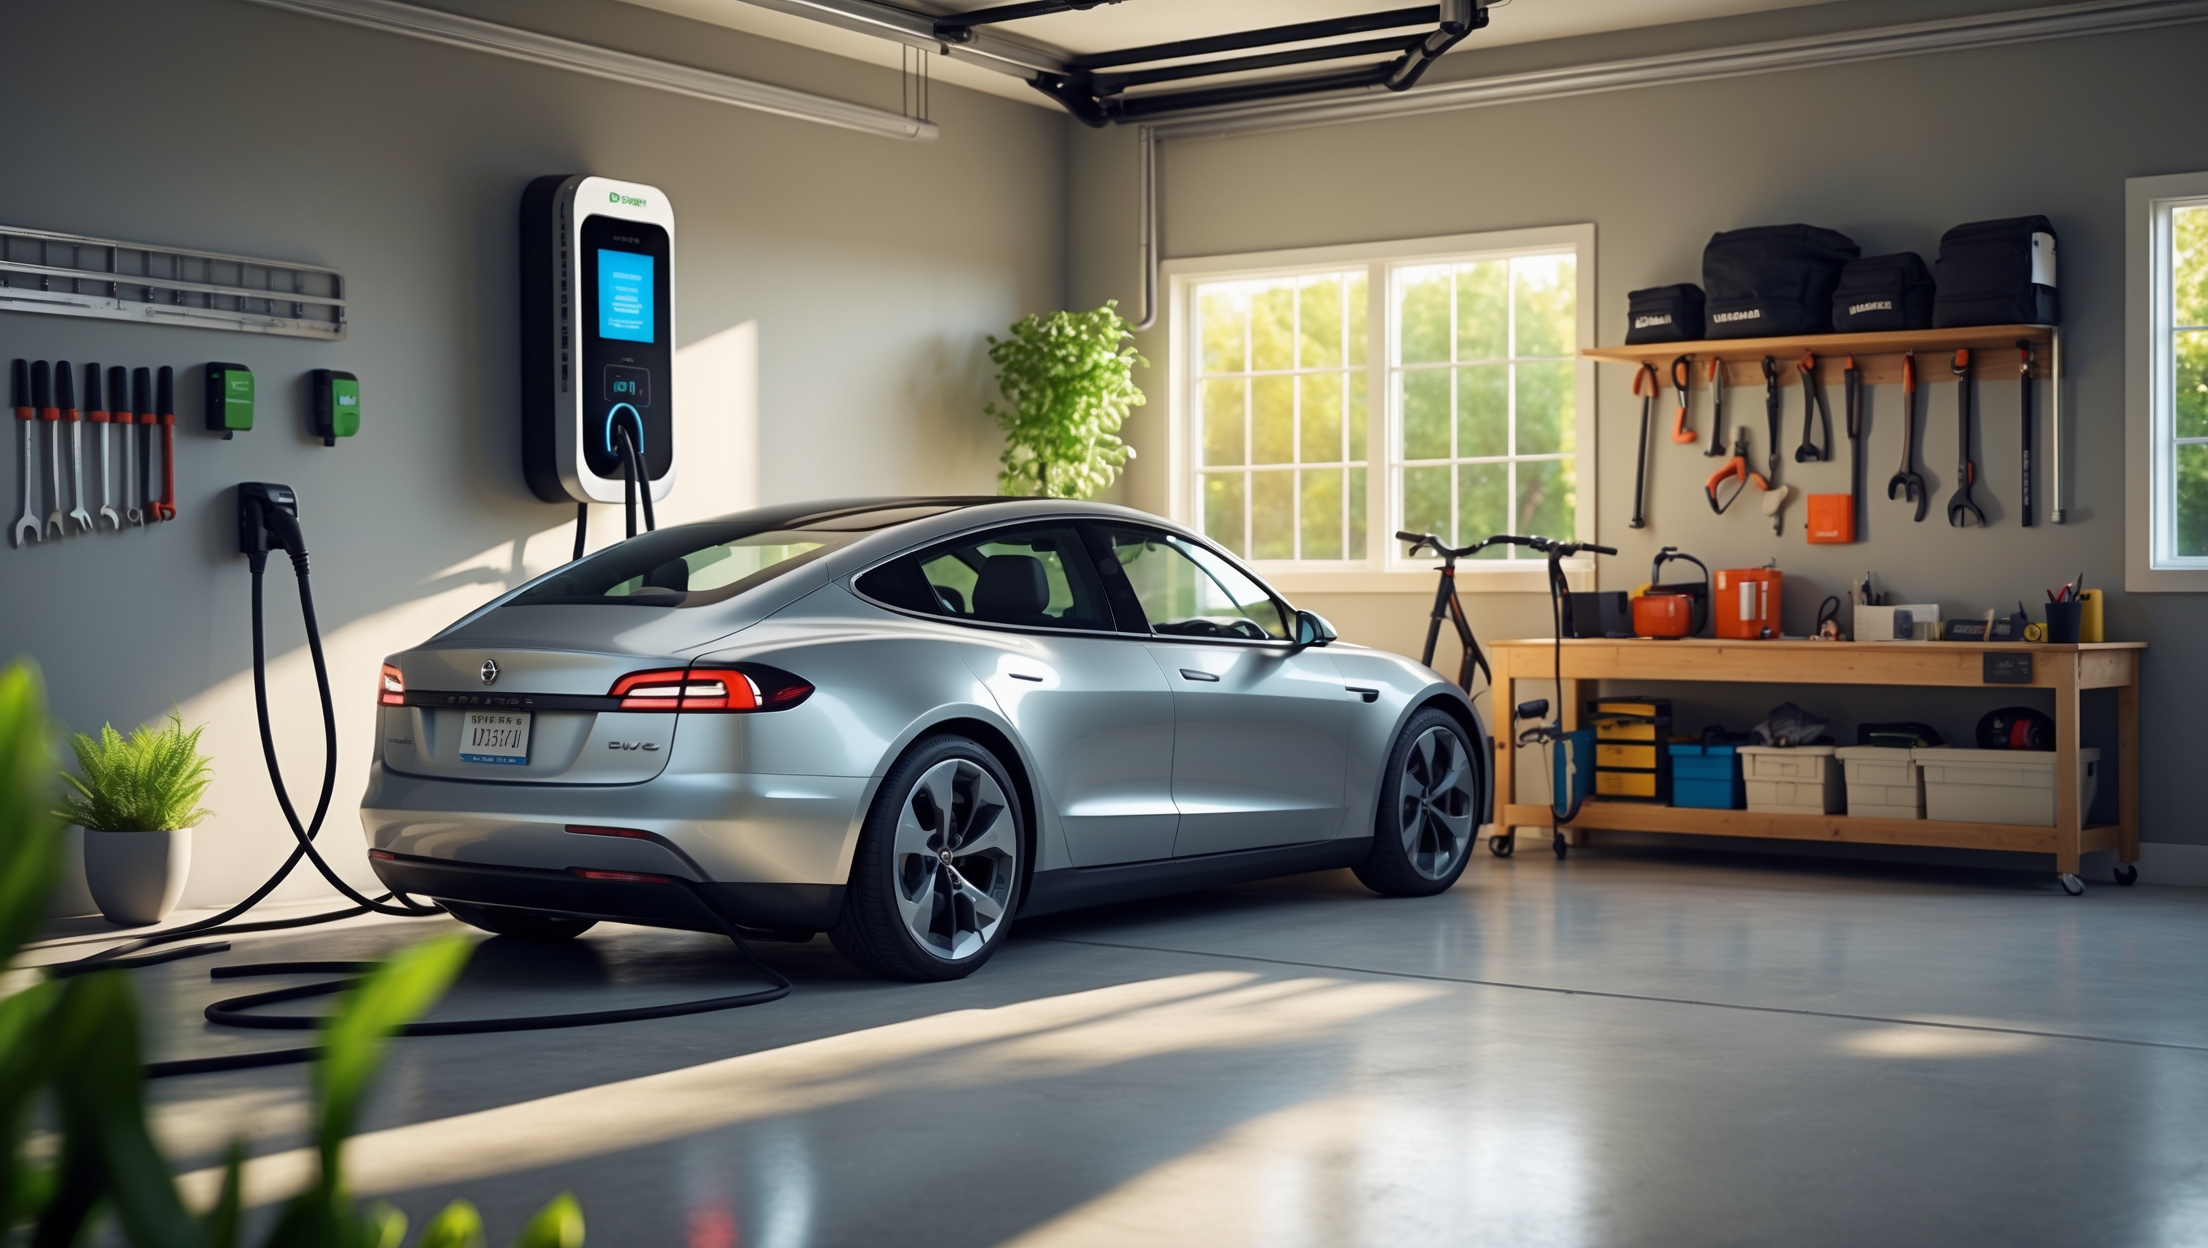
- Level 2 Charging: Uses a 240V circuit; much faster (adds 20-60 miles of range per hour). Ideal for daily charging of most EVs.
Most homeowners opt for a Level 2 charger for practical day-to-day use.
Assessing Your Electrical Panel
One of the first steps is to inspect your existing electrical panel:
- Check available capacity. Level 2 chargers typically require a dedicated 40- to 50-amp circuit.
- Look for available breaker space and total amperage load.
- Consult an electrician if you’re unsure about your panel’s capabilities.
Skipping this step is a common and costly error, often leading to overloaded circuits or expensive panel upgrades mid-project.
Budgeting for Your EV Charger Installation
Breaking Down the Costs
Underestimating the total cost is a frequent mistake. Here’s a breakdown of the main expenses:
- Charger unit: $400–$900 for most Level 2 models
- Electrical work: $300–$2,500 depending on distance to panel, need for new circuits, or panel upgrades
- Permits and inspection fees: $50–$300
- Additional materials: Conduit, wiring, mounting hardware, weatherproof covers (if outdoors)
Always get multiple quotes and factor in unexpected costs, such as hidden wiring issues or the need for trenching if mounting outdoors.
Potential Rebates and Incentives
Many utility companies, states, and even local governments offer rebates for home EV charger installation. Missing out on these is a common blunder. Research your area’s programs before buying equipment, as some incentives require pre-approval or use of specific models.
Selecting the Right EV Charger: Features and Compatibility
Power Output
Don’t buy based on price alone. Consider:
- Will you need a 32A, 40A, or 50A charger? Match charger power to your vehicle’s max charge rate and your panel’s capacity.
- Think about future needs—buying a higher-powered charger now may save on future upgrade costs.
Cable Length and Mounting Location
Select a charger with a cable long enough to reach your vehicle’s charge port in its typical parking spot. A too-short cable is a frequent annoyance and may require expensive relocation later.
Smart Features
Many modern chargers offer Wi-Fi or Bluetooth connectivity, scheduling, usage tracking, and integration with smart home systems. Decide which features are valuable for your use and check compatibility with your vehicle and smartphone.
Compliance and Permits: Don’t Skip the Paperwork
Why Permits Matter
Permitting is not just a formality. Unpermitted work can invalidate insurance, complicate home sales, and put you at risk for code violations. Most jurisdictions require a permit for a new 240V circuit installation.
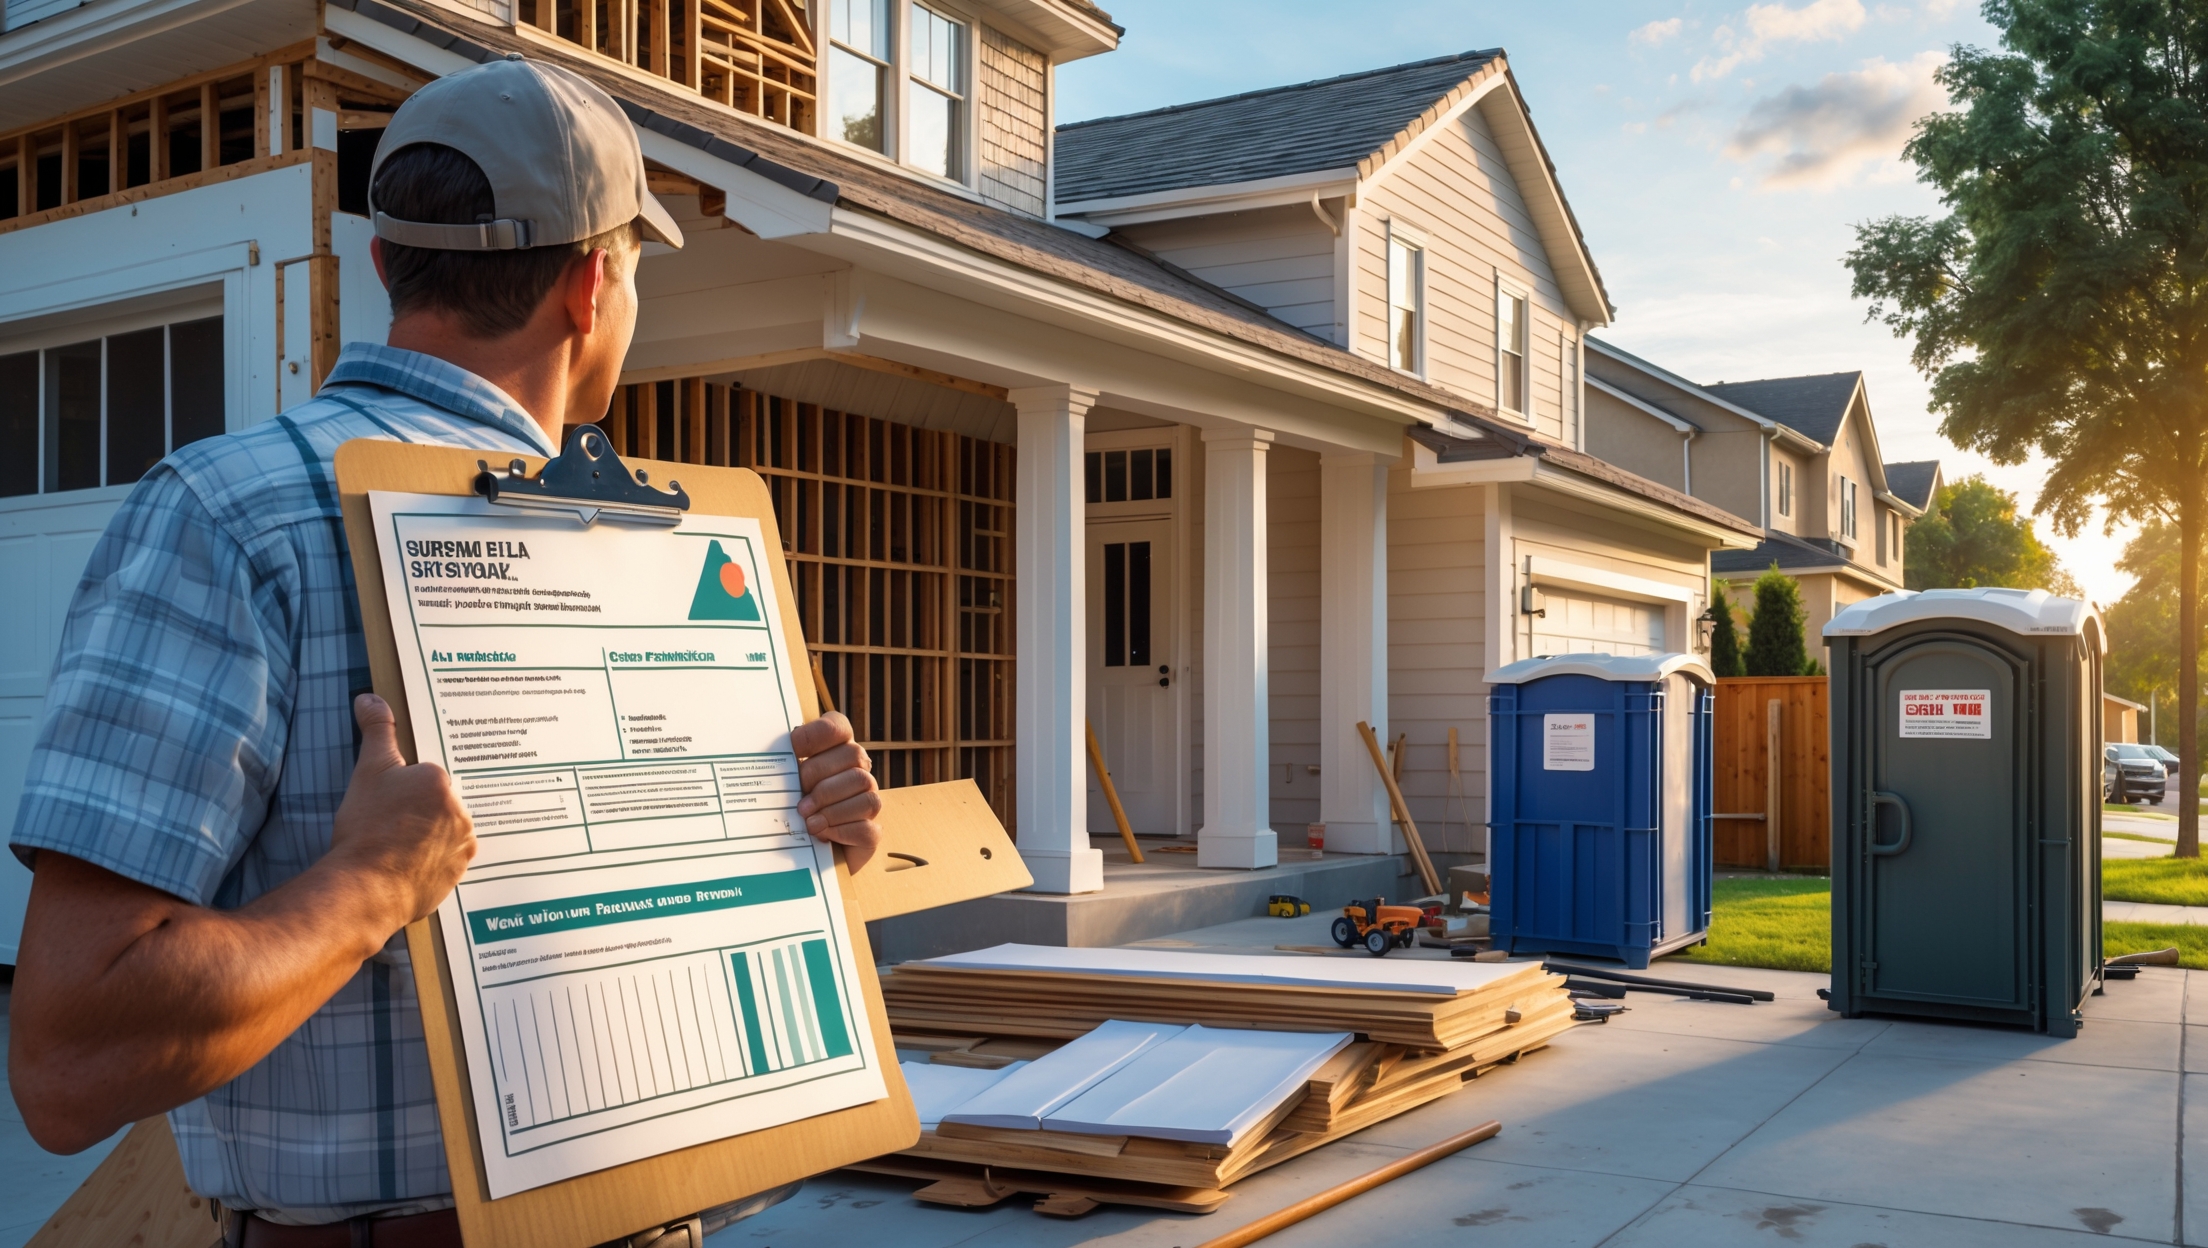
How to Obtain a Permit
- Contact your local building department before starting. Find out specific requirements for EV charger installation.
- Submit a permit application, including charger specs and a wiring diagram if required.
- Schedule an inspection after installation. Some areas require interim inspections for trenching or exterior conduit.
Failing to permit the work is one of the most common mistakes, with long-term consequences.
Electrical Safety and Best Practices
Dedicated Circuits and Proper Installation
Never share your EV charger’s circuit with other outlets or appliances. A dedicated circuit reduces fire risk and ensures safe, reliable operation.
Use of GFCI Protection
National Electrical Code (NEC) requires ground-fault circuit interrupter (GFCI) protection for most EV charger circuits, especially those located in garages or outdoors. Skipping GFCI is a critical safety mistake.
Outdoor Installation Considerations
- Choose a charger rated for outdoor use (NEMA 3R or better).
- Use weatherproof enclosures for outlets, breakers, and junction boxes.
- Ensure all conduit and fittings are rated for exterior use.
Improper weatherproofing can lead to water intrusion, fire hazards, and voided warranties.
DIY vs. Professional Installation
- Only attempt DIY if you have experience with 240V wiring and local code requirements.
- Professional electricians ensure compliance, safety, and often handle permitting and inspection.
Many insurance policies require professional installation for coverage. Cutting corners here is a risk not worth taking.
Installation Steps: Getting It Right the First Time
Step 1: Evaluate the Installation Site
- Identify the best location based on cable reach, proximity to electrical panel, and access for charging.
- Consider future needs (e.g., installing a second charger).
Step 2: Plan the Wiring Route
- Shortest, most direct route from panel to charger is usually best.
- For detached garages or outdoor locations, plan for trenching and weatherproof conduit.
Step 3: Install the Circuit, Breaker, and Charger
- Install a new double-pole breaker of the correct amperage.
- Run appropriately sized wire through conduit, following code for length and bends.
- Mount the charger securely to wall or pedestal.
- Connect wiring per manufacturer instructions and local code.
Step 4: Inspection and Initial Test
- Schedule an inspection with your local building department.
- Test charger operation with your EV after passing inspection.
Skipping inspection can result in fines and insurance headaches.
Maintenance and Long-Term Reliability
Routine Checks
Maintain your EV charger with periodic inspections:
- Check for loose connections or signs of overheating at the breaker or charger terminals.
- Inspect cable and plug for wear or damage.
- Clean charger vents and exterior to prevent dust buildup.
Neglecting maintenance can reduce charger lifespan and pose safety risks.
Software and Firmware Updates
For smart chargers, regularly check for firmware updates. Manufacturers often release improvements for safety, efficiency, and compatibility.
Troubleshooting Common Issues
- Charger not powering on: Check breaker, GFCI, and wiring.
- Slow charging: Confirm vehicle settings and charger’s rated output.
- Intermittent shutdowns: Look for overheating, loose wires, or tripped GFCI.
Address issues promptly—don’t ignore warning signs.
Insurance Implications and Documentation
Notifying Your Insurance Provider
Report your EV charger installation to your home insurer. Some policies require notification for major electrical modifications. Provide documentation of permits, inspection approval, and professional installation if applicable.
Keeping Records
Maintain a file with:
- Permit and inspection paperwork
- Charger purchase receipt and warranty
- Electrician’s invoice and license number
- Photos of installation and inspection tag
Proper records are essential for insurance claims, warranty service, and future home sales.
Case Study: A Homeowner’s Mistakes and Lessons Learned
Consider the story of Sarah, a new EV owner. Eager to get charging, she purchased a Level 2 charger online and hired a handyman to install it without a permit. The installation used undersized wiring and skipped GFCI protection. Six months later, the charger failed, and her home insurer denied a claim for related panel damage because the work was unpermitted and not professionally installed. Sarah eventually had the work redone properly—at double the original cost. Her experience underscores the importance of doing things by the book, both for safety and financial protection.
Common Myths About Home EV Charger Installation
- Myth: Any electrician can install an EV charger.
Fact: Choose an electrician experienced in EV charging and familiar with local code requirements. - Myth: Permits are just red tape.
Fact: Permits ensure compliance, safety, and future insurability. - Myth: Outdoor chargers don’t need extra protection.
Fact: Weatherproofing is essential for safety and charger longevity. - Myth: All chargers work with all cars.
Fact: Most use standard connectors, but always check compatibility with your vehicle.
Conclusion: Set Yourself Up for EV Charging Success
Installing a home EV charging station is a smart investment that delivers daily convenience and long-term value. However, as we’ve explored, this seemingly simple upgrade is fraught with potential pitfalls—from underestimating costs and choosing incompatible equipment to neglecting permits, safety steps, and insurance requirements. The most successful installations start with careful planning: assess your electrical panel, budget realistically, and select a charger that fits both your current and future needs. Always prioritize safety by using a dedicated circuit, proper weatherproofing, and GFCI protection, and don’t cut corners on permitting or professional installation. Keep thorough documentation for insurance and resale peace of mind, and maintain your charger regularly to ensure years of trouble-free use. By learning from common mistakes and following expert best practices, you’ll enjoy a reliable, efficient charging experience and protect your home investment. Whether you’re an EV veteran or just starting your electric journey, a well-planned home charging setup will make every drive easier, cleaner, and more sustainable.


I’m considering a Level 2 charger for my home, but I’m not sure how to tell if my current electrical panel can handle the extra load. Are there warning signs or a way to estimate this before contacting an electrician?
You can start by checking the amperage rating on your main electrical panel, usually listed inside the panel door (often 100, 150, or 200 amps). If your panel is older, has frequent tripped breakers, or is nearly full, it may struggle with the extra load of a Level 2 charger. While this gives you a general idea, only a licensed electrician can accurately assess capacity and safety for your specific setup.