Introduction: Why DIY Plumbing Mistakes Can Cost You Big
Home improvement projects can be incredibly rewarding—but when it comes to plumbing, what seems like a simple fix can quickly turn into a costly headache. While the DIY spirit is alive and well in today’s homes, plumbing systems are complex webs of pipes, fittings, and fixtures. A single misstep can lead to water damage, mold growth, or even structural issues. Many homeowners take on plumbing tasks to save money, but without the right approach, they risk causing more harm than good. In this guide, we’ll break down the most common plumbing mistakes DIYers make, explain why they happen, and provide step-by-step solutions to avoid or correct them. Whether you’re tightening a leaky faucet, replacing a toilet, or tackling a bigger project, these expert tips will help you protect your home, your budget, and your peace of mind.
Understanding Your Home’s Plumbing System
The Basics: Supply and Drainage
Your home’s plumbing system has two key sides: the supply side, which brings clean water in, and the drainage side, which removes wastewater. Supply lines are usually pressurized, while drains rely on gravity and vents to function properly. Mistakes on either side can lead to leaks, clogs, or contamination.
Why Knowledge Matters
Even basic repairs require an understanding of plumbing layouts, pipe materials, and how fixtures connect. Skipping this step is the root of most DIY plumbing pitfalls.
Common DIY Plumbing Mistakes—and How to Avoid Them
1. Over-Tightening Connections
It’s tempting to crank down on fittings to “ensure” a leak-free seal, but over-tightening can crack fittings, strip threads, and even break pipes—especially with plastic or brass parts.
- Expert Fix: Tighten by hand until snug, then give a quarter-turn with a wrench. If leaks persist, check for damaged washers or misaligned threads.
2. Using the Wrong Pipe or Fitting Material
Mixing incompatible materials (like copper and galvanized steel) without proper fittings can cause corrosion and leaks. Using PVC where CPVC is required for hot water is another common mistake.
- Expert Fix: Match materials exactly, and always use a dielectric union when connecting dissimilar metals.
3. Ignoring Slope on Drain Lines
Drain pipes need the right slope (typically 1/4 inch per foot) to carry waste effectively. Too flat and waste won’t drain; too steep and liquids outrun solids, causing clogs.
- Expert Fix: Use a level and measure the slope before installation. Rework pipes if needed to achieve proper pitch.
4. Forgetting to Turn Off the Water
It sounds obvious, but many DIYers skip the crucial step of shutting off the main or local supply, resulting in flooding and water damage.
- Expert Fix: Always locate and test shutoff valves before starting. If a valve is stuck or leaks, replace it before proceeding.
5. Poor Use of Plumbers’ Tape (Teflon Tape)
Applying tape backwards, using too little, or forgetting it entirely can all cause leaks at threaded joints.
- Expert Fix: Wrap tape clockwise (the same direction as you’ll tighten the fitting) three to four times, covering the threads fully but not overlapping the end.
6. Skipping the Permit When Required
Some plumbing jobs require a permit, even if you’re doing the work yourself. Skipping this step can void insurance and lead to expensive rework if you sell your home.
- Expert Fix: Check with your local building department before starting any major plumbing project.
7. Incorrect Use of Drain Cleaners
Pouring chemical drain cleaners down every slow drain can corrode pipes and harm septic systems.
- Expert Fix: Use a plunger or drain snake for clogs. Reserve chemical cleaners for emergencies, and never mix products.
8. Failing to Vent Properly
Every drain needs air to flow freely. Poor venting causes slow drains, gurgling noises, and sewer gas odors.
- Expert Fix: Make sure new fixtures tie into a vent stack or use air admittance valves where code allows.
9. Using Too Much or the Wrong Kind of Caulk
Applying kitchen or tub caulk where plumbing-grade plumber’s putty is needed can lead to rapid deterioration and leaks.
- Expert Fix: Use plumber’s putty for sink drains and flanges, and silicone caulk for sealing around fixtures exposed to water.
10. Neglecting to Test for Leaks
Many DIYers assume a new installation is fine and skip leak testing. Small drips often go unnoticed until damage has occurred.
- Expert Fix: Run water for several minutes and check all joints with a dry tissue or paper towel. Re-tighten or re-seal as needed.
Step-by-Step: How to Fix a Common DIY Plumbing Error (Leaky Under-Sink Drain)
Step 1: Identify the Leak
Clear out under the sink and dry the area. Run water and watch for drips around the P-trap and connections.
Step 2: Disassemble the P-Trap
Place a bucket underneath, then unscrew the slip nuts by hand. Remove the trap and inspect washers and threads for wear or misalignment.
Step 3: Clean and Reassemble
Clean all pipe ends and slip joint washers. Replace any stiff or cracked washers. Reassemble the trap, ensuring washers are seated properly and joints are hand-tightened, then a gentle half-turn with pliers.
Step 4: Test Thoroughly
Run water and check for leaks. If leaks persist, check for cross-threading or damaged pipes. Repeat as necessary.
Essential Tools for DIY Plumbing
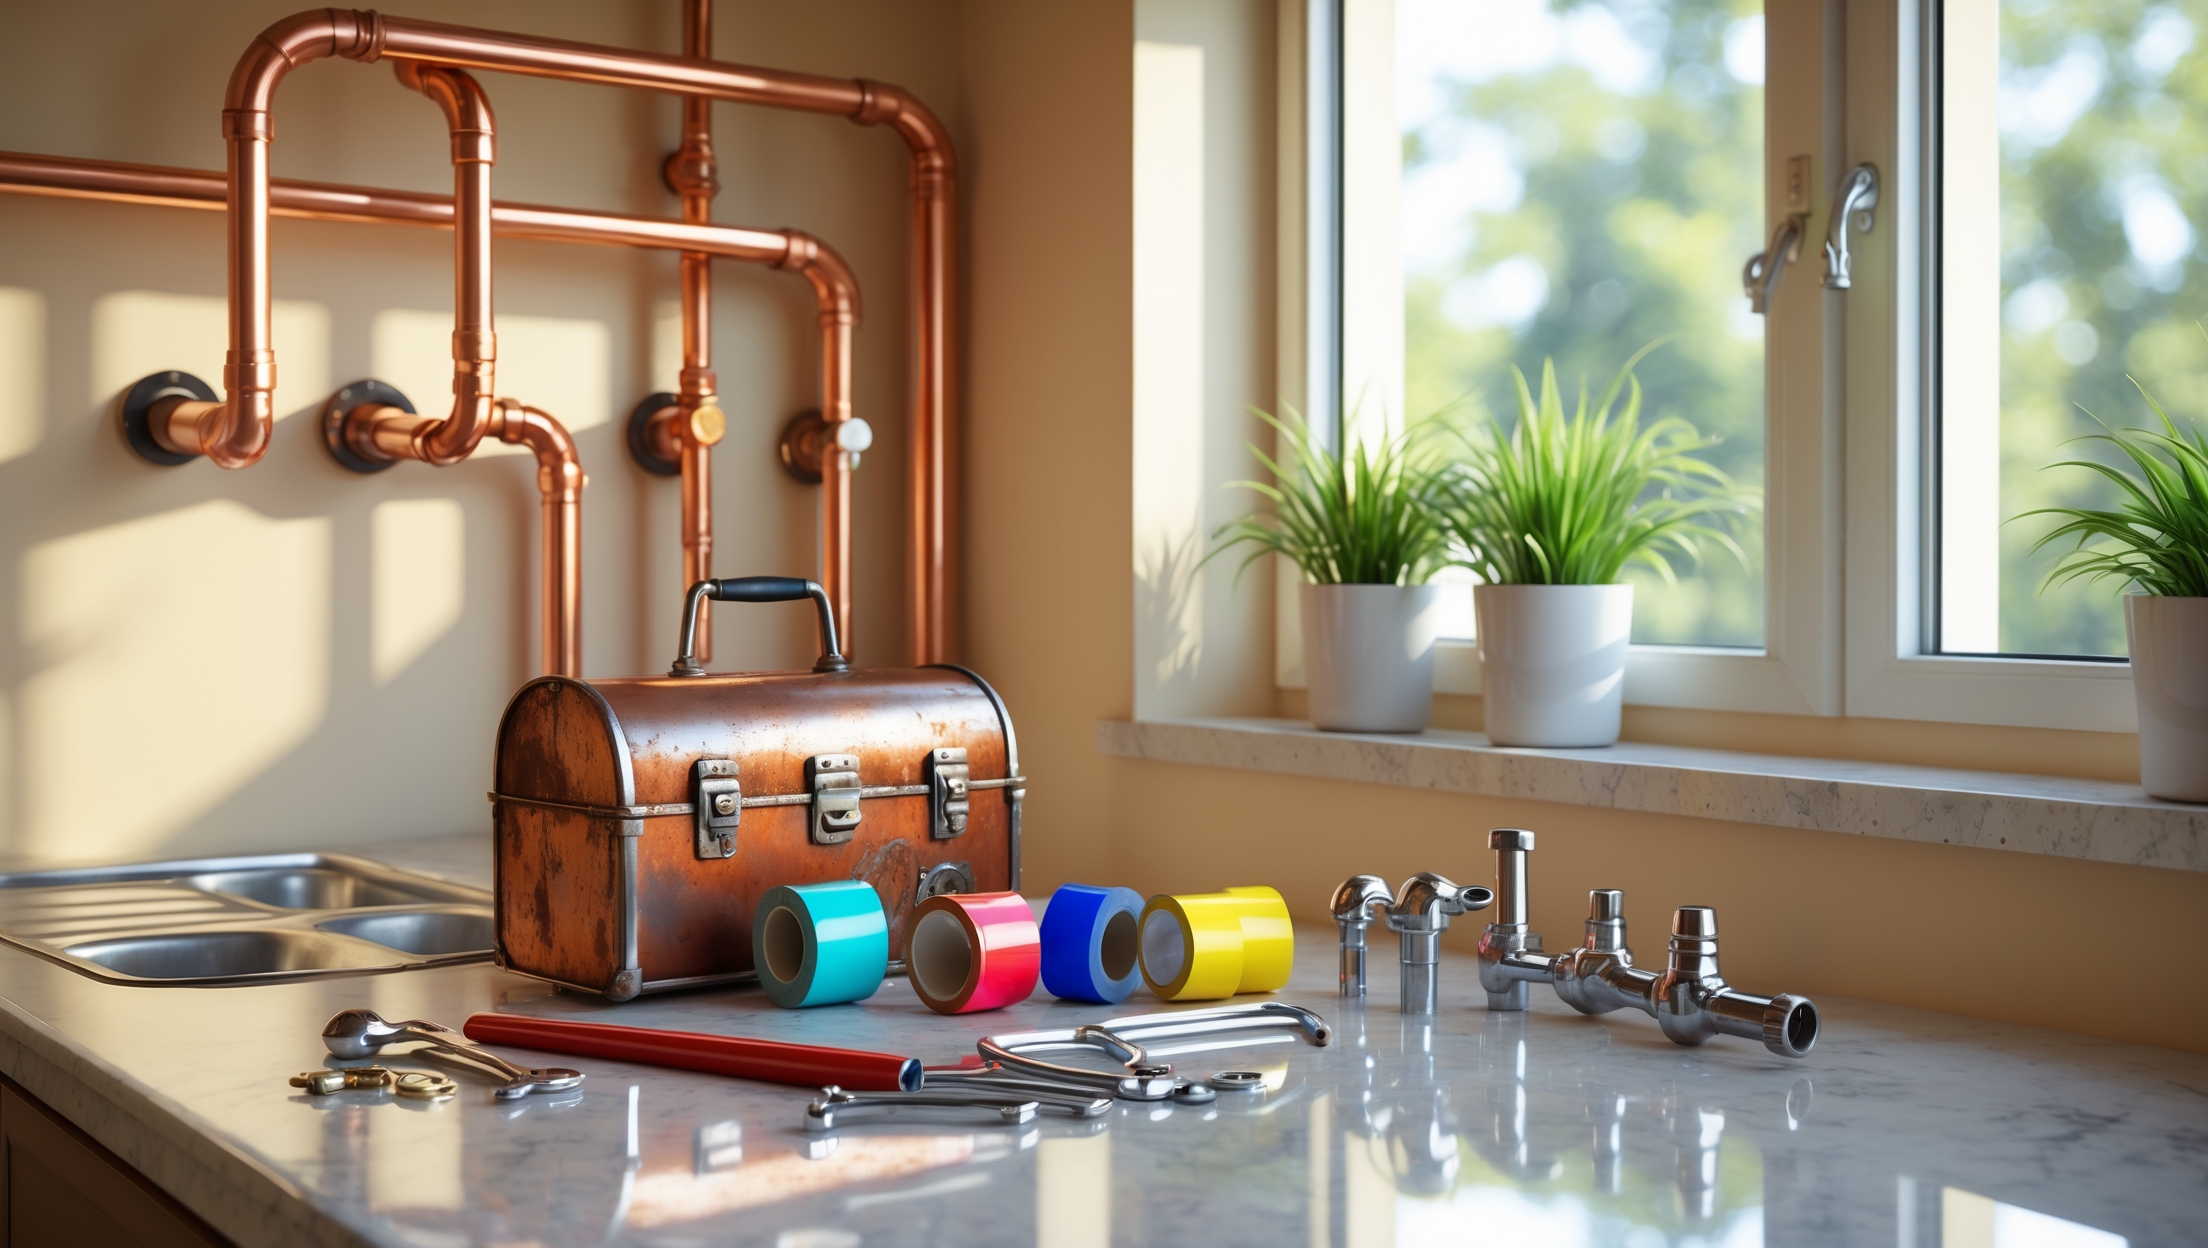
- Adjustable wrench
- Channel-lock pliers
- Pipe wrench
- Plumber’s tape (Teflon tape)
- Plumber’s putty
- Hacksaw or tubing cutter
- Basin wrench
- Plunger
- Drain snake or auger
Budgeting for DIY Plumbing Projects
Understanding Material Costs
While DIY can save on labor, don’t skimp on materials. Quality fittings and pipes reduce the risk of future failures. For small repairs, expect to spend $10–$50 on basic supplies. Larger projects (like replacing a toilet or faucet) can run $100–$300, plus tools if you don’t already own them.
When to Call a Professional
If you encounter old pipes, hidden leaks, or anything requiring significant wall/floor removal, it’s best to consult a licensed plumber. This can prevent major expenses down the line.
Permits, Codes, and Compliance
Why Plumbing Codes Matter
Building codes exist to keep water supplies safe and systems functioning. Even experienced DIYers can miss code updates or regional requirements for pipe sizes, venting, and materials.
How to Stay Compliant
- Research local codes before starting.
- Obtain permits as required—especially for water heater replacement, main line changes, or adding new fixtures.
- Schedule inspections if needed.
Myths About DIY Plumbing—Debunked
- Myth: “A little leak isn’t a big deal.”
Reality: Even small leaks can cause mold and structural damage over time. - Myth: “All pipes are interchangeable.”
Reality: Using the wrong type of pipe can cause dangerous failures and code violations. - Myth: “Drain cleaners fix every clog.”
Reality: Most clogs are best cleared mechanically, not chemically. - Myth: “If it’s not leaking now, it’s fine.”
Reality: Poorly installed connections can fail at any time, especially under pressure.
Maintenance Best Practices for Long-Term Plumbing Health
- Check under sinks and around toilets monthly for signs of moisture or corrosion.
- Flush infrequently used drains with water every few weeks.
- Clean faucet aerators and showerheads annually.
- Test shutoff valves for each fixture to ensure they turn freely.
- Insulate exposed pipes in cold climates to prevent freezing.
Conclusion: DIY Plumbing with Confidence—And Caution
Tackling plumbing projects yourself can be empowering and cost-effective, but it’s crucial to approach each task with care, preparation, and respect for the complexity of your home’s systems. By understanding common pitfalls—like over-tightening, mixing materials, or skipping essential leak tests—you can avoid the most frequent causes of DIY disaster. Always use the right tools, materials, and techniques for the job. Don’t be tempted to cut corners on permits or code compliance; these protections are in place for your safety and your home’s value. Remember, while many plumbing repairs are well within reach for determined homeowners, recognizing your limits is a sign of wisdom, not weakness. When in doubt, consult a professional, especially for projects involving main lines, gas water heaters, or extensive renovations. With the right approach, you’ll save money, avoid headaches, and enjoy the satisfaction of a job well done—leak-free and worry-free.


