Introduction: Why Crawl Spaces Matter More Than You Think
When it comes to home improvement, crawl spaces rarely make it to the top of the to-do list. Out of sight and often out of mind, these hidden areas are easily overlooked until a problem arises. Yet, the condition of your crawl space can dramatically influence your home’s air quality, structural integrity, and even your monthly energy bills. Issues like excess moisture, poor insulation, or pest infestations often begin here and spread—sometimes silently—causing thousands of dollars in damage before they’re discovered. Whether you’re a new homeowner or a seasoned DIY enthusiast, understanding the dos and don’ts of crawl space care is essential. In this comprehensive guide, you’ll learn about the most common crawl space mistakes to avoid, how to budget for repairs or upgrades, and the maintenance practices that prevent costly catastrophes. With practical, step-by-step advice, this post will help you transform your crawl space from a neglected hazard into a reliable asset for your home’s health, safety, and value.
Understanding Your Crawl Space: Anatomy and Purpose
What Is a Crawl Space?
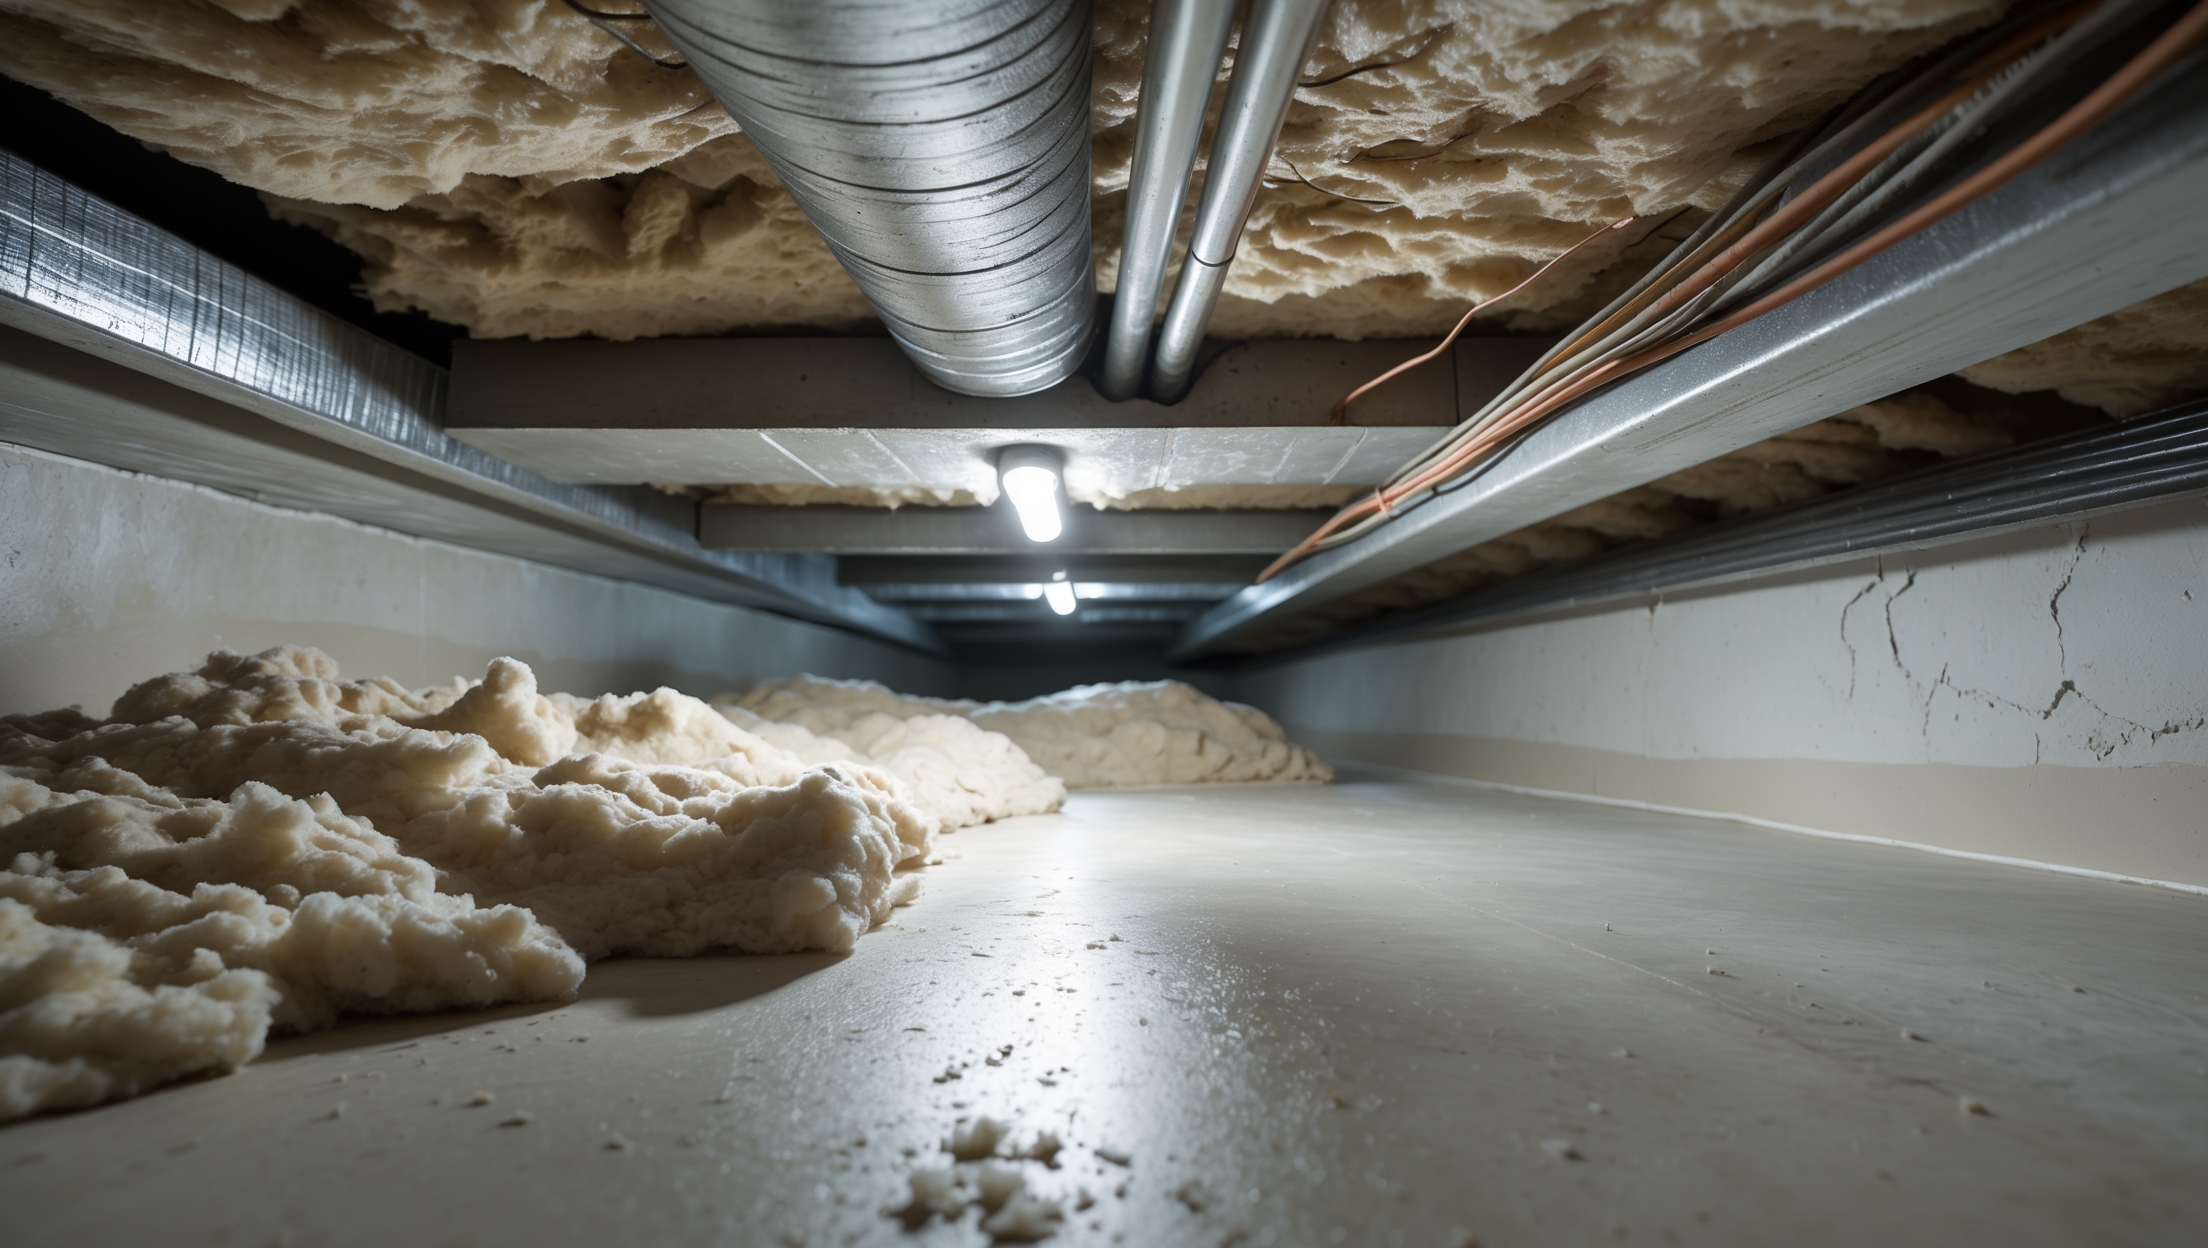
A crawl space is a shallow, unfinished area beneath your home—typically about 1 to 3 feet high—that provides access to plumbing, wiring, and HVAC systems. Unlike a full basement, crawl spaces are not designed for regular occupancy but serve a critical function in your home’s construction.
Types of Crawl Spaces
- Vented Crawl Spaces: Feature vents to the exterior, intended to allow air circulation and prevent moisture buildup. However, these can also admit humidity and pests if not properly managed.
- Unvented (Sealed) Crawl Spaces: Sealed from the outside, these rely on vapor barriers and dehumidifiers to control moisture—a modern best practice in most climates.
Why Crawl Spaces Are Vulnerable
Because they are below-grade and often poorly insulated, crawl spaces are susceptible to moisture intrusion, mold, wood rot, pest infestations, and structural settlement. Left unchecked, these problems can migrate upward, affecting your floors, walls, and indoor air quality.
Common Crawl Space Mistakes to Avoid
Neglecting Regular Inspections
Many homeowners never peer into their crawl space until there’s a problem. Failing to perform at least annual inspections can allow small issues—like condensation, leaks, or critter nests—to escalate.
Poor or Incorrect Insulation
Insulating the underside of your floor without addressing ground moisture or using the wrong insulation (e.g., fiberglass batts in humid crawl spaces) can trap moisture, encouraging mold and wood decay.
Skipping the Vapor Barrier
Omitting a vapor barrier (heavy-duty plastic sheeting over the ground) allows moisture to rise from the soil, fostering an environment ripe for mold, mildew, and pests.
Improper Ventilation or Sealing
- Over-ventilating: In humid climates, exterior vents can pull in moist air, making problems worse.
- Under-sealing: In cooler climates, failing to seal vents and walls can allow cold drafts that chill your home and drive up energy costs.
DIY Electrical or Plumbing Work
Attempting major repairs without expertise can lead to dangerous code violations or leaks that go unnoticed in the dark recesses beneath your home.
Ignoring Standing Water
Any sign of standing water—no matter how small—should be addressed immediately. Chronic dampness leads to rot, foundation damage, and insect infestations.
Using the Crawl Space as Unsecured Storage
Storing cardboard boxes, clothing, or other organic material in the crawl space invites mold and pests. Only store items in sealed, waterproof containers if absolutely necessary.
Crawl Space Cost Breakdown: Repairs, Upgrades & Budgeting
Common Expenses
- Inspection: $150–$400 for a professional assessment, which can reveal hidden issues before they escalate.
- Vapor Barrier Installation: $1,200–$4,000, depending on size and material quality.
- Encapsulation (Sealing & Insulation): $3,000–$10,000 for comprehensive moisture control, including heavy-duty liners, wall insulation, and sealing vents.
- Dehumidifier Installation: $800–$2,000 for a crawl space-rated unit plus installation.
- Structural Repairs: $2,000–$15,000+, depending on severity of wood rot, sagging joists, or foundation settling.
- Pest Remediation: $200–$1,500 for removal and sealing entry points.
- Drainage Improvements: $1,500–$5,000 for sump pumps, French drains, or grading adjustments.
Budgeting Tips
- Request multiple bids from licensed contractors for major work.
- Prioritize moisture control—preventing water intrusion is almost always less expensive than repairing water damage.
- Consider phased improvements—start with a vapor barrier, then add insulation and dehumidification if needed.
- Check with your homeowners insurance to see if any repairs (such as flood remediation) are covered.
- Set aside an annual crawl space maintenance fund ($200–$500) to address minor issues before they grow.
Essential Crawl Space Maintenance Checklist
Annual Inspection Tasks
- Check for standing water, dampness, or mud on the ground or foundation walls.
- Inspect the vapor barrier for tears, gaps, or areas where it has pulled away from walls.
- Look for signs of mold, mildew, or musty odors.
- Examine wood framing for rot, sagging, or pest damage.
- Test insulation for wetness or compression.
- Ensure all crawl space vents (if present) are unobstructed.
- Check for animal droppings, nests, or chewed wiring.
- Monitor any installed sump pumps or dehumidifiers for proper operation.
Seasonal Maintenance Tasks
- Spring: Inspect after heavy rains for leaks or water entry.
- Summer: Monitor humidity and dehumidifier operation.
- Fall: Check insulation and vents before cold weather sets in.
- Winter: Ensure pipes are insulated and protected from freezing.
Step-by-Step: How to Properly Inspect and Maintain Your Crawl Space
1. Safety First
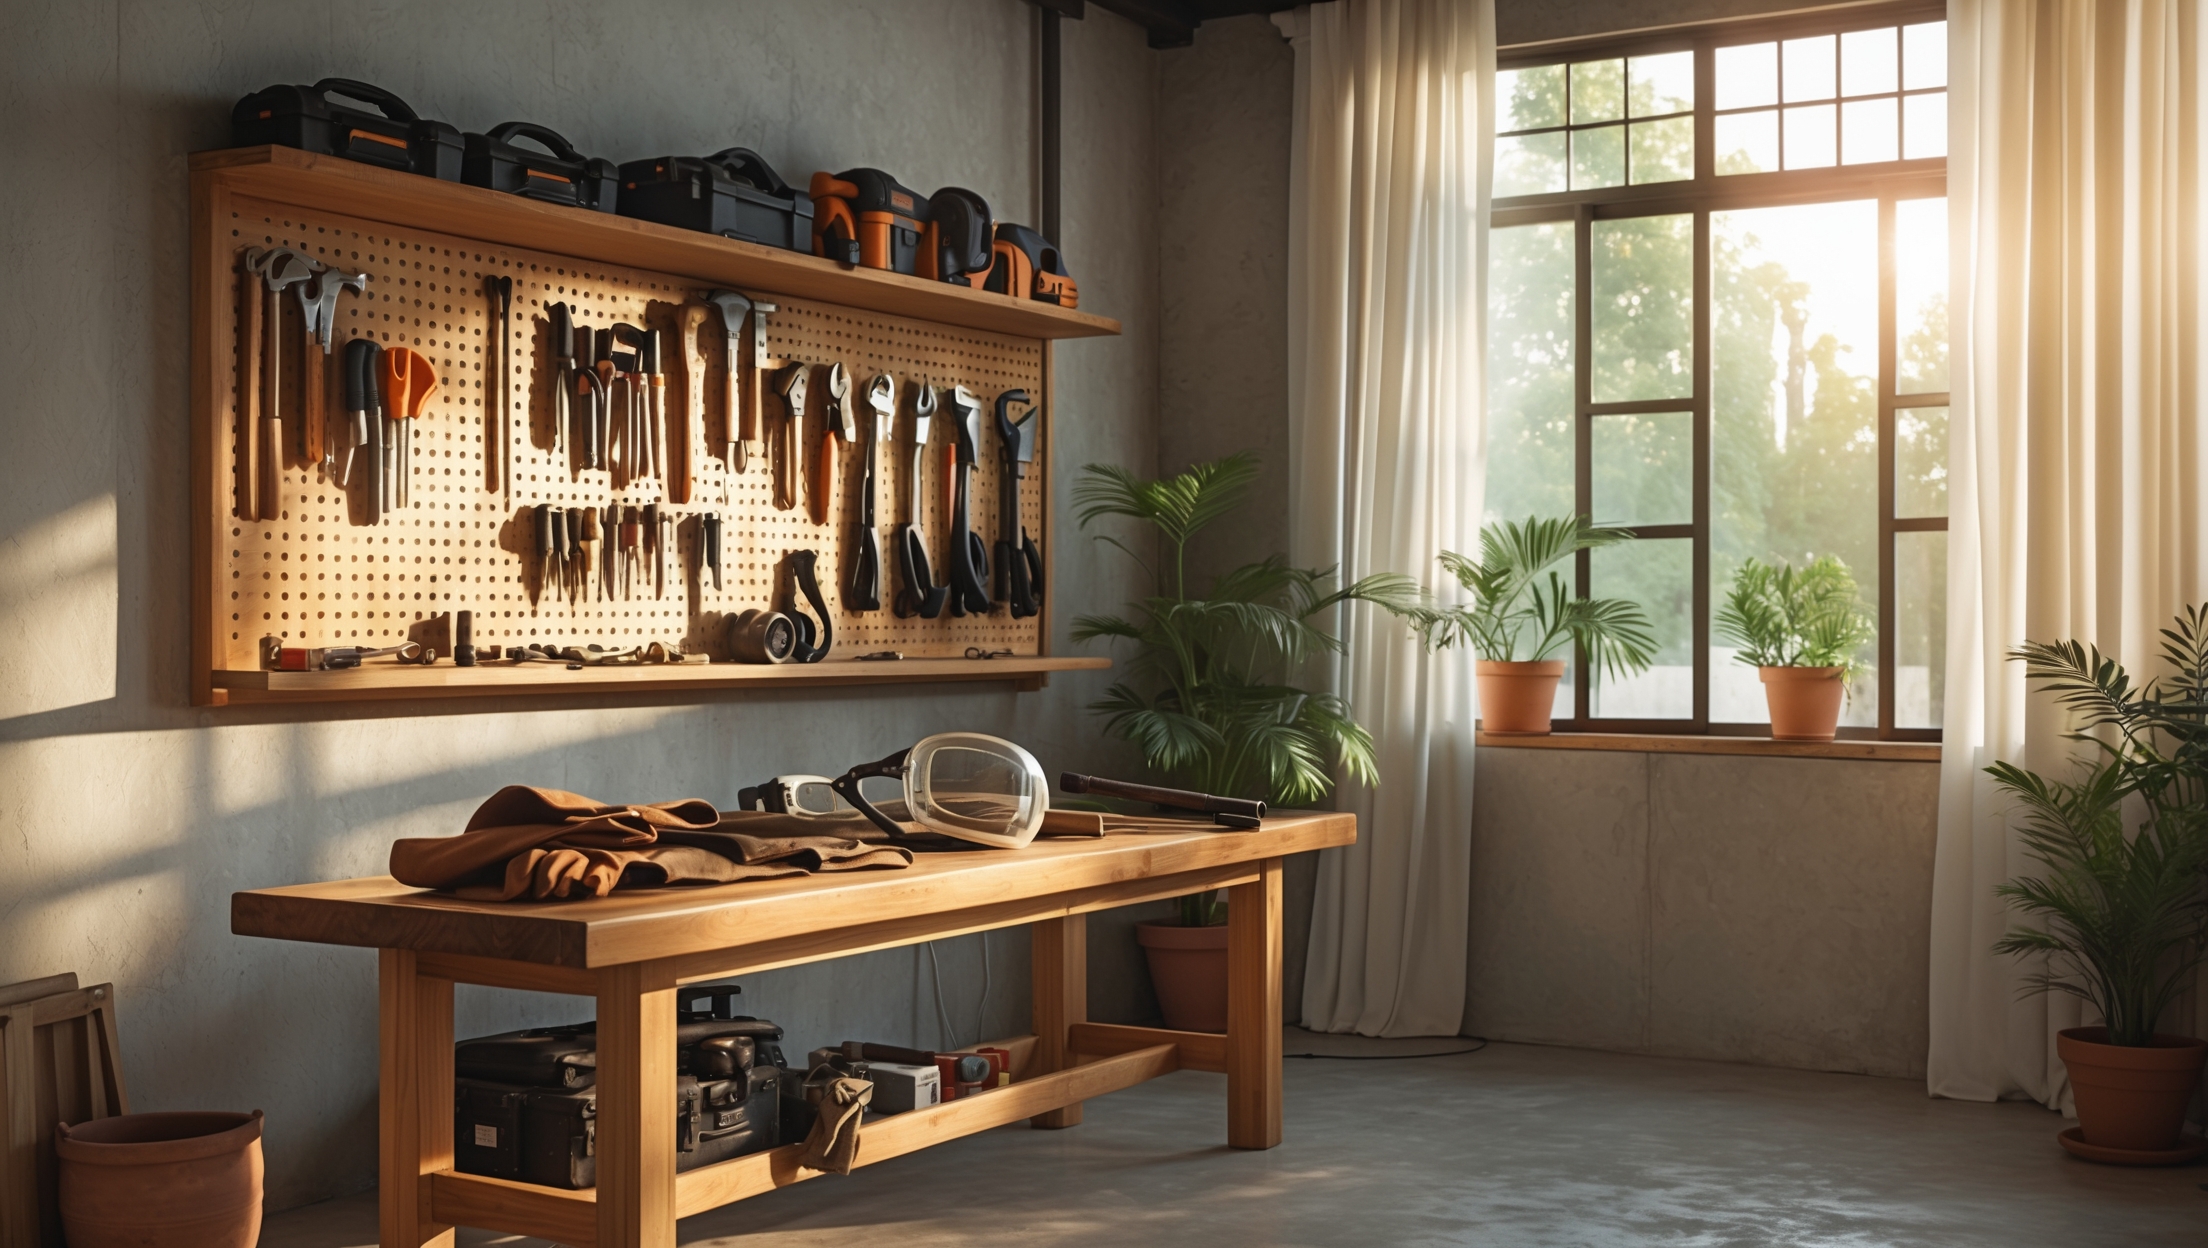
- Wear gloves, coveralls, and an N95 mask or respirator to protect against dust, mold spores, and animal droppings.
- Use a headlamp or strong flashlight—crawling in the dark is dangerous.
- Watch for exposed nails, wires, or sharp debris.
2. Entry and Initial Assessment
- Open the crawl space access hatch carefully. If the area smells strongly of mold or ammonia, retreat and ventilate before entering.
- Check the immediate area for pests or excessive moisture.
3. Inspect the Vapor Barrier
- Ensure the plastic sheeting fully covers the ground with a minimum 6-inch overlap at seams and extends at least 6 inches up the foundation walls.
- Repair or replace any torn or missing sections.
4. Examine Foundation Walls and Supports
- Look for cracks, efflorescence (white mineral deposits), or water stains on masonry.
- Probe wood posts and beams with a screwdriver to check for softness or rot.
5. Assess Insulation
- Check that insulation is dry, intact, and securely fastened.
- Replace water-damaged or sagging insulation promptly.
6. Monitor for Pests and Mold
- Look for droppings, tunnels, or nests. Set traps if needed or call a professional for serious infestations.
- Spot mold on wood or masonry? Clean small areas with a solution of 1 cup bleach per gallon of water, wearing respiratory protection. Large infestations require professional remediation.
7. Check Mechanical Systems
- Inspect ductwork and plumbing for leaks or condensation.
- Make sure sump pumps and dehumidifiers are plugged in and functional.
Managing Moisture: The Key to a Healthy Crawl Space
Vapor Barriers and Encapsulation
A vapor barrier is the most critical line of defense against ground moisture. For maximum effectiveness, consider full encapsulation: installing a heavy-duty liner on the floor and walls, sealing all vents, and insulating the perimeter. This approach is now recommended by building science experts for most homes, especially in humid or flood-prone regions.
Controlling Humidity
- Install a crawl space-rated dehumidifier if the area remains humid despite encapsulation.
- Keep humidity below 60% to prevent mold and wood decay.
- Monitor with a wireless hygrometer for ongoing peace of mind.
Addressing Drainage Issues
- Ensure gutters and downspouts direct water at least 4 feet away from the foundation.
- Grade soil around the house so it slopes away from the crawl space.
- Install interior or exterior French drains if water intrusion persists.
Dealing With Crawl Space Pests
Common Invaders
- Rodents (mice, rats)
- Termites and carpenter ants
- Spiders and insects
- Occasionally snakes or stray animals
Prevention and Remediation
- Seal all gaps around pipes, vents, and the access hatch with expanding foam or caulk.
- Install stainless steel mesh in vents (if present) to block rodents.
- Remove all organic debris and never store food or cardboard under the house.
- Consult a pest control specialist for stubborn infestations, especially termites.
When to Call a Professional
- Significant water intrusion, persistent flooding, or standing water that lasts more than a few hours.
- Extensive mold growth (greater than 10 square feet) or strong, persistent musty odors.
- Structural damage such as sagging floors, cracked foundation walls, or rotting joists.
- Major pest infestations or evidence of termites.
- Electrical or plumbing repairs you are not qualified to perform safely.
Conclusion: Give Your Crawl Space the Attention It Deserves
It’s easy to ignore your crawl space—until a minor oversight turns into a major headache. Moisture, pests, and neglect in this hidden area can silently undermine your home’s health, value, and comfort. By learning to recognize early warning signs, investing in the right upgrades, and following a proven maintenance routine, you’ll protect your investment and enjoy a safer, healthier living environment. Remember, the most expensive crawl space repairs are almost always preventable with regular inspections and prompt intervention. Whether you opt for DIY care or professional help, make crawl space maintenance a non-negotiable part of your home improvement plan. The peace of mind and cost savings you’ll gain are well worth the effort. Don’t let your crawl space become a source of stress—give it the attention it deserves, and your home will thank you for years to come.
