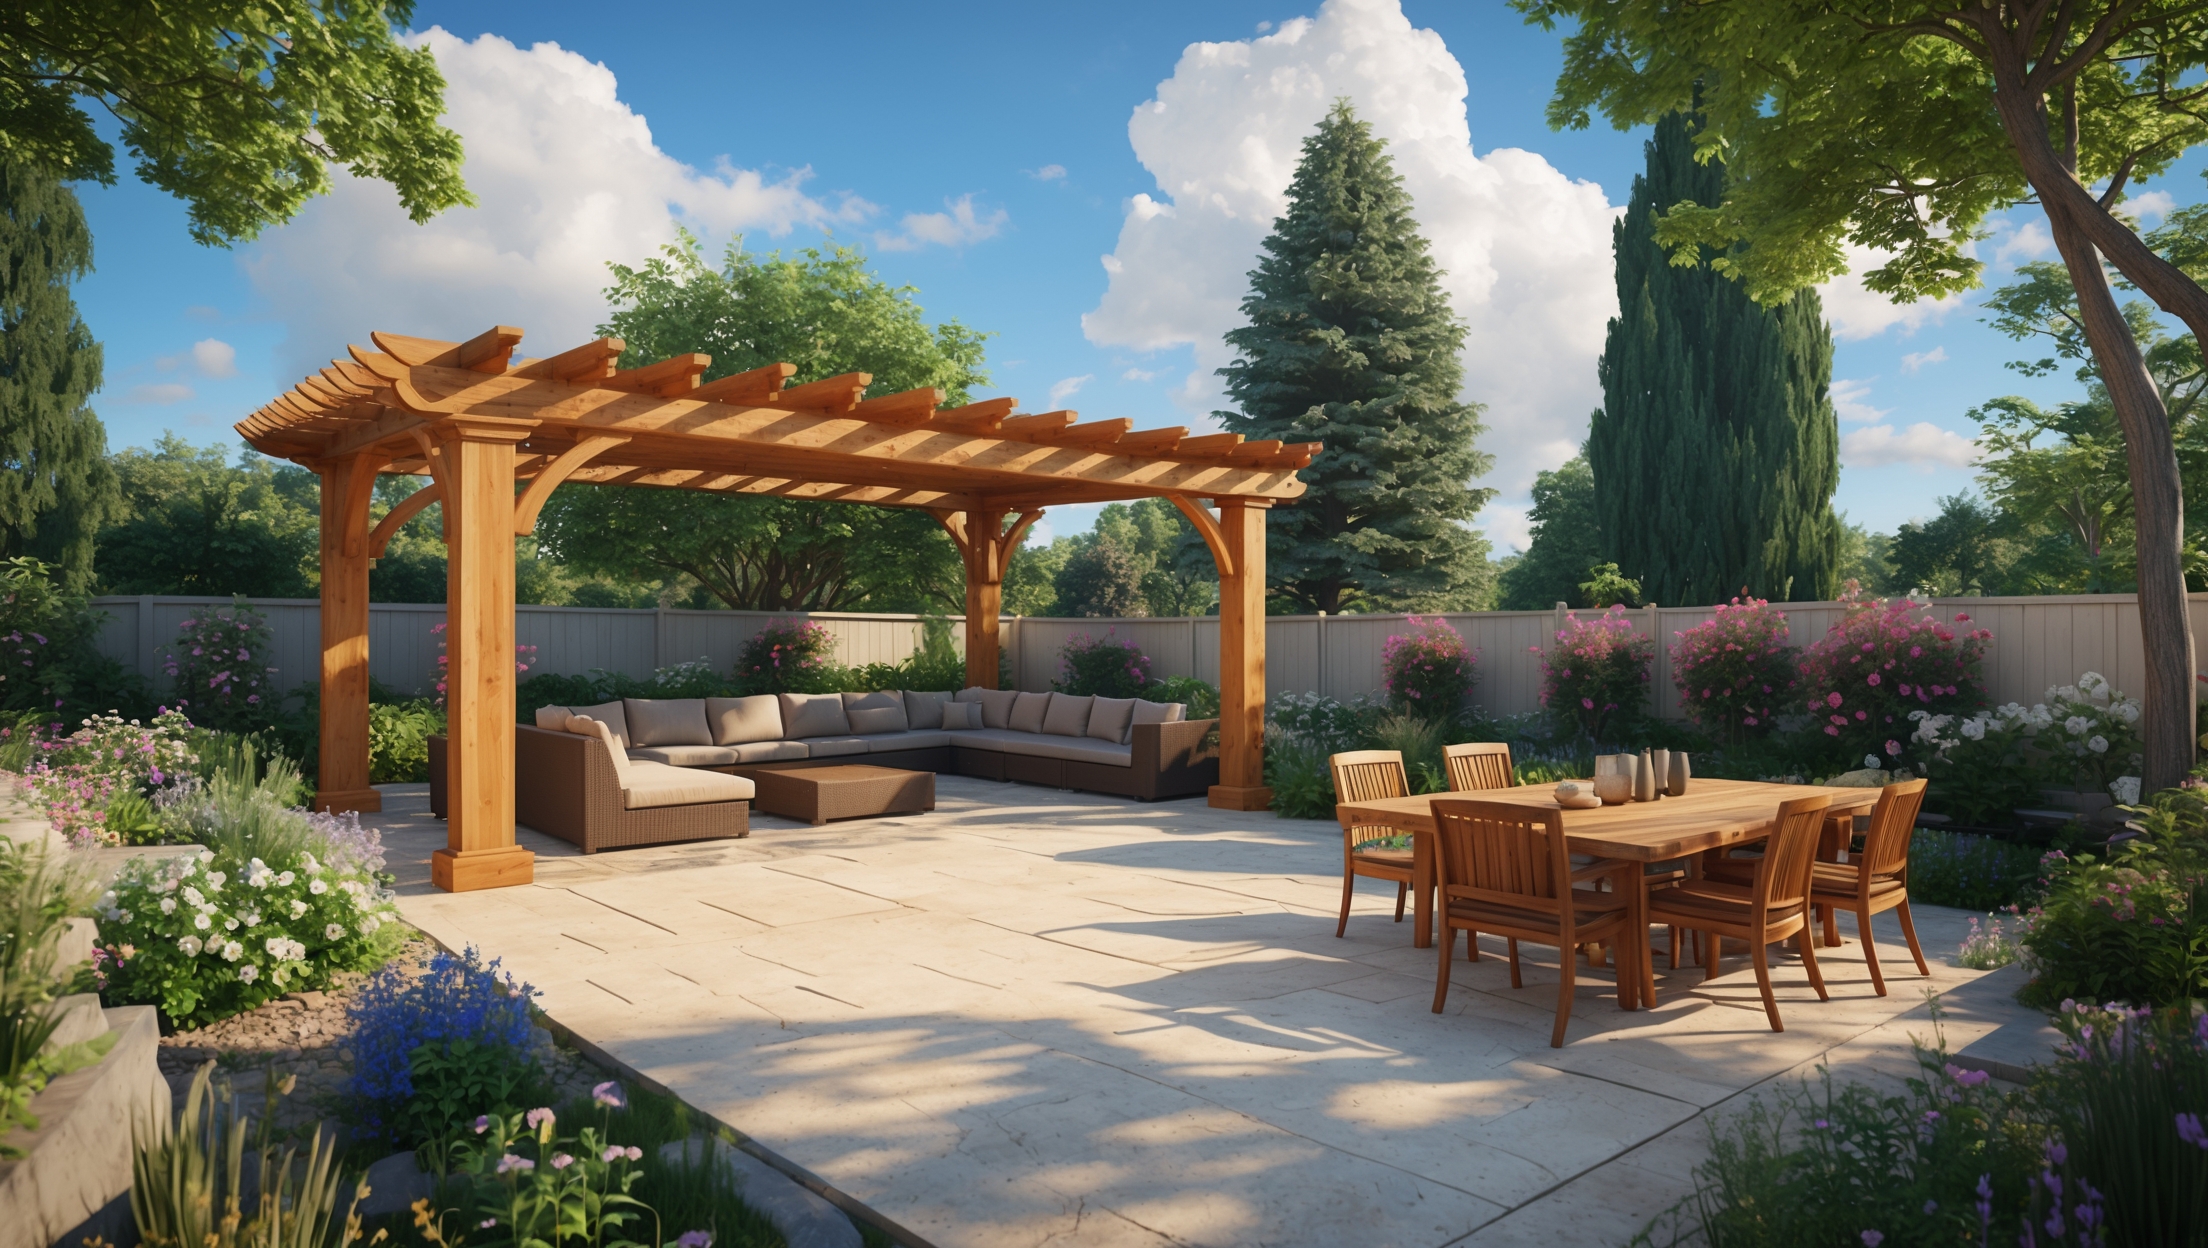
Introduction: The Pergola Dream—And Its Hidden Pitfalls
Few home improvement projects have the transformative power of a well-designed backyard pergola. These elegant open-air structures can turn a bland yard into a welcoming living space, perfect for relaxing, entertaining, or boosting your home’s curb appeal. However, many homeowners dive into pergola installation with visions of effortless beauty—only to encounter budget overruns, permit headaches, and premature wear. The truth is, a pergola project is deceptively complex. From choosing the right materials and understanding local regulations to planning for long-term maintenance, there are pitfalls at every step. In this comprehensive guide, you’ll learn how to avoid the most common mistakes homeowners make when installing a backyard pergola. You’ll get detailed advice on budgeting accurately, navigating compliance and permit requirements, selecting the best materials for your climate, and establishing a maintenance routine that keeps your pergola looking stunning for years. Whether you’re considering a DIY build or hiring a pro, this article will help you plan smart, spend wisely, and enjoy your outdoor retreat with confidence.
The Most Common Pergola Installation Mistakes
1. Underestimating the Total Project Cost
Many pergola projects go over budget because homeowners focus only on the cost of lumber or the pergola kit. In reality, the true expense includes:
- Site preparation (grading, clearing, or leveling ground)
- Concrete footings or anchoring systems
- Hardware and fasteners (corrosion-resistant recommended)
- Finishing treatments (stain, sealant, or paint)
- Permit fees and potential design review costs
- Professional labor if not DIY
- Outdoor electrical or lighting upgrades
- Landscaping adjustments post-installation
Failing to account for these extras can inflate your final bill by 30% or more. Always request detailed estimates and add a 10–15% contingency for unexpected expenses.
2. Ignoring Permit and Zoning Requirements
Many municipalities require permits for pergolas—especially if the structure is attached to the house, exceeds certain dimensions, or has electrical components. Common mistakes include:
- Assuming small pergolas don’t need permits
- Overlooking setback requirements from property lines
- Ignoring HOA guidelines or neighborhood covenants
- Failing to call 811 before digging for footings
Building without proper permits can result in fines, forced removal, or problems when selling your home. Always check with your local building department before you buy materials or start construction.
3. Choosing the Wrong Materials for Your Climate
Pergolas are exposed to the elements year-round, so material selection is critical for longevity and low maintenance. Common options include:
- Pressure-treated lumber: Affordable, resists rot but needs regular sealing
- Cedar or redwood: Naturally weather-resistant, beautiful grain, higher cost
- Vinyl: Low maintenance, doesn’t rot, but limited color options
- Aluminum: Rustproof, lightweight, modern appearance, can be hot to the touch
- Steel: Extremely durable, industrial look, must be powder-coated
Mistakes occur when homeowners pick materials based solely on price or appearance, without considering:
- Local moisture and humidity levels
- Sun exposure and UV intensity
- Wind and storm frequency
For wet or coastal climates, avoid untreated wood. In hot, sunny regions, consider UV-resistant finishes or lighter-colored materials to reduce heat absorption.
4. Skimping on Structural Support
Pergolas must withstand wind, rain, and sometimes even snow loads. A common (and costly) DIY mistake is using undersized posts or beams, or failing to anchor them properly. Key tips:
- Use 6×6 posts for most freestanding pergolas; 4x4s are usually insufficient for anything but small, decorative arches.
- Set posts in concrete at least 18–24 inches deep, below the frost line if applicable.
- Use galvanized or stainless steel hardware to prevent rust and corrosion.
- Consult load tables or a structural engineer for spans over 10 feet.
Cutting corners here can lead to sagging, swaying, or complete failure in bad weather.
5. Overlooking Drainage and Site Preparation
Improper site preparation can cause water to pool around posts, accelerating rot and attracting insects. Checklist:
- Grade the ground so water drains away from all footings.
- Lay a gravel base or use concrete piers for added stability.
- Consider landscaping fabric to prevent weed growth.
If your pergola sits on a patio or deck, ensure existing surfaces are level and in good condition.
Budget Breakdown: What to Expect and How to Save
Material Costs
- Pressure-treated pine: $20–$35 per square foot installed
- Cedar or redwood: $40–$60 per square foot installed
- Vinyl or aluminum kits: $35–$65 per square foot installed
DIYers can save 30–50% on labor, but professional installation offers peace of mind and often a warranty.
Labor and Professional Services
- Pro installation: $500–$2,500 depending on complexity and region
- Permit fees: $50–$350+ (varies by municipality)
- Electrical work (for lighting/fans): $200–$800
Ways to Cut Costs Without Sacrificing Quality
- Choose a standard-size pergola kit to reduce custom fabrication
- Opt for pressure-treated lumber, then upgrade finishes yourself
- Install in late fall or early spring when contractors may offer discounts
- Do site prep and finishing (staining/painting) as DIY tasks
Permits, Compliance, and Navigating Local Rules
Understanding When You Need a Permit
Even simple pergolas often require permits if they:
- Are attached to your home or other structures
- Exceed a certain footprint (commonly 100–200 square feet)
- Include electrical wiring
- Impact drainage or easements
Gathering the Right Documentation
- Scaled site plan showing the pergola’s location
- Construction drawings with dimensions
- Materials list and hardware specifications
- HOA or neighborhood approval, if required
Submit these documents to your local building office. Expect a review period of 1–4 weeks.
Common Compliance Pitfalls
- Building too close to property lines (setbacks)
- Blocking utility easements
- Exceeding height restrictions (often 8–12 feet max.)
Violating these rules can mean costly modifications or legal trouble. Always get written approval before starting work.
Step-by-Step Pergola Installation Checklist
1. Planning and Design
- Measure and mark your site carefully—double-check for underground utilities before digging.
- Decide on freestanding vs. attached design.
- Choose materials and finishes that suit your climate and home style.
2. Site Preparation
- Clear vegetation and debris.
- Grade soil for proper drainage.
- Lay out post locations with stakes and string.
3. Footings and Posts
- Dig post holes to the specified depth (always below frost line if applicable).
- Set posts in concrete, checking for plumb and alignment.
- Allow concrete to cure per manufacturer guidelines (typically 24–48 hours).
4. Beams and Rafters
- Attach beams securely to posts using galvanized brackets.
- Install rafters perpendicular to beams, spacing evenly.
- Add cross braces or purlins for extra sun protection and stability.
5. Finishing Touches
- Sand rough edges and apply stain, sealant, or paint.
- Install any integrated lighting, fans, or shade canopies.
- Landscaping around the base prevents splashback and adds visual appeal.
Pergola Maintenance Best Practices
Wood Pergolas
- Annual inspection: Check for loose fasteners, rot, or insect damage.
- Staining/sealing: Reapply every 2–3 years; more often in harsh climates.
- Cleaning: Mild soap and water, or a pressure washer on low setting.
Vinyl and Metal Pergolas
- Wash with hose and gentle detergent as needed.
- Check for cracks, fading, or corrosion semi-annually.
- Touch up scratches on painted metal with matching exterior paint.
General Tips
- Keep vines and climbing plants pruned to prevent excess weight.
- Trim trees nearby to reduce leaf litter and debris accumulation.
- Inspect after major storms and repair promptly to prevent further damage.
Pergola Safety Checklist
- All posts should be set at least 18–24 inches deep in concrete.
- Verify all hardware is rust-resistant and securely fastened.
- Check that electrical components (if any) are GFCI protected and weatherproof-rated.
- Ensure the structure is plumb and level—an unbalanced pergola is a safety hazard.
- Keep walking areas clear of protruding hardware or sharp corners.
How to Choose the Right Contractor (If Not DIY)
If you decide to hire a pro, vet candidates carefully:
- Ask for references and photos of completed pergolas.
- Confirm they are licensed, insured, and experienced with similar projects.
- Get a detailed, written contract specifying materials, timeline, and payment schedule.
- Clarify who is responsible for permits and inspections.
Don’t be swayed by the lowest bid—quality workmanship is essential for safety and durability.
Conclusion: Build Your Pergola Right—And Enjoy It for Years
Installing a backyard pergola is a rewarding home improvement project that adds value, beauty, and function to your outdoor space. But it’s also a project that demands careful planning, a realistic budget, and attention to detail at every stage. By avoiding the common mistakes outlined in this guide—underestimating costs, skipping permits, picking unsuitable materials, or neglecting maintenance—you’ll protect your investment and enjoy your pergola for decades. Remember to research local regulations, account for every cost, and never compromise on structural integrity or safety. Choose materials that will weather your local climate, and set up a regular maintenance schedule to keep your pergola looking its best. If you’re hiring a contractor, vet them thoroughly and insist on clear communication and documentation. A little extra effort on the front end will prevent headaches and costly repairs down the line. With the right preparation, your backyard pergola can become the centerpiece of your outdoor living area—a place where memories are made, meals are shared, and relaxation comes easy. Plan smart, build safely, and your pergola will reward you with beauty and shade for many seasons to come.