Introduction: Setting the Stage for a Successful DIY Deck Build
Building a deck is one of the most rewarding home improvement projects a homeowner can undertake. Not only does a well-constructed deck add value and beauty to your property, but it also creates a functional outdoor living space for relaxation, entertainment, and family gatherings. However, the difference between a dream deck and a DIY disaster often comes down to preparation—starting with choosing the right tools and equipment. Whether you’re a novice or a seasoned DIY enthusiast, equipping yourself with the proper gear is critical for ensuring structural integrity, safety, and a professional finish. In this comprehensive guide, we’ll walk you through every tool and piece of equipment you’ll need—from basic hand tools to specialized power equipment—along with practical tips on budgeting, safety, and project planning. We’ll also address essential accessories, maintenance of your tools, and compliance considerations to ensure your deck stands the test of time. Let’s break ground on your new favorite spot at home!
Planning Your DIY Deck Project: Laying the Groundwork
Defining Scope and Design
Before gathering equipment, clarify your deck’s size, shape, purpose, and location. Sketch a basic design, noting measurements and desired features such as stairs, railings, or built-in benches. Understanding your project scope helps determine the specific tools you’ll need and prevents costly surprises.
Materials and Compliance
Choose between pressure-treated lumber, cedar, composite, or exotic woods. Each material may require different fastening systems or saw blades. Check local building codes and HOA regulations for deck height, railing requirements, and footing depths. Secure permits if necessary; many municipalities require them for decks above a certain size or height.
Budgeting for Tools and Equipment
- Tool Purchase vs. Rental: Consider renting infrequently used or expensive equipment, such as post hole diggers or plate compactors, to keep costs manageable.
- Consumables: Don’t forget to budget for saw blades, drill bits, fasteners, and protective gear.
- Contingency: Set aside 10-15% of your total budget for unexpected tool needs or repairs.
Essential Hand Tools: The Foundation of Every Deck Build
Measuring and Marking
- Tape Measure (at least 25 ft): For precise layout and lumber measurement.
- Chalk Line: Snap straight lines for board placement and cutting guides.
- Framing Square and Speed Square: Ensure perfect corners and accurate angles.
- Pencil or Carpenter’s Marker: For clear, weather-resistant marks.
Cutting and Shaping
- Hand Saw: Ideal for quick adjustments and finish cuts.
- Utility Knife: For trimming materials and opening packages.
- Wood Chisel Set: Useful for fine-tuning joints and cleaning out notches.
Fastening and Assembly
- Hammer (16–20 oz): For driving nails and tapping boards into place.
- Nail Set: Ensures clean finishes on visible fasteners.
- Screwdrivers (Flathead and Phillips): For detailed fastening and adjustments.
Leveling and Alignment
- 4-ft Level: For ensuring deck surface and posts are perfectly horizontal or vertical.
- Post Level: Snaps onto posts for hands-free vertical alignment.
- String Line: Helps align posts, beams, and boards across long distances.
Power Tools: Boosting Speed and Precision
Must-Have Power Tools
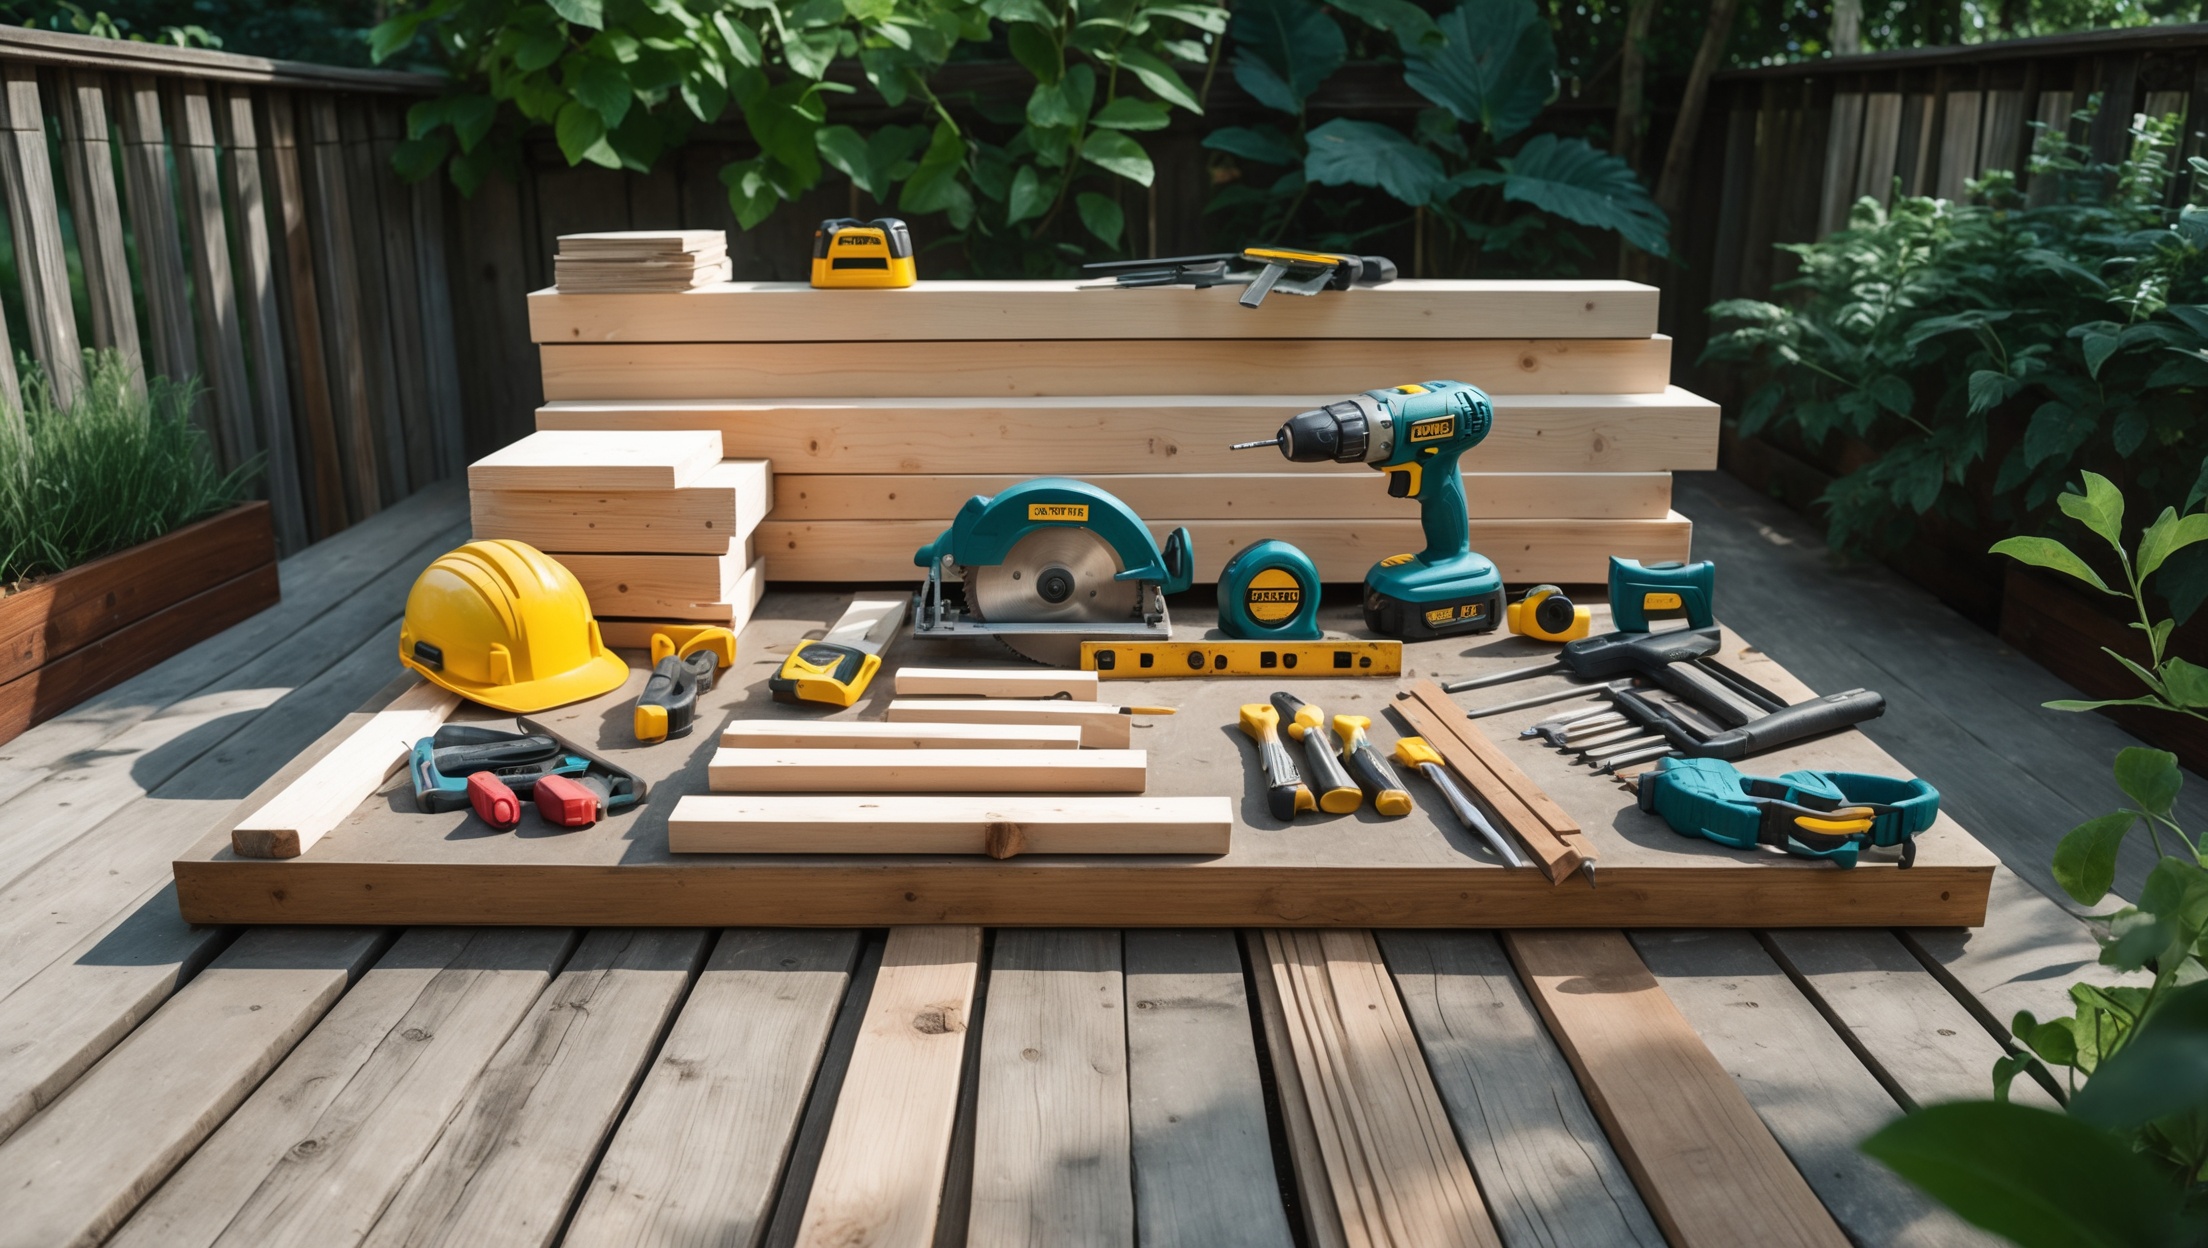
- Circular Saw: The primary tool for cross-cutting and ripping deck boards and framing lumber. Choose one with a carbide-tipped blade for longevity.
- Power Drill/Driver (Cordless recommended): Essential for driving screws, drilling pilot holes, and installing hardware. Extra batteries are a plus.
- Impact Driver: Handles large screws and lag bolts with ease, reducing wrist fatigue.
- Miter Saw: For precise angle cuts on railings, posts, and trim.
- Jigsaw: Useful for cutting curves or notches in boards around posts or obstacles.
- Reciprocating Saw (Sawzall): Helps in demolition or trimming joists and posts to length.
Optional but Helpful Power Tools
- Table Saw: Speeds up repetitive rip cuts, especially for deck boards or picture framing.
- Power Planer: Smooths rough edges or corrects slightly warped boards.
- Palm or Random Orbit Sander: Preps surfaces for finishing and removes splinters from boards.
Extension Cords and Power Safety
- Outdoor-Rated Extension Cords: Choose heavy-duty cords for safe tool operation.
- Power Strip with Surge Protection: Helps manage multiple tools and protects against electrical surges.
Specialized Equipment for Deck Foundations and Framing
Digging and Setting Footings
- Post Hole Digger: Manual or powered versions dig uniform, deep holes for footings.
- Clamshell Digger or Auger: For larger, deeper, or rocky installations.
- Shovel and Spade: For clearing soil and shaping footings.
- Wheelbarrow: Essential for moving dirt, gravel, and concrete mix.
- Concrete Mixer (optional): Rent for large decks to mix footing concrete efficiently.
Framing and Structural Assembly
- Socket Wrench Set: For tightening bolts, lag screws, and hardware.
- Clamps (Bar and C-Clamps): Hold framing members in place during assembly.
- Joist Hanger Installation Tool: Speeds up hanging joists with precision.
Deck Board Installation
- Deck Board Spacers: Ensure consistent gaps between boards for drainage and aesthetics.
- Flooring Mallet (Rubber): Taps boards into alignment without marring the surface.
- Countersink Bit: Prepares pilot holes for screws to sit flush.
Safety Gear: Protecting Yourself on the Jobsite
Personal Protective Equipment (PPE)
- Safety Glasses or Goggles: Prevent eye injuries from flying debris and sawdust.
- Hearing Protection: Use ear muffs or plugs when operating loud power tools.
- Work Gloves: Protect hands from splinters, cuts, and blisters.
- Dust Mask or Respirator: Especially important when cutting pressure-treated wood or composites.
- Knee Pads: Essential for extended periods of kneeling during framing or board installation.
- Steel-Toe Work Boots: Guard against dropped tools or heavy boards.
Jobsite Safety Equipment
- First Aid Kit: Keep within easy reach at all times.
- Fire Extinguisher: Especially important when using power tools or in dry conditions.
- Portable Work Lights: Ensure proper visibility if working in shaded areas or late evenings.
- Warning Tape or Cones: Mark off the workspace to prevent family members or pets from entering the construction zone.
Accessory Tools and Supplies: Don’t Overlook the Details
Fasteners and Anchors
- Deck Screws (Corrosion Resistant): Choose coated or stainless steel for longevity.
- Joist Hangers and Brackets: Ensure strong, code-compliant framing connections.
- Post Bases and Anchors: Secure posts to footings or slabs as required.
Sealants and Finishing Tools
- Exterior Wood Sealer or Stain: Protects wood from weathering and UV damage.
- Paint Brushes, Rollers, and Trays: For even application of sealant or stain.
- Caulk Gun: For sealing gaps and joints to prevent water intrusion.
Cleanup and Maintenance Tools
- Broom and Dustpan: For keeping the worksite tidy and safe.
- Shop Vacuum: Quickly removes sawdust and debris from hard-to-reach spots.
- Tool Storage Box or Bag: Keeps your tools organized and protected from the elements.
Tool Maintenance: Ensuring Peak Performance
Pre-Project Preparation
- Sharpen saw blades and drill bits to reduce tear-out and splintering.
- Inspect power cords and batteries for wear or damage before use.
- Lubricate moving parts on hand and power tools as recommended by the manufacturer.
Ongoing Maintenance Tips
- Clean tools after each use to prevent rust and buildup.
- Store tools in a dry, secure place—preferably in a weatherproof box or shed.
- Charge batteries fully and store them properly to extend lifespan.
- Replace worn-out blades, bits, or other consumables at the first sign of dullness or damage.
Deck Building Safety: Compliance and Best Practices
Building Code Considerations
- Research local requirements for deck footings, beam sizing, railing height, and stair dimensions.
- Schedule inspections at key milestones (footings, framing, final).
- Use only code-approved fasteners and hardware—especially for ledger boards attaching to the house.
Worksite Safety Habits
- Never bypass safety guards on power tools.
- Keep a clean, clutter-free workspace to prevent trips and falls.
- Stay hydrated and take breaks—fatigue increases the risk of accidents.
- Have a spotter when lifting heavy beams or posts.
Budgeting Tips: Stretching Your Dollar Without Cutting Corners
Smart Tool Acquisition
- Borrow infrequently used tools from friends, neighbors, or tool libraries.
- Purchase high-quality, versatile tools that can be used for future projects.
- Look for combo kits that include drill/driver, saws, and batteries at a discount.
Consumables and Unexpected Costs
- Buy fasteners and sealants in bulk to save money.
- Factor in blade replacements, extra drill bits, and additional safety gear.
- Reserve a portion of your budget for tool repairs or replacements if needed mid-project.
Project Execution: Workflow and Time Management
Organizing Your Tools for Efficiency
- Set up a dedicated tool station near your work area, keeping essentials within arm’s reach.
- Lay out tools in the order they’ll be used for each project phase: layout, cutting, framing, fastening, finishing.
- Use labeled containers for fasteners and small parts to prevent mix-ups.
Staying on Schedule
- Build in extra time for tool maintenance and troubleshooting.
- Batch similar tasks (e.g., cut all boards at once) to speed up workflow.
- Use checklists to track progress and ensure no steps—or tools—are overlooked.
Conclusion: Building with Confidence and Lasting Quality
Embarking on a DIY deck building project is both an exciting challenge and a significant investment in your home’s value and your family’s enjoyment of outdoor living. As you’ve seen, the right tools and equipment are not just conveniences—they’re essential for achieving structural safety, a beautiful finish, and an efficient workflow. From the first layout line to the final coat of sealant, every phase of deck construction is made smoother and safer when you’re equipped with the proper gear. Take the time to plan your tool needs based on your specific design, materials, and site conditions. Don’t cut corners on safety equipment or try to ‘make do’ with inadequate tools; the risk of accidents or costly mistakes simply isn’t worth it. By investing smartly—whether through purchasing, renting, or borrowing—you can stretch your budget without sacrificing quality. Maintain your tools before, during, and after the project, and you’ll be ready for your next home improvement adventure. With your new knowledge and a well-stocked toolkit, you’re set to build a deck that not only stands strong for years to come, but also becomes the centerpiece of your outdoor life. Happy building!