
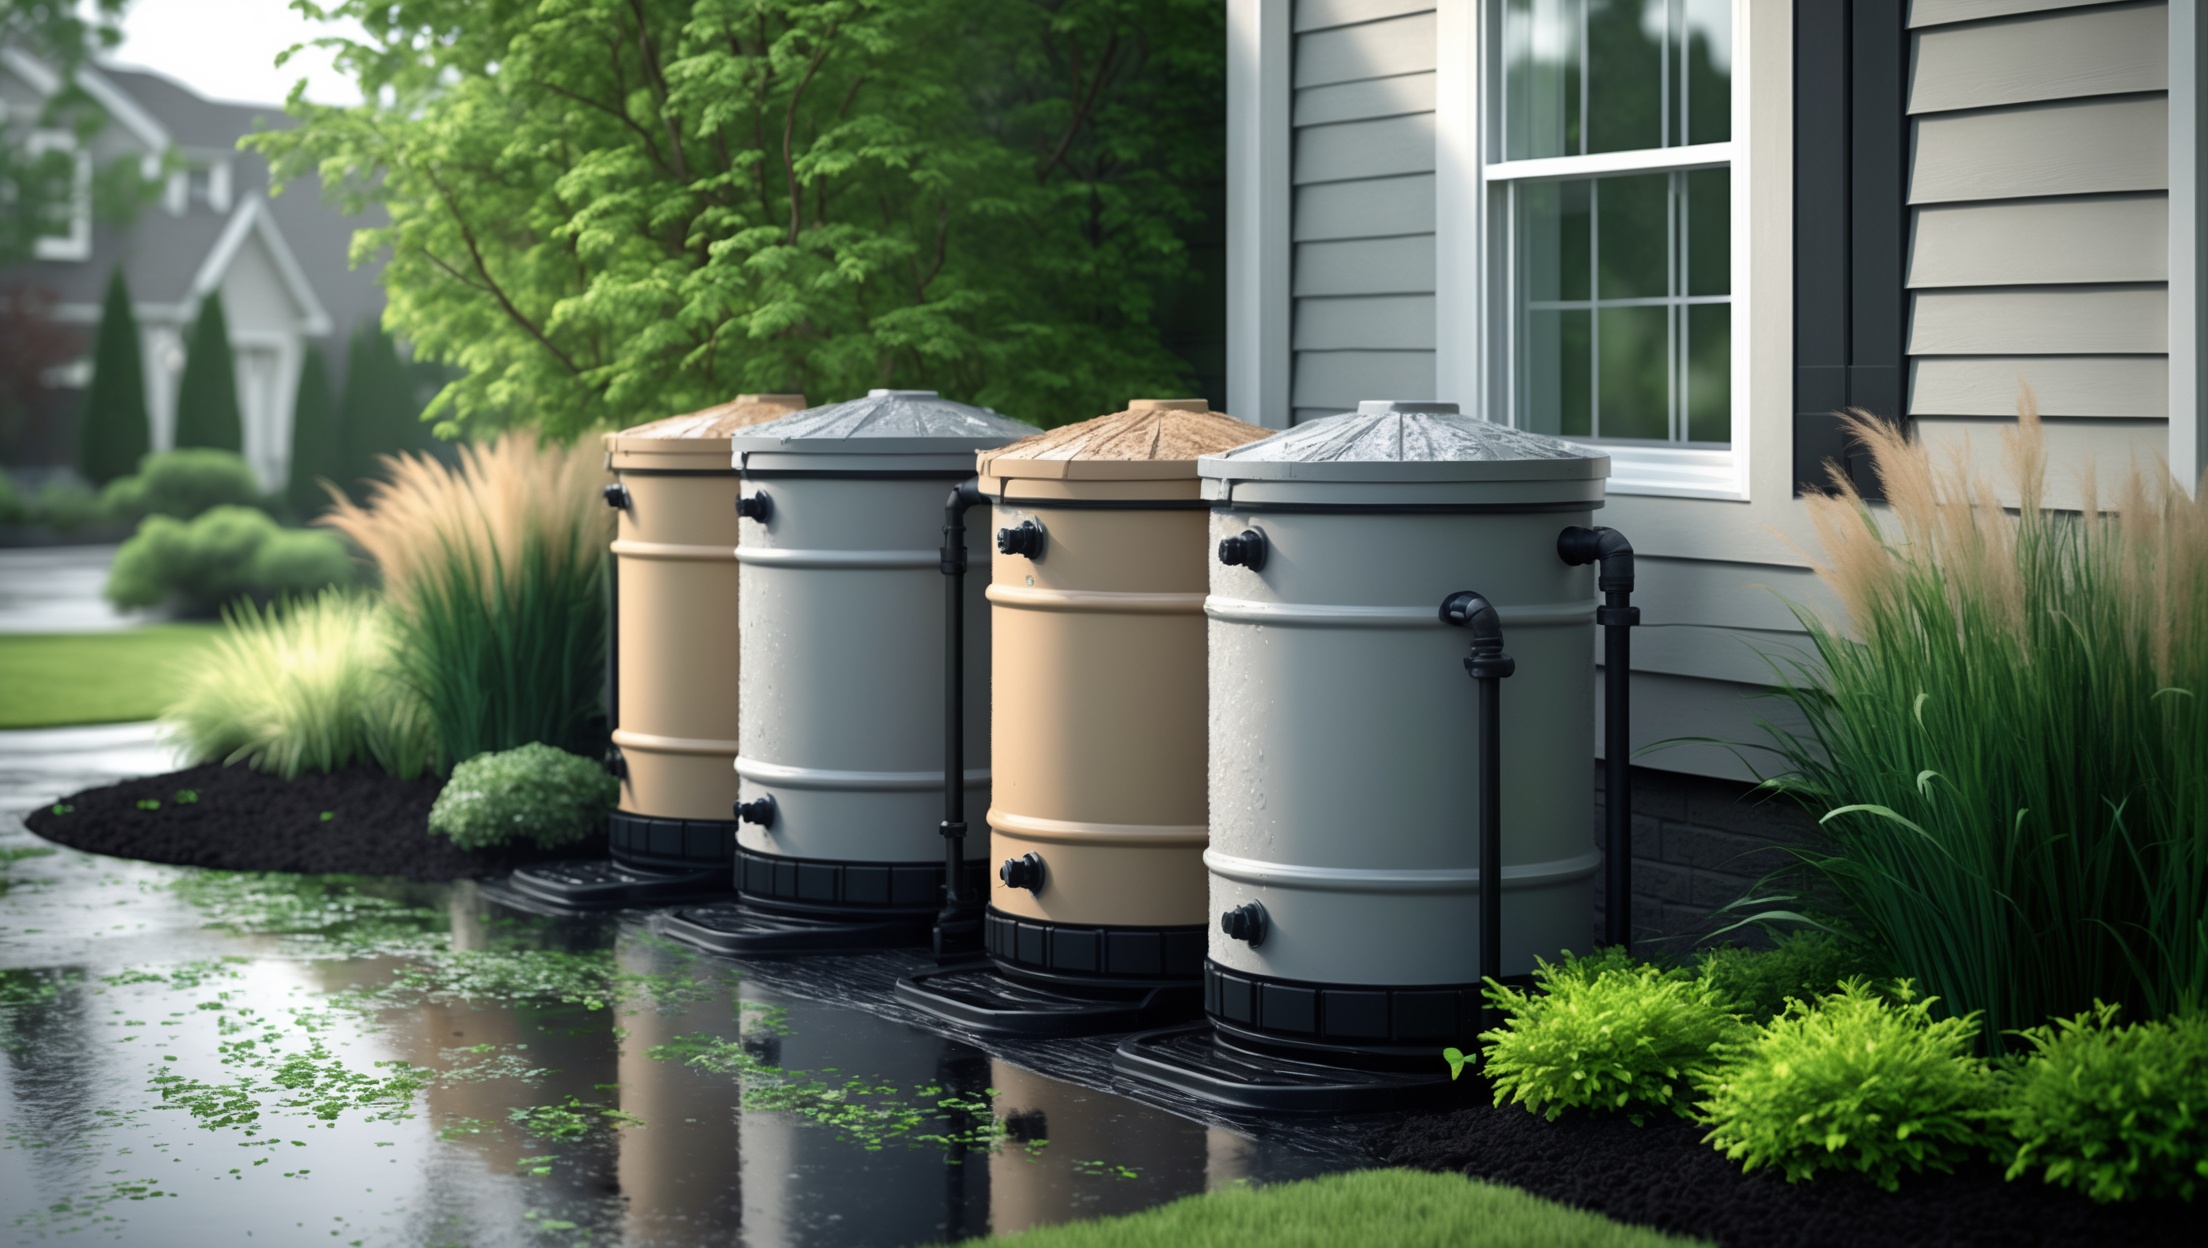
Introduction: The Benefits and Basics of Home Rainwater Harvesting
Water conservation is no longer just a trend—it’s a necessity. As climate patterns shift and municipal water costs rise, homeowners are increasingly turning to rainwater harvesting as a practical solution. A well-designed rainwater harvesting system can provide a supplementary water source for gardening, irrigation, flushing toilets, and even laundry, reducing your environmental footprint and utility bills. But setting up such a system requires thoughtful planning, strategic budgeting, and careful attention to local regulations. In this in-depth guide, we’ll walk you through the entire process of installing a home rainwater harvesting system, from initial design and cost estimation to legal compliance and long-term maintenance. Whether you’re a sustainability enthusiast or just looking for ways to cut costs, you’ll find actionable insights to make your rainwater harvesting project a success.
Understanding Rainwater Harvesting: Key Components and System Types
What Is Rainwater Harvesting?
Rainwater harvesting is the practice of collecting and storing rainwater from roofs or other surfaces for later use. This water can be used for non-potable purposes like irrigation, landscape watering, car washing, and, with proper filtration, even indoor uses such as toilet flushing or laundry.
Types of Rainwater Harvesting Systems
- Basic Barrel System: Simple barrels attached to downspouts. Ideal for garden watering.
- Intermediate Tank System: Large above-ground or below-ground tanks, often with first-flush diverters and basic filtration.
- Advanced Integrated System: Includes filtration, pumps, and plumbing to supply non-potable indoor uses.
Core Components of a Typical System
- Catchment Area: Usually your roof; material and pitch affect collection efficiency.
- Gutters and Downspouts: Channel water from the roof to the storage system.
- First-Flush Diverter: Redirects initial, debris-laden runoff away from storage.
- Storage Tank or Barrel: Holds collected rainwater; size varies by demand and rainfall.
- Filtration and Treatment: Screens, filters, or UV treatment depending on end use.
- Pumps and Distribution: Moves water to where it’s needed, especially for indoor use or irrigation systems.
Planning Your Rainwater Harvesting System
Assess Your Water Needs
Start by estimating how much water you want to collect and what you’ll use it for. Typical non-potable uses include:
- Garden and landscape irrigation
- Washing vehicles
- Toilet flushing
- Laundry (with proper filtration)
Calculate your average water use for these activities to determine your ideal storage capacity.
Analyze Rainfall and Collection Potential
Find your area’s average annual rainfall (local weather data or municipal sources). Use the formula:
Rainfall (in inches) × Roof Area (sq ft) × 0.623 = Gallons collected per year
For example, a 1,000 sq ft roof in an area with 30 inches of annual rainfall can theoretically collect about 18,690 gallons annually.
Choose System Scale and Location
- Decide between above-ground or below-ground storage based on available space and aesthetics.
- Ensure the catchment area (roof) is clean and free from hazardous materials like old lead paint or treated wood shingles.
- Plan tank placement for easy access, minimal visual impact, and optimal gravity flow if possible.
Budgeting: Cost Breakdown for Rainwater Harvesting Systems
Major Cost Factors
- Storage Tanks/Barrels: $80–$250 per 55-gallon barrel; $500–$2,500+ for large tanks (500–2,500 gallons).
- Guttering and Downspouts: $300–$1,000 for new installation or upgrades.
- First-Flush Diverter and Filtration: $50–$200 depending on complexity.
- Pumps and Plumbing: $150–$800+ if distributing water to gardens or indoors.
- Foundation and Accessories: $100–$500 for tank stands, overflow, and mosquito-proof screens.
- Labor (if hiring): $500–$2,000+ for professional installation.
- Permits and Inspections: $0–$400, depending on local codes.
Sample Budget Scenarios
- DIY Barrel System (2 barrels, basic diverter): $300–$700
- Intermediate Tank System (1,000 gallons, manual use): $1,200–$2,500
- Advanced Integrated System (2,500 gallons, automated pump, filtration): $5,000–$10,000+
Always budget for routine maintenance and potential upgrades.
Legal Compliance and Permits: What You Must Know
Understanding Local Regulations
Rainwater collection is legal in most states, but local laws vary widely. Some areas encourage it with rebates, while others limit storage capacity or restrict use to non-potable purposes.
- Check your city and state codes for any restrictions on rainwater harvesting.
- Determine if a permit is required for installing large tanks or connecting to indoor plumbing.
- Some municipalities require backflow prevention devices on systems supplying indoor fixtures.
Common Compliance Requirements
- Overflow must be directed away from foundations and neighboring properties.
- Tanks must be mosquito-proof and protected from light to limit algae growth.
- Systems connected to plumbing often require inspection and permits to ensure no cross-contamination with potable water.
Contact your local building department early in your planning process to avoid costly retrofits or fines.
Step-by-Step Installation Guide
1. Prepare the Catchment Area
- Inspect and clean gutters and downspouts. Remove leaves, moss, and debris.
- Repair any damaged sections to prevent leaks and ensure efficient flow.
- If your roof is old or has hazardous materials, consider replacement or professional cleaning.
2. Install Gutter Screens and First-Flush Diverter
- Add gutter screens to prevent large debris from entering the system.
- Install a first-flush diverter on each downspout leading to your rainwater barrel or tank. This device diverts the first few gallons of runoff, which often contains most of the contaminants.
3. Set Up the Storage Tank or Barrels
- Choose a level, stable location close to your downspout. Use concrete pavers or a gravel bed as a base for large tanks.
- Ensure tanks are elevated if you want gravity-fed distribution; otherwise, plan for a pump.
- Secure tanks to prevent tipping, and use opaque materials to minimize algae growth.
4. Connect Downspouts to Storage
- Cut the downspout to the appropriate height and attach diverter kits or flexible piping leading into the tank.
- Seal joints and ensure water flows directly into the storage unit without leaks.
5. Install Overflow and Drainage
- Install an overflow outlet near the top of the tank, directing excess water away from your home’s foundation and neighboring properties.
- Use a splash block or drainage pipe to channel overflow safely.
6. Add Filtration and Mosquito Protection
- Install a fine mesh screen over all inlets and outlets to prevent mosquito breeding and debris entry.
- For advanced systems, add inline filters or UV treatment as needed based on intended water use.
7. Set Up Pumps and Distribution (If Needed)
- For gravity-fed systems, connect hoses or drip irrigation directly to the tank outlet.
- For pressurized or indoor use, install a pump with a backflow prevention valve and pressure regulator.
- Ensure all connections are watertight and test the system for leaks.
Maintenance Best Practices for Rainwater Harvesting Systems
Routine Maintenance Checklist
- Inspect and clean gutters and screens monthly, especially during leaf-fall seasons.
- Check tanks for cracks, leaks, or algae growth quarterly.
- Flush first-flush diverters after heavy storms to prevent clogging.
- Clean and replace filters as recommended by manufacturers.
- Inspect overflow outlets for blockages.
- Test pumps and pressure systems annually before irrigation season.
Winterizing Your System
- Drain and disconnect barrels or above-ground tanks if you live in a freeze-prone region.
- Insulate exposed pipes and valves.
- Store pumps indoors to prevent freeze damage.
Troubleshooting Common Issues
- Low Water Collection: Check for gutter blockages, leaks, or improper roof pitch. Ensure all downspouts are directed into the system.
- Algae or Odor: Use opaque tanks, keep lids tight, and add screens. Clean tanks with a diluted bleach solution annually.
- Mosquitoes: Ensure all inlets/outlets are screened; use a biological mosquito dunk if needed (safe for gardens).
- Pump Not Working: Check power supply, clean filters, and inspect for clogs.
Maximizing the Benefits of Your Harvested Rainwater
- Pair your system with drought-resistant landscaping for maximum impact.
- Integrate smart irrigation controllers to automate watering schedules based on weather data.
- Monitor water usage and evaluate potential upgrades (e.g., larger tanks, advanced filtration).
- Track cost savings on your water bill to measure your return on investment over time.
Conclusion: Making Rainwater Harvesting Work for Your Home
Investing in a home rainwater harvesting system isn’t just an eco-friendly gesture—it’s a practical step toward water independence, cost control, and sustainable living. By following a structured planning and installation process, you can avoid common pitfalls, stay within budget, and comply with all legal requirements. Remember: successful rainwater harvesting depends on selecting the right system size, using high-quality components, and committing to regular maintenance. As you refine and expand your system, you’ll enjoy reduced water bills, a greener landscape, and peace of mind from knowing you’re making a positive environmental impact. Start small if needed, but think big—your rainwater harvesting setup can grow and evolve alongside your home improvement goals. With careful planning and attention to detail, your home can become a model of sustainable water management and resilience.