
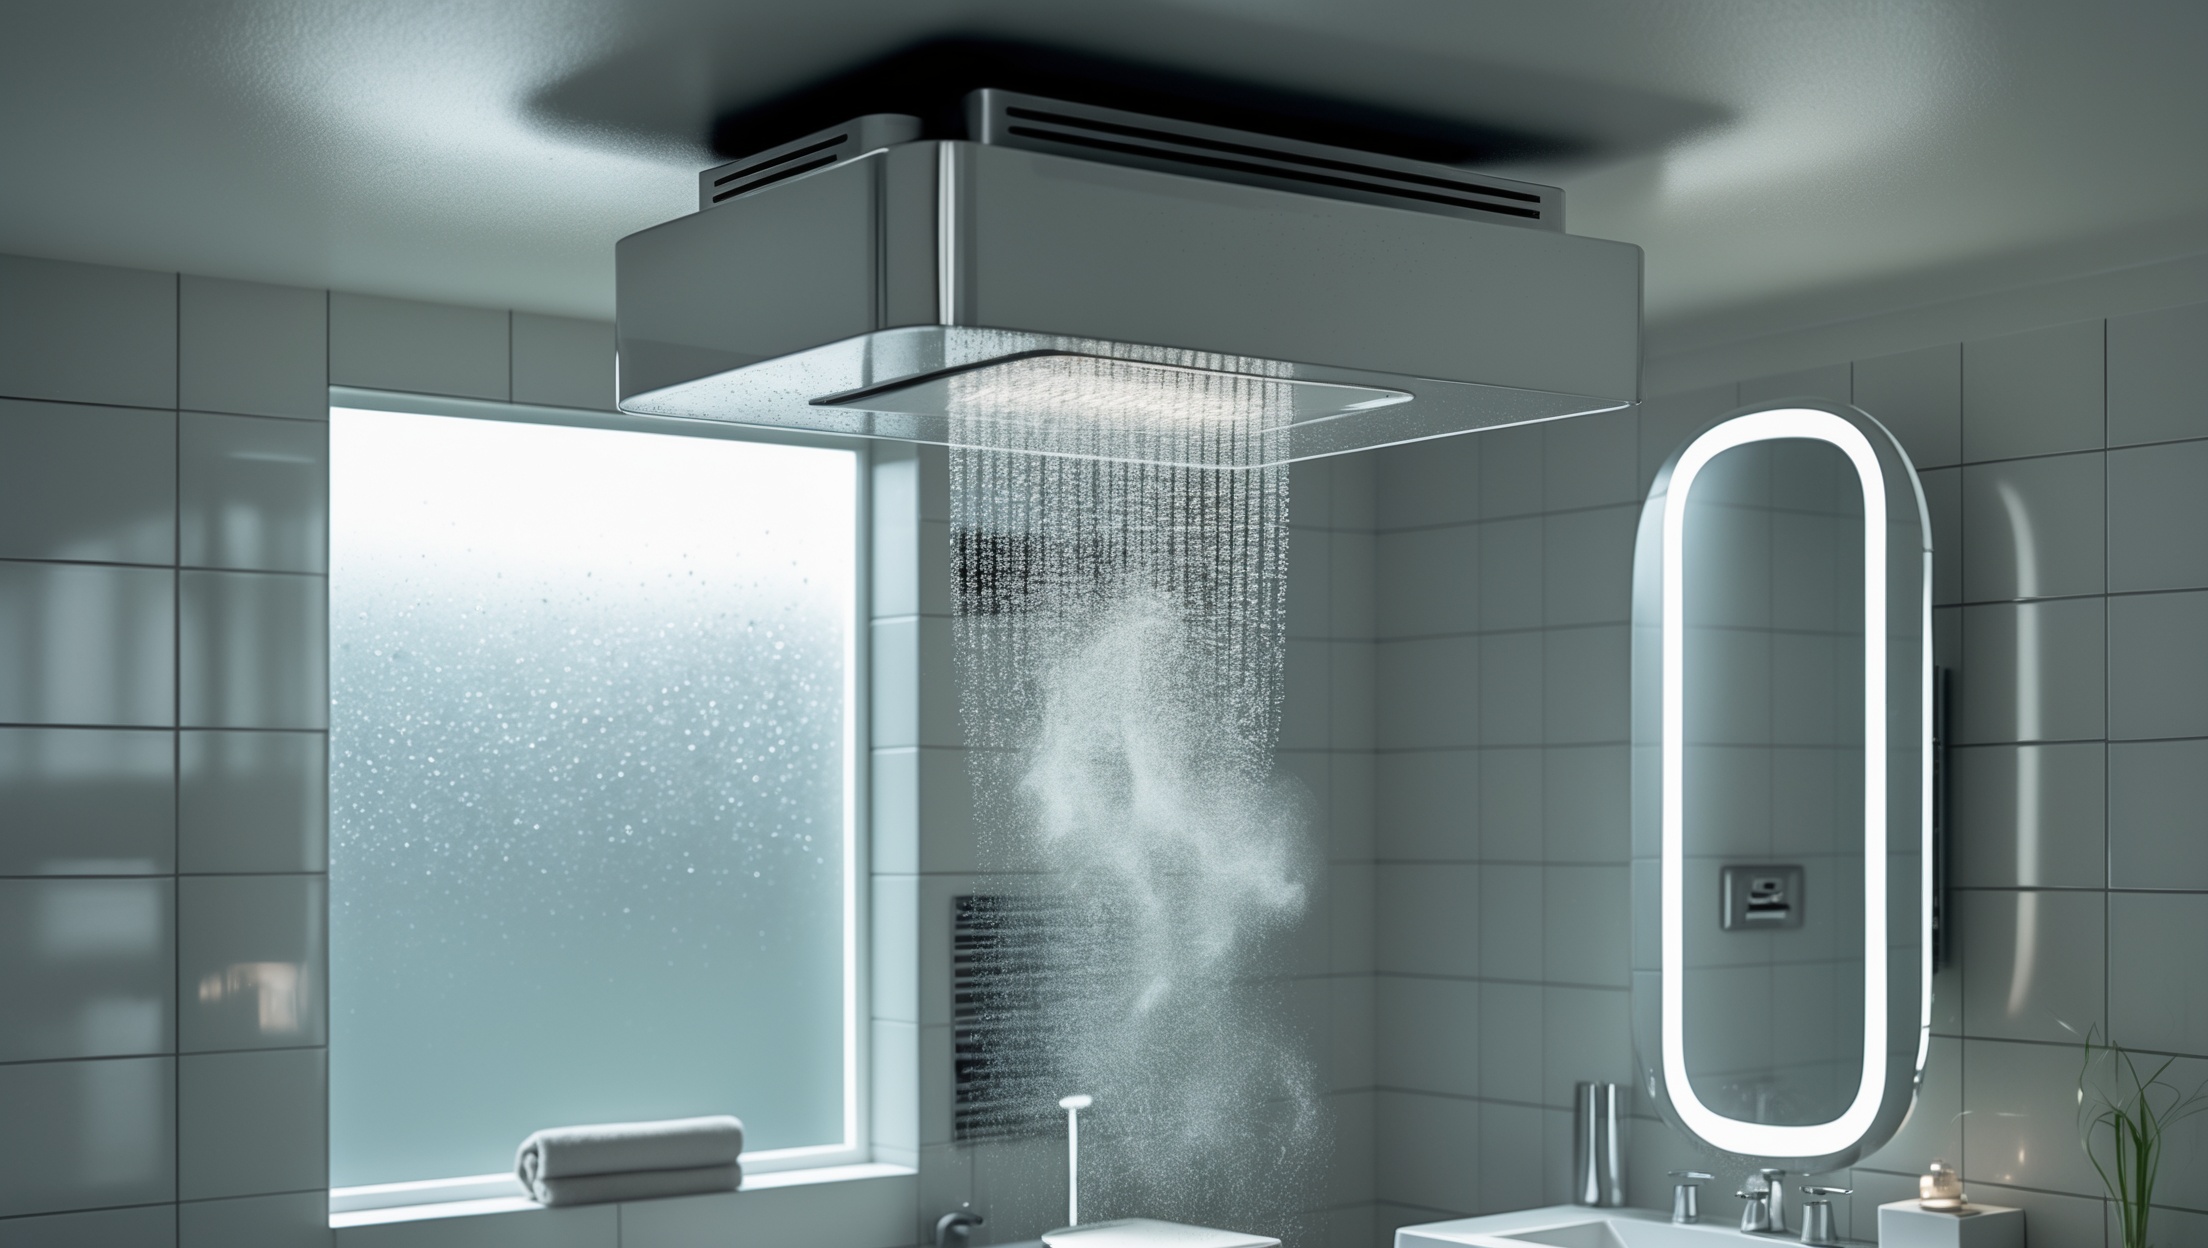
Introduction: Why Proper Bathroom Ventilation Matters
Most homeowners underestimate the importance of bathroom ventilation. While it’s easy to focus on visible improvements like new tiles or fixtures, the unseen effects of poor ventilation—mold, mildew, peeling paint, and structural damage—can quietly undermine your investment. Proper ventilation is essential for maintaining indoor air quality, preventing moisture damage, and even saving on energy costs. Yet, a surprising number of myths and misconceptions persist about how bathroom ventilation works, what it costs, and how to keep it functioning optimally. In this comprehensive guide, we’ll debunk the most common myths, break down real-world costs, and share actionable maintenance best practices. Whether you’re upgrading an old fan or planning a major remodel, you’ll learn exactly how to protect your home and maximize comfort for years to come.
Debunking Common Bathroom Ventilation Myths
Myth 1: Opening a Window Is Enough
Many homeowners believe that simply opening a window after a shower provides sufficient ventilation. While a window does help release some steam, it rarely removes enough moisture—especially during cold or humid weather when windows remain shut. Mechanical exhaust fans are designed to move large volumes of humid air quickly and efficiently, reducing the risk of mold growth and water damage.
Myth 2: All Bathroom Fans Are the Same
Bathroom exhaust fans vary widely in airflow capacity (measured in cubic feet per minute, or CFM), noise level, energy efficiency, and additional features like humidity sensors or integrated lighting. Choosing an undersized or outdated fan can leave your bathroom susceptible to persistent moisture problems. It’s crucial to match the fan’s CFM rating to your bathroom’s size and intended use.
Myth 3: Venting Into the Attic Is Acceptable
Some older homes have bathroom fans that vent directly into the attic. This is a major mistake that can lead to condensation, mold growth, and even structural rot in your roof space. Building codes require exhaust fans to vent outside the home—either through the roof, an exterior wall, or a soffit—never into the attic or other enclosed spaces.
Myth 4: Fans Don’t Need Regular Maintenance
Bathroom fans accumulate dust, lint, and even mildew over time, which can reduce airflow and increase fire hazard. Regular cleaning and inspection are essential to keep your fan functioning efficiently and quietly.
Myth 5: Higher-Powered Fans Always Work Better
While higher CFM fans can move more air, they’re not always the best choice. Oversized fans may create negative pressure, pulling conditioned air from other parts of the home and increasing energy costs. The key is to match the fan size to your specific bathroom dimensions and usage patterns.
Cost Breakdown: Installation, Replacement, and Operation
Initial Installation Costs
- New Construction: Installing a bathroom exhaust fan during new construction or a major renovation generally costs $200–$500 for parts and labor, depending on the fan type and venting requirements.
- Retrofit Installations: Replacing an existing fan or adding one to a finished bathroom is more complex. Expect to pay $350–$800, especially if new ductwork or electrical work is needed.
- Premium Features: Models with humidity sensors, integrated lighting, or ultra-quiet operation can add $100–$300 to the total cost.
Replacement and Upgrade Costs
- Basic Replacement: Swapping out an old fan for a new model of similar size typically costs $150–$400, depending on access and wiring complexity.
- Upgrading for Energy Efficiency: ENERGY STAR-rated fans may cost more upfront but can reduce energy bills over time.
- Venting Corrections: If your fan is currently venting into the attic or another improper location, rerouting ductwork to the exterior can add $200–$400 or more.
Operating Costs
- Energy Consumption: Modern bathroom fans use 15–50 watts per hour. Running a fan for 20 minutes per use adds just a few dollars per year to your energy bill.
- Smart Controls: Fans with timers or humidity sensors prevent unnecessary operation, optimizing both energy use and moisture control.
How to Choose the Right Bathroom Fan
Step 1: Calculate the Required CFM
For bathrooms up to 100 sq. ft., the Home Ventilating Institute recommends 1 CFM per square foot. For larger bathrooms, add:
- 50 CFM for each toilet
- 50 CFM for each shower, bathtub, or jetted tub
- 100 CFM for each whirlpool or spa tub
Example: An 80 sq. ft. bathroom with a shower and toilet needs at least 80 CFM. A 150 sq. ft. bathroom with two sinks, a shower, and a whirlpool tub needs 150 + 50 (shower) + 100 (whirlpool) = 300 CFM.
Step 2: Consider Special Features
- Noise Level: Measured in sones. Under 1.5 sones is considered very quiet.
- Humidity Sensors: Automatically turn the fan on/off based on moisture levels.
- Integrated Lighting: Useful for bathrooms lacking natural light.
- Timer Controls: Ensure the fan runs long enough to clear moisture but not waste energy.
Step 3: Check Compatibility and Compliance
- Ensure the fan fits your ceiling or wall cavity.
- Verify that venting to the exterior is feasible.
- Confirm compliance with local building codes—some regions require fans in all full bathrooms, even if a window is present.
Step-by-Step: DIY Bathroom Fan Replacement
Tools & Materials
- New bathroom fan (check size and CFM rating)
- Screwdriver (Phillips and flathead)
- Utility knife
- Wire stripper/cutter
- Drill with bits
- Foil duct tape
- Flexible ducting (if replacement needed)
- Safety goggles and dust mask
- Ladder or step stool
Step 1: Turn Off Power
Switch off power to the bathroom at the circuit breaker. Double-check with a voltage tester to ensure wires are dead before proceeding.
Step 2: Remove Old Fan
- Remove the grill cover.
- Unscrew and lower the fan assembly. Disconnect wiring and ductwork.
- Detach the housing from the joists or ceiling frame.
Step 3: Prepare the Opening
- Clean the opening of debris and dust.
- Check if the new fan housing fits. Enlarge the opening with a utility knife if needed.
Step 4: Wire the New Fan
- Connect the wiring: typically black (hot), white (neutral), and green or bare copper (ground).
- Secure connections with wire nuts and tuck wires into the housing.
Step 5: Attach Ductwork
- Connect flexible ducting to the fan’s vent collar. Use foil duct tape for an airtight seal.
- Ensure the duct leads directly to an exterior vent, with minimal bends.
Step 6: Mount the Fan
- Secure the housing to joists or mounting brackets.
- Insert the fan assembly and attach the grill cover.
Step 7: Restore Power and Test
- Turn the power back on at the breaker.
- Test the fan for operation and noise.
- Check outside to ensure airflow is exiting the vent.
Maintenance Best Practices for Bathroom Ventilation
Monthly
- Visual Inspection: Check for dust buildup on the grill and signs of mold or mildew nearby.
- Run the Fan: Use the fan during and for 15–20 minutes after showers to expel moisture.
Quarterly
- Clean Fan Grill: Remove and wash the grill with warm, soapy water. Dry thoroughly before reinstalling.
- Vacuum Interior: Use a vacuum attachment to remove dust and debris from the fan blades and housing.
Annually
- Inspect Ductwork: Check for blockages, crushed sections, or disconnected joints. Repair or replace as needed.
- Check Exterior Vent: Ensure the vent flap opens freely and is clear of obstructions.
- Test Fan Performance: Hold a tissue near the grill while the fan is running; it should hold the tissue in place.
Troubleshooting Common Bathroom Fan Issues
Fan Is Noisy
- Possible Causes: Loose mounting, worn bearings, debris in the housing.
- Solutions: Tighten mounting screws, clean the fan, or replace if bearings are worn.
Fan Runs But Doesn’t Remove Moisture
- Possible Causes: Undersized fan, blocked duct, malfunctioning damper.
- Solutions: Upgrade to a higher CFM unit, clear duct obstructions, repair or replace the damper.
Fan Isn’t Working At All
- Possible Causes: Tripped breaker, faulty switch, burned-out motor.
- Solutions: Check power supply, test the switch, replace the fan if necessary.
Compliance, Permits, and Building Codes
Building codes vary by location but generally require a mechanical exhaust fan in all bathrooms lacking operable windows. Some codes also specify minimum CFM ratings and venting methods. If you’re upgrading or installing a new fan, check with your local building department about permit requirements, especially for new electrical work or routing new vents to the exterior. Professional installers will ensure code compliance and safe operation if you’re not comfortable with electrical or ductwork tasks.
Conclusion: Invest in Proper Ventilation for a Healthier Home
Many homeowners overlook the long-term value of effective bathroom ventilation. By debunking myths, understanding cost factors, and following proven maintenance strategies, you can protect your investment against mold, mildew, and structural damage. Remember that proper ventilation isn’t just about comfort—it’s a crucial defense against hidden moisture problems that can devalue your home and endanger your family’s health. Whether you choose a basic exhaust fan or a high-tech model with smart controls, regular inspection and cleaning will ensure years of trouble-free operation. If you have concerns about installation, venting, or code compliance, consulting a qualified professional is a wise investment. Make bathroom ventilation a priority in your next home improvement project, and enjoy a fresher, healthier home for years to come.



You mention that mechanical exhaust fans are more effective than just opening a window, but what should I look for when choosing the right fan for a small bathroom with no exterior wall access?
For a small bathroom with no exterior wall access, focus on finding a ceiling-mounted exhaust fan designed for ducting through the ceiling or attic. Look for a fan with enough CFM (cubic feet per minute) for your room size—about 50 CFM usually works for small bathrooms. Choose a quiet model (rated under 2 sones), and make sure it’s designed to be ducted to the outdoors rather than just recirculating air.
With all the myths about fans and ventilation, I’m curious—how often do you recommend homeowners actually replace or upgrade their bathroom exhaust fans, and are there warning signs I should watch for that mean it’s time for a new one?
It’s generally recommended to replace your bathroom exhaust fan every 10 years, but this can vary depending on use and maintenance. Warning signs that it’s time for a new one include excess noise, reduced airflow, lingering moisture, visible mold, or if the fan doesn’t clear steam efficiently. If you notice any of these issues, an upgrade or replacement is a good idea to maintain good air quality.
I noticed you mention that venting into the attic is a big mistake. If someone discovers their fan vents this way, what’s realistically involved in correcting it, and is it something a handy homeowner can tackle themselves?
If your bathroom fan vents into the attic, it’s important to redirect it outdoors to prevent moisture buildup and mold. The fix involves running ductwork from the fan to a vent cap on the roof or an exterior wall. While a handy homeowner can often do this, it does require cutting through attic materials and sealing connections, so comfort with tools and working in tight spaces is a must. If unsure, hiring a professional is a good idea to ensure it’s airtight and up to code.
I’m a little confused about how to pick the right fan size based on CFM ratings. Are there any easy formulas or rules of thumb for figuring out what CFM my bathroom needs, especially if it’s a shared kids’ bath that gets heavy use?
To choose the right bathroom fan size, a simple rule is to have at least 1 CFM (cubic foot per minute) per square foot of bathroom space. Measure your bathroom’s length and width, multiply them, and match that number to the CFM rating. For shared or heavily used bathrooms, like kids’ baths, it’s wise to go 20-30% higher to handle extra moisture. For example, a 60 sq. ft. bathroom should have at least a 70–80 CFM fan.