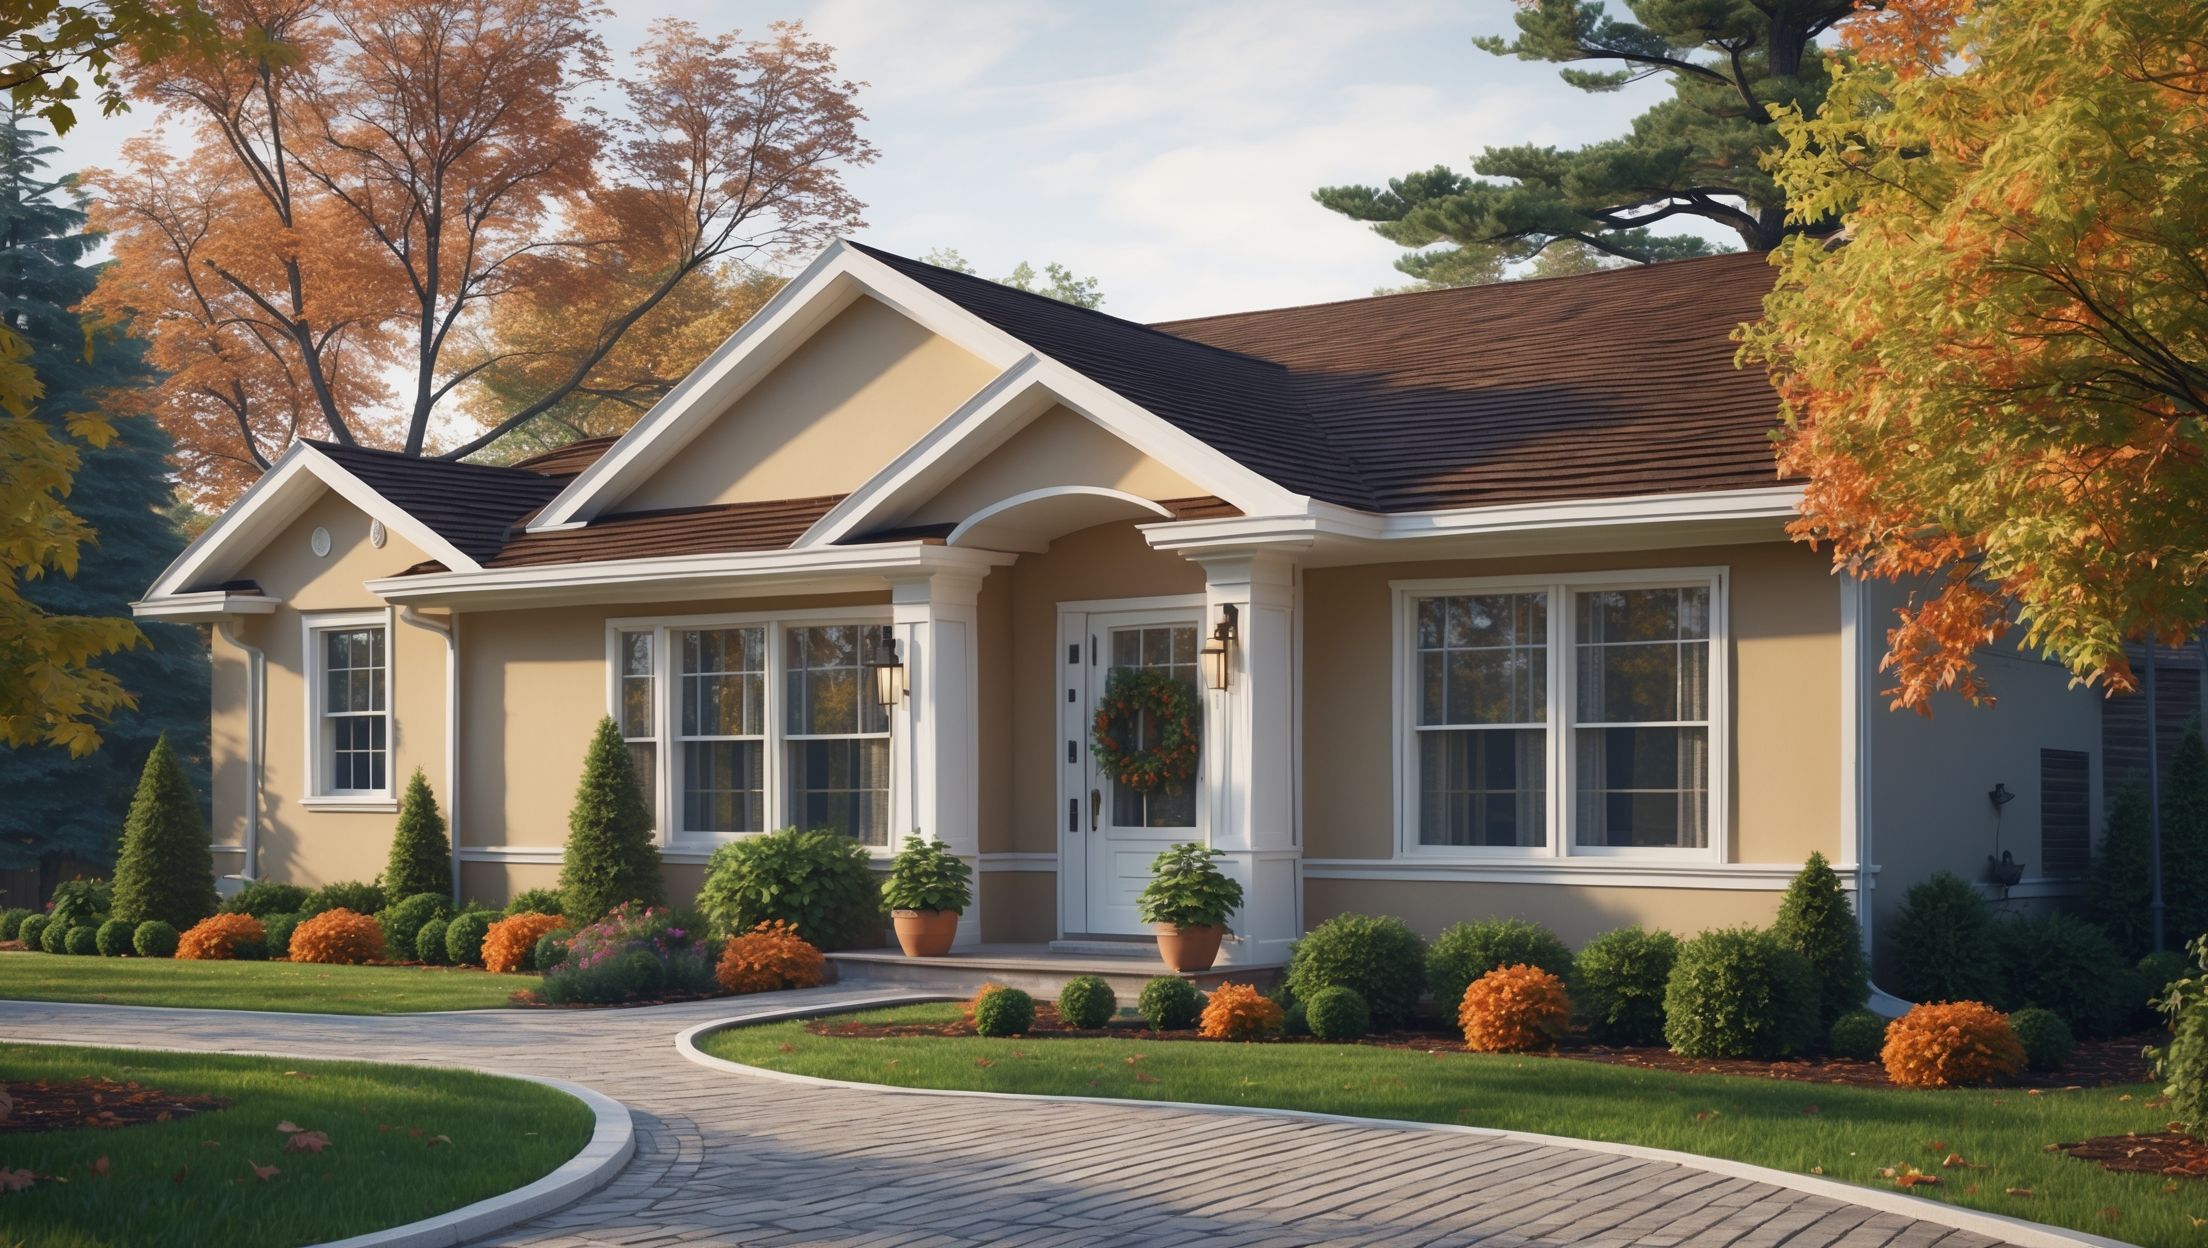
Introduction: Why Siding Upgrades Matter for Every Homeowner
Siding is more than just the outer shell of your home—it’s the frontline defense against weather, pests, and time itself. Upgrading your home’s siding isn’t merely an aesthetic choice; it’s a practical investment in long-term durability, insulation, and curb appeal. Yet, many homeowners are surprised by the complexity behind siding projects. From understanding material options with their respective costs and lifespans, to planning for labor, compliance, and ongoing maintenance, there’s a lot more to a siding upgrade than picking a color. This comprehensive guide demystifies the process, helping you avoid common pitfalls, budget wisely, and select the right material for your climate and design goals. Whether you’re aiming for a striking facelift or tackling issues like rot and energy inefficiency, the right siding upgrade can transform your home’s value and livability. Read on for a detail-packed roadmap to cost breakdowns, material comparisons, maintenance best practices, and expert insights that will set your project up for lasting success.
Understanding Siding: Functions and Signs It’s Time for an Upgrade
The Role of Siding in Home Protection
Home siding serves as a critical barrier, shielding your house from wind, rain, UV rays, and temperature fluctuations. It also plays a significant role in insulating your home, impacting energy costs and interior comfort. Siding can deter pests, prevent moisture intrusion, and provide crucial structural support.
Warning Signs Your Siding Needs Attention
- Cracking, Warping, or Rot: Visible damage is a clear indicator your siding is failing to protect your home.
- Frequent Painting: If your siding requires new paint every few years, underlying issues may be at play.
- Mold, Mildew, or Fungus: These often signal water infiltration.
- Increased Energy Bills: Deteriorating siding can undermine insulation, driving up heating and cooling costs.
- Bubbling or Blistering: Indicates that water or heat is trapped behind the siding.
Comparing Siding Materials: Pros, Cons, and Costs
Choosing the right siding material is essential for matching your budget, climate, and style preferences. Here’s an in-depth look at the most common options, including cost breakdowns, advantages, and potential drawbacks.
1. Vinyl Siding
- Cost (Installed): $6–$12 per sq ft
- Pros: Affordable, low maintenance, wide color/pattern range, resists rot and insects.
- Cons: Can crack in extreme cold, fades over time, limited life expectancy (20–30 years).
2. Fiber Cement Siding (e.g., James Hardie)
- Cost (Installed): $10–$16 per sq ft
- Pros: Highly durable, fire resistant, resists insects/rot, mimics wood/grain textures, long lifespan (30–50 years).
- Cons: Heavier (higher labor costs), must be painted periodically, can absorb moisture if not installed properly.
3. Wood Siding (Cedar, Redwood, Pine)
- Cost (Installed): $8–$15 per sq ft
- Pros: Classic, natural beauty; can be painted/stained; eco-friendly options available.
- Cons: High maintenance (painting, sealing); vulnerable to insects, rot, and fire; shorter lifespan without rigorous upkeep.
4. Engineered Wood Siding
- Cost (Installed): $7–$13 per sq ft
- Pros: Lighter than fiber cement, easier to install, resists pests better than natural wood, lower maintenance.
- Cons: Some products susceptible to moisture, must be installed correctly to prevent swelling or delamination.
5. Metal Siding (Steel, Aluminum)
- Cost (Installed): $10–$18 per sq ft (steel); $8–$15 (aluminum)
- Pros: Fire and pest resistant, recyclable, highly durable, modern aesthetic.
- Cons: Can dent, may corrode if scratched, color options can be limited.
6. Stucco Siding
- Cost (Installed): $9–$16 per sq ft
- Pros: Excellent for dry climates, seamless look, fire and pest resistant, good insulator.
- Cons: Prone to cracking in wet/freezing climates, requires professional installation, can be expensive to repair.
Material Comparison Table
| Material | Average Cost (per sq ft) | Lifespan (Years) | Maintenance Level |
|---|---|---|---|
| Vinyl | $6–$12 | 20–30 | Low |
| Fiber Cement | $10–$16 | 30–50 | Medium |
| Wood | $8–$15 | 15–30 | High |
| Engineered Wood | $7–$13 | 20–30 | Medium |
| Metal (Steel/Alum.) | $8–$18 | 40–60 | Low-Med |
| Stucco | $9–$16 | 50+ | Medium |
Comprehensive Cost Breakdown: Budgeting for Your Siding Project
A successful siding upgrade requires more than just tallying up material costs. Here’s how to budget realistically:
1. Measuring Your Home
Calculate the total exterior wall area (subtracting windows and doors). For a 2,000 sq ft single-story home, expect 1,600–2,200 sq ft of siding surface depending on design.
2. Material Costs
Multiply your total siding area by the per-square-foot cost of your chosen material. Remember to include trim, soffits, and corner pieces—usually 10–15% extra.
3. Labor Costs
- Labor varies by material: Vinyl and engineered wood are the easiest and cheapest to install. Fiber cement and stucco require specialized skills and more labor hours.
- National labor average: $2–$8 per sq ft, depending on material and region.
4. Additional Costs to Factor In
- Old Siding Removal: $1–$3 per sq ft
- Disposal Fees: $300–$800 for a typical home
- Wall Repairs: Addressing rot, pest damage, or insulation upgrades can add $500–$4,000+ depending on scope.
- Permit Fees: Usually $100–$300 (varies by locality)
- Moisture Barriers/House Wrap: $0.50–$1.00 per sq ft
Sample Budget for a 2,000 sq ft Home
- Vinyl Siding: $12,000–$24,000 total
- Fiber Cement: $18,000–$32,000 total
- Wood Siding: $16,000–$30,000 total
- Engineered Wood: $14,000–$26,000 total
- Metal Siding: $18,000–$36,000 total
These figures include material, labor, removal, and disposal but exclude major wall repairs or premium finishes.
Permits, Compliance, and Insurance Considerations
Do You Need a Permit?
Most municipalities require a building permit for siding replacement or upgrade, especially if structural changes are involved. Check with your local building department—failing to obtain a permit can result in fines, issues with home insurance, or problems when selling your house.
HOA and Neighborhood Restrictions
Some neighborhoods and homeowners associations restrict siding materials or colors to maintain community aesthetics. Always verify compliance before ordering materials.
Insurance Implications
- Coverage: Confirm with your insurer that your policy covers the new siding material and installation process.
- Discounts: Upgrades to fire- or impact-resistant siding can sometimes lower your premiums—ask your agent about possible discounts.
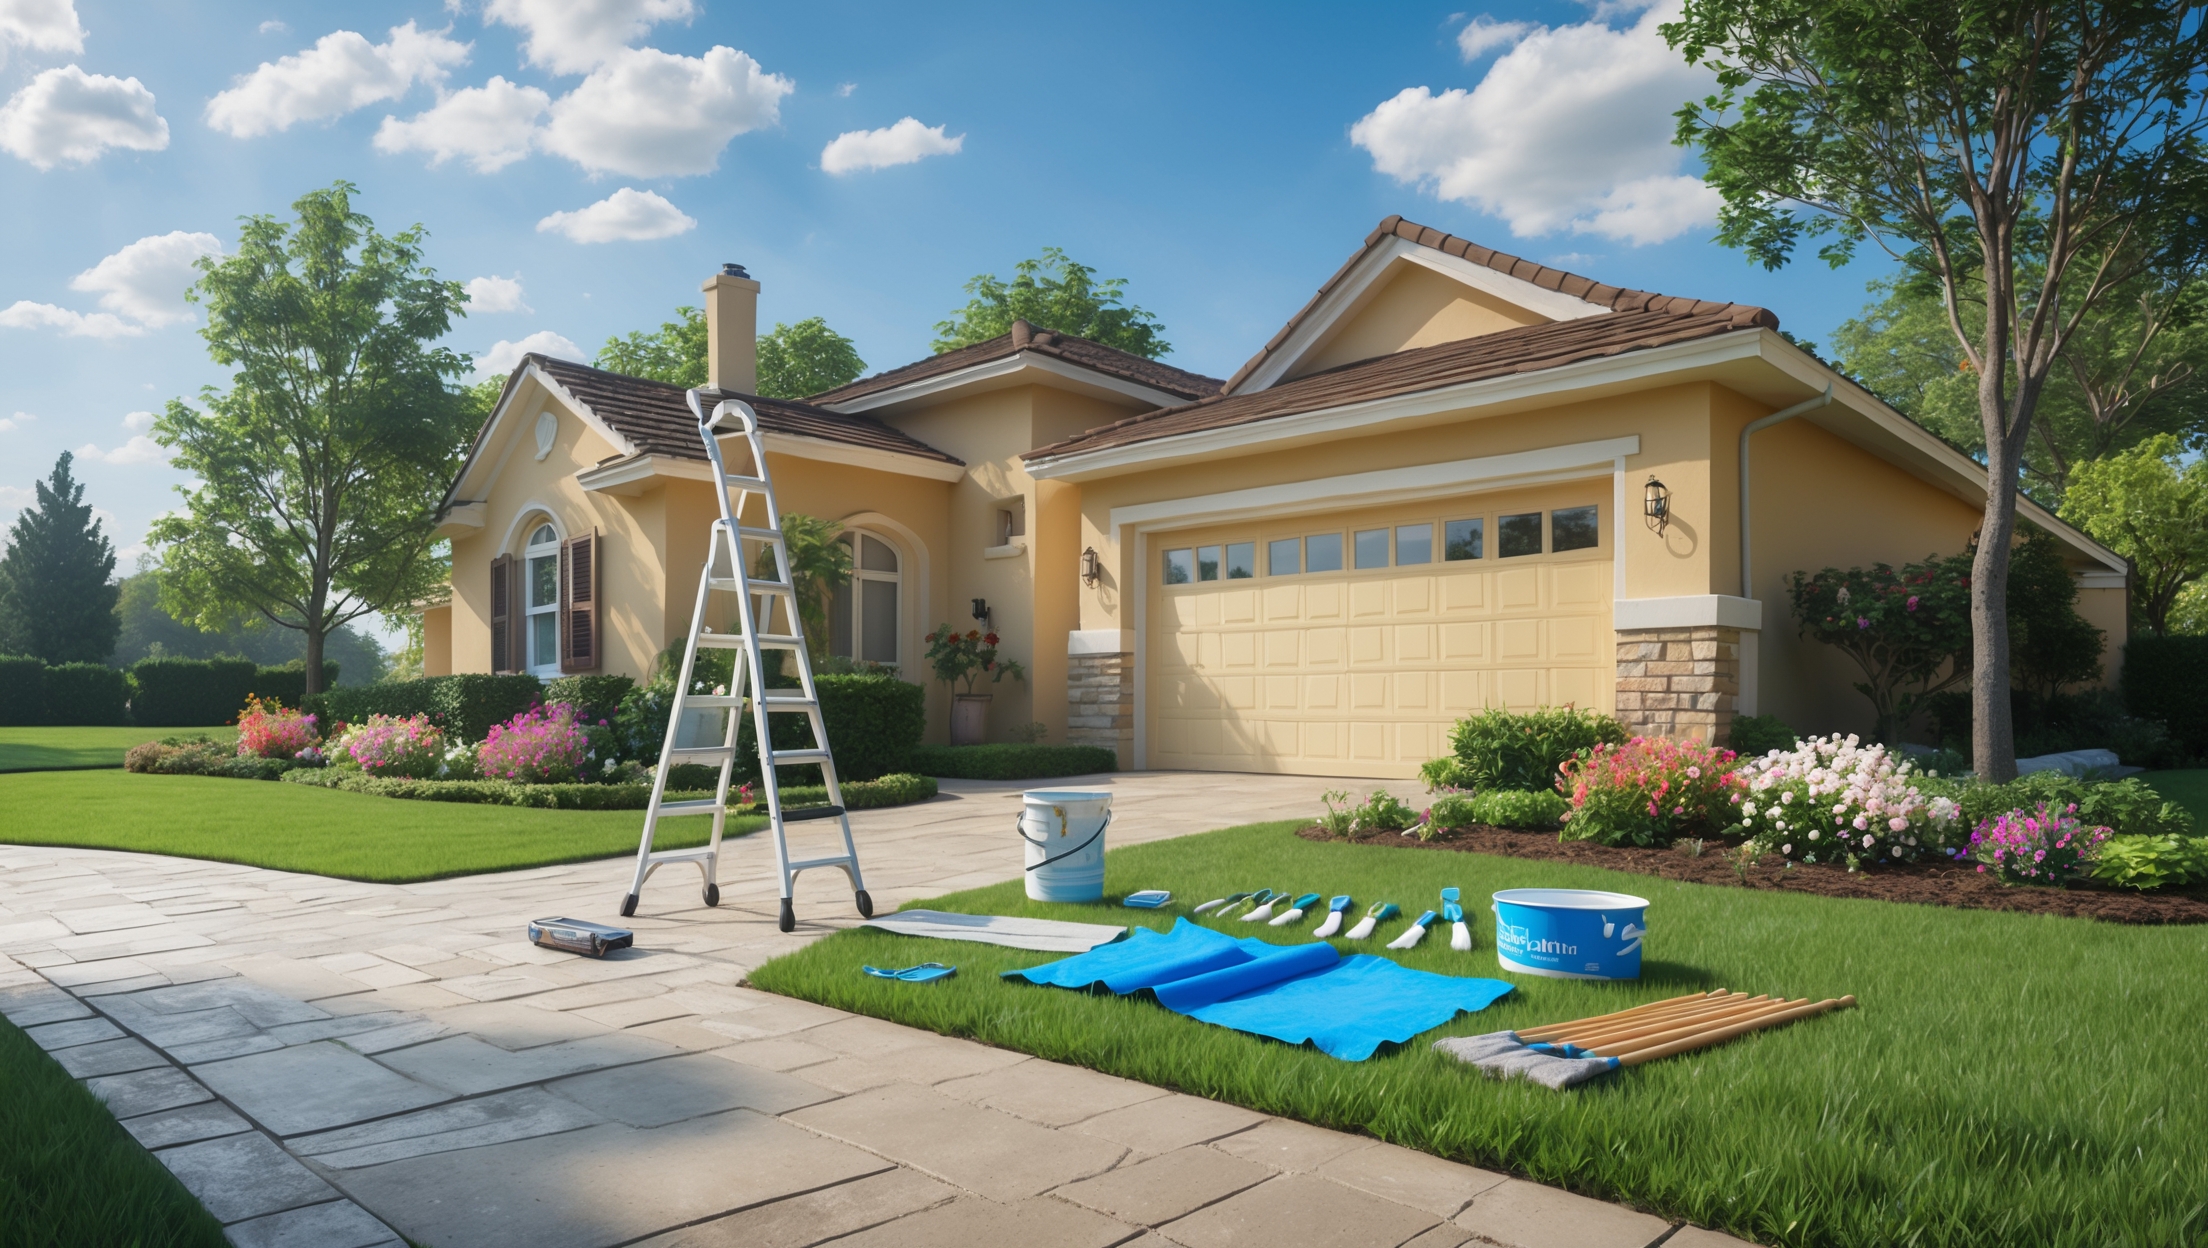
Step-by-Step Siding Installation Overview
While professional installation is recommended for most siding materials, understanding the process helps you manage contractors and costs. Here’s a typical workflow:
1. Preparation
- Remove old siding and inspect the sheathing.
- Repair any rot, insect damage, or insulation gaps.
- Install or replace the moisture barrier/house wrap.
2. Installation
- Starter strips and trim pieces are installed first.
- Siding panels or planks are attached per manufacturer specs (spacing, nailing patterns, expansion gaps).
- Seams are covered or caulked as needed; special attention paid to corners and penetrations (windows, doors).
3. Final Steps
- Paint or stain (if required).
- Inspect all joints and edges for weatherproofing.
- Cleanup and proper disposal of debris.
Maintenance Best Practices for Every Siding Type
Proper care extends the life and beauty of your siding—here’s how to maintain popular materials:
Vinyl Siding
- Wash annually with mild soap and water; use a soft brush or low-pressure hose.
- Inspect for cracks or loose panels after storms.
- Do not paint unless specifically recommended by the manufacturer.
Fiber Cement Siding
- Inspect caulking at joints annually and re-caulk as needed.
- Clean with a garden hose and soft brush; avoid pressure washers that can damage paint.
- Paint every 10–15 years or as needed, following manufacturer’s guidelines.
Wood Siding
- Inspect for peeling paint, rot, or insect damage every year.
- Repaint or stain every 3–7 years based on exposure and climate.
- Trim vegetation away to prevent moisture buildup.
Engineered Wood Siding
- Wash annually, check for swelling or delamination.
- Touch up paint promptly to prevent water intrusion.
- Maintain caulking at seams and trim.
Metal Siding
- Rinse off dust every 1–2 years; inspect for dents or scratches.
- Touch up paint to prevent rust.
- Check fasteners and joints for tightness post-storm.
Stucco Siding
- Inspect for cracks annually and seal promptly.
- Power wash gently as needed.
- Repaint or refresh finish every 10–15 years.
Common Siding Upgrade Mistakes to Avoid
- Underestimating Total Project Costs: Always budget for removal, repairs, and waste disposal—not just new materials.
- Ignoring Local Climate Factors: Don’t choose materials based solely on aesthetics—consider weather, sun exposure, and pests.
- Poor Installation: Even the best siding fails if improperly installed. Hire experienced, credentialed professionals.
- Skipping Moisture Barriers: This can lead to costly water damage and void manufacturer warranties.
- Neglecting Maintenance: Even “low-maintenance” siding needs routine care and inspections.
- Non-Compliance: Failing to get permits or follow HOA rules can result in expensive delays or forced removal.
Maximizing Your Investment: Tips for Curb Appeal and Resale Value
- Choose Timeless Colors: Neutral or earth tones appeal to most buyers and age gracefully.
- Upgrade Trim and Accents: Contrasting trim, shutters, or stone accents can make basic siding look premium.
- Energy Efficiency: Consider insulated siding or additional wall insulation for lower utility bills and market value.
- Professional Installation: A warranty-backed job provides peace of mind for both you and future buyers.
Conclusion: Planning for a Successful, Stress-Free Siding Upgrade
Upgrading your home’s siding is a significant decision that pays dividends in comfort, efficiency, protection, and curb appeal. With so many materials, finishes, and installation techniques available, it’s essential to approach your project with a clear budget, a solid understanding of each material’s strengths and weaknesses, and a commitment to proper maintenance. Don’t overlook the importance of compliance—permits, HOA rules, and insurance considerations all play critical roles in ensuring your investment is protected and your upgrade is hassle-free.
The best results come from careful planning and working with reputable professionals. Take the time to collect multiple quotes, verify references, and review detailed project scopes. Remember that quality installation and attentive maintenance will maximize your siding’s lifespan and value—saving you money and stress over the years. Whether you’re aiming for a dramatic new look or simply seeking to safeguard your home from the elements, a thoughtful siding upgrade is one of the smartest home improvements you can make. Approach it with knowledge, confidence, and a long-term perspective, and you’ll enjoy the benefits for decades to come.