Introduction: Building the Foundation for Your Home Workshop
For any passionate DIYer or home improvement enthusiast, having a dedicated home workshop is a game-changer. Whether you’re crafting furniture, handling home repairs, or diving into creative projects, a well-planned workshop fosters efficiency, safety, and satisfaction. However, transforming a corner of your basement, garage, or spare room into a fully functional and safe workshop requires more than just gathering tools. It’s about strategic planning, smart investment, and foresight to avoid headaches and hazards. In this comprehensive, step-by-step guide, we’ll walk you through every aspect of setting up a home workshop—from location and layout decisions to essential tools, safety protocols, storage solutions, and ongoing maintenance. With practical advice rooted in years of hands-on experience, you’ll discover how to lay a foundation for productivity and peace of mind, ensuring your space grows with your skills and ambitions. Ready to build your dream workshop? Let’s get started!
Step 1: Choosing the Right Location
Assessing Potential Spaces
Start by evaluating available areas in your home. Typical options include the garage, basement, shed, or even a large spare room. Consider these factors:
- Space: Will you have enough room to move, store materials, and operate equipment safely?
- Access: Is the area easily accessible for moving tools and bringing in materials?
- Ventilation: Good airflow is crucial, especially if you’ll use paints, stains, or power tools that generate dust.
- Lighting: Is there ample natural or artificial light to avoid eye strain and mistakes?
- Noise: Will your activities disturb others in the household or neighborhood?
Common Location Pros and Cons
- Garage: Typically spacious and offers easy outdoor access, but may have temperature extremes.
- Basement: Quiet and insulated, but may lack ventilation and natural light.
- Shed: Separate from the house, minimizing noise, but may require upgrades for power and security.
- Spare Room: Convenient, but space and noise can be limiting factors.
Step 2: Planning Your Workshop Layout
Optimizing Workflow
Efficient workshops are designed around your typical projects and movement patterns. Use a simple triangle or zone layout, grouping similar tasks together:
- Work Zone: Central workbench or assembly table.
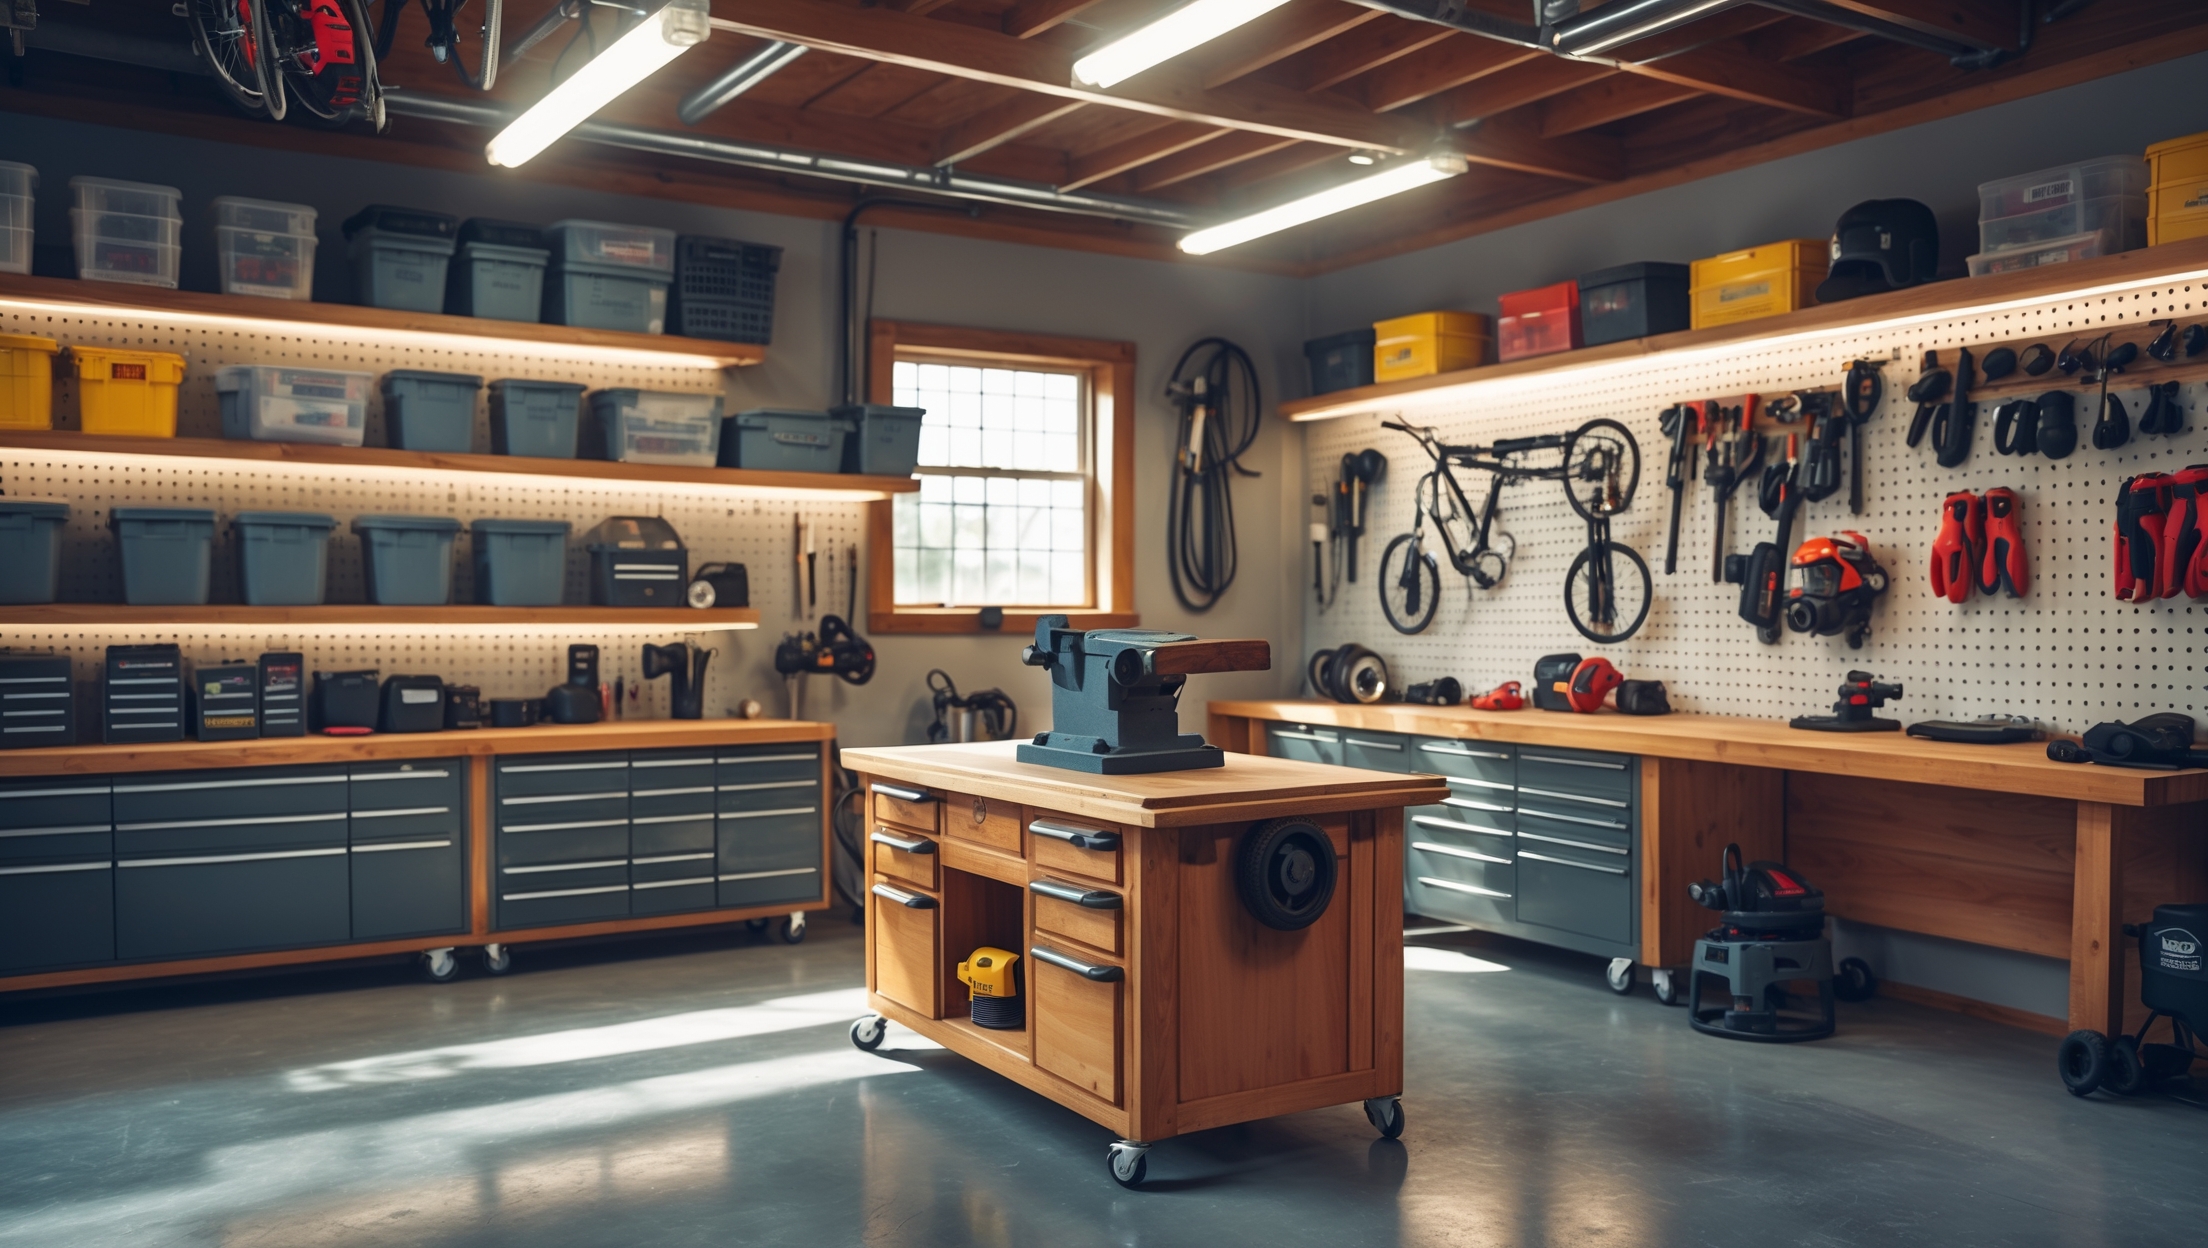
- Tool Zone: Wall-mounted racks or cabinets for hand and power tools.
- Storage Zone: Shelving for materials, hardware, and safety gear.
- Finishing Zone: A separate spot for painting, staining, or delicate work (if space allows).
Space-Saving Strategies
- Wall Storage: Pegboards, magnetic strips, and shelves keep tools visible and accessible.
- Mobile Workstations: Rolling carts and benches add flexibility in tight spaces.
- Fold-Down Surfaces: Wall-mounted fold-down tables save space when not in use.
- Vertical Organization: Use tall shelving units to maximize storage without sacrificing floor space.
Step 3: Outfitting with Essential Tools & Equipment
The Must-Have Basics
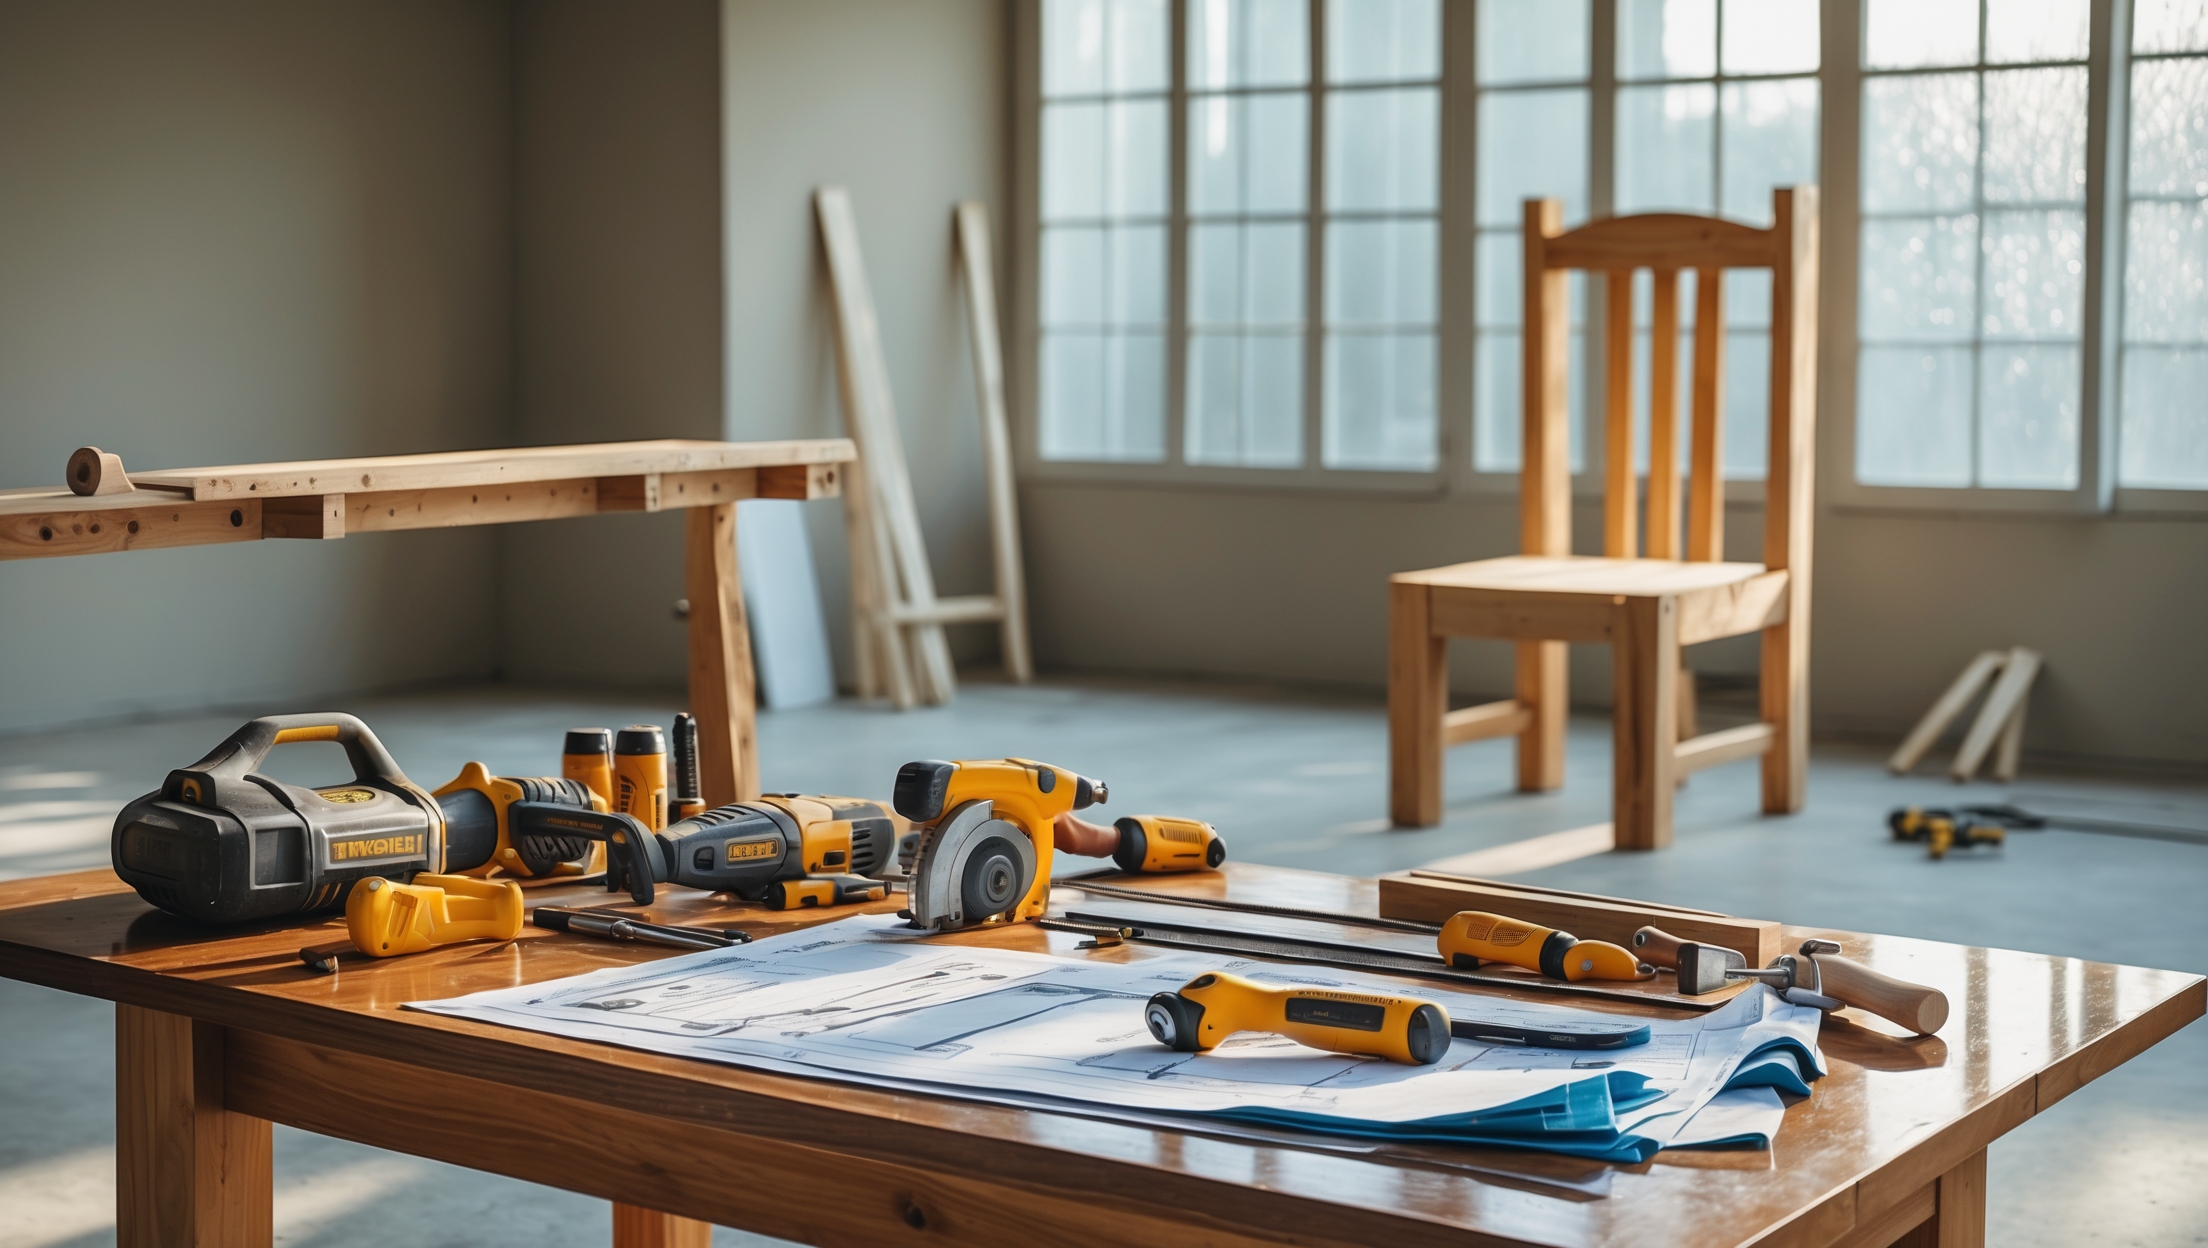
- Workbench: Sturdy, flat, and sized for your projects. Consider a bench with a built-in vice and storage.
- Hand Tools:
- Hammer, screwdrivers (flat and Phillips), pliers, wrenches, tape measure, level, utility knife, hand saw.
- Power Tools:
- Drill/driver, circular saw, jigsaw, sander, and a shop vacuum for cleanup.
- Safety Gear: Eye and ear protection, dust masks or respirators, gloves, first aid kit, fire extinguisher.
Specialty Tools (As Needed)
- Miter Saw: For precise crosscuts and angles.
- Table Saw: For larger woodworking projects.
- Compressor and Nail Gun: For framing or finish carpentry.
- Bench Grinder: For sharpening and shaping tools.
Power Supply and Lighting
- Electrical Outlets: Install ample outlets along walls and near your workbench. GFCI outlets are a must in garages and basements.
- Lighting: Combine overhead LEDs with task lighting at the workbench for shadow-free visibility.
Step 4: Setting Up for Safety
Workshop Safety Checklist
- Clear Exits: Ensure all exits are easily accessible, with no clutter in pathways.
- Fire Safety: Keep a fire extinguisher rated for electrical and chemical fires within reach.
- First Aid: Stock a comprehensive first aid kit and post emergency numbers in a visible spot.
- Personal Protective Equipment (PPE): Always wear safety glasses, ear protection, dust masks, and gloves as needed. Store PPE within easy reach.
- Tool Maintenance: Regularly inspect cords, blades, and batteries for wear or damage.
- Ventilation: Use fans, open windows, or install a ventilation system to remove dust and fumes.
- Proper Storage: Store flammable materials in approved cabinets. Keep sharp tools sheathed or secured.
- Child & Pet Safety: Restrict access with locks or barriers if children or pets are in the home.
Electrical and Chemical Safety
- Label all circuits and know where your main shutoff is.
- Use grounded extension cords and avoid overloading outlets.
- Store chemicals in original containers away from heat sources.
Step 5: Smart Storage and Organization
Tool Storage Solutions
- Pegboards: Customizable and ideal for hand tools.
- Drawers and Cabinets: Keep smaller items organized and dust-free.
- Magnetic Strips: Perfect for metal tools like screwdrivers and pliers.
- Storage Bins: Clear, labeled bins make it easy to find hardware and fasteners.
Material Management
- Lumber Racks: Store boards horizontally off the ground to avoid warping.
- Parts Organizers: Use compartmentalized boxes for screws, nails, bolts, and other small hardware.
- Paint and Chemical Storage: Use a ventilated, lockable cabinet for hazardous materials.
Digital Organization
- Use an inventory app or spreadsheet to track tools and supplies.
- Photograph serial numbers and receipts for insurance purposes.
Step 6: Workshop Comfort and Productivity Enhancements
Climate Control
- Heating: Space heaters for winter; ensure they’re safely placed.
- Cooling: Fans or portable AC units for summer comfort.
- Insulation: Insulate walls and doors to regulate temperature and reduce noise.
Ergonomics
- Set workbench height to suit your stature to reduce strain.
- Use anti-fatigue mats if standing for long periods.
- Keep commonly used tools and materials within arm’s reach.
Dust Management
- Install a shop vacuum or dust collection system connected to major tools.
- Sweep and clean the workshop regularly to minimize buildup.
Step 7: Routine Maintenance and Upgrades
Regular Inspections
- Monthly checks of electrical cords, outlets, and tool safety features.
- Inspect fire extinguisher and first aid supplies quarterly.
- Tighten any loose shelving, racks, or storage units.
Tool Care
- Clean and lubricate moving parts after use.
- Sharpen blades and replace worn accessories as needed.
- Keep batteries charged and stored properly.
Workshop Improvements
- Add more outlets or lighting as your needs grow.
- Upgrade to higher-quality tools over time.
- Reorganize storage periodically for efficiency.
Conclusion: Your Workshop, Your Rules
Establishing a safe and functional home workshop is an investment in your skills, your home, and your peace of mind. By following a methodical, step-by-step approach, you’ll build a space that not only inspires creativity but also protects you, your tools, and your household. Remember, a great workshop isn’t about having every gadget or the biggest space—it’s about making thoughtful choices that reflect your needs, projects, and safety priorities. Start with essential tools and storage, focus on organization and workflow, and always keep safety top of mind. As your expertise grows, so can your workshop, evolving with upgrades and new capabilities. Regular maintenance ensures everything stays in top shape, letting you focus on what you love—creating, building, and making your home better, one project at a time. So, claim your corner, set up your workshop, and let your DIY journey flourish. The possibilities are endless, and your next masterpiece starts here!


