Introduction: Why Safety Should Be Your Top Priority in Home Improvement
Home improvement projects bring excitement and a sense of accomplishment, but they also come with an array of safety risks that are often underestimated. Whether you’re installing a new backsplash, refinishing hardwood floors, or tackling a full basement remodel, the potential for injury or property damage is always present. According to the Consumer Product Safety Commission, over 500,000 home improvement-related injuries are reported annually in the United States alone. Many of these incidents are preventable with careful planning, proper equipment, and a disciplined approach to safety protocols. In this guide, we provide a comprehensive safety checklist that covers essential steps for every stage of your home improvement project. From initial planning and workspace setup to tool handling and post-project cleanup, you’ll learn how to protect yourself, your family, and your home. Whether you’re a DIY novice or a seasoned weekend warrior, following these guidelines will help you complete your projects safely and successfully.
Planning for Safety: The Foundation of Every Project
Assessing Project Risks
Every home improvement task comes with its own set of hazards. Begin by identifying the specific risks associated with your project. For example, electrical work can result in shocks or fires, while demolition may expose you to sharp debris or asbestos. Consider the following steps:
- Review project scope and identify potential hazards (e.g., electrical, chemical, structural).
- Determine if professional help is needed for technical or high-risk tasks.
- Check for hidden dangers—like lead paint or mold—especially in older homes.
Gathering Safety Equipment
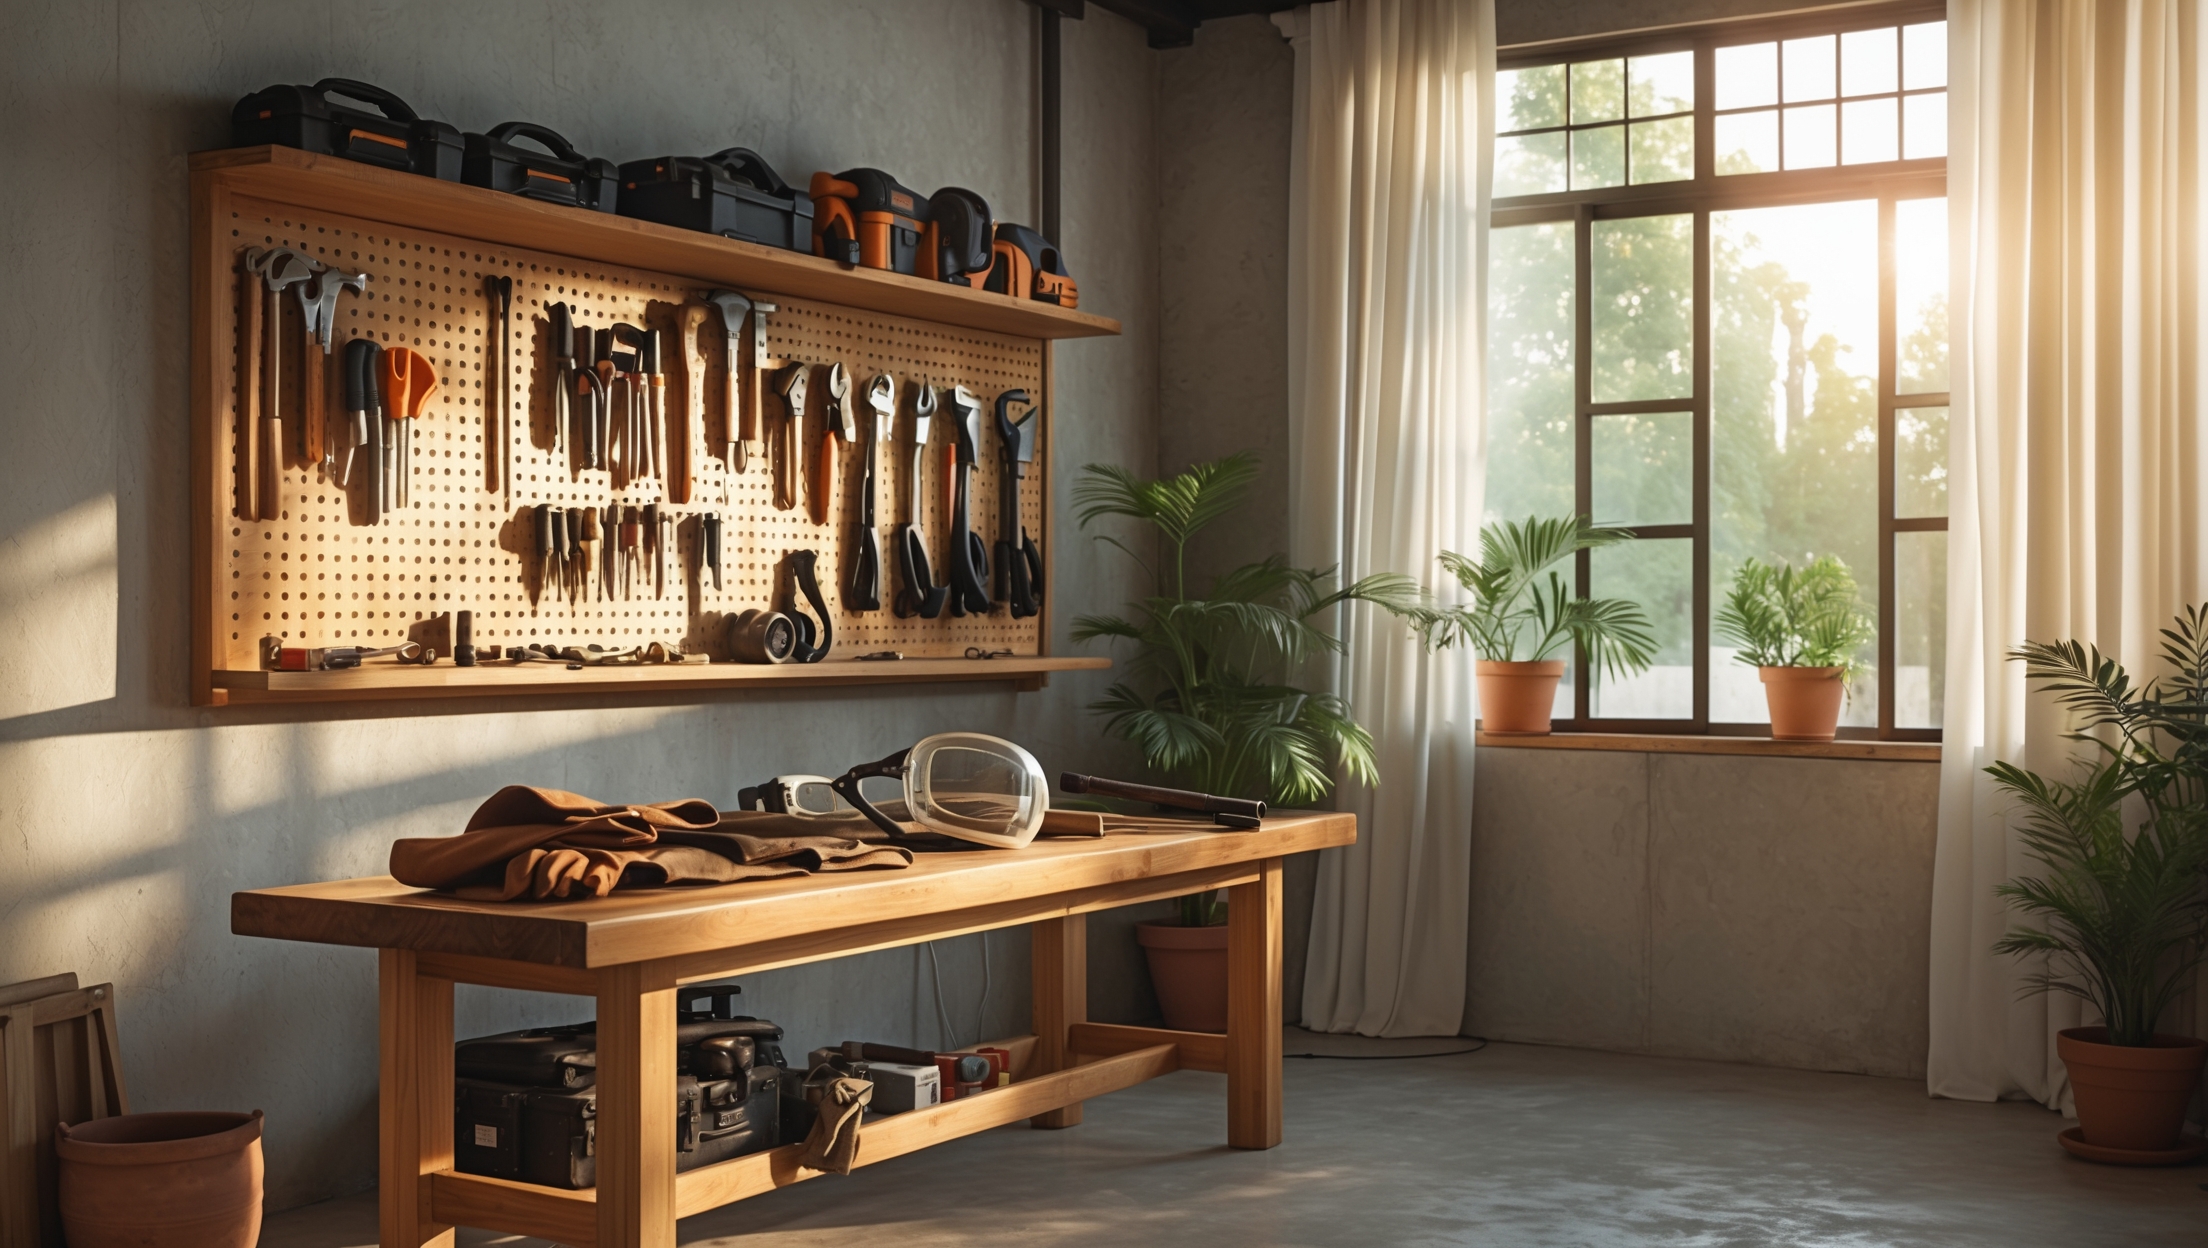
Personal protective equipment (PPE) is essential for every project. Stock up on:
- Safety goggles or glasses
- Work gloves suited to the task (cut-resistant, insulated, etc.)
- Dust masks or respirators
- Ear protection for loud tools
- Hard hats for overhead work or demolition
- Sturdy footwear with slip-resistant soles
Test all equipment for fit and condition before starting work.
Setting Up a Safe Workspace
A cluttered or poorly lit workspace increases the likelihood of accidents. Prepare your area by:
- Removing tripping hazards such as cords, rugs, and debris
- Ensuring adequate lighting in all work zones
- Setting up proper ventilation, especially for painting or sanding
- Establishing a clear exit path in case of emergency
The Safety Checklist: Step-by-Step Protocols
1. Pre-Project Checks
- Obtain necessary permits: Ensure your project complies with local regulations. Unpermitted work can lead to fines and safety violations.
- Utility location: Call 811 or your local dig-safe service before drilling or digging to avoid gas, water, or electrical lines.
- First aid kit: Stock a basic kit with bandages, antiseptic, and burn ointment. Know where it’s located and how to use it.
- Fire extinguisher: Keep a Class ABC extinguisher nearby for electrical or chemical fires.
- Emergency contacts: Post important phone numbers, including poison control and your local hospital, in a visible location.
2. Tool and Equipment Safety
- Read the manual: Familiarize yourself with all tools, especially power equipment. Look up safety features and troubleshooting tips.
- Inspect before use: Check for frayed cords, loose blades, or missing guards. Do not use damaged tools.
- Use the right tool for the job: Improvised solutions lead to accidents. Always use tools as intended.
- Disconnect power: Unplug tools when changing blades or bits. For battery-operated devices, remove the battery before maintenance.
- Store tools safely: Keep sharp or heavy tools out of reach of children and pets. Use hangers, bins, or locked cabinets.
3. Material Handling and Storage
- Lifting technique: Bend your knees and keep your back straight when lifting heavy items. Get help for awkward or oversized materials.
- Proper storage: Stack materials neatly and away from walkways or heat sources. Store flammable liquids in approved containers.
- Chemical safety: Read labels and follow manufacturer instructions. Use chemicals in well-ventilated spaces, and wear gloves and masks as needed.
4. Working at Heights
- Ladder safety: Inspect ladders for defects. Set them on a stable, level surface, and never stand on the top rung.
- Scaffolding: Use scaffolding for extended overhead work. Ensure that all parts are correctly assembled and locked.
- Fall protection: Wear a safety harness when working on roofs or above the second story. Anchor the harness securely.
5. Electrical and Fire Safety
- Turn off power: Shut off the relevant circuit at the breaker box before working on electrical systems.
- Use a voltage tester: Double-check wires before cutting or replacing outlets and switches.
- Extension cords: Use heavy-duty, grounded cords designed for outdoor or indoor use as appropriate. Avoid daisy-chaining multiple cords.
- Fire prevention: Keep flammable materials away from heat sources. Never leave heat guns, soldering irons, or space heaters unattended.
6. Air Quality and Hazardous Materials
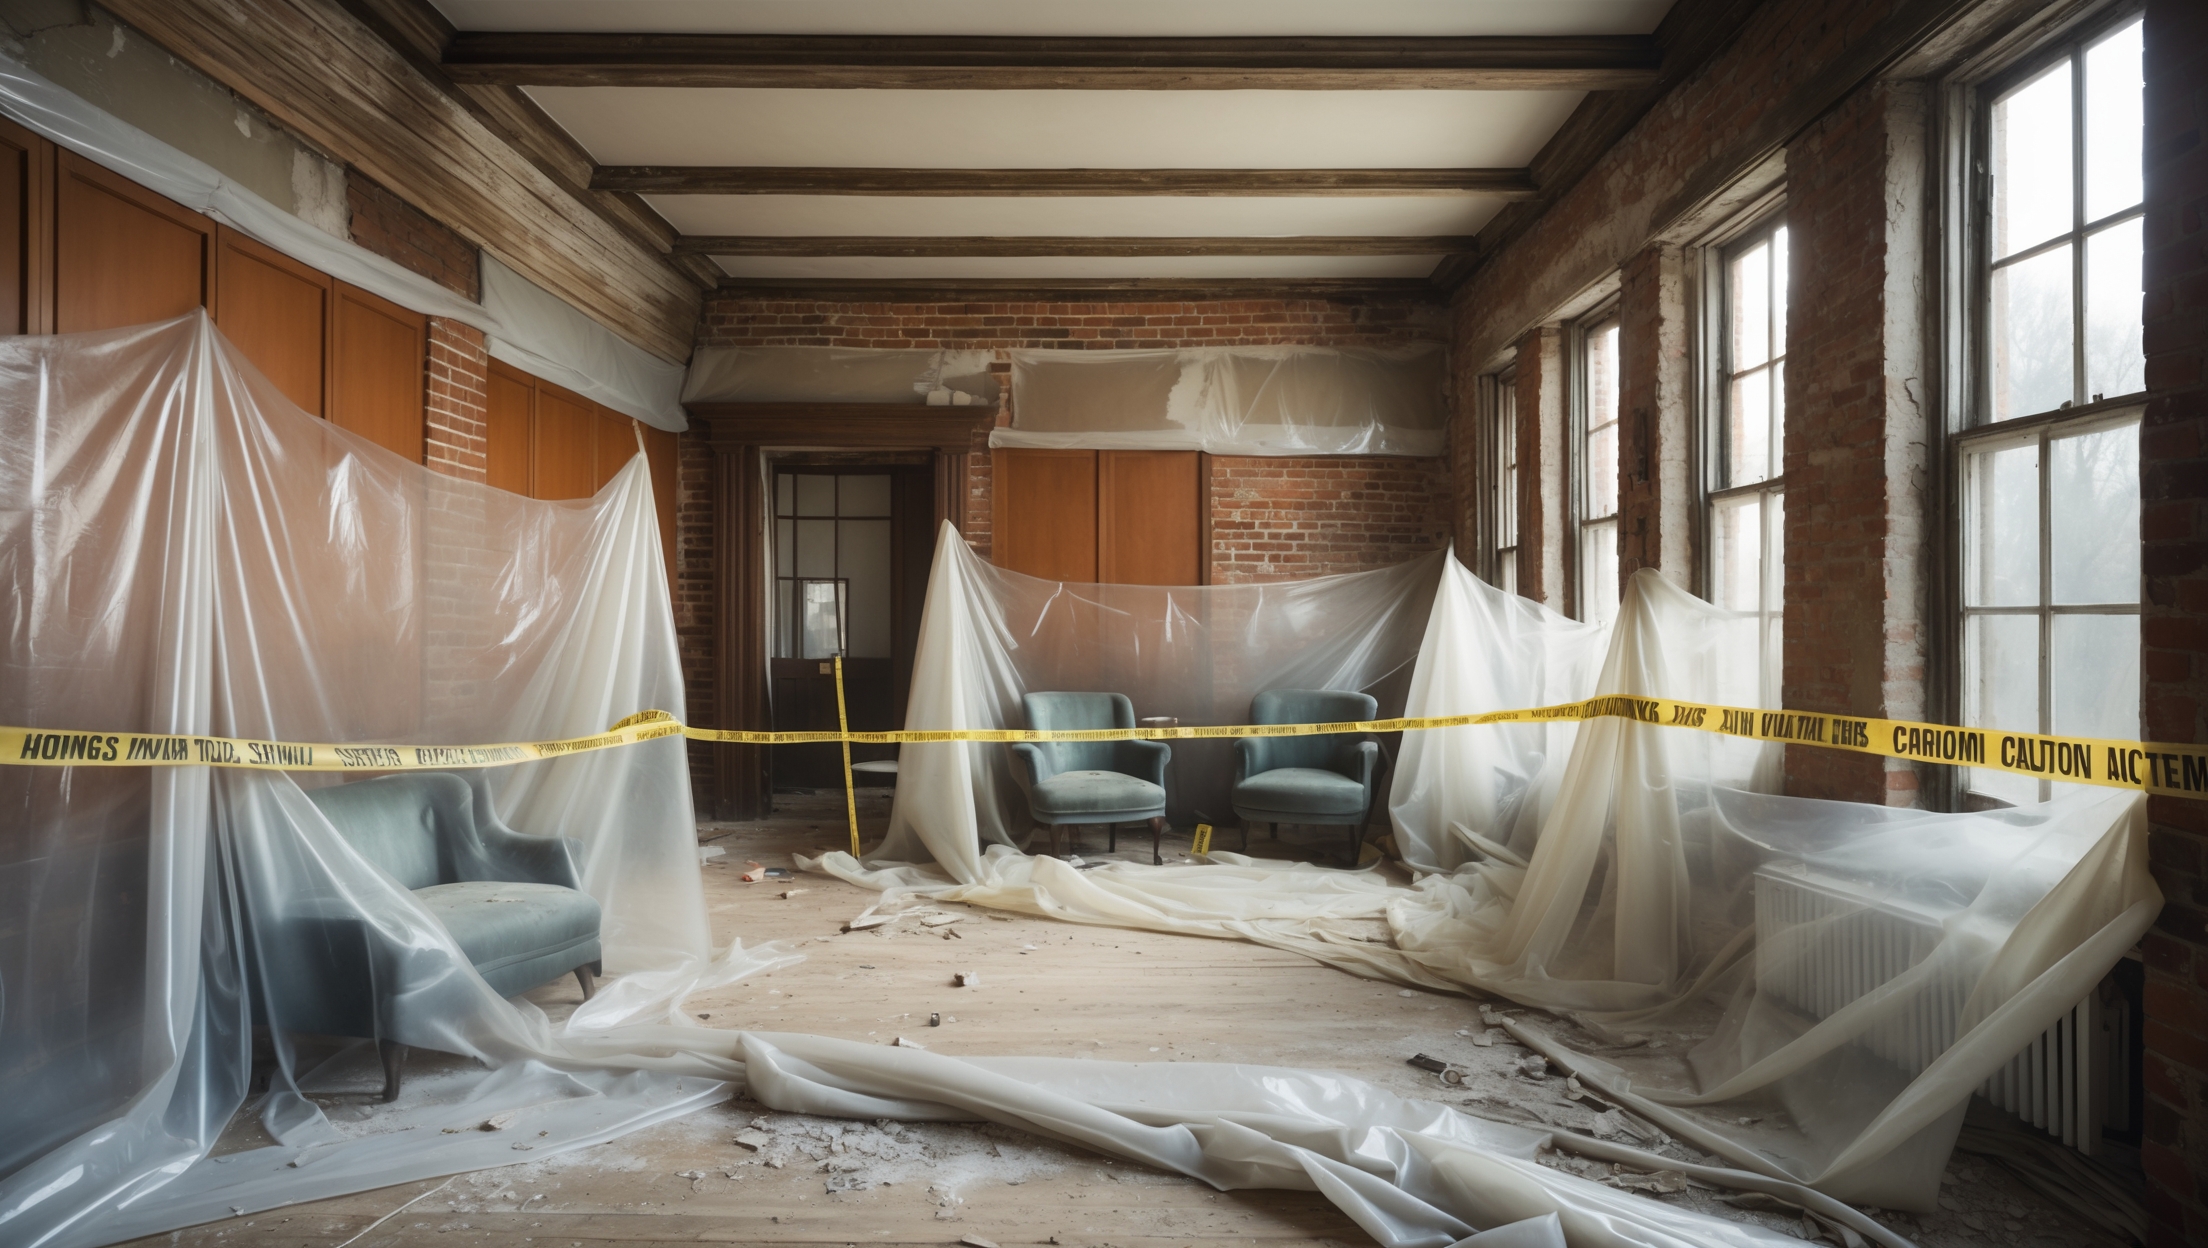
- Dust control: Use drop cloths, plastic sheeting, and HEPA-filter vacuums to contain dust. Wear a respirator for sanding or demolishing drywall.
- Lead paint and asbestos: If your home was built before 1980, have suspect materials tested by professionals. Never sand or strip without proper containment and removal procedures.
- Paints and solvents: Store in original containers with lids tightly sealed. Dispose of leftovers at approved hazardous waste facilities.
7. Child and Pet Safety
- Restricted access: Use gates or temporary barriers to keep children and pets out of work zones.
- Secure hazardous items: Store sharp, toxic, or breakable items where they cannot be reached.
- Communicate with household members: Let everyone know which areas are off-limits and for how long.
8. Clean-Up and Post-Project Safety
- Debris removal: Sweep or vacuum thoroughly. Dispose of nails, screws, and sharp objects in puncture-proof containers.
- Tool check: Clean and inspect all tools before storing them. Look for damage that may have occurred during use.
- Ventilation: Air out spaces where chemicals or adhesives have been used before reoccupying the area.
- Final walkthrough: Ensure that all safety measures (e.g., smoke detectors, handrails, child locks) are back in place.
Project-Specific Safety Considerations
Kitchen Remodels
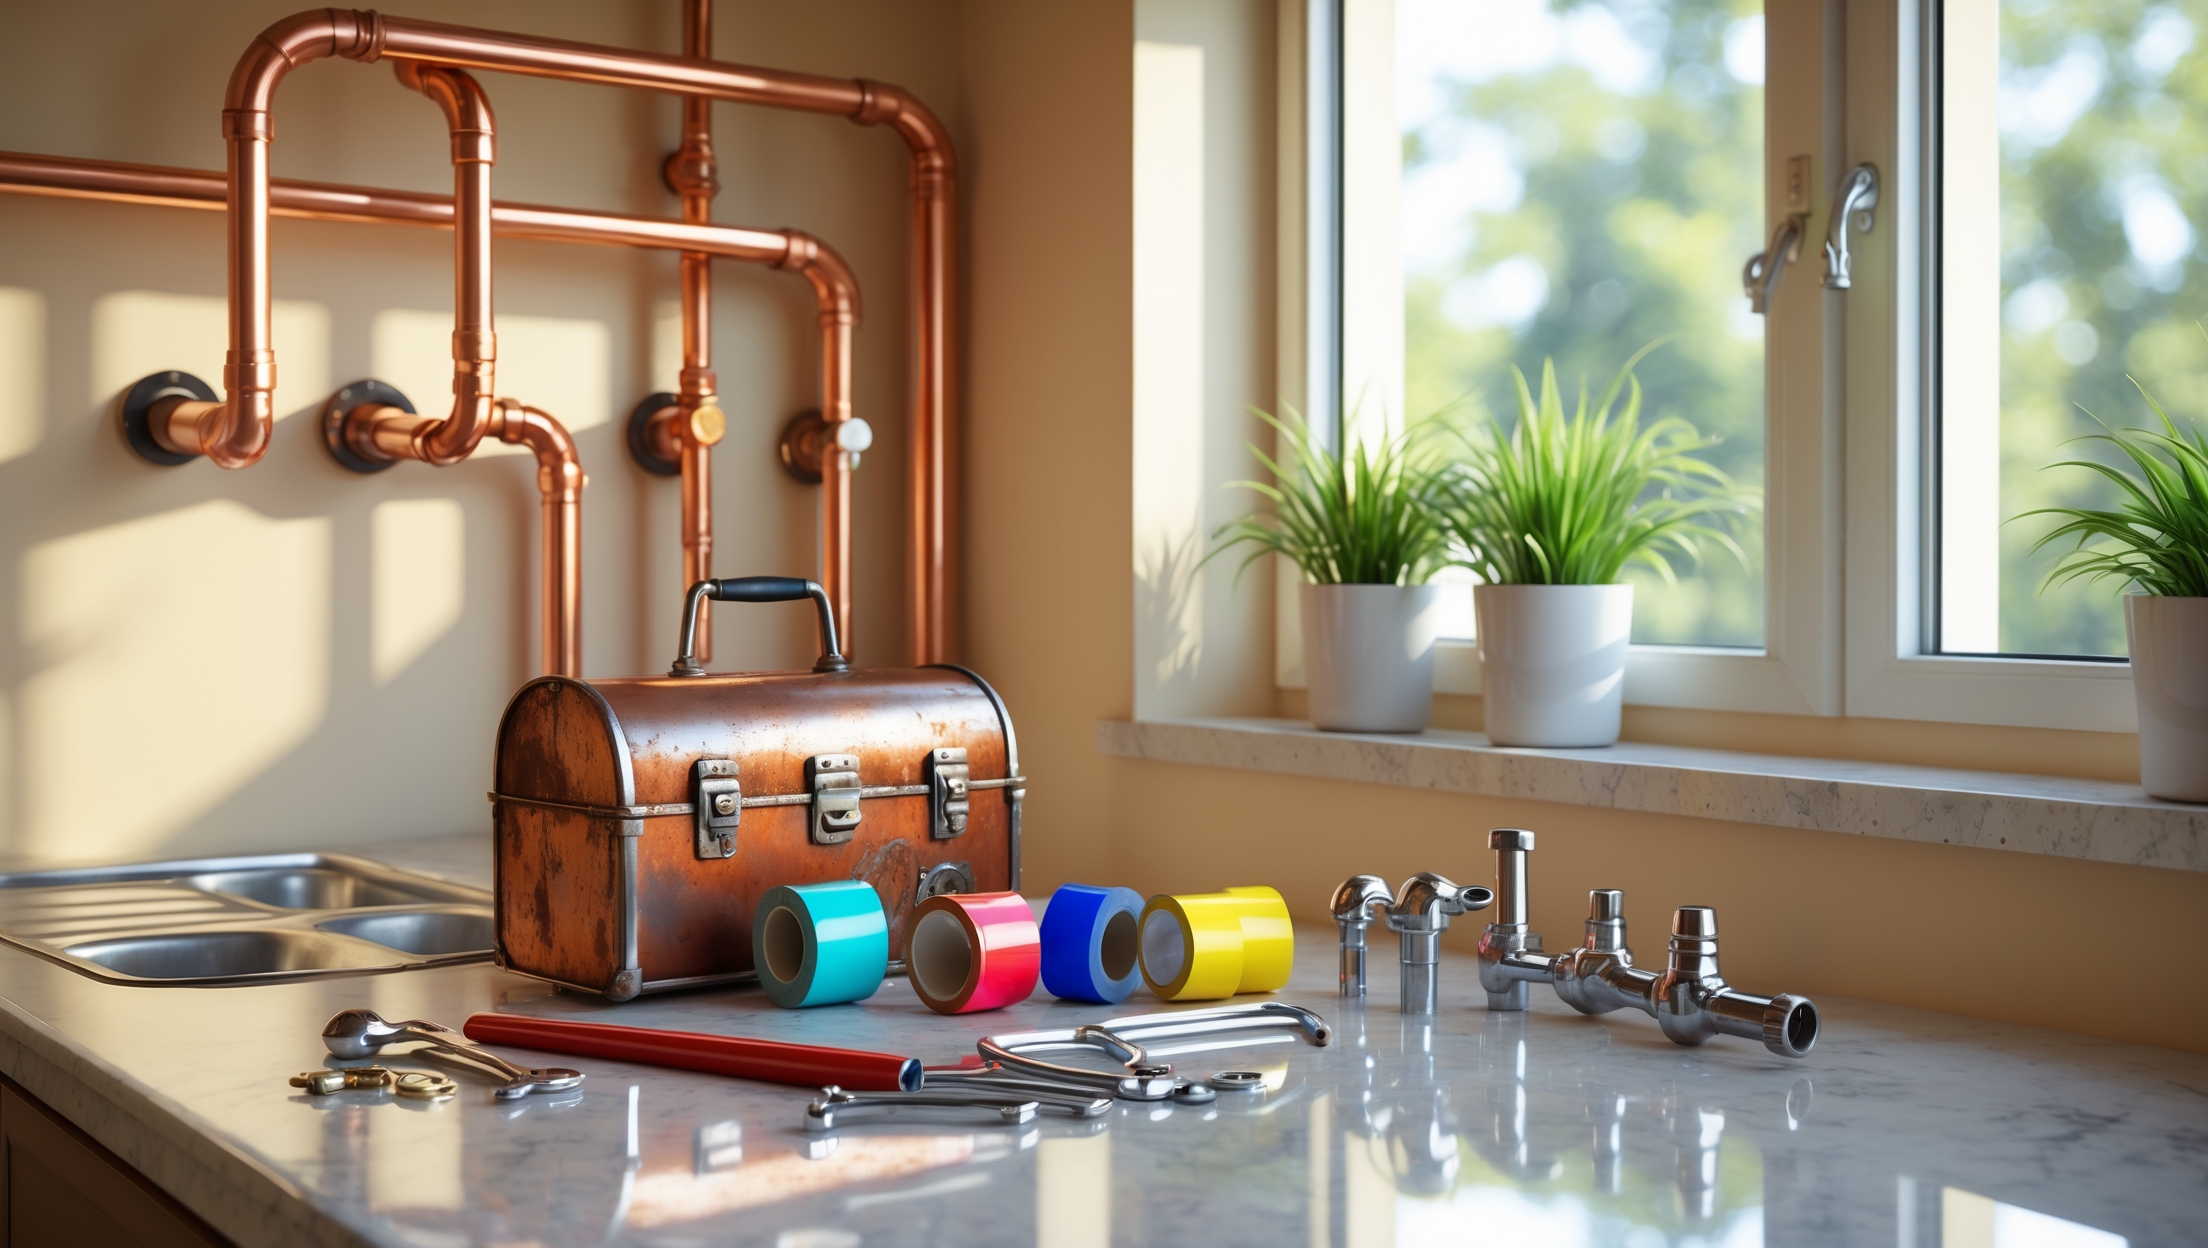
Kitchen projects often involve plumbing, electrical, and gas lines. Shut off water and gas supplies before disconnecting appliances. Be aware of sharp tools and hot surfaces. Store knives and tools securely when not in use.
Bathroom Renovations
Moisture increases slip hazards. Use non-slip mats and address leaks immediately. If removing old tile or fixtures, wear gloves to protect against sharp edges. Handle caustic cleaning products with care.
Exterior Projects
When working outdoors, account for weather conditions—wet or icy surfaces can lead to slips and falls. Wear sun protection and hydrate frequently. For landscaping or fencing, mark underground utilities before digging.
Painting and Finishing
Choose low-VOC or no-VOC paints when possible. Open windows and use fans to disperse fumes. Dispose of rags used with oil-based products in a sealed metal container to prevent spontaneous combustion.
Demolition
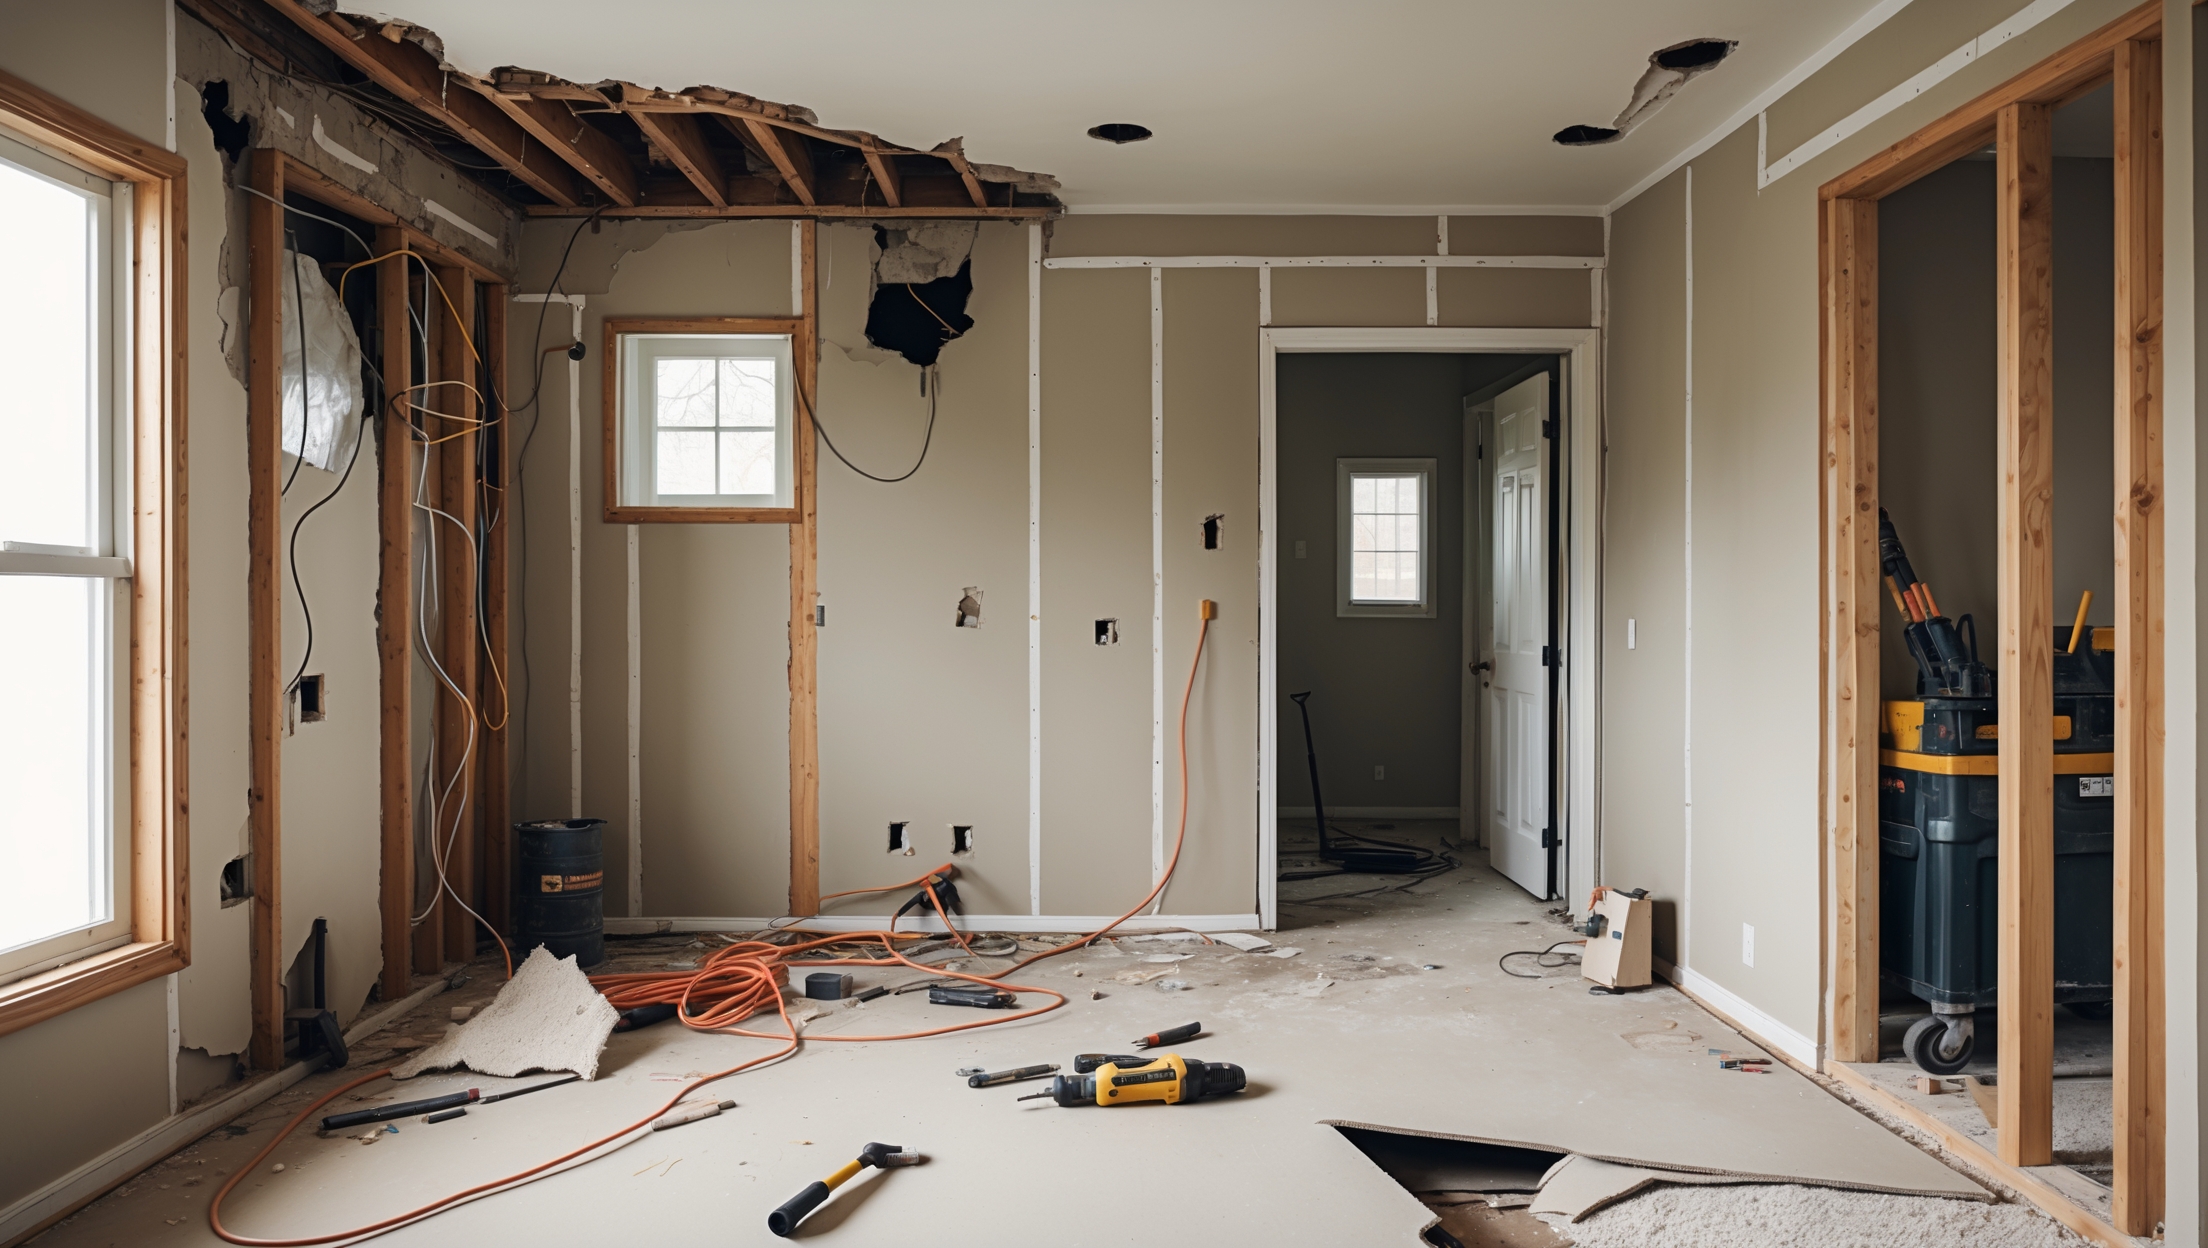
Demolition work generates dust and debris. Wear full PPE, including a respirator and hard hat. Use proper tools for prying and cutting, and never demolish load-bearing walls without consulting a structural engineer.
Emergency Preparedness During Home Improvement
First Aid Response
Know basic first aid for cuts, burns, eye injuries, and electrical shock. Keep a first aid manual with your kit, and familiarize yourself with its contents before starting work.
Evacuation Plan
Establish an evacuation plan with all household members in case of fire or gas leak. Identify at least two exit routes from each work area and practice the plan before beginning major projects.
Reporting and Documenting Incidents
Document any accidents or near-misses, including photos and notes. This record can help you identify patterns and prevent future incidents. Seek medical attention promptly for any serious injury.
Safety Best Practices for DIYers and Contractors
Work Within Your Skillset
Overestimating your abilities increases risk. Take classes or consult professionals for unfamiliar tasks, especially those involving electricity, gas, or structural changes.
Stay Informed
Building codes and safety standards evolve over time. Stay updated by checking local regulations and reputable online resources before starting any project.
Continuous Vigilance
Fatigue, distractions, and time pressure can lead to mistakes. Take regular breaks, stay hydrated, and never rush through safety steps to save time.
Conclusion: Make Safety a Habit, Not an Afterthought
Home improvement projects are deeply rewarding, but they should never come at the expense of your safety or that of your loved ones. By following a comprehensive safety checklist and maintaining a cautious, well-informed approach, you can dramatically reduce the risk of injury, property damage, and costly mistakes. Remember, safety is not a one-time task; it’s an ongoing commitment that spans from planning and preparation through project completion and cleanup.
Review your checklist before every project, and encourage everyone involved to prioritize safety alongside craftsmanship and efficiency. Stay alert to new hazards as your work progresses and adapt your protocols as needed. When in doubt, consult professionals—your well-being is worth far more than the cost of expert advice or assistance. With mindful preparation and diligent adherence to safety protocols, your home improvement journey can be both productive and secure, creating a safer, more enjoyable living space for years to come.
