Introduction: Why Patio Projects Can Surprise Your Wallet
Upgrading your patio is one of the most rewarding home improvement projects, promising increased outdoor living space, better curb appeal, and a boost to your property’s value. However, many homeowners dive into DIY patio renovations without fully understanding the true costs and requirements involved. The vision of a beautiful, budget-friendly patio can quickly run into obstacles: overlooked permit fees, unexpected material expenses, and the cost of essential tools. These hidden factors can derail your budget and timeline, leaving you frustrated and out of pocket. This guide exposes the hidden costs lurking in DIY patio upgrades, demystifies permit and compliance requirements, and breaks down the impact of material choices—so you can plan with confidence, avoid expensive surprises, and build the outdoor retreat you’ve always wanted.
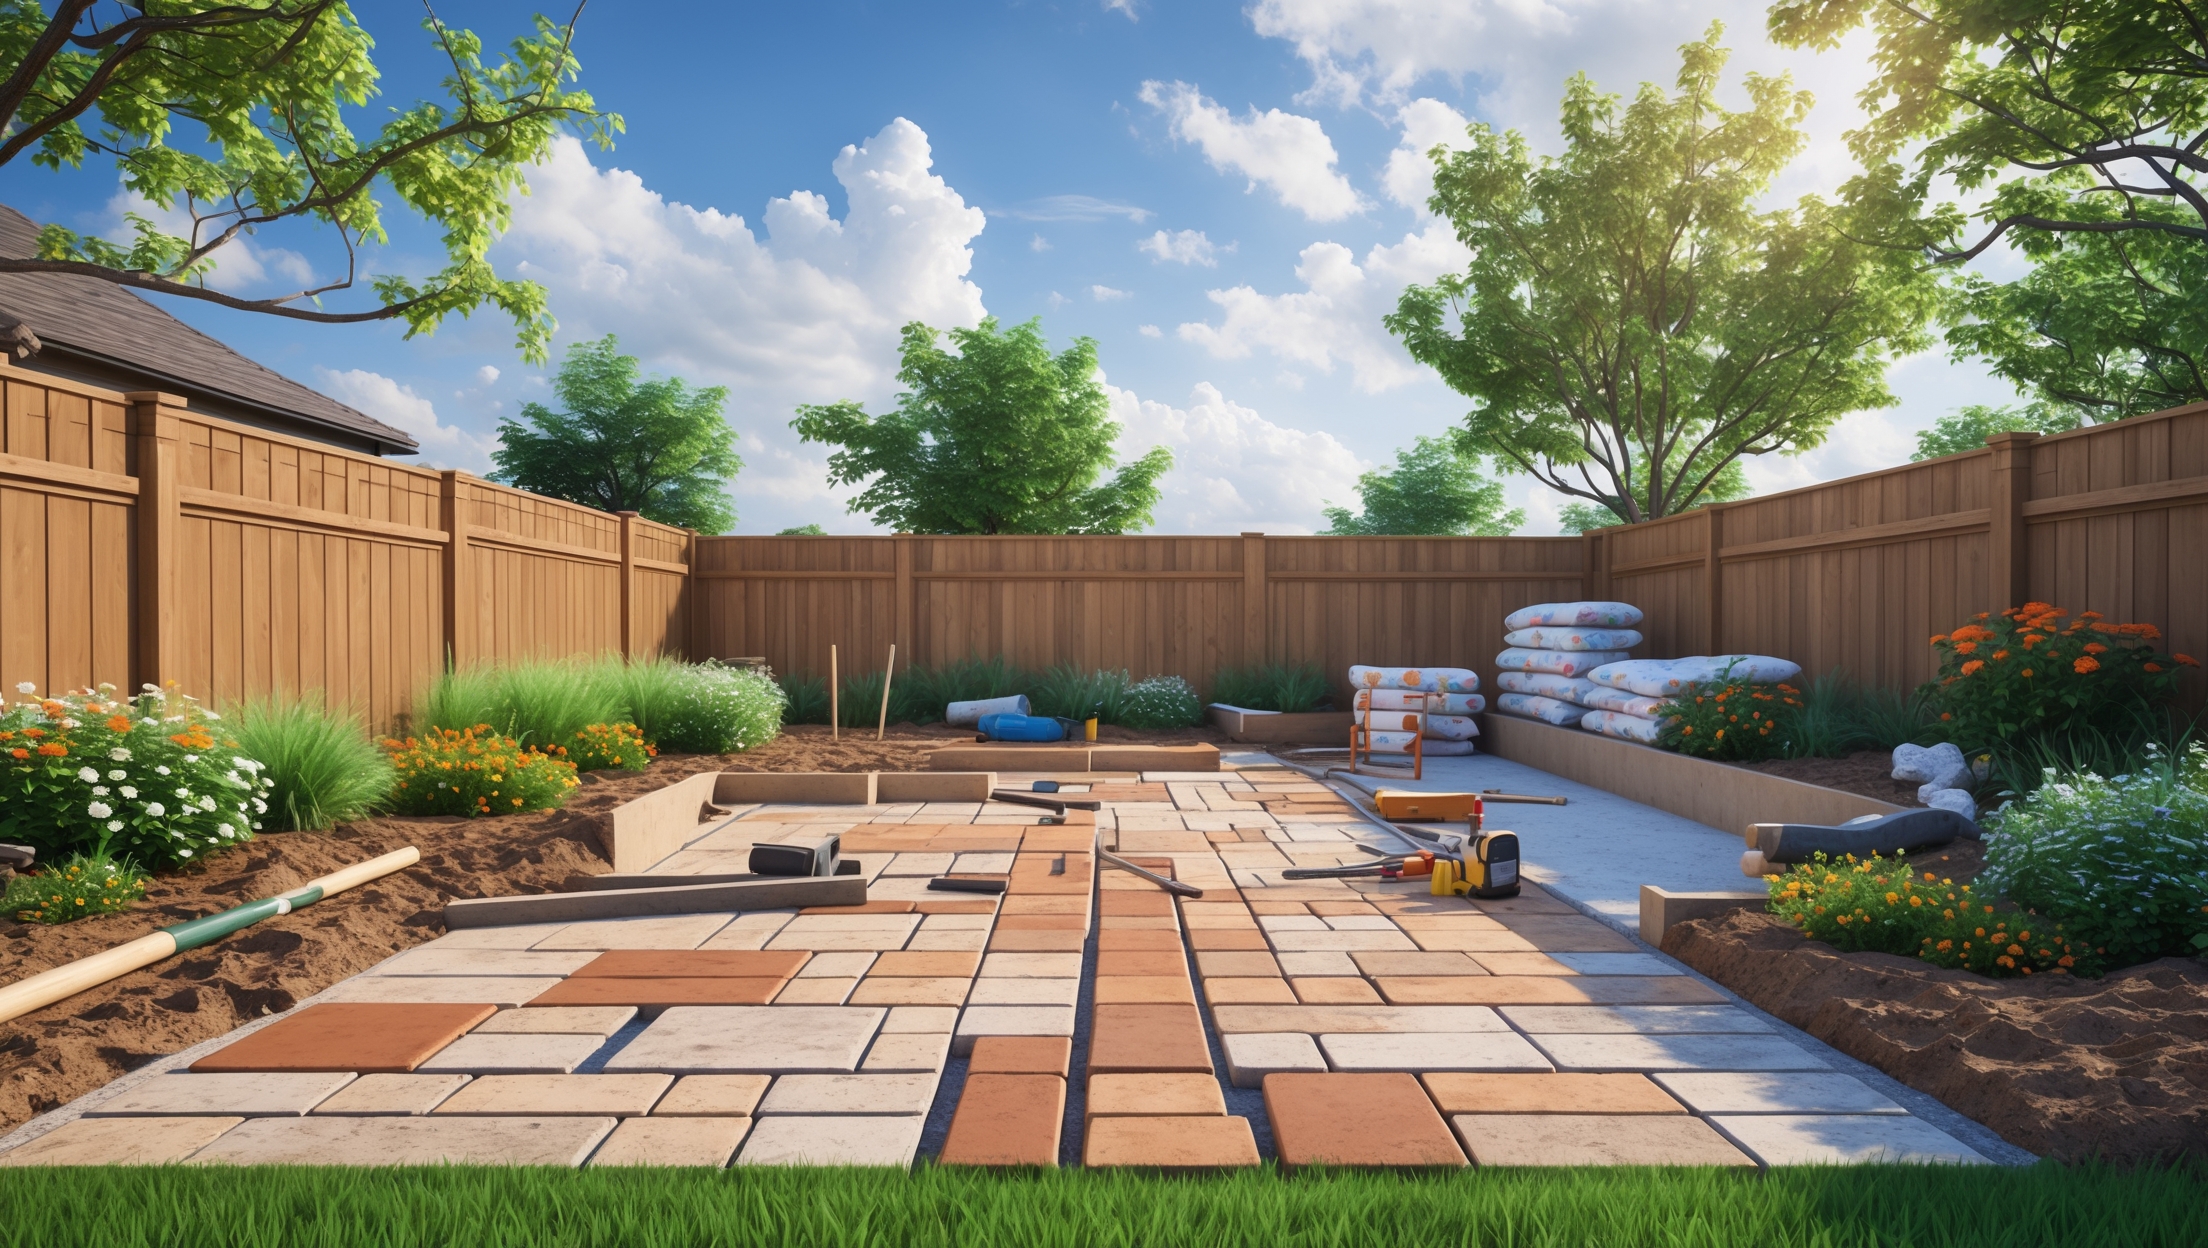
Commonly Overlooked Costs in DIY Patio Upgrades
1. Site Preparation Expenses
Prepping the site is often underestimated. Beyond simply clearing grass or debris, you may need:
- Excavation Equipment Rental: Skid steers or tillers can cost $75–$200 per day.
- Disposal Fees: Removing soil, sod, or concrete debris may incur dump fees of $50–$150 per load.
- Grading and Leveling Materials: Gravel, sand, or landscape fabric to create a stable base, adding $100–$500 depending on patio size.
2. Tools and Equipment You Might Need to Buy or Rent
- Compactors: Essential for a stable foundation; rentals average $40–$60 per day.
- Paver Cutters or Wet Saws: Needed for custom fitting; rental costs $30–$90 per day.
- Wheelbarrows, Shovels, and Levels: If you don’t already own these, expect $100–$200 total for quality tools.
- Personal Protective Equipment (PPE): Gloves ($15), knee pads ($20), safety goggles ($10).
3. Delivery Charges
Bulk materials like pavers, sand, or gravel often require delivery. Delivery fees range from $50–$200 per load, depending on material weight and distance.
4. Base and Drainage Solutions
Proper drainage is crucial to avoid patio shifting, puddling, or freeze/thaw damage. You may need:
- Extra Gravel/Sand: $20–$50 per cubic yard.
- Drainage Pipes or Channels: $100–$300 depending on length and complexity.
- Geotextile Fabric: Prevents weed growth and soil migration, $0.10–$0.25 per square foot.
5. Edge Restraints and Finishing Materials
- Plastic or Metal Edging: $1–$3 per linear foot.
- Polymeric Sand: For joint stabilization, $25–$40 per bag (covers 25–35 sq. ft.).
- Sealant: Protects surfaces, $30–$80 per gallon.
6. Unanticipated Permit Fees and Inspections
Depending on your municipality, permits for patios—especially larger or raised installations—can cost $50–$400. Some areas require site inspections, which may come with additional fees.
Permits and Compliance: What You Need to Know
Does Your Patio Project Need a Permit?
Not all patios need permits, but many do. Key factors requiring permits include:
- Size: Patios over a certain square footage (often 200 sq. ft. or more).
- Height: Raised patios or those with retaining walls.
- Electrical/Plumbing: Additions like lighting or outdoor kitchens.
- Impervious Surface Limits: Local codes may restrict total non-permeable area.
How to Obtain a Permit
- Visit your local building department website or office.
- Prepare a site plan with dimensions, setbacks, and materials.
- Submit your application and pay the fee.
- Wait for approval before starting work; allow 1–3 weeks for processing.
Potential Consequences of Skipping Permits
- Fines or forced removal of the patio.
- Insurance claim denials if damage occurs.
- Problems during home resale or refinancing.
Material Choices: Impact on Budget and Longevity
Paver Options
- Concrete Pavers: $2–$8 per sq. ft., affordable and durable, wide range of styles.
- Natural Stone: $8–$20 per sq. ft., upscale appearance but heavier and more expensive.
- Brick: $4–$12 per sq. ft., classic look, may require more maintenance (weeding, shifting).
Decking Alternatives
- Pressure-Treated Lumber: $3–$6 per sq. ft., economical but needs regular sealing.
- Composite Decking: $7–$15 per sq. ft., low-maintenance, higher upfront cost.
- Hardwoods (e.g., Ipe): $10–$20 per sq. ft., premium look and durability.
Gravel and Loose Material Patios
- Pea Gravel: $1–$3 per sq. ft., fast installation, best for informal spaces.
- Crushed Stone: $1–$4 per sq. ft., provides better compaction, can be used as a base or surface.
Cost-Effective Material Tips
- Check for local stone or paver suppliers to reduce delivery fees.
- Look for clearance or overstock deals.
- Mix materials (e.g., concrete pavers with gravel borders) for style and savings.
Budgeting Your DIY Patio Project: Step-by-Step Breakdown
1. Measure and Plan Your Space
Accurate measurements are essential. Sketch your patio with length, width, and any curves or features. Calculate the total square footage to estimate material needs.
2. Itemize Every Cost
- Site Prep (excavation, disposal, grading)
- Base Materials (gravel, sand, fabric)
- Pavers/Decking/Surface Material
- Edging/Restraints
- Joint Filler (sand, polymeric sand)
- Sealant or Stains
- Tool Rental or Purchase
- PPE
- Delivery Charges
- Permit Fees
- Contingency (10–15% for surprises)
3. Create a Detailed Spreadsheet
Use a spreadsheet to log supplier quotes, rental rates, and delivery costs. Compare prices from multiple vendors. This ensures you don’t overlook minor but critical expenses.
4. Budget for Maintenance
- Sealing (every 2–3 years): $30–$100 per application.
- Weed/Pest Control: $10–$30 per year for treatments.
- Replacement Materials: Keep 5–10% extra pavers for future repairs.
Practical Ways to Control Costs Without Cutting Corners
Choose a Simpler Design
Curved layouts, intricate patterns, and multi-level patios increase material waste and labor time. Rectangular or modular designs are easier, cheaper, and still attractive.
Do Prep Work Yourself, Hire Help for Specialized Tasks
Excavation and base preparation can be DIY-friendly, but consider hiring pros for large-scale grading or drainage installations. This ensures long-term patio stability and avoids costly mistakes.
Rent, Don’t Buy, Specialty Tools
Unless you plan frequent projects, rent compactors, saws, and heavy equipment. Reserve purchases for tools you’ll use repeatedly, like high-quality shovels or levels.
Order Accurate Material Quantities
Calculate materials with at least 5–10% overage to account for cutting and breakage, but avoid over-ordering. Many suppliers won’t accept returns on bulk items.
Time Your Project for Off-Season Discounts
Late fall or early spring can bring discounts on both materials and tool rentals as demand drops.
Case Study: Budget Breakdown for a 300 Square Foot Paver Patio
- Site Prep (DIY): $200 (equipment rental and dump fees)
- Base Materials: $350 (gravel, sand, fabric)
- Concrete Pavers: $1,350 ($4.50/sq. ft.)
- Edging: $120
- Polymeric Sand: $100
- Tool Rentals: $180 (compactor, saw)
- PPE: $45
- Delivery: $150
- Permit Fee: $120
- Sealer: $60
- Contingency (10%): $262
Total Estimated Cost: $2,937
This example highlights the importance of including every line item—costs can add up quickly, even when doing the labor yourself.
Frequently Asked Questions
Can I build a patio over an existing concrete slab?
Yes, but inspect the slab for cracks or movement. Use a sand or gravel base to level pavers or install a floating deck system. Still check permit requirements for changes in elevation or surface area.
How do I check if I need a permit?
Contact your city’s building department or search their website. Provide patio dimensions, location, and intended materials. Always get written confirmation.
What’s the most budget-friendly patio option?
Gravel patios have the lowest upfront cost and simplest installation. However, they require regular raking and weed control. Concrete pavers offer a balance of durability and affordability.
How can I save on delivery fees?
Source materials locally or use a pickup truck for smaller loads. Some suppliers offer free delivery over a certain order size. Always clarify delivery charges upfront.
Conclusion: Plan Ahead for a Stress-Free Patio Upgrade
While the appeal of a DIY patio project is undeniable, success depends on more than a creative vision and a weekend of hard work. Hidden costs—including site prep, tool rentals, permit fees, and specialized materials—can quickly turn an affordable upgrade into a budget-busting endeavor. By carefully itemizing every expense, understanding permit and compliance requirements, and making strategic material choices, you can take control of your project and avoid costly surprises. Remember to allow a contingency buffer for unexpected issues, and don’t underestimate the value of expert advice for complex tasks like drainage or grading. Ultimately, a well-planned patio upgrade will provide years of enjoyment, enhance your property’s value, and serve as a testament to your DIY skills. With this guide’s detailed budgeting strategies, compliance insights, and practical tips, you’re equipped to tackle your patio project with confidence—ensuring your outdoor oasis is as affordable and durable as it is beautiful.


Could you clarify whether the excavation equipment and compactors need to be rented for the entire duration of the patio project, or are they only necessary for specific stages? I’m trying to get a more accurate estimate on how long equipment rentals might add to my total costs.
Excavation equipment and compactors are typically only needed during the early stages of your patio project, specifically for site preparation, digging, and compacting the base. You won’t need them throughout the entire project. Most people rent these tools for just a day or two, depending on the size of the area. This approach can help keep your rental costs lower and make your budget estimate more accurate.