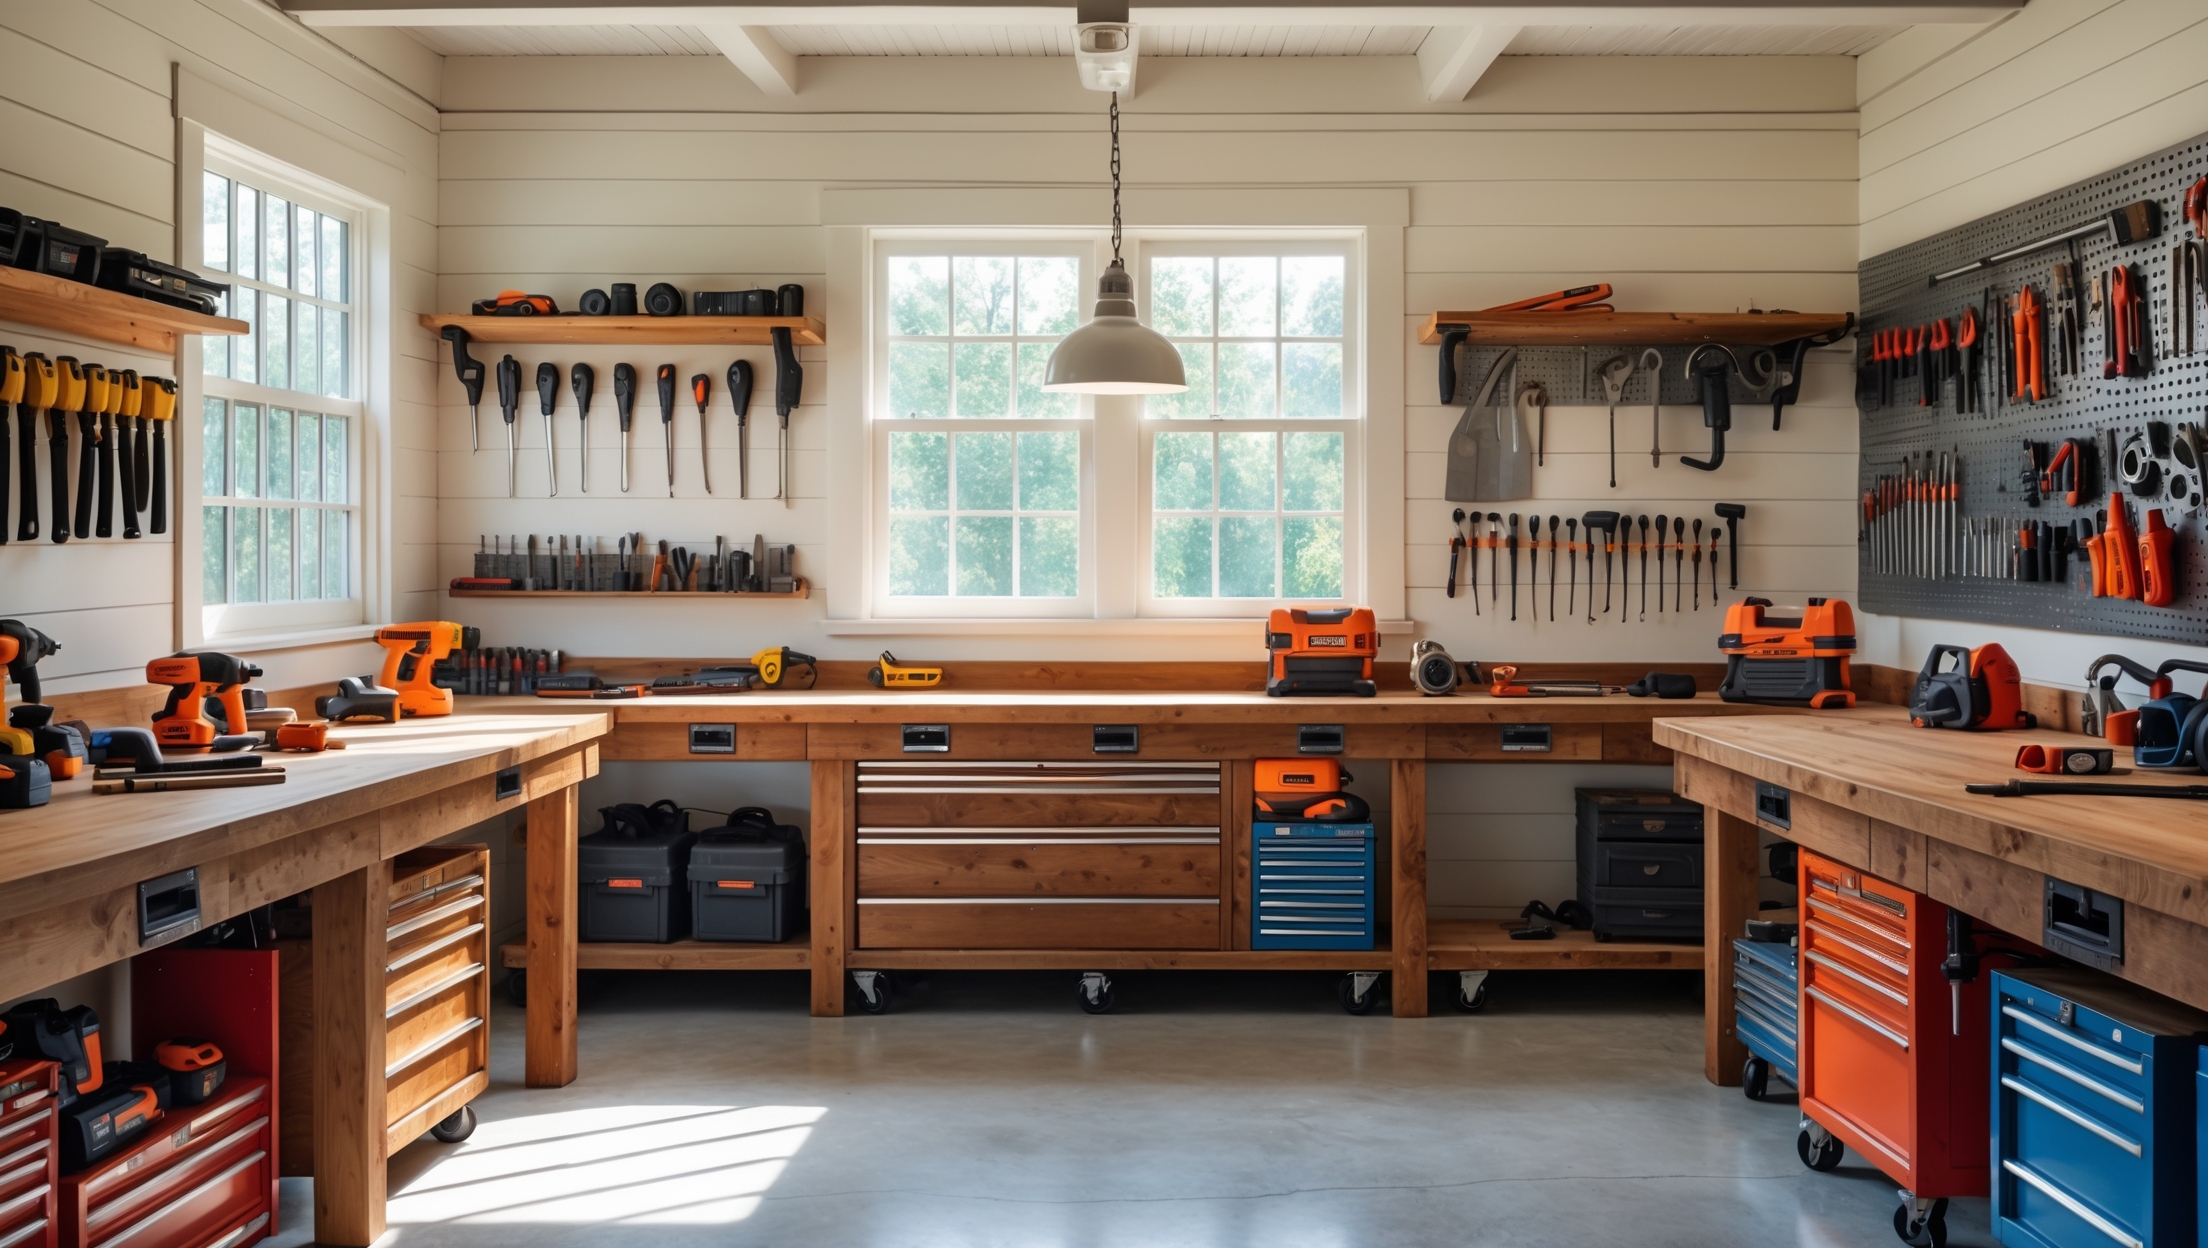
Introduction: Building Your DIY Foundation
Taking on home improvement projects for the first time is both exciting and daunting. Whether you’re hanging shelves, fixing a leaky faucet, or tackling bigger upgrades, having the right tools and equipment is the difference between an enjoyable, successful project and a frustrating, potentially unsafe experience. But with thousands of tools on the market—and a wide range of price points—how does a first-time home improver know where to start? This comprehensive guide demystifies essential tools and equipment, offering practical advice on what to buy first, how to budget wisely, and how to store and maintain your growing toolkit. We’ll also address common buying mistakes, recommend starter sets, and help you understand when to rent or borrow instead of buy. Whether your goal is to handle basic repairs or gradually level up to more complex renovations, the right tools will set you up for safe, efficient, and satisfying DIY success.
Understanding the Basics: Why Tools Matter
Before diving into specific tools, it’s critical to appreciate why investing in the right equipment matters. Quality tools:
- Increase project safety by reducing slips, injuries, and mistakes.
- Save time and money by helping you work more efficiently.
- Deliver professional-looking results, boosting your home’s value and your confidence.
- Last for years if properly maintained, making them a long-term investment.
Cheap, low-quality tools might seem like a bargain, but they often break mid-project, damage materials, or risk injury. That’s why this guide emphasizes durability and versatility over simply filling your toolbox.
Core Hand Tools: The Foundation of Every Toolkit
1. Claw Hammer
Perfect for driving and removing nails. Look for a hammer with a comfortable grip and a balanced weight (16-20 oz for most homeowners). Fiberglass handles reduce vibration, while steel offers durability.
2. Screwdriver Set
A set with multiple sizes and both flathead and Phillips tips is essential. Magnetic tips and cushioned handles improve comfort and accuracy. Multi-bit drivers save space but individual screwdrivers can offer better torque.
3. Tape Measure (at least 25 feet)
Accurate measurements are the backbone of every project. Choose a sturdy, lockable tape measure with a wide blade for easy reading and a strong hook for one-handed use.
4. Utility Knife
From opening boxes to trimming drywall and carpet, a sharp utility knife is a must. Look for retractable models with easy blade change features. Always keep spare blades on hand.
5. Adjustable Wrench
One adjustable wrench (8- or 10-inch) can handle most nuts and bolts. For plumbing or bicycle repairs, consider a set of fixed wrenches for better grip and torque.
6. Pliers Set
At minimum, invest in slip-joint and needle-nose pliers. Add locking pliers (Vise-Grips) for gripping and clamping tasks. Comfort-grip handles reduce hand fatigue.
7. Level
A 24-inch bubble (spirit) level ensures shelves, frames, and appliances are perfectly horizontal or vertical. Laser levels are useful for more advanced tasks but are not essential for beginners.
8. Handsaw
A basic crosscut handsaw handles most wood-cutting tasks. For finer work, a backsaw or coping saw is useful. Keep blades sharp for clean cuts.
9. Locking Tape and Blue Painter’s Tape
Besides measuring, painter’s tape is vital for marking, holding, and protecting surfaces during painting or drilling.
10. Hex Key (Allen Wrench) Set
Essential for assembling furniture, fixing bikes, or working on door hardware. Buy a set with both metric and standard sizes.
Power Tools: Smart Investments for New DIYers
Power tools make your work faster and easier but can be intimidating for beginners. Here’s where to start:
1. Cordless Drill/Driver
The most versatile power tool for any homeowner. Choose a 12V or 18V lithium-ion model with variable speed and a set of drill and driver bits. Look for models with a built-in LED light and a comfortable grip.
2. Power Sander (Orbital or Sheet)
For prepping surfaces before painting or refinishing, a small power sander saves hours of manual labor. Dust collection features keep your workspace cleaner.
3. Jigsaw
Ideal for cutting curves, notches, and shapes in wood, plastic, or thin metal. Choose a model with easy blade changes and variable speed.
4. Stud Finder
Not a power tool, but essential when mounting heavy items to walls. Electronic stud finders are accurate and easy to use. Some models also detect live wires.
5. Shop Vacuum (Wet/Dry)
Keeping your workspace clean is crucial for safety. A small shop vac handles dust, debris, and even small spills. Look for models with multiple attachments.
Organizing Your Toolkit: Storage Solutions
Toolbox vs. Tool Bag vs. Wall Storage
- Toolbox: Best for keeping basic hand tools together. Select a sturdy, portable box with compartments for small parts.
- Tool Bag: Lighter and easier to carry around the house. Ideal for soft-sided, zippered bags with reinforced bottoms.
- Wall Storage: Pegboards and magnetic strips in your garage or basement keep tools visible and accessible.
As your collection grows, invest in modular storage systems or rolling tool chests to stay organized and prevent loss or damage.
Budgeting for Your Toolkit: Smart Spending Tips
Buy Once, Buy Right
Instead of buying the cheapest tools available, choose mid-range brands with solid warranties. For tools you’ll use often (like a drill or hammer), spend a bit more for quality. For specialized tools you’ll use rarely, consider borrowing or renting.
Starter Sets vs. Individual Purchases
Starter sets can offer savings but sometimes include unnecessary items. Compare the cost and quality of buying a set versus handpicking each tool. Prioritize versatility and durability over quantity.
Secondhand and Refurbished Tools
Garage sales, estate auctions, and reputable online marketplaces often have high-quality tools at a fraction of retail prices. Inspect for rust, cracks, and smooth operation before buying. Some manufacturers offer refurbished models with warranties.
Maintenance and Safety: Keeping Tools in Top Shape
Regular Cleaning and Lubrication
Wipe tools after each use to remove dirt and moisture. Apply light oil to moving parts. Sharpen blades and replace worn bits regularly to ensure precision and safety.
Proper Storage
Store tools in dry, secure locations to prevent rust and theft. Use silica gel packs or rust inhibitors in toolboxes if you live in a humid climate.
Personal Protective Equipment (PPE)
- Safety glasses or goggles
- Work gloves
- Hearing protection (earplugs or earmuffs)
- Dust mask or respirator for sanding/painting
- Sturdy footwear
Never skip PPE, even for small tasks. It only takes a moment for an accident to happen.
Advanced Tools: When to Upgrade
Once you’re comfortable with the basics, consider adding:
- Circular saw – for larger wood-cutting projects
- Miter saw – for precise angle cuts in trim and molding
- Impact driver – for driving long screws or lag bolts
- Rotary tool (like a Dremel) – for sanding, grinding, and intricate tasks
- Laser level – for perfectly aligned installations
Only invest in advanced tools when you have the skills and need for them. Renting is often the smarter choice for one-off projects.
Common First-Time Buying Mistakes (and How to Avoid Them)
- Buying cheap, flimsy tools: They break easily and can be dangerous.
- Overstocking on specialty tools: Start with the basics; only buy specialty items as needed.
- Ignoring tool maintenance: Dirty, dull, or rusty tools are ineffective and risky.
- Skipping safety gear: PPE is as essential as any tool in your box.
- Not reading manuals: Each tool has unique features and safety requirements—always read before use.
Renting vs. Buying: Making the Right Choice
Some tools are used once or twice a year (like a heavy-duty power washer or tile saw). Renting from a local hardware store or tool library saves money and storage space. Consider renting when:
- The tool is expensive and rarely used
- You need professional-grade equipment for a short time
- You want to try before you buy
Borrowing from friends or neighbors is also an option—just return tools clean and on time to maintain goodwill.
Building Your Toolkit: Step-by-Step Recommendations
Step 1: Assess Your Needs
Start by listing the types of projects you plan to tackle in the next year. Prioritize tools required for those tasks. Avoid impulse purchases of trendy or specialty gadgets you may never use.
Step 2: Start with Essentials
- Hammer
- Screwdriver set
- Tape measure
- Pliers (slip-joint and needle-nose)
- Utility knife
- Level
- Adjustable wrench
Purchase mid-range quality from reputable brands (Stanley, Irwin, Craftsman, Milwaukee, DeWalt, etc.).
Step 3: Add Power Tools Strategically
Once you’re comfortable with hand tools, add a cordless drill/driver and a power sander. Expand only as your skills and projects demand.
Step 4: Organize and Maintain
Invest in storage early. A tidy, accessible workspace encourages safe, efficient work and prolongs tool life. Schedule regular clean-up and maintenance sessions.
Safety Reminders for First-Time Users
- Read all manuals and follow manufacturer precautions.
- Always disconnect power tools before changing bits or blades.
- Keep children and pets away from your workspace.
- Use clamps instead of hands to stabilize workpieces.
- Never bypass safety features or remove guards.
When in doubt, watch manufacturer videos or ask at your local hardware store for demonstrations.
Conclusion: Investing in Your DIY Journey
Building a reliable toolkit is one of the wisest investments a first-time home improver can make. The right tools not only make projects safer and more enjoyable—they also help you achieve professional-quality results that you can take pride in. By starting with essential hand tools, gradually adding versatile power tools, and resisting the urge to overspend on unnecessary gadgets, you’ll develop both your skills and your confidence. Remember, tool ownership is about quality, not quantity. Take the time to research, buy from reputable sources, and commit to regular maintenance.
As your experience grows, so will your ability to judge which tools are worth adding to your collection. Renting or borrowing is always a smart choice for one-off or specialized tasks. And never underestimate the value of proper storage and safety practices—these are as crucial as the tools themselves.
Ultimately, your toolkit is the foundation of every future project. With thoughtful planning and a commitment to learning, you’ll be well-equipped to tackle any home improvement challenge that comes your way. Happy building!


