Introduction: Why Soundproofing Matters in Modern Homes
Living in a noisy environment can take a toll on your comfort and well-being. Whether it’s the hum of traffic, loud neighbors, or the constant buzz of household appliances, unwanted noise disrupts sleep, concentration, and relaxation. Many homeowners believe soundproofing is complicated or expensive, but with the right approach, you can significantly reduce noise without breaking the bank. This guide explores practical, budget-friendly DIY soundproofing solutions for various areas of your home. You’ll learn which materials work best, step-by-step installation processes, and expert insights to avoid common pitfalls. By the end, you’ll be equipped to make informed decisions and create a quieter, more peaceful home environment—without hiring a professional or undertaking major renovations.
Understanding the Basics of Soundproofing
What Is Soundproofing?
Soundproofing is the process of reducing or blocking the transmission of sound from one area to another. It involves using materials and techniques to absorb, dampen, or deflect sound waves, minimizing their impact inside your living space.
Types of Noise: Airborne vs. Structure-Borne
- Airborne Noise: Sounds that travel through the air, like voices, music, or traffic.
- Structure-Borne Noise: Vibrations transmitted through building materials, such as footsteps on a floor or plumbing rattles.
Key Principles of Soundproofing
- Mass: Adding heavy materials blocks sound.
- Damping: Materials that absorb vibrations reduce noise transmission.
- Decoupling: Creating separate layers that don’t touch limits vibration transfer.
- Sealing: Closing air gaps prevents sound leaks.
Assessing Your Home’s Noise Problems
Step 1: Identify Noise Sources
Walk through your home and note where noise enters or escapes. Focus on windows, doors, walls, floors, and ceilings. Consider both internal and external sources, such as traffic, neighbors, appliances, or HVAC systems.
Step 2: Pinpoint Weak Spots
- Thin walls or hollow doors
- Single-pane windows
- Unsealed gaps around frames, vents, or electrical outlets
- Hard flooring without rugs
Step 3: Prioritize Areas to Soundproof
Focus first on spaces where quiet is essential—bedrooms, home offices, nurseries, or shared walls with noisy neighbors. Tackling one room at a time helps you stay organized and manage your budget.
Budget-Friendly Soundproofing Materials
Common DIY Materials and Their Effectiveness
- Weatherstripping: Great for sealing gaps around doors and windows. Inexpensive and easy to install.
- Acoustic Caulk: Flexible sealant for cracks and gaps in walls, ceilings, and window frames.
- Door Sweeps: Attach to the bottom of doors to block sound leaks.
- Mass Loaded Vinyl (MLV): Thin, heavy sheets that add mass to walls, floors, or ceilings. Effective but pricier than basic options.
- Acoustic Panels: Foam or fabric panels for absorbing sound. DIY versions can be made with rockwool or mineral wool insulation and fabric covers.
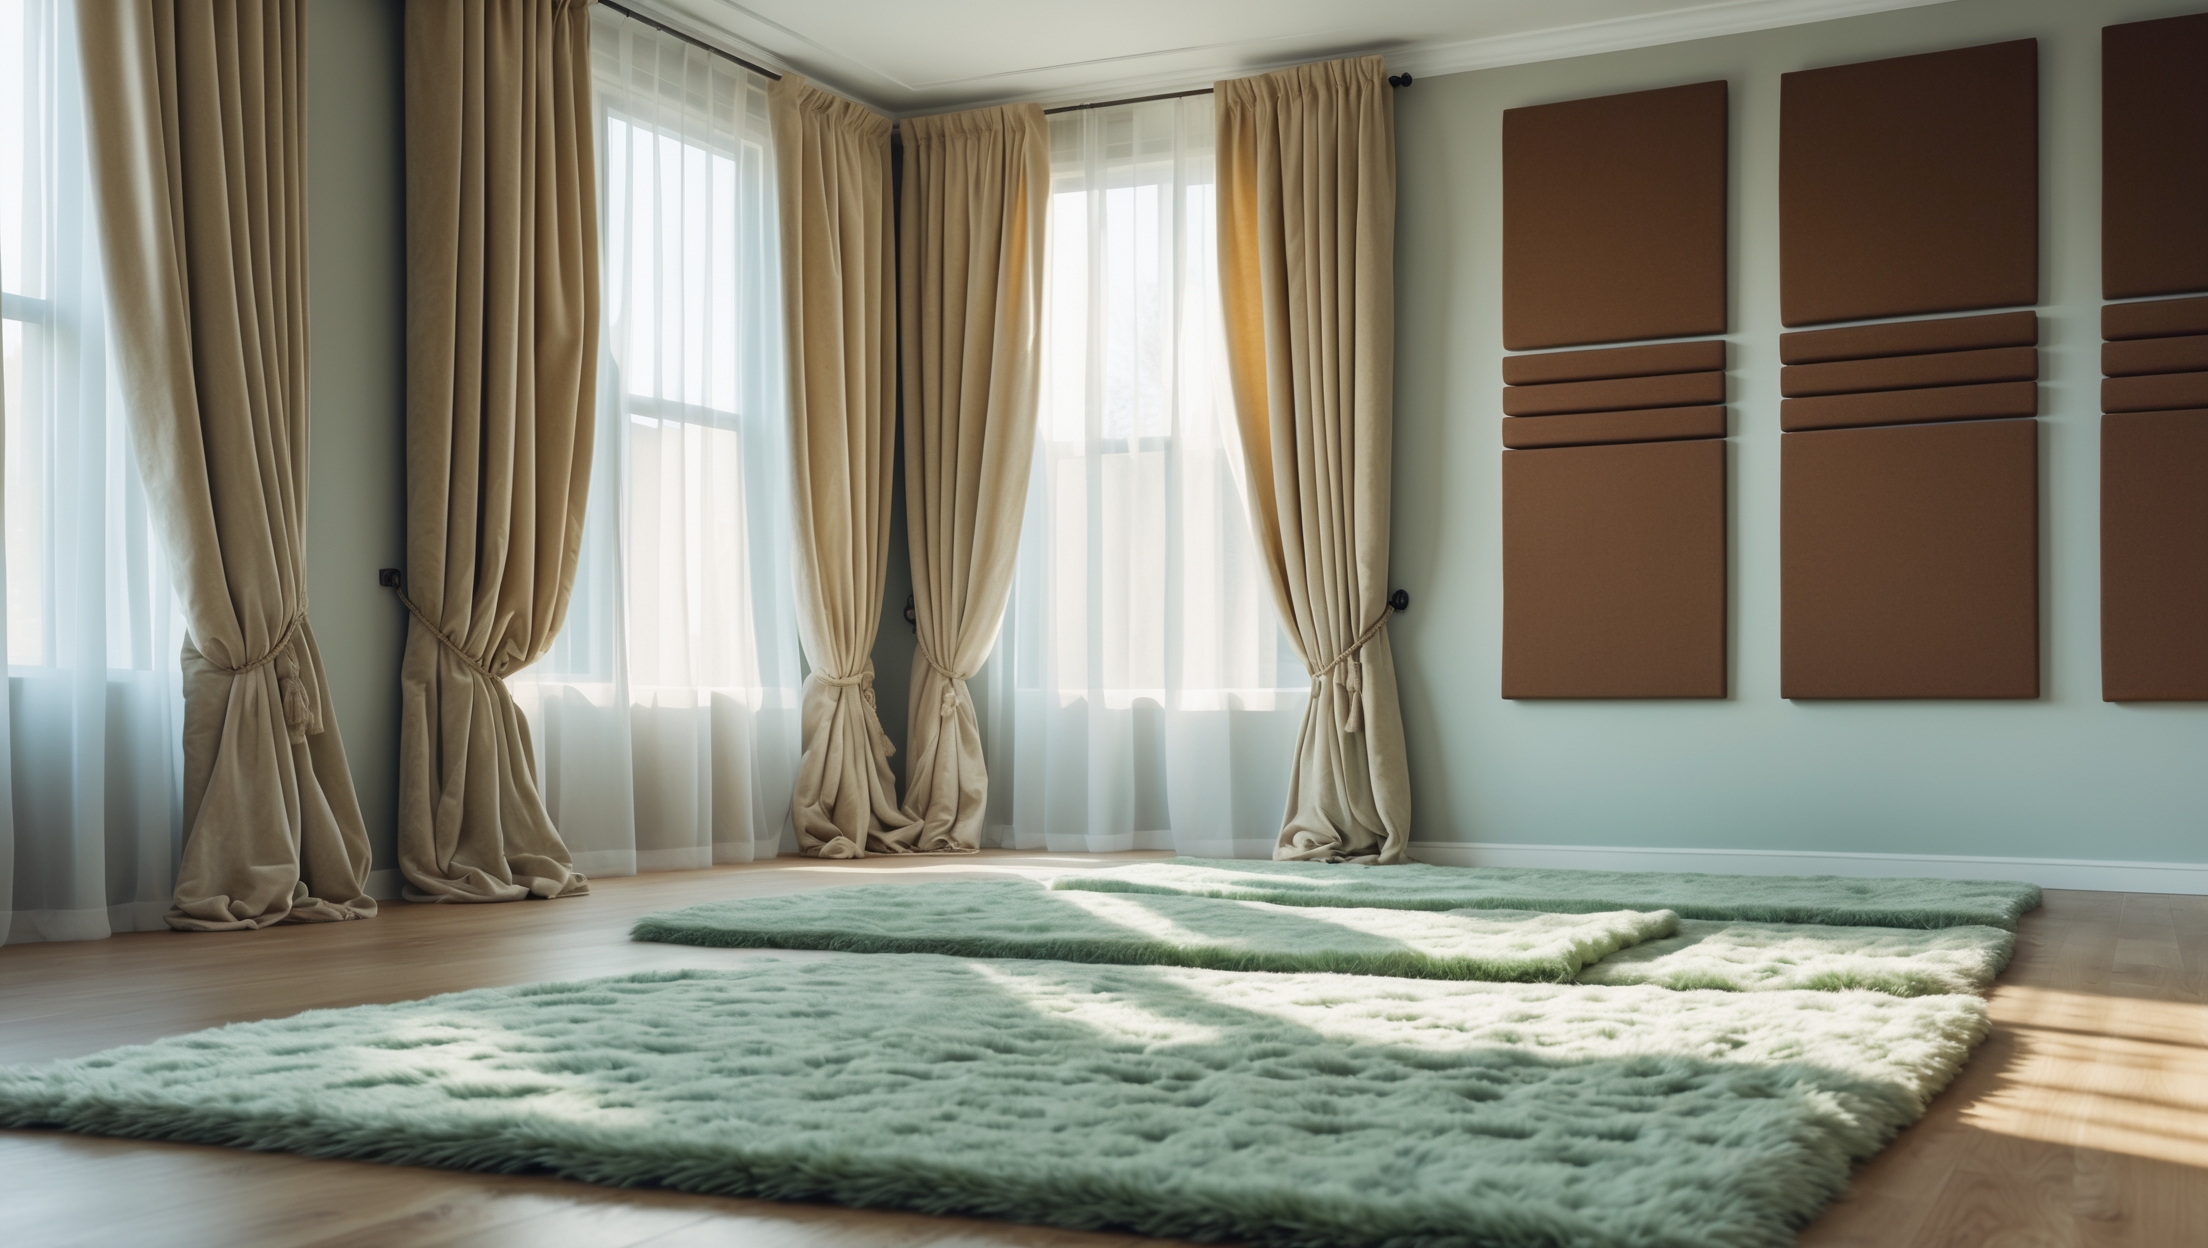
- Thick Curtains or Blankets: Heavy drapes, moving blankets, or quilts can dampen noise from windows and doors.
- Rugs and Carpet Pads: Soft floor coverings reduce echo and absorb impact noise.
- Bookshelves: Filled shelves along shared walls add mass and dampen sound.
Comparing Cost and Effectiveness
| Material | Approximate Cost | Best For | DIY Difficulty |
|---|---|---|---|
| Weatherstripping | $5–$20/door or window | Doors & Windows | Easy |
| Acoustic Caulk | $7–$15/tube | Walls, Frames | Easy |
| Door Sweeps | $10–$30 | Doors | Easy |
| MLV | $2–$5/sq ft | Walls, Floors | Moderate |
| DIY Acoustic Panels | $15–$30/panel | Walls, Ceilings | Moderate |
| Thick Curtains/Blankets | $25–$100 | Windows, Doors | Easy |
| Rugs/Carpet Pads | $30–$150 | Floors | Easy |
Step-by-Step DIY Soundproofing Projects
1. Soundproofing Doors
- Install Weatherstripping: Measure door frame, cut weatherstripping to size, and apply around the perimeter.
- Add a Door Sweep: Screw a rubber or brush sweep to the bottom of the door to seal gaps.
- Upgrade to a Solid Core Door: If budget allows, replacing hollow-core doors with solid-core significantly improves sound blocking.
- Hang a Soundproof Blanket: For temporary solutions, use hooks or Velcro to hang a thick blanket over the door during high-noise periods.
2. Soundproofing Windows
- Apply Acoustic Caulk: Seal any gaps or cracks around window frames.
- Install Heavy Curtains: Mount curtain rods above and wider than the window frame. Use double layers for best results.
- Add Window Inserts: Acrylic or glass inserts can be custom-cut to fit inside existing window frames, creating an extra barrier.
- DIY Window Plugs: Cut rigid foam board slightly larger than your window opening, cover with fabric, and press into place for temporary noise reduction.
3. Soundproofing Walls
- Seal Outlets and Gaps: Remove outlet covers and fill gaps with acoustic putty pads or caulk.
- Hang DIY Acoustic Panels: Build frames, fill with rockwool, and cover with breathable fabric. Mount on the wall with picture hangers.
- Add Bookshelves: Place full bookshelves against shared walls to add mass and absorb sound.
- Apply MLV: For serious issues, attach MLV to walls under a new layer of drywall (requires moderate DIY skills).
4. Soundproofing Floors
- Use Thick Area Rugs: Lay rugs with dense carpet pads underneath in high-traffic areas.
- Install Interlocking Foam Mats: These are especially effective in home gyms, playrooms, or apartments.
- Seal Floor Gaps: Use acoustic caulk around baseboards and floor edges.
5. Soundproofing Ceilings
- Hang Acoustic Panels: Mount lightweight panels directly to the ceiling to absorb sound.
- Install Drop Ceiling Tiles: If ceiling height allows, drop ceilings with acoustic tiles can dramatically reduce noise from above.
- Add MLV Above Ceiling: For upper-floor access, lay MLV or dense insulation between joists.
Common Mistakes to Avoid in DIY Soundproofing
- Ignoring Gaps: Even small cracks or holes can undermine your efforts. Always seal around frames, outlets, and vents.
- Overlooking Doors and Windows: These are the most common sound leak points. Prioritize them before tackling walls or ceilings.
- Choosing the Wrong Materials: Not all foam or insulation is designed for soundproofing. Research before purchasing.
- Improper Installation: Gaps in acoustic panels or weatherstripping reduce their effectiveness. Take time to measure and install carefully.
- Expecting Complete Silence: DIY soundproofing can reduce noise but won’t create a recording-studio environment. Set realistic expectations.
Maintenance and Upkeep Tips for Long-Term Results
Regular Inspections
Every 6–12 months, check weatherstripping, caulk, and door sweeps for wear or gaps. Replace or touch up as needed.
Cleaning Acoustic Materials
- Vacuum acoustic panels and curtains regularly to prevent dust buildup.
- Spot clean fabric panels and rugs according to manufacturer instructions.
Seasonal Adjustments
- Inspect window and door seals before winter and summer to ensure they remain effective against temperature and noise changes.
- Rotate or air out rugs and blankets to maintain their sound-absorbing properties.
When to Call a Professional
While most soundproofing projects can be handled by confident DIYers, some situations require professional help:
- Severe noise issues between multifamily units or caused by building flaws
- Structural modifications, like adding new drywall layers or decoupling walls and ceilings
- Compliance with local building codes for major renovations
- Soundproofing for home studios, theaters, or specialized spaces
Consult a contractor or acoustical consultant if your DIY efforts aren’t delivering desired results or if you’re unsure about structural changes.
Cost-Saving Tips Without Sacrificing Effectiveness
- Mix and Match Solutions: Combine weatherstripping, rugs, and DIY panels for layered results.
- Shop Secondhand: Look for curtains, rugs, and bookshelves at thrift stores or online marketplaces.
- Repurpose Materials: Use moving blankets or leftover insulation for temporary noise control.
- DIY Where Possible: Building your own panels or window plugs can save hundreds over pre-made options.
Conclusion: Creating Lasting Peace and Quiet in Your Home
Soundproofing doesn’t have to be an overwhelming or expensive process. By understanding the principles of noise transmission and focusing on the most vulnerable parts of your home—doors, windows, walls, floors, and ceilings—you can dramatically improve your living environment with smart, affordable DIY upgrades. The key is to start small, using materials like weatherstripping, acoustic caulk, and heavy curtains to address obvious noise leaks. Gradually layer in solutions such as DIY acoustic panels, rugs, and bookshelves for added mass and absorption. With careful installation and regular maintenance, these improvements will stand the test of time, making your home a more comfortable and restful place for everyone. Remember, while no solution can guarantee absolute silence, a combination of thoughtful strategies will deliver meaningful reductions in unwanted noise. If you encounter persistent issues or plan major renovations, don’t hesitate to consult a professional. Ultimately, investing in soundproofing is about reclaiming your peace of mind—one quiet room at a time.