Introduction: Why Deck Staining is Essential for Every Homeowner
Your deck is more than just an outdoor platform—it’s an extension of your living space. Whether it’s hosting summer barbecues, relaxing with a good book, or serving as a play area for kids, a well-maintained deck adds beauty, function, and value to your home. But exposure to sun, rain, and fluctuating temperatures can quickly turn a beautiful deck into a weathered eyesore. Staining your deck is one of the most effective ways to protect it against the elements, prevent rot, and enhance its natural appearance. Unfortunately, many homeowners underestimate the process, leading to uneven finishes, premature peeling, and wasted investment.
This comprehensive guide walks you through the entire deck staining process—from essential prep work to expert application techniques and aftercare. We’ll cover the right tools, timing, troubleshooting, and proven methods to achieve a professional-grade finish that lasts. Whether you’re a first-timer or looking to improve your results, you’ll find practical, step-by-step advice to help your deck withstand the test of time and weather.
Understanding Deck Staining: Types, Benefits, and Timing
Types of Deck Stains
- Transparent Stains: Offer minimal color, emphasize wood grain, and provide moderate protection. Best for new or high-quality wood.
- Semi-Transparent Stains: Add subtle color while showing wood texture. Balance between protection and aesthetics; suitable for slightly aged decks.
- Solid Stains: Opaque, mask most wood grain, and provide the strongest UV protection. Ideal for older decks with surface imperfections.
Key Benefits of Staining Your Deck
- Protects wood from UV rays, moisture, and mildew
- Prevents cracking, splintering, and warping
- Enhances natural wood beauty or updates color
- Extends deck lifespan and reduces long-term repair costs
Best Timing for Staining
- Ideal temperature: 50–85°F (10–29°C)
- Dry weather: No rain for at least 48 hours after application
- Low humidity: Allows even drying and proper absorption
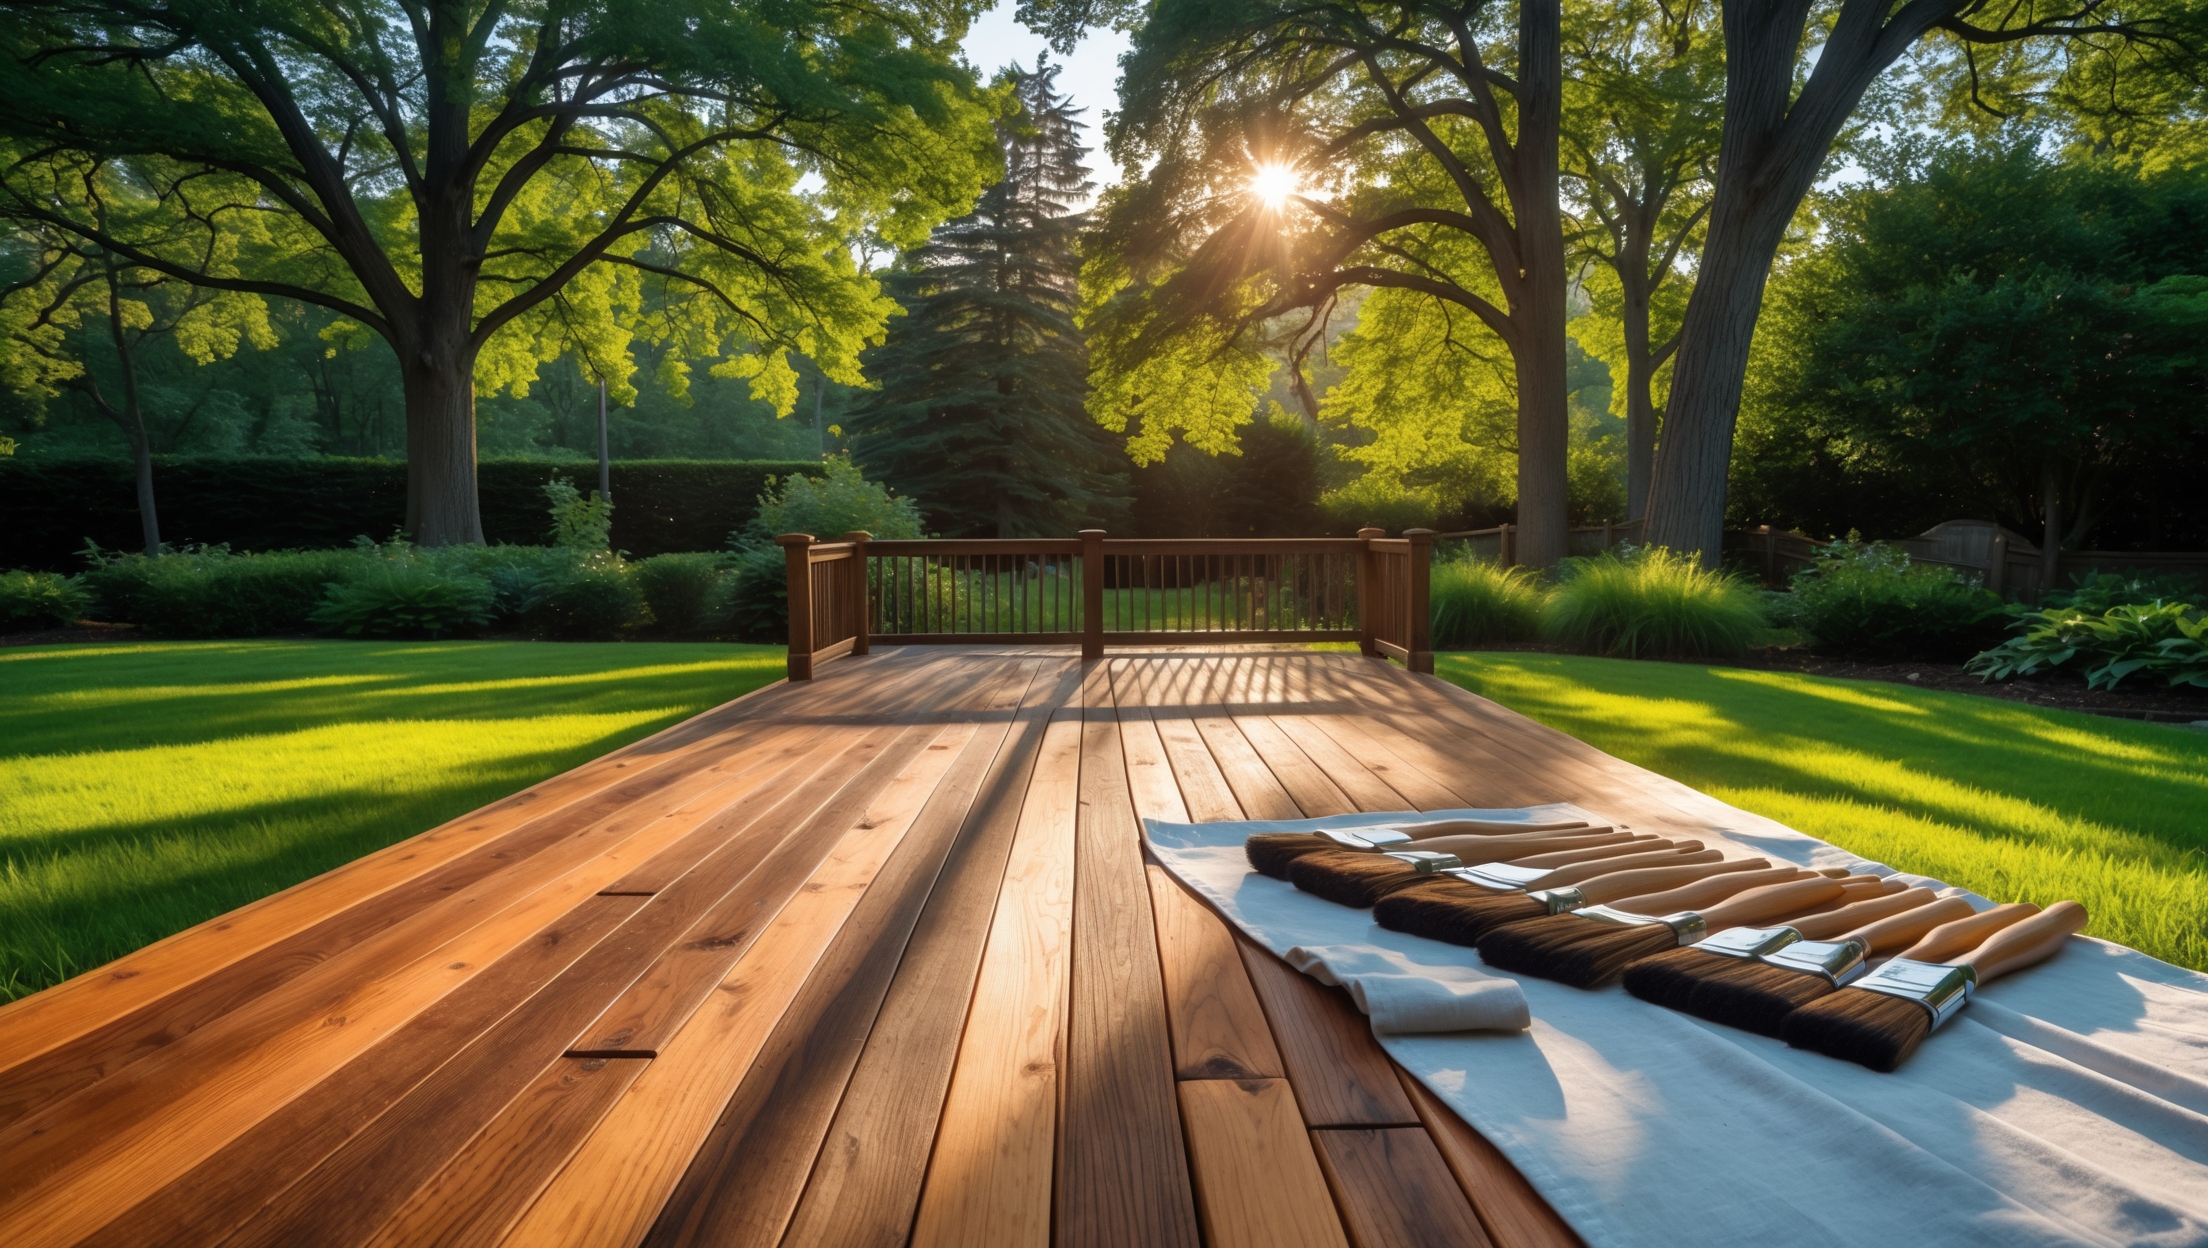
Essential Tools and Materials Checklist
- Deck cleaner or wood brightener
- Stiff-bristle brush or push broom
- Pressure washer (optional, for heavy-duty cleaning)
- Sandpaper or pole sander (80–120 grit)
- Painter’s tape and plastic sheeting/drop cloths
- Paint trays and liners
- Deck stain (appropriate type and color for your wood)
- High-quality brushes (2–4 inch) and stain pads
- Stain sprayer (optional, for large decks)
- Protective gloves, goggles, and old clothing
- Stir sticks and clean rags
Step-by-Step Deck Preparation
1. Clear and Inspect the Deck
Remove all furniture, planters, and décor. Inspect for loose boards, protruding nails, or splintered wood. Secure or replace damaged boards and hammer in nails as needed.
2. Thorough Cleaning
- Sweep away leaves and debris.
- Apply deck cleaner or wood brightener according to manufacturer instructions. Use a stiff-bristle brush or push broom to scrub thoroughly, focusing on heavily soiled or mildewed areas.
- For deeply weathered or stained wood, use a pressure washer on a low setting. Hold the nozzle 12–18 inches from the surface to avoid gouging the wood.
- Rinse thoroughly and allow the deck to dry for at least 48 hours. Wood must be completely dry before sanding or staining.
3. Sanding for a Smooth Surface
- Lightly sand the deck with 80–120 grit sandpaper or a pole sander, especially on rough patches or previous finish remnants.
- Sand in the direction of the wood grain to avoid scratches.
- Vacuum or sweep away dust. Wipe with a damp, lint-free cloth to remove residual particles.
4. Protect Surrounding Areas
- Use painter’s tape to mask the edges where the deck meets your home or landscaping.
- Lay down plastic sheeting or drop cloths to protect plants, siding, and patios from drips or overspray.
Choosing the Right Stain and Testing Colors
Wood Type Considerations
Hardwoods like ipe or mahogany require specialized stains, while pine and cedar absorb most types. Always check stain compatibility with your deck’s wood species.
Color Testing
- Test stain on a hidden section or a scrap piece of decking. Observe color changes after drying (stain often appears darker wet).
- Evaluate in both sunlight and shade for an accurate sense of the final look.
Application: How to Stain Your Deck for Long-Lasting Results
1. Stir, Don’t Shake
Stir stain thoroughly with a clean stick before and during application to ensure even pigment distribution. Shaking may introduce bubbles.
2. Start with Railings and Hard-to-Reach Areas
- Use a brush to apply stain to railings, steps, spindles, and tight corners.
- Work methodically to catch drips and ensure even coverage.
3. Stain the Deck Boards
- Apply stain along the full length of two to three boards at a time to prevent lap marks.
- Use a stain pad or brush for optimal control and penetration. For large decks, a sprayer can speed up application—just back-brush to work stain into the wood.
- Maintain a wet edge to avoid overlap lines. Don’t rush; consistent, even application is key.
4. Wipe Away Excess Stain
- After 10–15 minutes, check for puddling or shiny spots.
- Wipe off excess with a clean, lint-free rag to ensure even absorption and prevent tacky spots.
5. Drying and Curing
- Allow the first coat to dry fully (typically 24–48 hours, depending on humidity and temperature).
- If a second coat is needed (recommended for solid or semi-transparent stains), apply it using the same method.
- Wait at least 48 hours before returning furniture or heavy objects to the deck.
Common Deck Staining Mistakes and How to Avoid Them
- Skipping Prep: Inadequate cleaning or sanding leads to poor stain adhesion and uneven color.
- Staining Wet Wood: Stain won’t absorb properly, causing peeling and blotchiness.
- Over-applying Stain: Too much stain leaves sticky, shiny patches and delays drying.
- Ignoring Weather Forecast: Staining before rain or during high humidity risks wash-off and improper curing.
- Using the Wrong Tools: Cheap brushes or rollers can shed bristles and create streaks. Invest in quality applicators for best results.
Aftercare and Maintenance for a Lasting Finish
Routine Cleaning
- Sweep regularly to remove debris and prevent mildew buildup.
- Wash seasonally with mild soap and water; avoid harsh chemicals that strip stain.
Inspecting for Wear
- Check for fading, water absorption (water no longer beads), or worn areas every 12 months.
- Touch up exposed spots as needed to prevent moisture intrusion.
When to Restain
- Most decks require restaining every 2–4 years, depending on stain type, climate, and use.
- If you notice bare wood, graying, or peeling, it’s time to repeat the process.
Expert Tips for a Flawless Deck Staining Project
- Work in the shade or on cloudy days to prevent rapid drying and streaks.
- Always follow the wood grain for a natural, professional look.
- Keep a wet edge to prevent overlap marks between sections.
- Store leftover stain in a cool, dry place for touch-ups.
- Dispose of oily rags safely—store them in a sealed metal container to prevent spontaneous combustion.
Troubleshooting: Fixing Common Deck Staining Issues
- Lap Marks: Sand lightly and reapply a thin coat to blend edges.
- Peeling or Flaking: Remove loose stain with a scraper, sand, clean, and re-stain the affected area.
- Sticky or Shiny Patches: Wipe off excess with mineral spirits if stain hasn’t cured; avoid over-application next time.
- Uneven Color: Allow deck to weather, then clean and apply another thin coat.
Conclusion: Invest in Your Deck—And Your Home’s Value
Deck staining is more than a cosmetic upgrade—it’s an essential maintenance step that protects your outdoor investment for years to come. By following a structured, step-by-step process and avoiding common pitfalls, you can achieve a beautiful, long-lasting finish that enhances both the function and curb appeal of your home. Take the time to select the right stain, prep your deck thoroughly, and apply with care. Your efforts will pay off with a stunning outdoor space that stands up to weather, wear, and time.
Remember, the key to a successful deck staining project isn’t speed, but attention to detail. From the initial cleaning to the final brushstroke, every step matters. With routine maintenance and timely reapplications, your deck can remain a source of pride and enjoyment for family and friends season after season. So gather your tools, pick a perfect weekend, and start transforming your deck today—the results will speak for themselves every time you step outside.