Introduction: Why Install a Ceiling Fan Yourself?
Ceiling fans are one of the most impactful yet underrated home improvement projects you can tackle as a homeowner. Not only do they enhance comfort by circulating air and complementing your HVAC system, but they also add style and value to living spaces. The best part? Installing a ceiling fan is well within the reach of a motivated DIYer—even if you’re a first-timer. With the right preparation, tools, and guidance, you can save on labor costs, customize your living space, and gain valuable hands-on experience. This comprehensive guide will walk you through every step, from budgeting and gathering supplies to wiring, mounting, and troubleshooting. Whether you’re replacing an outdated light fixture or adding a new fan to a bedroom, you’ll learn practical techniques and expert tips to ensure a safe, professional-looking result. Let’s get started on transforming your home’s comfort and style—one ceiling fan at a time.
Budgeting for Your Ceiling Fan Installation
Ceiling Fan Costs
Ceiling fans range from under $50 for basic models to over $400 for high-end designer fans with integrated lighting and smart features. Here’s what to expect:
- Standard models: $60–$150
- Mid-range with light kit: $120–$250
- High-end/smart fans: $250–$500+
Additional Materials & Supplies
- Ceiling fan-rated electrical box: $10–$25
- Wire connectors, screws, mounting hardware: $5–$15
- Basic hand tools (if not already owned): $40–$60
- Voltage tester: $10–$20
- Ladder: $50–$100 (purchase or rent if needed)
Total DIY Budget Estimate
- Low-end (using existing fixture wiring and tools): $75–$150
- Upgrading electrical box and buying tools: $180–$300
Hiring a professional for installation typically adds $100–$250 per fan, depending on complexity.
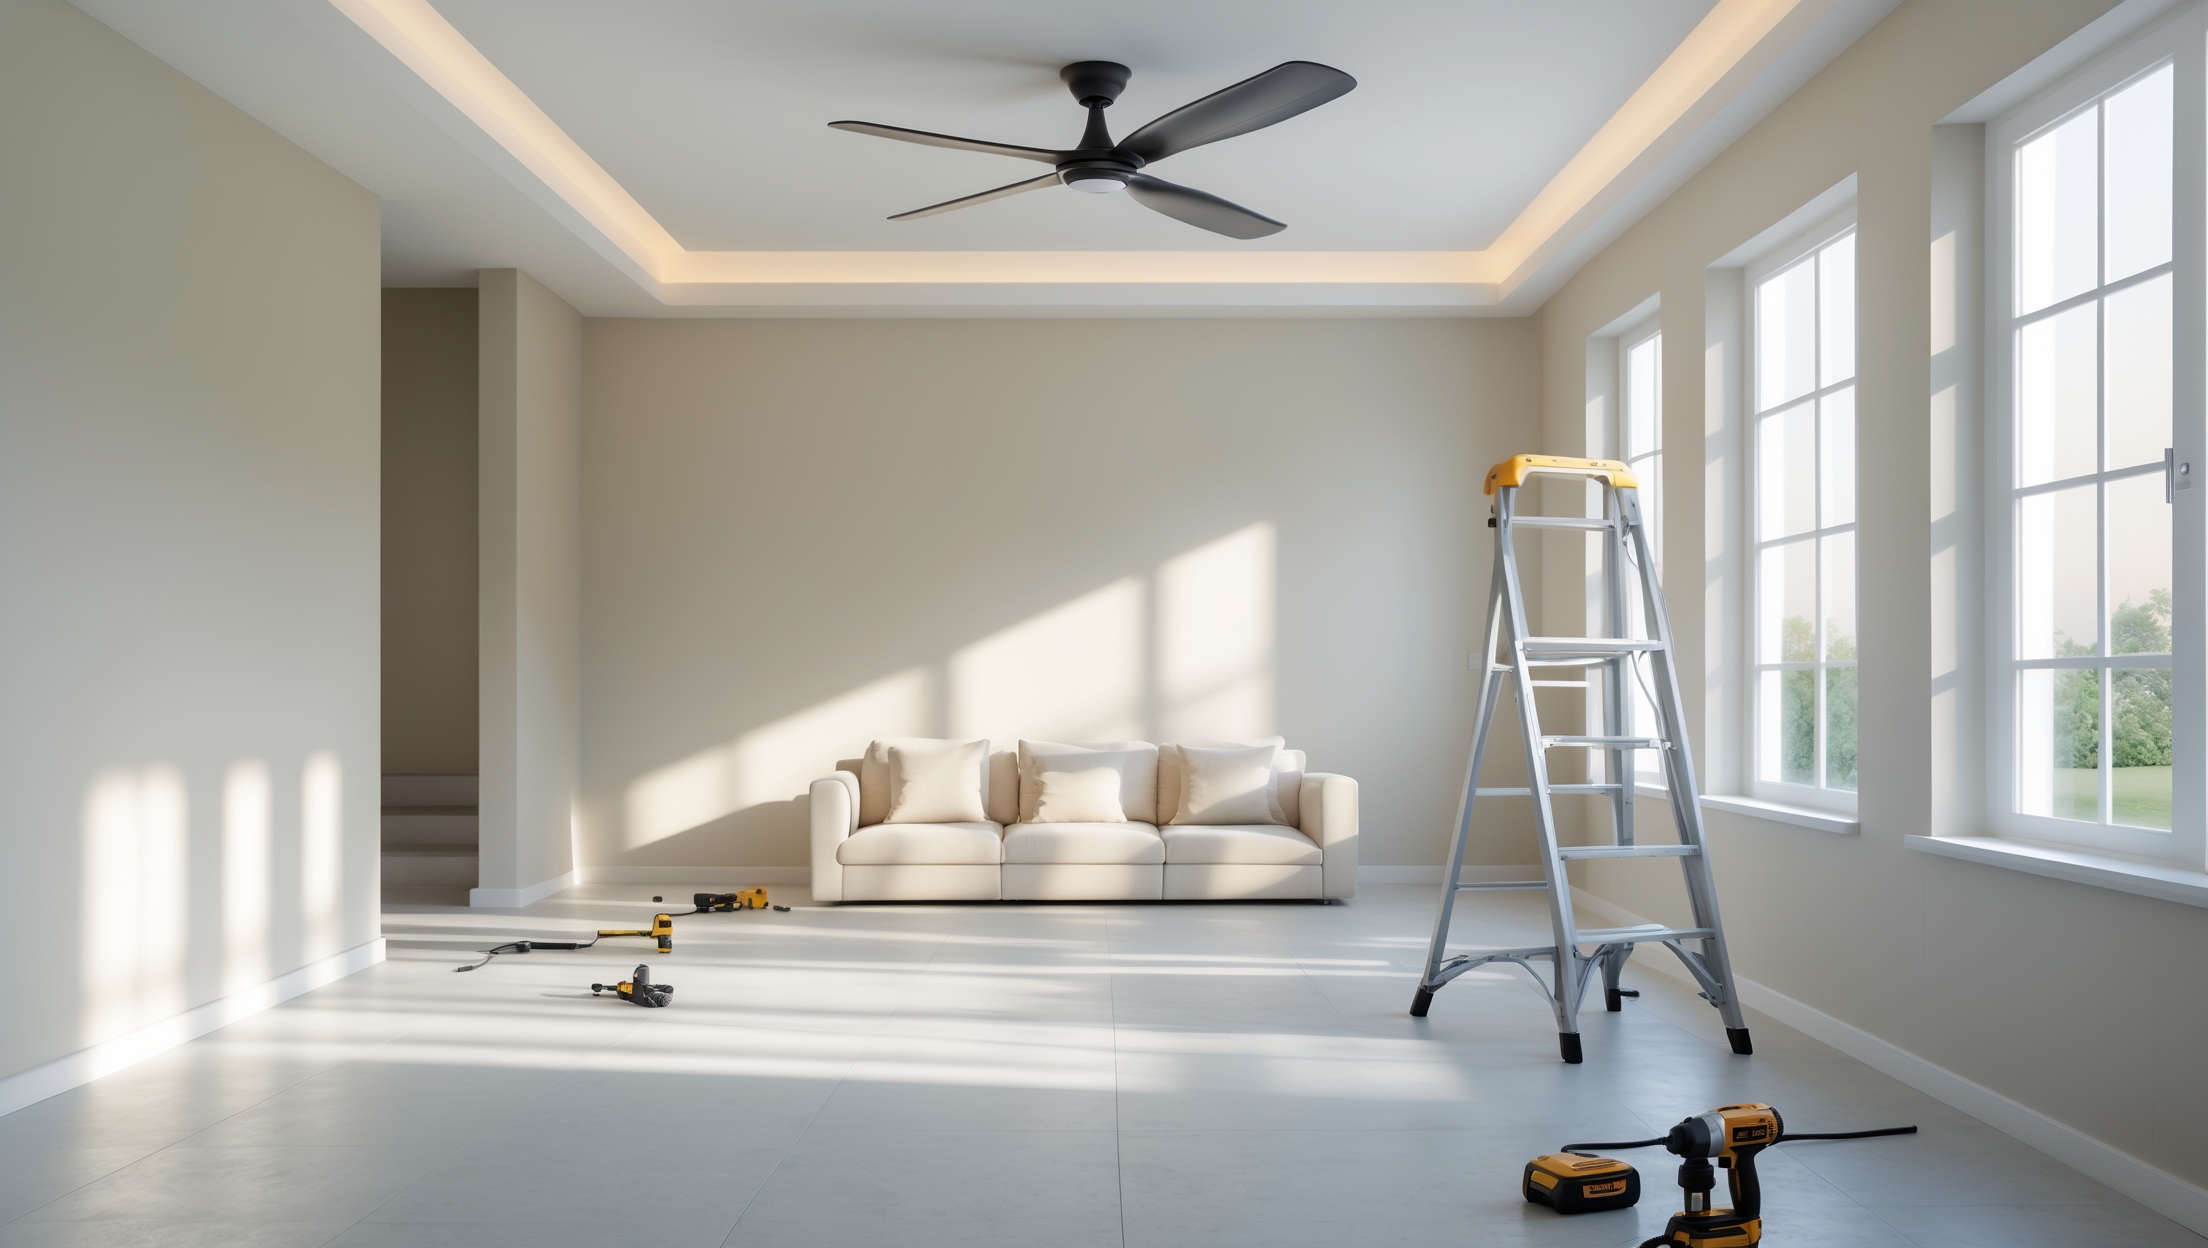
Essential Tools and Equipment Checklist
- Phillips and flathead screwdrivers
- Wire stripper/cutter
- Needle-nose pliers
- Adjustable wrench
- Voltage tester (non-contact preferred for safety)
- Drill with bits
- Ceiling fan-rated junction box (if needed)
- Measuring tape
- Ladder (6′ or taller for standard ceilings)
- Safety glasses
- Dust mask (optional for old fixtures)
Before starting, lay out all tools and read the fan manufacturer’s installation instructions.
Safety First: Precautions and Preparation
- Turn off power: Locate the correct circuit breaker and turn off power to the fixture before doing anything else.
- Test wires: Always use a voltage tester to double-check that no wires are live before touching them.
- Check the box: Only use a ceiling fan-rated electrical box. Standard boxes can’t support the weight or vibration of a fan.
- Secure your workspace: Clear the area beneath the installation site. Make sure your ladder is stable and tall enough.
- Have a helper: Ceiling fans can be heavy and awkward. Having a second person on hand is highly recommended, especially for lifting and wiring.
Step-by-Step Ceiling Fan Installation
1. Remove the Existing Fixture
- Ensure power is off at the breaker and verify with a tester.
- Take down the old light fixture, carefully disconnecting wires (note which wires connect where).
- Remove the old electrical box if it’s not fan-rated. This may require loosening screws or prying from a brace.
2. Install a Ceiling Fan-Rated Electrical Box
- Choose a box marked “For Fan Support”—it should be metal and attached directly to a ceiling joist or with a fan brace.
- If retrofitting, use an expandable brace that fits through the drywall hole and locks to joists when twisted.
- Secure the box tightly—fans can weigh 15–50 pounds and vibrate during use.
3. Assemble the Ceiling Fan
- Attach blades, light kit, and downrod (if using) according to the manufacturer’s instructions. Do as much assembly as possible on the ground.
- Thread wires through the downrod and canopy.
4. Mount the Fan Bracket
- Secure the mounting bracket to the new electrical box with the provided screws.
- Ensure the bracket is level and firmly attached—give it a gentle tug to test stability.
5. Wiring the Fan
- With the fan on the ladder or supported by a helper, connect the house wires to the corresponding fan wires:
- Black (or red) to black: Fan motor (sometimes red is for separate wall switch for light)
- White to white: Neutral
- Green or bare to green/bare: Ground wire
- Blue wire (if present): Connect to black or red if controlling light and fan together, or to red if using separate switches
- Use wire nuts and electrical tape for secure, insulated connections.
- Carefully tuck wires into the box.
6. Attach the Fan to the Bracket
- Lift the fan assembly onto the mounting bracket. Many brackets have a hook or slot to temporarily hold the fan while wiring.
- Secure the fan base with screws provided. Double-check all fasteners for tightness.
7. Install Canopy, Blades, and Light Kit
- Slide the canopy up to cover the mounting bracket and secure with screws.
- Attach the blades to the motor using provided screws. Be sure all blades are facing the same direction and tightened evenly.
- If your fan includes a light kit, connect the wiring as indicated and attach the kit to the fan housing.
- Install bulbs and glass shades.
8. Test the Fan and Light
- Restore power at the breaker.
- Test all functions: fan speeds, direction switch (for summer/winter), and lighting.
- If the fan wobbles, see the troubleshooting section below.
Pro Tips for a Smooth Ceiling Fan Installation
- Blade balance: Always use the balancing kit (included with most fans) if you notice wobbling. Improperly balanced blades wear the motor and are noisy.
- Downrod length: For ceilings higher than 8 feet, use a longer downrod for optimal airflow. For ceilings lower than 8 feet, ensure the fan is labeled as “hugger” or “low profile.”
- Wall switch compatibility: If you want to control the fan and light separately, ensure your wiring and wall switch support this before installation.
- Remote controls: Consider a fan model with a remote control for easy operation, especially in rooms without a dedicated wall switch.
- Ceiling slope: For angled ceilings, use an angled mounting kit compatible with your fan.
Troubleshooting Common Issues
Fan Wobble
- Check that all blade screws are tight and blades are not warped.
- Use the included balancing kit to add small weights to blades as needed.
- Ensure the mounting bracket and box are secure.
No Power to Fan or Light
- Double-check breaker and wall switch are on.
- Verify all wire connections are secure and correct.
- Test with a voltage tester to ensure power is reaching the box.
Fan Hums or Is Noisy
- Make sure all screws and fasteners are tight.
- Check for loose glass shades or bulbs.
- Allow the fan to “break in” for a few hours; new motors can be slightly noisy at first.
Remote Control Not Working
- Replace remote batteries.
- Ensure the receiver is properly installed in the fan housing.
- Consult the manufacturer’s instructions to pair the remote if needed.
Ceiling Fan Maintenance Best Practices
- Clean blades and motor housing: Dust monthly with a damp microfiber cloth to maintain airflow and reduce wear.
- Check screws and connections: Inspect and tighten blade and mounting screws every 3–6 months.
- Lubricate if needed: Most modern fans are sealed and maintenance-free, but older models may need a few drops of oil annually (see your manual).
- Reverse direction seasonally: Run blades counterclockwise in summer for cooling, clockwise in winter to circulate warm air.
- Replace bulbs with LEDs: Upgrade to energy-efficient bulbs for longer life and lower energy bills.
Permits, Compliance, and Safety Codes
Most municipalities don’t require a permit for replacing an existing ceiling fixture with a fan, but always check your local codes. If you’re installing a fan where there was no electrical box previously, or running new wiring, you may need a permit and inspection. Follow these basic safety codes:
- Use only UL-listed, fan-rated electrical boxes.
- All wiring must be contained within approved electrical boxes.
- Fans must be mounted a minimum of 7 feet above the floor and 18 inches from walls.
- Don’t overload the circuit—if adding multiple fans to one circuit, tally total amperage.
- If unsure about wiring or compliance, consult a licensed electrician.
Conclusion: Level Up Your DIY Skills
Installing a ceiling fan is more than just a quick home upgrade—it’s a practical project that delivers immediate comfort, improved air circulation, and a boost in home value. By following this step-by-step guide, you’ve learned how to plan your budget, select the right fan and tools, ensure safety at every stage, and execute a solid installation. You’re now equipped to troubleshoot common problems and maintain your fan for years of smooth, quiet performance. If you tackled this as your first electrical DIY, congratulations on building your confidence and skillset! Every successful project expands your abilities and opens the door to more ambitious home improvements. Remember: meticulous preparation, patience, and attention to detail are your best tools. And don’t hesitate to seek professional help if you hit an unfamiliar snag—quality and safety always come first. Enjoy your new ceiling fan and the satisfaction of a job well done. Next time you walk into a cool, breezy room, you’ll know you made it happen.