Introduction: Why Paint Fails — And Why It Matters
Repainting interior walls is one of the most accessible home improvement projects for homeowners. It promises to transform a space, add personality, and protect your walls. Yet, many homeowners are frustrated to see their hard work unravel: paint begins to peel, bubble, crack, or discolor within months. These paint failures are more than just aesthetic annoyances—they can signal underlying problems and ultimately cost you time and money to fix. Understanding why paint fails and how to prevent it is crucial if you want your efforts to last. In this guide, we’ll dive deep into the causes of interior paint failures, walk through proven prevention strategies, and share best practices for maintaining a flawless finish. Whether you’re planning your first DIY paint job or troubleshooting a recent mishap, this expert guide will help you achieve results you’ll love for years.
The Most Common Types of Interior Paint Failures
Peeling Paint
Peeling paint is characterized by layers of paint lifting away from the wall, often revealing the previous color or bare surface. It’s a telltale sign of poor adhesion and moisture issues.
Bubbling and Blistering
Bubbles or blisters form when paint lifts from the underlying surface, trapping air, water, or solvent beneath. These unsightly defects can ruin the smooth finish you worked hard to achieve.
Cracking and Flaking
Cracks appear as fine lines or deeper splits in the paint film, sometimes causing small flakes to fall off. Over time, cracking worsens, making walls look neglected and inviting further damage.
Discoloration and Staining
Yellowing, dark spots, or streaks can mar newly painted walls. These are often linked to underlying stains, water intrusion, or incompatible paint products.
Chalking
A dusty, powdery residue on painted surfaces indicates chalking. This signals paint breakdown and means the wall will not hold up to cleaning or future paint layers without intervention.
Root Causes of Paint Failures
- Poor Surface Preparation: Painting over dirty, greasy, or glossy surfaces prevents proper adhesion.
- Moisture Problems: Leaks, high humidity, or improper ventilation allow water to get trapped under paint.
- Low-Quality Paint or Primer: Cheap or incorrect products lack durability and bonding strength.
- Incorrect Application: Skipping recoating times, applying too thickly, or using the wrong tools can all lead to failure.
- Temperature and Humidity Extremes: Painting in the wrong conditions can cause bubbles, slow drying, or prevent curing.
- Incompatible Paint Layers: Oil-based paint over latex (or vice versa) can cause peeling and cracking.
Expert Step-by-Step: How to Prevent Paint Failures
Step 1: Diagnose the Room’s Needs
Before you start, assess the room: Is there a history of moisture problems? Are existing walls glossy, stained, or damaged? This will determine your prep and product choices.
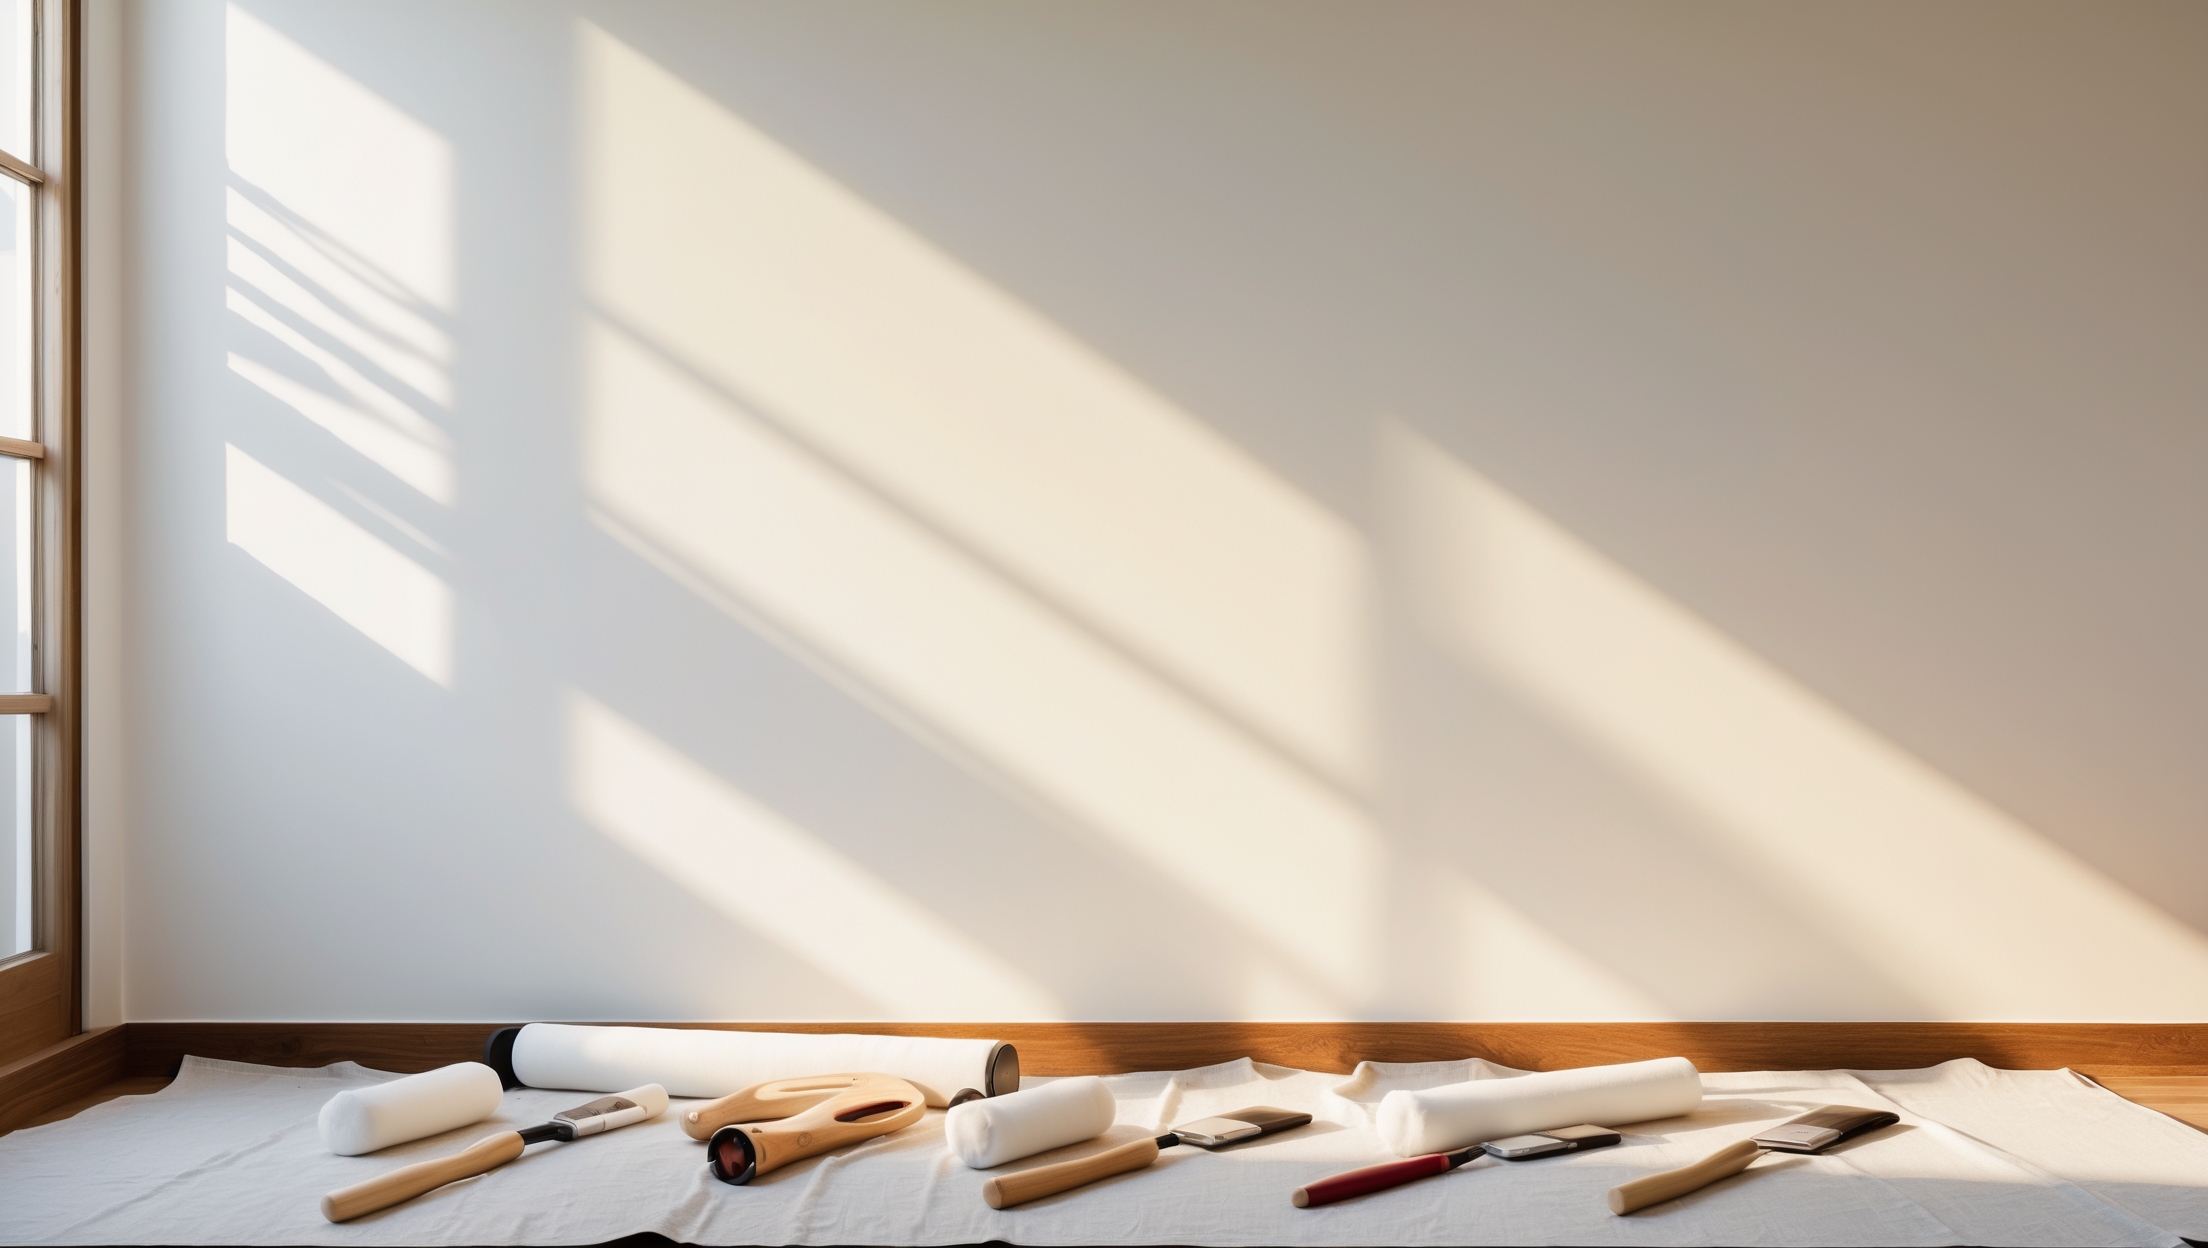
Step 2: Gather the Right Tools and Materials
- Quality paint (matched to your room’s needs: kitchen, bath, living space, etc.)
- Primer (stain-blocking or moisture-resistant if needed)
- Medium and fine-grit sandpaper or sanding sponges
- Putty knife and wall patching compound
- Degreasing cleaner or mild soap
- Painter’s tape and drop cloths
- Paint rollers, angled brushes, paint trays
- Moisture meter (optional but recommended for bathrooms, basements, kitchens)
Step 3: Repair and Prepare the Surface
- Clean Thoroughly: Wash walls with a degreasing cleaner, especially in kitchens and bathrooms.
- Remove Old Paint: Scrape away any loose or peeling paint. Sand rough edges for a smooth transition.
- Patch and Fill: Use patching compound for holes, cracks, or dents. Allow to dry completely and sand smooth.
- Address Stains: For water stains, treat the source first, then use a stain-blocking primer.
- Sand Glossy Surfaces: Lightly sand glossy or previously painted walls to ensure new paint adheres.
- Test for Moisture: In areas prone to dampness, use a moisture meter to confirm the wall is dry (<15% moisture content).
Step 4: Prime Appropriately
Priming is non-negotiable for patched areas, bare drywall, stains, or when switching from oil to latex paint. Choose a primer suited to your wall condition:
- Stain-blocking primer for water marks, smoke, or grease stains
- Moisture-resistant primer for bathrooms, laundry rooms, basements
- Bonding primer for glossy surfaces or drastic color changes
Step 5: Select High-Quality Paint
Invest in a reputable brand with a proven track record. For high-moisture areas, opt for mildew-resistant or kitchen/bath formulas. Choose the right sheen: eggshell or satin for living areas, semi-gloss for kitchens and baths where easy cleaning is essential.
Step 6: Apply Paint Under Optimal Conditions
- Check Temperature and Humidity: Paint when room temperature is 50–85°F (10–29°C) and humidity is below 70%.
- Stir Paint Thoroughly: Ensure color consistency and proper pigment suspension.
- Cut In First: Use an angled brush for edges and corners before rolling main wall areas.
- Use Proper Technique: Apply paint in thin, even coats. Don’t overload the roller or brush.
- Respect Recoat Times: Let each coat dry completely as per manufacturer’s instructions (usually 2–4 hours for latex, 8–24 hours for oil-based paints).
- Ventilate: Open windows or use fans to reduce humidity and speed up curing.
Special Precautions for High-Risk Rooms
Kitchens and Bathrooms
- Use mildew-resistant primers and paints.
- Ensure exhaust fans are functional and used regularly.
- Pay extra attention to wall prep in areas behind sinks, stoves, and showers.
Basements and Laundry Rooms
- Paint only when walls are confirmed dry.
- Seal masonry or concrete with a dedicated sealer before priming.
- Use moisture-resistant paints and primers.
What to Do If You See Early Signs of Paint Failure
- Bubbling: Immediately check for moisture sources. Use a utility knife to slit a bubble and check for dampness. Fix leaks or improve ventilation.
- Peeling: Scrape loose paint, sand, prime, and repaint the affected area. Address root causes (moisture or surface contamination).
- Cracking: Remove cracked sections, fill with compound if needed, sand, prime, and repaint.
- Staining: Identify and eliminate the source. Spot-prime with a stain-blocker before repainting.
Maintenance Best Practices: Keeping Interior Paint Looking Fresh
- Dust walls regularly with a soft, dry cloth or duster.
- For washable paint, clean with mild soap and water. Avoid harsh chemicals that degrade paint films.
- Promptly address leaks or spills to prevent stains and moisture damage.
- Touch up scuffs or chips promptly to prevent peeling edges from spreading.
- Inspect high-moisture rooms seasonally for signs of mold or paint deterioration.
Budget Breakdown: What to Expect
- Quality paint: $30–$60 per gallon
- Primer: $15–$30 per gallon
- Surface prep supplies: $20–$40
- Brushes/rollers/trays: $15–$40
- Misc (tape, drop cloths, sandpaper): $10–$30
For a typical 12×15 ft room, expect a total cost of $120–$250 for a quality DIY job. Skimping on preparation or paint quality can lead to failures that cost more in the long run.
Debunking Myths About Interior Paint Failures
- Myth: “Any primer will do.”
Fact: Specialty primers are crucial for stains, moisture, or drastic color changes. - Myth: “Paint can fix bad walls.”
Fact: Paint highlights surface flaws; proper prep is essential. - Myth: “More coats mean more durability.”
Fact: Proper prep and correct paint type trump extra coats. - Myth: “It’s safe to paint over mold or mildew.”
Fact: Always remediate mold before painting; paint alone won’t prevent recurrence.
Frequently Asked Questions
- How long should interior paint last? High-quality paint, properly applied, should last 5–10 years indoors.
- Can I paint over old paint? Yes, if the old paint is sound, clean, and lightly sanded. Prime when changing paint types or colors drastically.
- Are there paints that can handle high humidity? Yes, look for formulas labeled “bathroom,” “kitchen,” or “mildew-resistant.”
- Why does my new paint smell for days? Poor ventilation or high humidity slows curing. Use fans and open windows to dissipate fumes faster.
Conclusion: Achieving a Professional Finish That Lasts
Paint failures are frustrating, but they’re almost always preventable with the right knowledge and preparation. By understanding the root causes—whether it’s moisture, poor prep, incompatible products, or incorrect application—you can confidently avoid the most common pitfalls. Start with a careful assessment of your space, address any underlying issues, and choose high-quality paints and primers tailored to your needs. Never rush through surface preparation; thorough cleaning, patching, and priming are the invisible steps that ensure your paint stays put and looks flawless for years. Apply paint under the right conditions, using proper techniques and tools, and always respect recommended drying and recoating times. After the job, maintain your painted surfaces with gentle cleaning and prompt attention to small flaws. This investment in time and care pays off: you’ll enjoy beautiful, durable walls that resist peeling, bubbling, and discoloration. With each successful project, your confidence will grow—along with the value and comfort of your home. Remember, a little knowledge goes a long way toward results you’ll be proud to show off and live with every day.


I noticed you mentioned peeling paint as often being tied to moisture issues. How can I tell if my walls have hidden moisture problems before I start repainting, and what can I do if I find any?
To check for hidden moisture, look for signs like bubbling, discoloration, or a musty smell on your walls. You can also use a moisture meter for a more accurate check. If you find moisture, address the source first—repair leaks, improve ventilation, or use a dehumidifier—before preparing and repainting the surface. This helps prevent future peeling or damage.