Introduction: Why Upgrade Your Home Lighting Controls?
Lighting is more than just a way to brighten up a room—it’s a vital element that shapes mood, boosts energy efficiency, and enhances safety throughout your home. While swapping out bulbs is a common first step, upgrading your home’s lighting controls opens up a world of possibilities. With modern dimmers, timers, and smart switches, you can tailor lighting scenes to your lifestyle, reduce energy waste, and even add value to your property. However, many homeowners stick with outdated toggle switches, missing out on features like programmable schedules, remote access, or ambiance customization. If you’re looking to modernize your home, this guide will walk you through everything you need to know about upgrading lighting controls—from planning and budgeting to selecting the right equipment, ensuring compliance, and maintaining your new setup for years of reliable use.
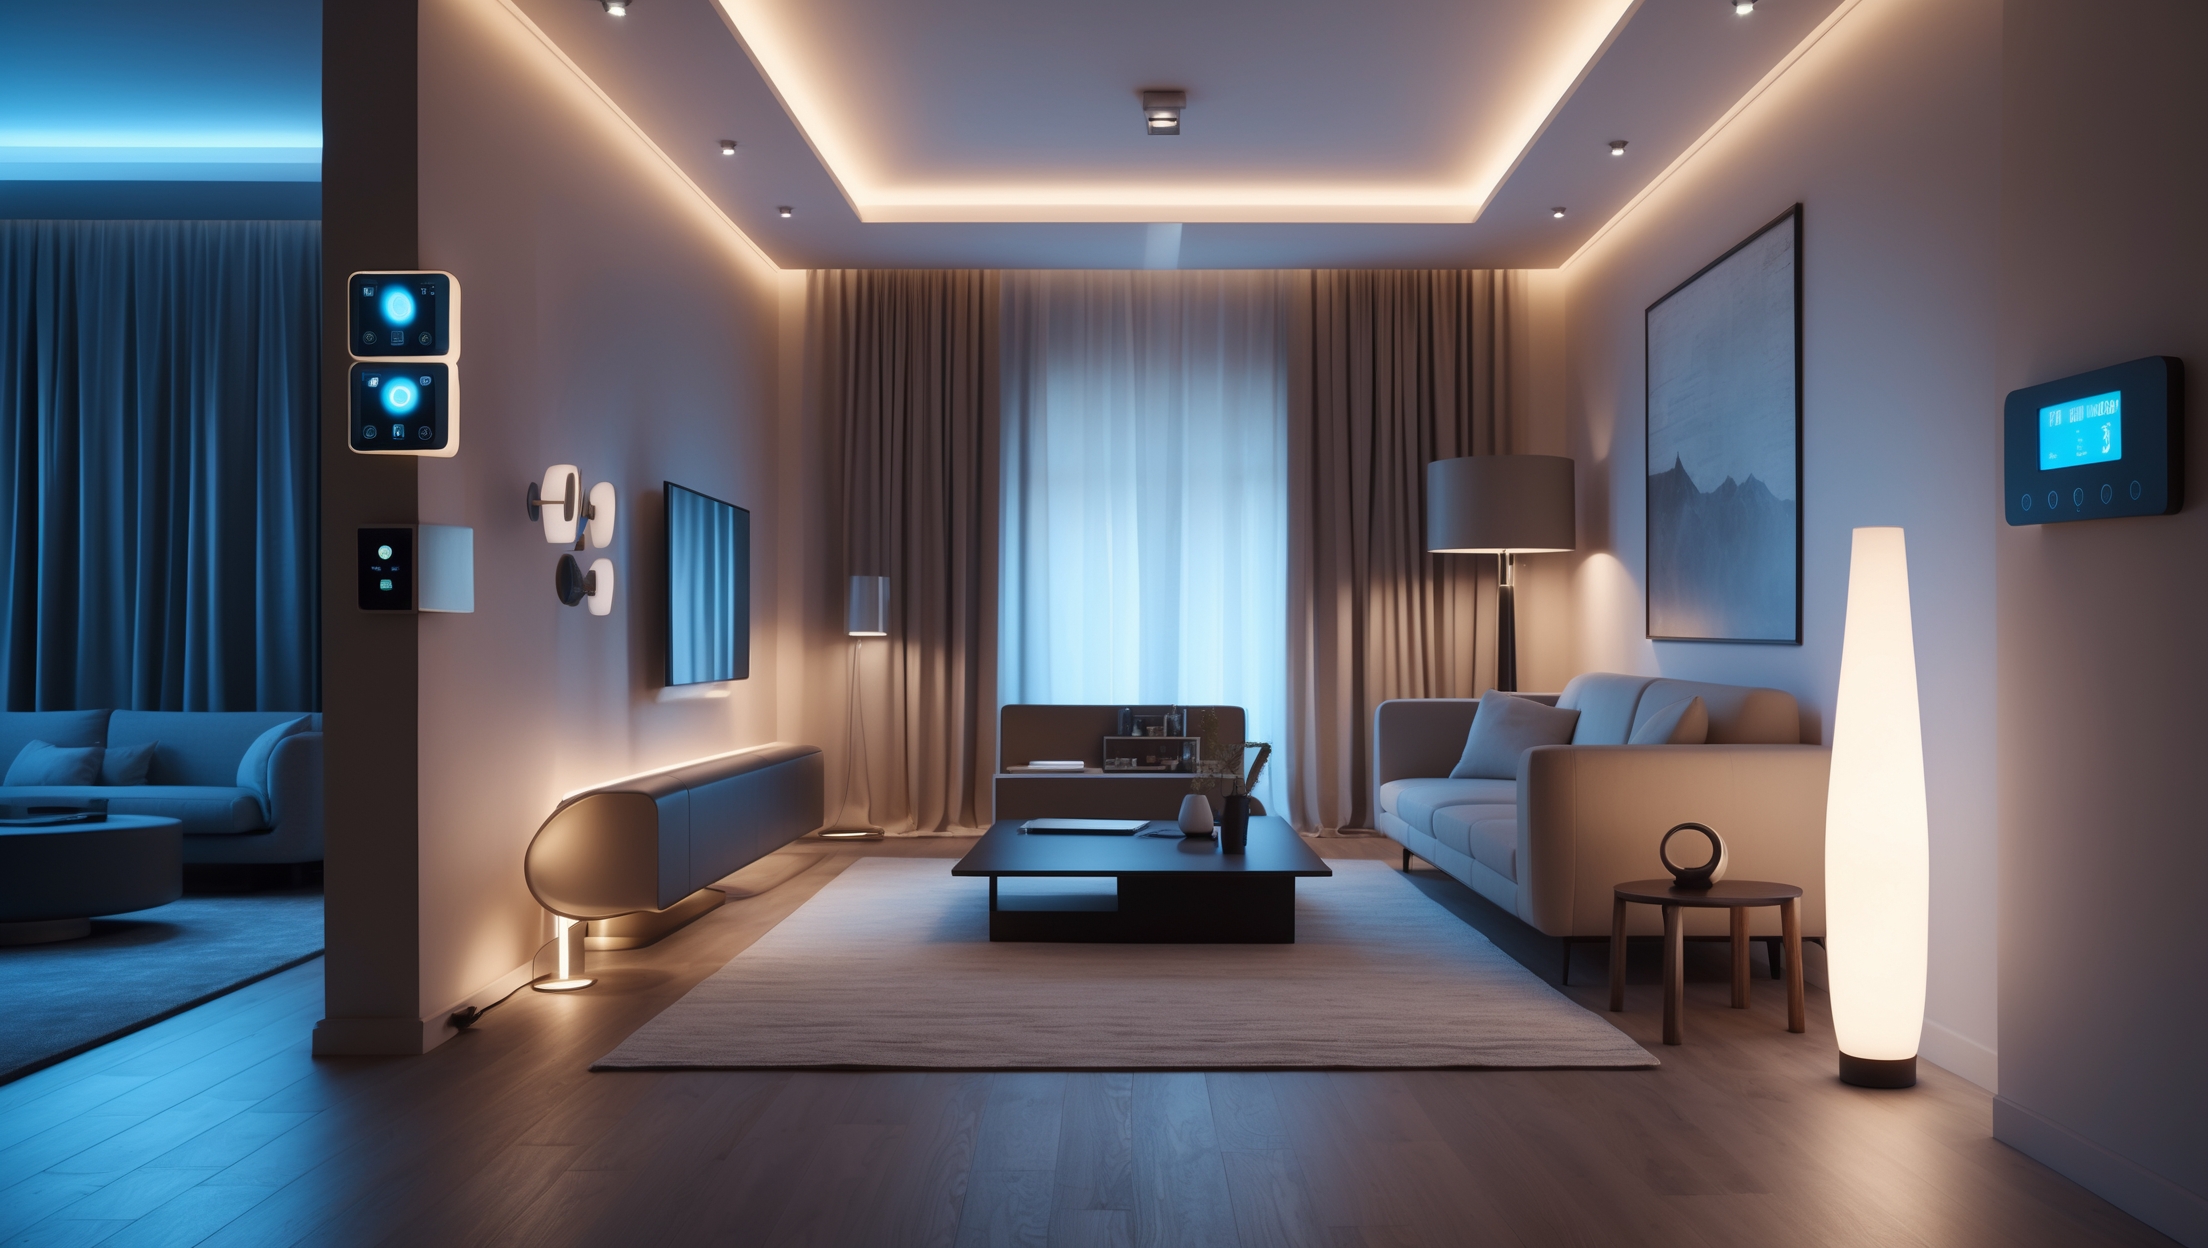
Understanding Lighting Controls: Types and Benefits
Dimmers
Dimmers allow you to adjust the brightness of your lights, providing flexibility and energy savings. They can be simple rotary knobs, sliders, or advanced digital panels. Dimmers are especially useful in living rooms, dining areas, and bedrooms where the right light level sets the mood.
- Benefits: Improved ambiance, reduced energy consumption, longer bulb life, and lower utility bills.
- Compatibility: Ensure your bulbs (especially LEDs) are labeled as dimmable before installation.
Timers
Timers automatically turn lights on or off at set times, making them ideal for outdoor lighting, security, or busy households. They come as mechanical switches, digital plug-in units, or programmable wall controls.
- Benefits: Increased home security, energy efficiency, and convenience. Never forget to turn off the porch light again!
- Types: In-wall timer switches, plug-in timers for lamps, and astronomical timers that adjust with sunrise/sunset.
Smart Switches
Smart switches connect to your home’s Wi-Fi or mesh network, allowing remote operation via smartphone, voice assistant, or automation routines. They often combine dimming and scheduling features with app-based control.
- Benefits: Full control from anywhere, integration with smart home platforms (Alexa, Google Home, Apple HomeKit), advanced automation, and usage analytics.
- Features to look for: Multi-way switch compatibility, user-friendly app, firmware updates, and security protocols.
Budgeting for Lighting Control Upgrades
Typical Costs
Upgrading lighting controls is generally affordable, but costs vary based on the number of switches, features, and whether you DIY or hire a pro. Here’s a breakdown:
- Standard Dimmers: $15–$40 per unit
- Timer Switches: $20–$50 per unit
- Smart Switches: $30–$100+ per unit
- Professional Installation: $60–$150 per switch, depending on complexity and region
- DIY Tools & Materials: $30–$75 (for a basic toolkit, wire nuts, voltage tester, etc.)
Budget Planning Tips
- Inventory all switches you’d like to upgrade. Start with high-traffic areas for the most impact.
- Set aside 10–15% of your budget for unexpected issues, such as outdated wiring or wall repairs.
- Factor in possible smart home hub purchases if you’re going the smart route.
Essential Tools and Equipment Guide
For Safe DIY Installation
- Flathead and Phillips screwdrivers
- Voltage tester or multimeter
- Wire strippers and cutters
- Needle-nose pliers
- Wire nuts or connectors
- Electrical tape
- Flashlight (for working in low light)
- Face mask and safety glasses (if cutting into drywall)
Choosing the Right Controls
When shopping, check:
- Compatibility with your home’s wiring (neutral wire required for many smart switches)
- Maximum wattage rating
- Bulb type compatibility (LED, CFL, incandescent)
- UL or ETL listing for safety
Planning Your Upgrade: Step-by-Step Setup Tutorial
Step 1: Map Out Your Lighting Zones
Identify which rooms or circuits will benefit most. Prioritize areas where lighting flexibility is most valuable—living rooms, bedrooms, kitchens, and outdoor entries.
Step 2: Select Your Controls
Decide on dimmers, timers, or smart switches based on each zone’s needs. Mix and match as appropriate. For example, use a timer for the porch light, dimmers in the dining area, and smart switches in the home office.
Step 3: Check Electrical Compatibility
- Turn off power at the breaker before inspecting existing switch wiring.
- Look for a neutral wire (usually white in the US)—required for most smart switches.
- Check if your switch is single-pole or three-way (controls one light from multiple locations).
Step 4: Gather Tools and Supplies
Assemble all required tools and make sure you have enough wire connectors and matching wall plates.
Step 5: Remove Old Switches Safely
- Shut off power at the breaker. Double-check with a voltage tester.
- Unscrew the old switch plate and gently pull out the switch.
- Take a photo of the wiring for reference.
Step 6: Install New Controls
Follow manufacturer instructions for wiring. Typical steps:
- Connect wires (line, load, ground, and neutral if needed) with wire nuts.
- Secure the switch into the box and attach the wall plate.
- Restore power and test the new controls.
Step 7: Set Up Smart Features (If Applicable)
- Download the manufacturer’s app and follow pairing instructions.
- Integrate with your preferred smart home platform.
- Set schedules, scenes, and automation rules.
Compliance and Permit Considerations
Local Codes
Most lighting control upgrades are considered minor electrical work, but always check your local building codes. Some municipalities require permits for any electrical modification, especially if new wiring or circuits are added.
- In the US, the National Electrical Code (NEC) mandates proper grounding and box fill limits.
- UL-listed and ETL-listed devices ensure safety and compliance.
Homeowner’s Association (HOA) Rules
If you live in an HOA community, verify if exterior lighting changes or visible smart switches are permitted.
When to Hire a Pro
- If your home’s wiring is old or lacks a ground/neutral wire, consult a licensed electrician.
- For three-way switch upgrades, especially with smart controls, professional installation is often advisable.
Maintenance Best Practices for Long-Term Performance
Routine Checks
- Test switches and dimmers monthly for smooth operation.
- Check for warm or buzzing switches, which could indicate a wiring issue.
Cleaning
- Turn off power before cleaning faceplates or switches.
- Use a slightly damp microfiber cloth—never spray cleaner directly onto switches.
Firmware and App Updates
- For smart switches, regularly update firmware via the app to patch security and improve performance.
- Review privacy settings and device permissions as part of your annual home tech audit.
Troubleshooting Common Issues
- Flickering Lights: Ensure bulbs are compatible with dimmers or smart switches.
- Connectivity Drops: Check Wi-Fi signal strength or update device firmware.
- Unresponsive Switches: Test for loose wires, blown fuses, or tripped breakers.
Cost-Saving Tips and Mistakes to Avoid
- Don’t mix incompatible bulbs and dimmers; always check manufacturer recommendations.
- Label wires during removal—this saves headaches later.
- Avoid overloading a single circuit with too many smart switches; check amperage limits.
- Buy in multi-packs to save on per-switch costs.
- Leverage rebates or incentives for energy-efficient upgrades—check your local utility.
Case Study: Transforming a 1980s Living Room With Modern Controls
Sarah, a homeowner in the Midwest, wanted to modernize her home’s main living area. She installed dimmers for adjustable mood lighting, replaced her entryway switch with a timer for security, and added smart switches to control the ceiling fan and accent lights. The total cost, including professional installation for a three-way smart switch, was $420. The result? Lower energy bills, effortless lighting scenes for movie night, and the peace of mind that comes with scheduled exterior lights. Sarah noted that the biggest challenge was ensuring compatibility between her existing wiring and the new smart switches. With an electrician’s help, she navigated the process smoothly and now enjoys a more comfortable, efficient home.
Conclusion: Bringing It All Together
Upgrading your home’s lighting controls is one of the most impactful yet approachable improvements you can make. Whether you opt for simple dimmers, reliable timers, or cutting-edge smart switches, you’ll gain more than just convenience—you’ll unlock energy savings, enhanced security, and the power to shape your home’s ambiance with a tap or a voice command. Planning is key: take the time to inventory your needs, choose compatible equipment, and budget for both tools and professional assistance where needed. Always prioritize safety and compliance, and don’t underestimate the value of routine maintenance to keep your systems running smoothly.
With the right approach, even an older home can feel fresh and modern, supporting your lifestyle while reducing your environmental footprint. So, whether you’re looking to set the perfect mood for a dinner party, ensure your porch is always lit at night, or control your whole house from your smartphone, upgrading your lighting controls is a smart, satisfying project. Start with a single room and see how much of a difference it can make—your home, your comfort, and your energy bills will thank you.


When swapping out old toggle switches for newer dimmers or smart switches, do I have to worry about upgrading my wiring, or will most modern controls work with existing setups in an older US home?
Most modern dimmers and smart switches are designed to fit existing wiring in older US homes, but you should check a few things before installing. Some smart switches require a neutral wire, which isn’t always present in older homes. Dimmer compatibility with your light bulbs (LED, CFL, incandescent) is also important. If your current setup lacks a neutral wire or you have knob-and-tube wiring, you may need a wiring upgrade for certain smart controls.