Introduction: Why Weatherproofing Exterior Doors Matters
Drafty exterior doors are one of the most common sources of energy loss in homes. Whether you live in a region with harsh winters, sweltering summers, or unpredictable shoulder seasons, the integrity of your exterior doors is crucial for maintaining indoor comfort, reducing utility bills, and preventing water or pest intrusion. Weatherproofing isn’t just about stopping cold air; it’s about creating a barrier against moisture, dust, insects, and even noise. Many homeowners underestimate the impact that a properly sealed door can have on their home’s energy efficiency and long-term durability. This guide offers a comprehensive, step-by-step approach to weatherproofing your exterior doors, including a detailed cost breakdown, a list of essential tools and materials, and a practical seasonal maintenance checklist. Whether you’re tackling this as a DIY project or considering professional help, you’ll find actionable advice to ensure your doors remain a strong line of defense against the elements.
Understanding the Components of Door Weatherproofing
Main Vulnerable Areas
- Door Perimeter: Gaps along the sides and top of the door allow air and water infiltration.
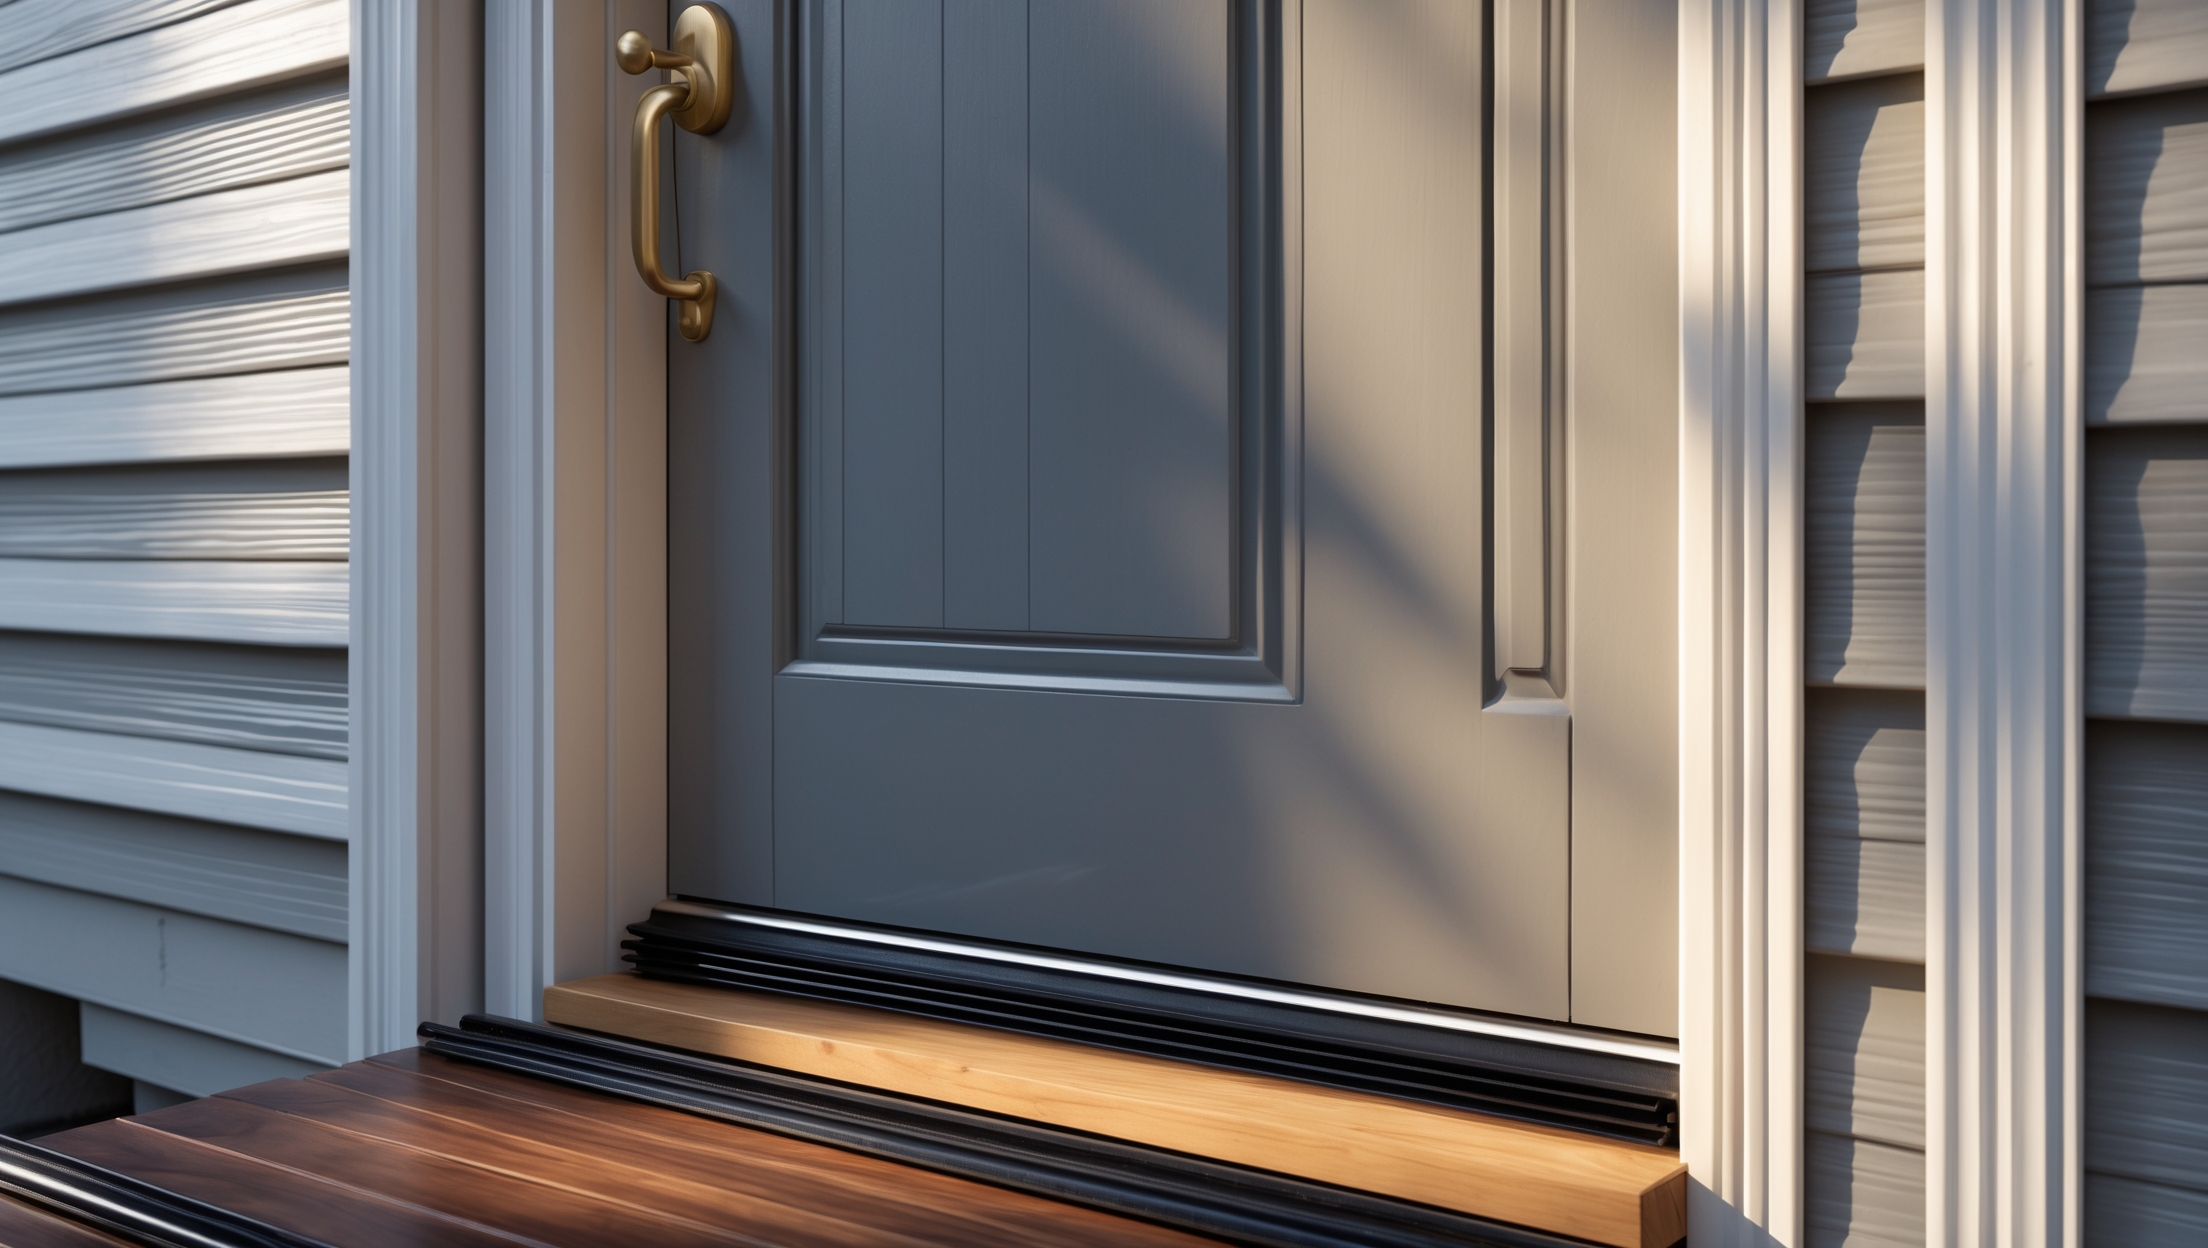
- Door Bottom: The gap between the bottom of the door and threshold is a primary source of drafts.
- Door Jamb and Threshold: Worn or poorly installed thresholds and jambs can allow leaks and pest entry.
Types of Weatherproofing Solutions
- Weatherstripping: Foam, rubber, or vinyl strips applied to the perimeter to seal gaps.
- Door Sweeps: Installed along the bottom edge to block drafts and debris.
- Threshold Upgrades: Replacing or augmenting the threshold for a tighter seal.
- Sealants and Caulk: Used to fill cracks or gaps in door frames and trim.
Cost Breakdown: Planning Your Weatherproofing Project
Material Costs
- Weatherstripping: $10–$25 per door (varies by type and quality)
- Door Sweep: $8–$20 per door
- Threshold Replacement: $20–$60 per door
- Caulk/Sealant: $5–$10 per tube
- Miscellaneous (screws, fasteners): $2–$5
Tool Costs
- Utility Knife: $5–$15
- Caulk Gun: $7–$20
- Drill/Screwdriver: $20–$100 (if not already owned)
- Measuring Tape: $5–$10
- Hammer: $10–$20
- Putty Knife: $5–$10 (for removing old caulk)
Labor Costs (If Hiring a Professional)
- Basic Weatherproofing Service: $60–$150 per door
- Threshold Replacement: $50–$120 per door (labor only)
Total DIY Project Estimate: $30–$120 per door (materials + basic tools, excluding reusable tools you may already own)
Total Professional Installation: $110–$350 per door (materials + labor)
Essential Tools and Materials: What You Need
- Measuring tape
- Utility knife
- Caulk gun and exterior-grade caulk
- Drill or screwdriver
- Hammer and finishing nails
- Putty knife or scraper
- Weatherstripping (choose type: adhesive foam, V-strip, rubber, or vinyl)
- Door sweep (aluminum, vinyl, or brush style)
- Replacement threshold (if required)
- Cleaning supplies (cloth, mild detergent)
- Safety gear (gloves, eye protection)
Step-by-Step Setup: Weatherproofing Your Exterior Door
1. Inspect and Clean the Door Area
- Open and close the door to check for drafts, visible gaps, or daylight showing through edges.
- Clean the door frame, jamb, and threshold with a mild detergent to remove dirt, dust, and debris.
- Remove any old, worn, or loose weatherstripping and caulk using a putty knife.
2. Measure Gaps and Select Materials
- Measure the length of each side (top, hinge side, latch side) and bottom of the door.
- Determine gap sizes:
- Small (up to 1/8″): foam tape or V-strip
- Medium (1/8″–1/4″): rubber or vinyl strips
- Large (over 1/4″): consider door adjustment or threshold replacement
- Choose weatherstripping and sweep appropriate to the gap and door material (wood, metal, fiberglass).
3. Install Weatherstripping
- Cut weatherstripping to measured lengths with a utility knife.
- For adhesive-backed strips, peel off the backing and press firmly onto the doorstop or frame. Start at the top and work down each side.
- For nail-on or screw-on types, pre-drill pilot holes and secure with finishing nails or screws.
- Ensure a continuous, snug seal without compressing the material so tightly that the door becomes hard to close.
4. Install Door Sweep
- Measure and cut the door sweep to match the width of the door.
- Position the sweep flush with the bottom edge, ensuring it just brushes the threshold when closed.
- Mark screw holes, pre-drill if needed, and attach the sweep using the provided screws.
- Test the door—ensure it swings freely and forms a seal without dragging.
5. Replace or Upgrade the Threshold (If Needed)
- Remove old threshold using a screwdriver or pry bar.
- Clean and inspect the area for rot or damage; repair as necessary.
- Dry-fit the new threshold, trim for width as needed.
- Apply a bead of exterior-grade caulk along the subfloor to seal under the new threshold.
- Set threshold in place, fasten with screws, and caulk edges for watertightness.
6. Seal Door Frame and Trim with Caulk
- Apply exterior-grade caulk to any visible gaps between the door frame and wall siding/exterior trim.
- Smooth the bead with a wet finger or caulk tool for a clean finish.
- Allow caulk to cure per manufacturer’s instructions before exposing to moisture.
Seasonal Maintenance Checklist
Spring & Fall Tasks
- Inspect weatherstripping and sweeps for wear, cracks, or compression. Replace as needed.
- Check caulk for gaps or peeling. Touch up or reapply where necessary.
- Clean threshold and bottom of the door to prevent debris buildup that can compromise seals.
- Test door operation—ensure no sticking or scraping.
Summer & Winter Tips
- In summer, check for swelling or warping of wooden doors and adjust weatherstripping if needed.
- In winter, ensure no ice buildup at threshold, which can damage seals and make doors hard to open.
Common Mistakes to Avoid
- Choosing the Wrong Weatherstripping: Incompatible materials can fail quickly or make doors hard to close.
- Poor Surface Preparation: Applying new materials over dirt or old adhesive reduces lifespan and effectiveness.
- Over-Tightening Screws: Compressing weatherstripping too tightly can damage it and impair door function.
- Ignoring Threshold Condition: A worn threshold undermines all other efforts; replace if damaged.
- Skipping Regular Maintenance: Even quality materials degrade over time and need periodic replacement.
When to Call a Professional
- Doors with significant rot or structural damage.
- Complex threshold replacements, especially on older homes with non-standard frames.
- Persistent leaks or drafts after DIY efforts.
A professional can also recommend upgrades like multi-point locking systems or storm doors for homes in extreme climates.
Compliance and Insurance Considerations
While basic weatherproofing typically does not require permits, replacing structural components or exterior doors might, depending on local codes. Always check with your city or county building department before making significant changes. Properly weatherproofed doors can reduce the risk of water damage and pest intrusion, which may positively impact your homeowner’s insurance risk profile. Document upgrades with receipts and photos for your records.
Conclusion: Long-Term Benefits of Weatherproofing Exterior Doors
Investing time and care in weatherproofing your exterior doors pays tangible dividends year after year. Not only will you notice improved comfort and fewer cold drafts or hot spots, but your HVAC system will operate more efficiently, often translating to lower utility bills. Effective weatherproofing also prevents moisture intrusion, which can lead to costly repairs down the road and helps keep out unwanted pests. By following this guide—planning your budget, gathering the right tools, and performing seasonal maintenance—you can extend the life of your doors, protect your home’s envelope, and maintain a pleasant indoor environment regardless of the weather outside. Even if you choose to hire out for more complex repairs, understanding the process empowers you to make informed decisions and spot quality workmanship. Weatherproofing is a manageable, high-impact upgrade within reach of most homeowners, and the peace of mind it delivers is well worth the effort.