
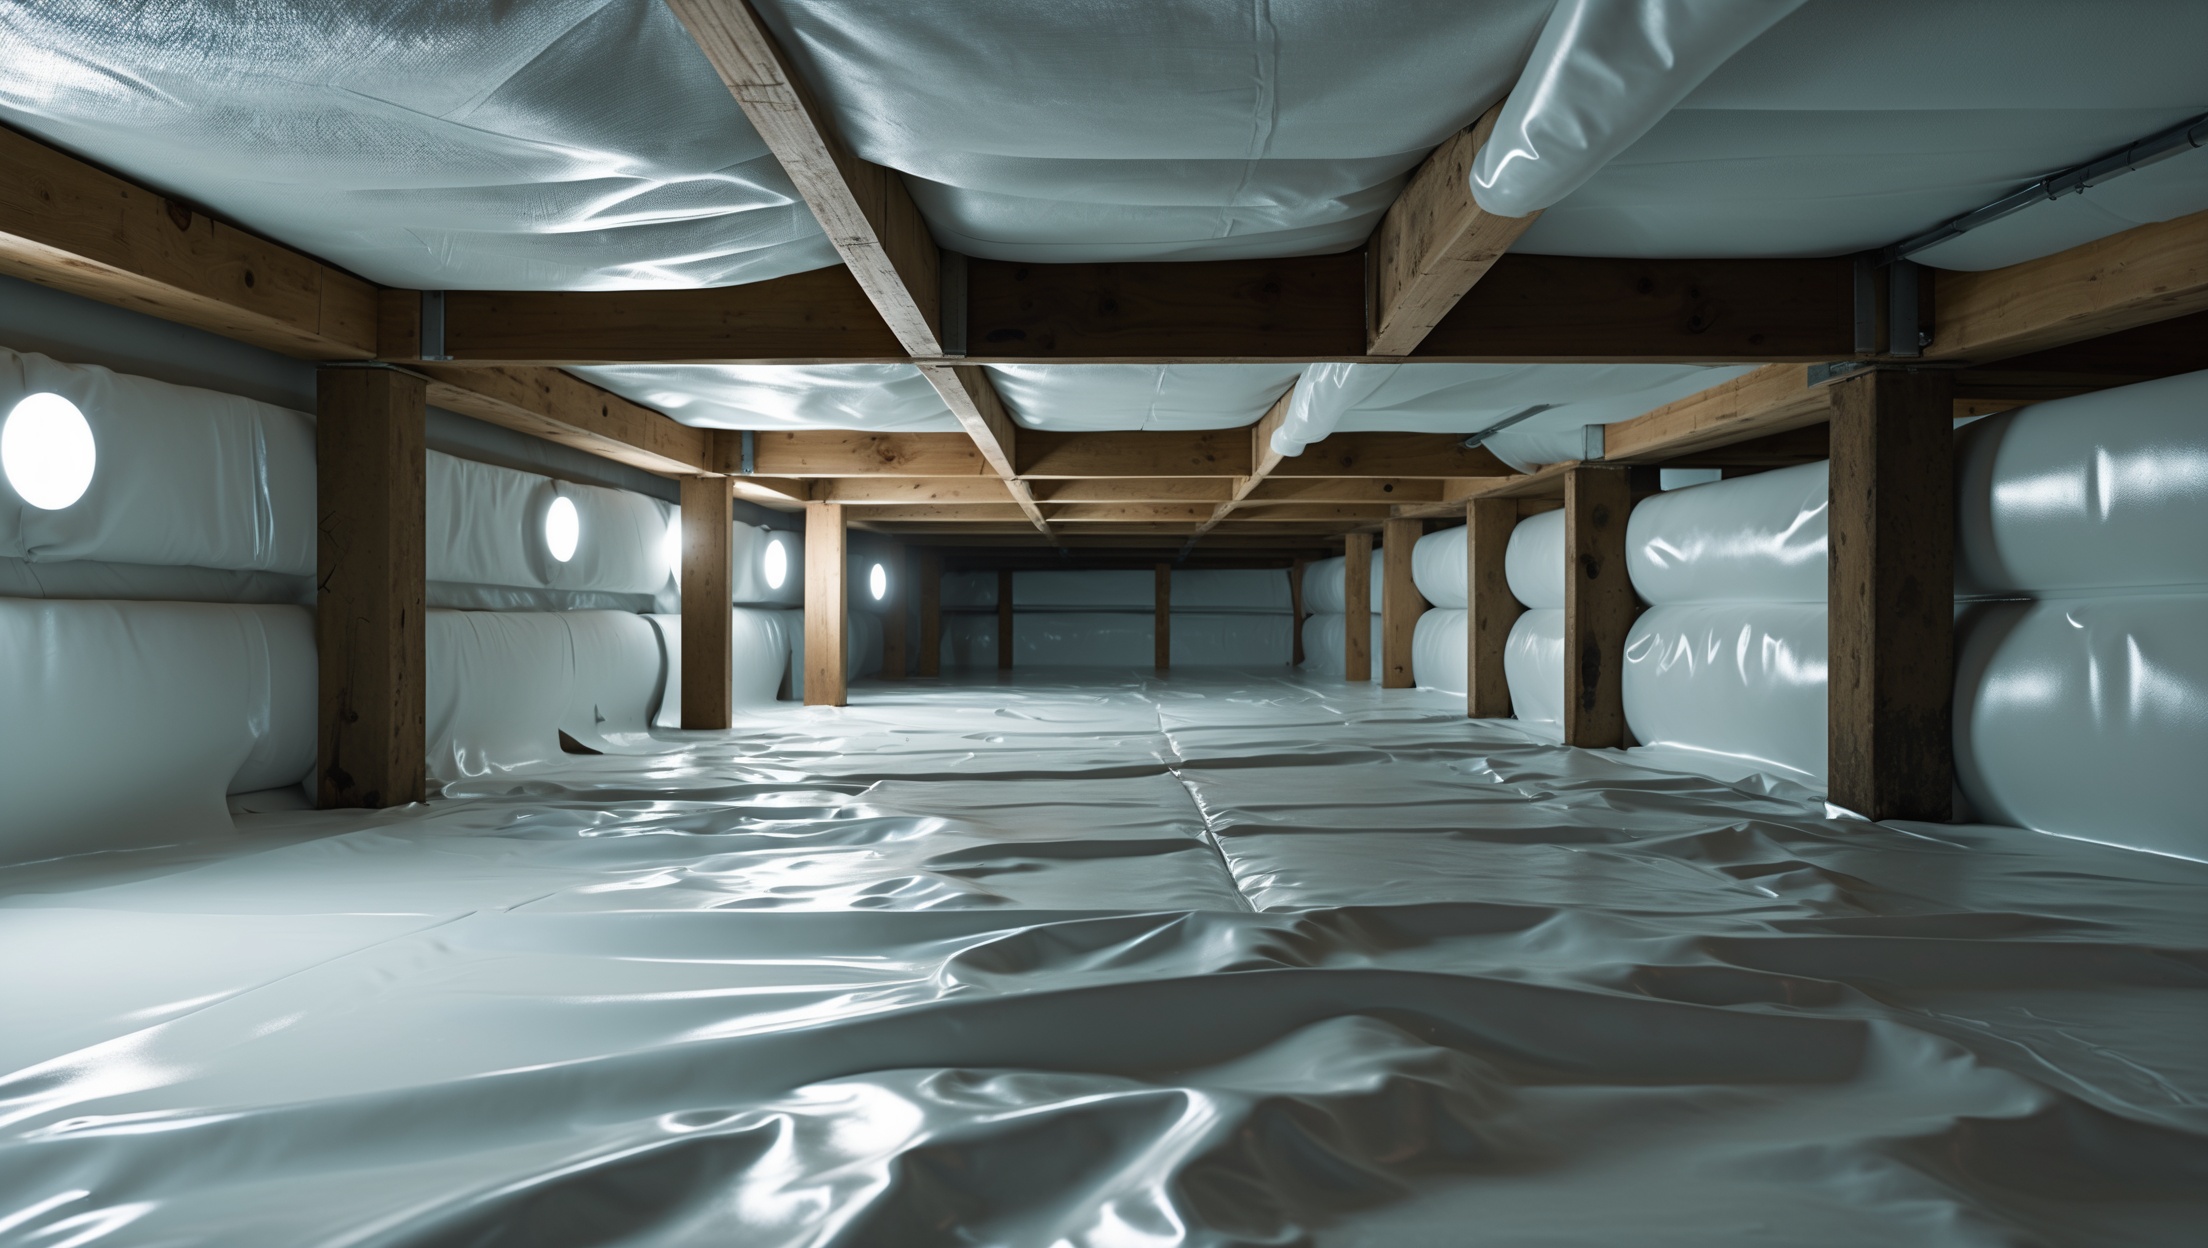
Introduction: Why a Crawl Space Vapor Barrier Matters
Most homeowners rarely think about what’s lurking beneath their floors, but the crawl space is a critical part of your home’s ecosystem. Without proper protection, crawl spaces can become a breeding ground for moisture, mold, pests, and structural decay. One of the most effective ways to safeguard this area is by installing a vapor barrier—a heavy-duty plastic or foil sheeting that prevents moisture from seeping into your home from the soil below. This upgrade not only protects your foundation and air quality but also boosts energy efficiency and home value. However, vapor barrier installation isn’t as simple as rolling out plastic; it involves careful planning, proper materials, cost considerations, code compliance, and ongoing maintenance. In this comprehensive guide, we’ll walk you through every aspect of crawl space vapor barrier installation so you can make informed decisions, avoid costly mistakes, and ensure your home remains dry, safe, and healthy for years to come.
Understanding Crawl Space Vapor Barriers
What Is a Vapor Barrier?
A vapor barrier is a thick, impermeable material (usually polyethylene plastic, 6–20 mil thick) laid across the floor and sometimes up the walls of a crawl space. It acts as a shield, blocking ground moisture from evaporating into the crawl space, which can otherwise lead to condensation, wood rot, and mold growth.
Benefits of Installing a Vapor Barrier
- Moisture Control: Reduces humidity levels, preventing mold and mildew.
- Structural Protection: Slows wood rot and corrosion of metal joists.
- Pest Deterrence: Discourages insects and rodents attracted to damp environments.
- Energy Efficiency: Enhances insulation performance and reduces heating/cooling costs.
- Improved Air Quality: Minimizes allergens and musty odors entering living spaces.
Cost Breakdown: Budgeting for Vapor Barrier Installation
Material Costs
- Vapor Barrier Sheeting: $0.15–$0.50 per square foot depending on thickness (6, 10, 12, or 20 mil).
- Tape and Sealants: $20–$50 per roll or tube for sealing seams and edges.
- Fasteners and Anchors: $15–$40 for plastic or metal pins to secure sheeting to walls.
- Optional Drainage Mat: $0.50–$1.50 per square foot for added protection in very wet areas.
Example: For a 1,200 sq. ft. crawl space, expect material costs between $200 and $800, depending on the thickness and quality of materials chosen.
Labor Costs
- DIY: No labor fees, but requires time, effort, and attention to detail. Budget for tool rental if needed (e.g., utility knives, staplers, protective gear).
- Professional Installation: $1,500–$3,500 for average-size crawl spaces. Includes labor, materials, and warranty. Prices rise for difficult access or additional repairs (e.g., mold remediation, drainage work).
Hidden and Optional Costs
- Mold Remediation: $500–$3,000 if existing mold must be removed before installation.
- Insulation: Upgrading or replacing insulation may cost $1–$3 per square foot.
- Sump Pump or Drainage System: $800–$2,500 if persistent water intrusion is present.
- Pest Control: $100–$300 if pests are an issue before sealing the space.
Cost-Saving Tips
- Compare prices for vapor barrier thickness—thicker isn’t always better for every home, but avoid the cheapest, flimsy options.
- Buy materials in bulk if covering a large area.
- Handle light prep work (cleaning, minor debris removal) yourself before hiring a contractor.
Regulatory Compliance and Permits
Local Building Codes
Building codes vary by region, but most require crawl spaces to have some form of moisture control. Check with your local building department to determine:
- Minimum required vapor barrier thickness (often 6–10 mils).
- Required coverage (floor only, or floor plus walls).
- Seam sealing standards and attachment methods.
- Fire safety requirements, especially in homes with gas appliances.
Do You Need a Permit?
In many areas, installing or replacing a vapor barrier does not require a permit if it’s a straightforward job. However, if the project involves significant structural repairs, electrical modifications, or changes to the home’s ventilation, a permit may be needed. Always check before beginning work to avoid fines or future issues when selling your home.
Inspection Requirements
Some municipalities require a post-installation inspection to verify compliance. Keep all receipts, product documentation, and before/after photos to facilitate the inspection process.
Step-by-Step Tutorial: Installing a Vapor Barrier
Step 1: Preparation
- Inspect: Check for water leaks, standing water, or signs of mold. Address these issues before proceeding.
- Clean: Remove debris, sharp rocks, and old insulation. Sweep the area for smooth installation.
- Dry: Ensure the crawl space is as dry as possible. Use fans or dehumidifiers if needed.
- Measure: Accurately measure floor and wall dimensions to estimate material needs.
Step 2: Choosing Materials
- Select polyethylene sheeting rated for crawl spaces, at least 6 mil thick (10–20 mil is better for long-term durability).
- Opt for reinforced vapor barrier if you expect occasional foot traffic.
- Purchase compatible tape, sealant, and fasteners recommended by the barrier manufacturer.
Step 3: Floor Coverage
- Start at one end, unroll the vapor barrier, and lay it flat over the soil. Overlap seams by at least 12 inches.
- Use double-sided butyl tape or specialized seam tape to seal overlaps.
- Extend the barrier up piers at least 6 inches, taping securely.
Step 4: Wall Coverage
- Extend vapor barrier up the foundation walls (typically 6–12 inches, or as required by code).
- Fasten the barrier to the wall with masonry anchors, mechanical fasteners, or strong construction adhesive.
- Seal all edges and penetrations (pipes, wires) with tape or compatible sealant.
Step 5: Final Sealing and Inspection
- Double-check for gaps, loose edges, or unsealed seams.
- Inspect around access doors, vents, and pipes—seal thoroughly.
- Take photos for your records and to show compliance if needed.
Common Pitfalls and How to Avoid Them
Poor Preparation
Failing to address standing water or existing mold will undermine your vapor barrier’s effectiveness. Always fix moisture problems first.
Using Thin or Non-Rated Plastic
Cheap, thin plastic breaks down quickly and doesn’t provide adequate protection. Use material specifically rated for crawl space use, with UV and puncture resistance if possible.
Improper Sealing
Unsealed seams or edges let moisture through. Use high-quality tape and double-check all overlaps and wall attachments.
Skipping Wall Coverage
Floor-only coverage leaves walls exposed to moisture migration. Extending the barrier up the walls enhances protection.
Maintenance Best Practices
Annual Inspections
- Check all seams, edges, and wall attachments for signs of lifting, tears, or mold.
- Look for evidence of new leaks, standing water, or pest intrusion.
- Photograph problem areas to monitor changes over time.
Prompt Repairs
- Patch small tears with compatible tape or barrier patches.
- Replace sections of damaged barrier, overlapping and sealing new pieces carefully.
Humidity Control
- Consider adding a crawl space dehumidifier if humidity remains high after installation.
- Monitor with a hygrometer and keep levels below 60% to prevent mold.
Pest Prevention
- Seal all entry points and monitor for signs of rodents or insects.
- Reinforce the vapor barrier at vulnerable areas near vents or access doors.
When to Call a Professional
Some crawl space situations require professional help, including:
- Persistent standing water or severe drainage issues.
- Extensive mold contamination.
- Structural repairs needed before installation (e.g., joist rot).
- Limited access or confined spaces where safety is a concern.
Reputable professionals can also offer warranties on materials and labor, which may be valuable for long-term peace of mind.
Conclusion: Protecting Your Home from the Ground Up
Installing a vapor barrier in your crawl space is one of the smartest investments you can make in your home’s health and longevity. While it might seem like a hidden upgrade, its benefits ripple through every level of your house—from preventing costly structural repairs and mold remediation to improving indoor air quality and energy savings. By understanding the costs involved, complying with local codes, and following best practices for installation and maintenance, you ensure the job is done right the first time. Don’t overlook the importance of annual inspections and prompt repairs; a well-maintained vapor barrier can last for decades and deliver ongoing protection. Whether you choose to tackle the project yourself or hire a professional, the key is thorough preparation, attention to detail, and a commitment to keeping moisture and pests at bay. Remember, a dry, clean crawl space is the foundation for a healthier, more comfortable home. Take action today, and enjoy the peace of mind that comes with knowing your home is protected from the ground up.