Introduction: Why Budgeting Matters for Custom Closet Systems
Transforming a cluttered closet into a beautifully organized, functional space is a dream for many homeowners. A custom closet system can maximize storage, streamline daily routines, and even add value to your home. However, the path from inspiration to installation is full of financial decisions—whether you’re considering a do-it-yourself (DIY) approach or hiring a professional. Without a clear understanding of costs, it’s easy to blow past your budget or compromise on features you really want. This comprehensive guide unpacks the real costs of custom closet systems, explores the factors driving those expenses, and provides actionable budgeting strategies for both DIYers and those opting for professional installation. By the end, you’ll know exactly what to expect financially and how to make smart decisions at every step.
Understanding the Types of Custom Closet Systems
1. Pre-fabricated Modular Systems
Pre-fabricated or modular closet systems are available at big-box retailers and online. These systems include standardized components—shelves, rods, drawers—that can be arranged in various configurations. They’re often designed for DIY installation, and their costs are typically lower than fully custom solutions.
2. Semi-custom Closet Systems
Semi-custom options blend modular components with some customization, such as specialty finishes, hardware, or unique dimensions. These are often available through specialty closet retailers and may offer professional installation.
3. Fully Custom Closet Systems
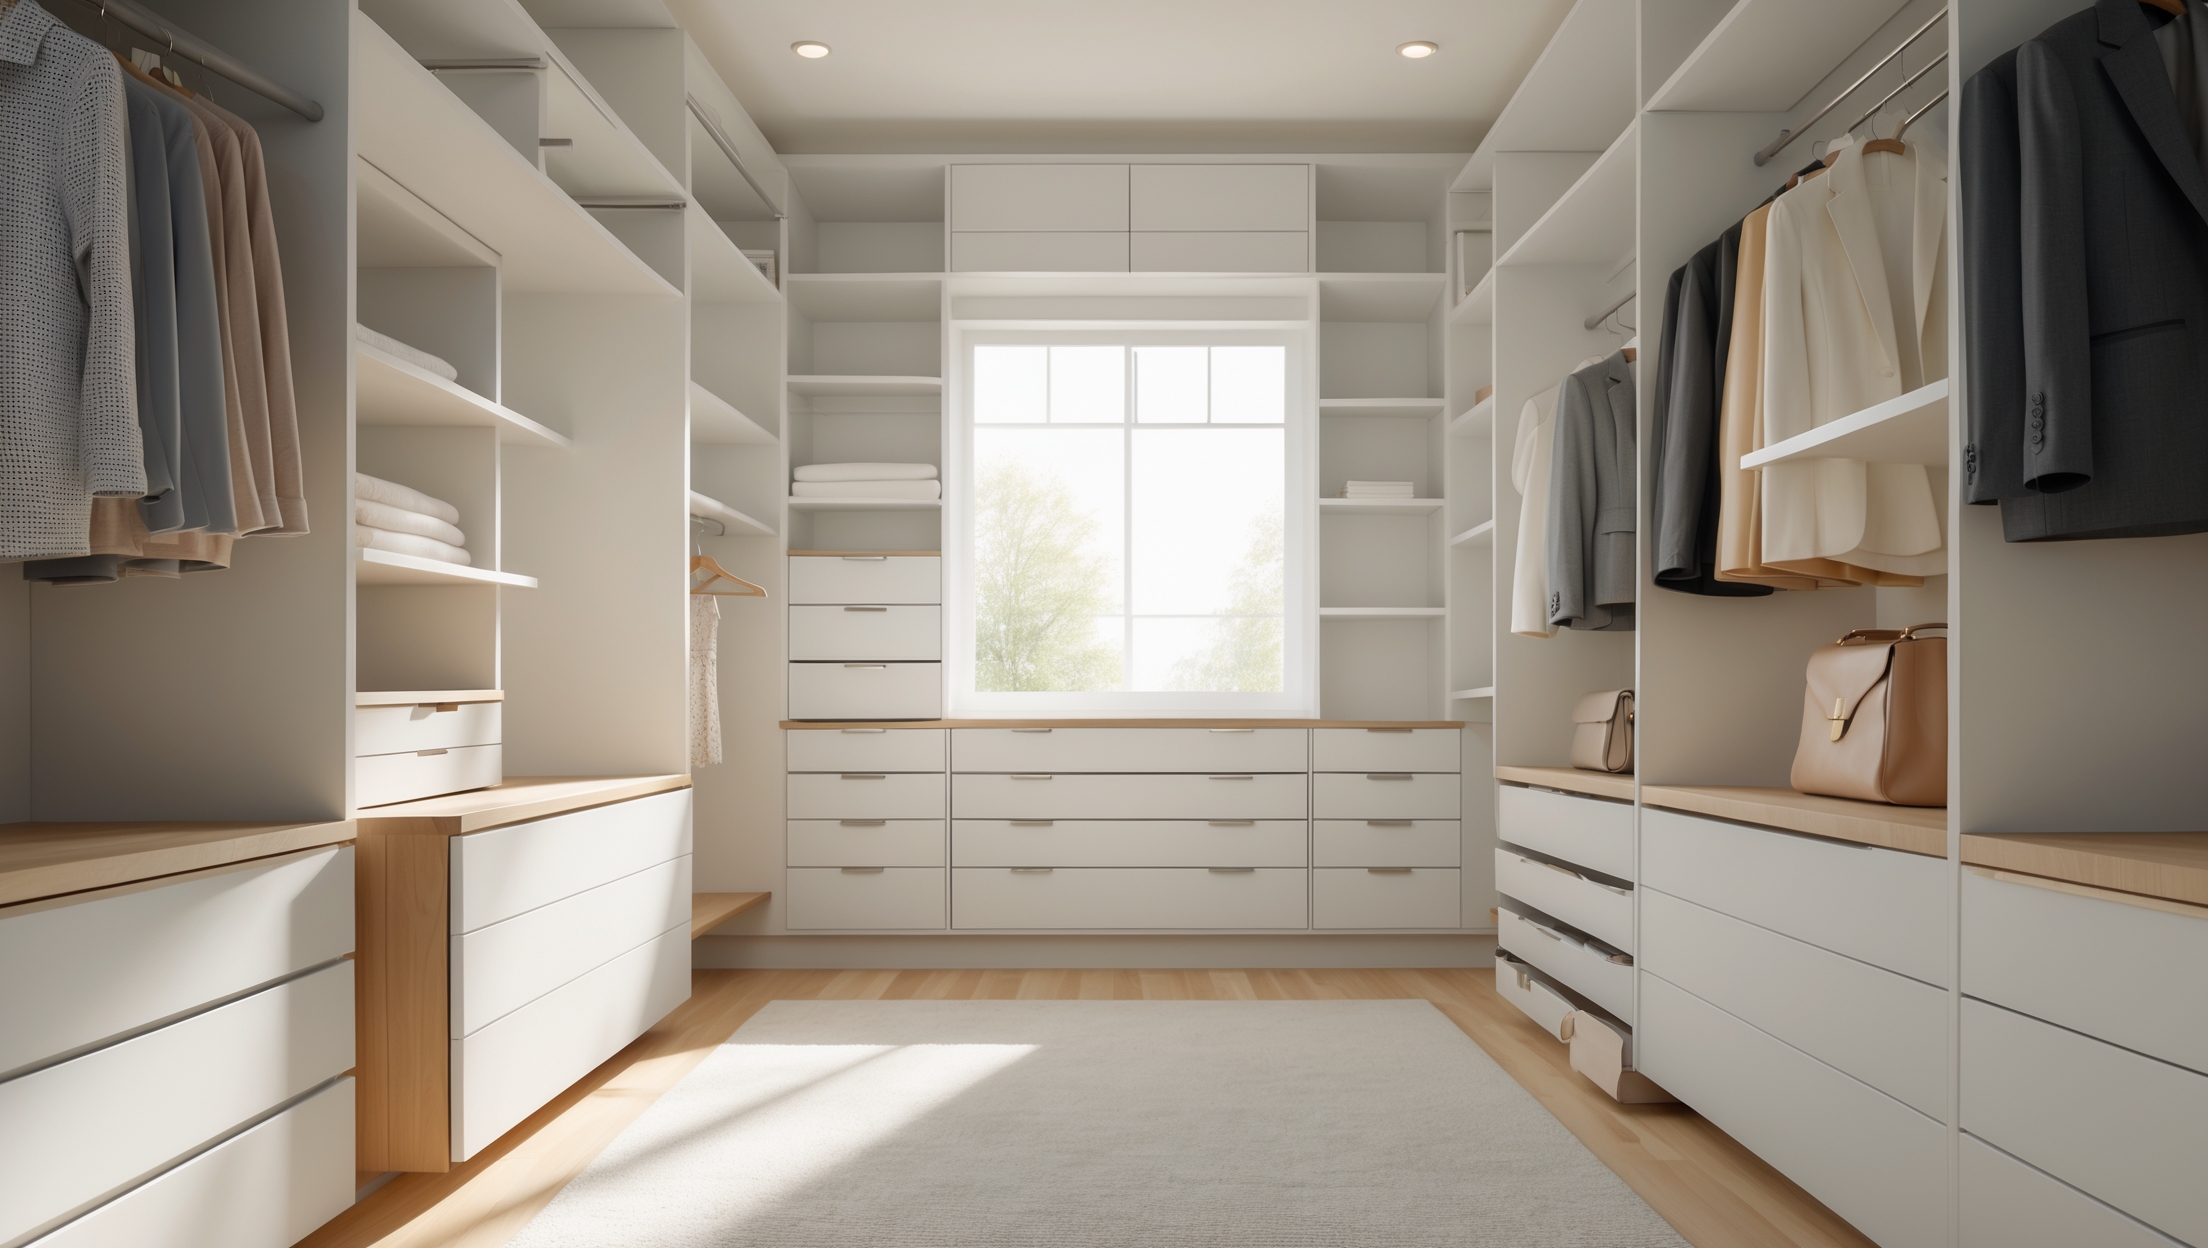
These are designed and built to your exact specifications, maximizing every inch of space. Professional designers assess your storage needs, create custom plans, and oversee fabrication and installation. This is the most expensive route but yields the highest degree of personalization and quality.
Cost Breakdown: DIY vs. Professional Installation
DIY Pre-fabricated Systems: What to Expect
- Materials: $300–$1,200 for reach-in closets (4–8 ft), $1,000–$3,000 for walk-in closets (8–12+ ft). Costs depend on size, materials (MDF, laminate, wood), and features (drawers, baskets, shoe racks).
- Basic Tools: $75–$250 for a quality drill, stud finder, level, saw (if cutting is required), and hardware.
- Accessories: $50–$300 for bins, specialty hangers, jewelry organizers, and lighting.
- Fasteners & Miscellaneous: $25–$75 for anchors, screws, wall repair supplies.
- Total DIY Cost Range: $450–$3,625
Professional Installation: What’s Included?
- Design Consultation: $100–$300 (sometimes applied toward purchase if you proceed).
- System Materials: $1,500–$6,000+ depending on size, materials (melamine, wood veneer, solid wood), and custom elements.
- Labor/Installation: $500–$2,500 for most installations; complex builds or luxury finishes can go higher.
- Accessories/Upgrades: $250–$1,500 for soft-close drawers, lighting, pull-out features, and hardware upgrades.
- Total Professional Cost Range: $2,350–$10,300+
Hidden and Overlooked Costs to Consider
- Demolition and Disposal: Removing old shelving and patching walls can add $100–$400.
- Painting or Wall Repairs: Post-demo repairs or color updates: $50–$300 for materials, $200–$800 if hiring a pro.
- Electrical Work: Adding outlets or lighting: $100–$500, depending on complexity.
- Permit Fees: Rarely needed for closet interiors, but required if walls or electrical are moved—$50–$200.
- Delivery Fees: Large or custom orders may have shipping/delivery charges, typically $50–$200.
- Project Management/Design Fees: Some high-end providers charge separate design or project management fees.
Price by Closet Type and Size
| Closet Type | DIY Range | Pro-Installed Range |
|---|---|---|
| Small Reach-In (4–6 ft) | $300–$800 | $1,500–$3,000 |
| Medium Walk-In (8–10 ft) | $1,000–$2,500 | $3,000–$7,000 |
| Large Walk-In (12+ ft or luxury materials) | $2,000–$3,500 | $7,000–$15,000+ |
Key Factors Influencing Costs
- Material Quality: Melamine and MDF are budget-friendly; solid wood and custom veneers drive up costs.
- Hardware and Accessories: Soft-close glides, specialty racks, and integrated lighting add cost.
- Complexity: Corner units, islands, floor-to-ceiling shelving, and curved elements require more time and expertise.
- Brand and Retailer: Big-box kits are cheaper than boutique closet companies with in-house fabrication.
- Location: Urban labor and material costs often run higher than in suburban or rural areas.
Budgeting Strategies for Your Closet Project
1. Define Your Must-Haves vs. Nice-to-Haves
List your non-negotiables (e.g., double hanging rods, shoe shelves) and features you’d like if budget permits (e.g., velvet-lined jewelry drawers, integrated lighting). This helps prioritize spending.
2. Get Multiple Quotes
For professional installs, obtain at least three quotes. Review each proposal for included features, materials, and warranty details to compare apples to apples.
3. Plan for Overages
Set aside an extra 10–20% of your budget for unexpected expenses—like wall repairs, design tweaks, or last-minute accessory upgrades.
4. DIY Where It Makes Sense
If you’re handy, consider a hybrid approach: Install modular systems yourself, and hire a pro for tricky electrical or carpentry elements.
5. Take Advantage of Sales and Promotions
Many closet companies offer seasonal discounts, package deals, or free design consultations. Time your project to take advantage of these savings.
DIY vs. Professional: Decision Factors
- Skill Level: Simple reach-in systems are manageable for most DIYers. Large walk-ins with custom carpentry or electrical work are best left to pros.
- Timeline: DIY projects can take a weekend or several; professional installations are often completed in a day or two.
- Warranty: Professional installations often come with multi-year warranties—valuable for peace of mind.
- Customization: If you want every inch tailored, pro design and installation yield the best results.
Sample Budgets: Three Real-World Scenarios
Scenario 1: DIY Small Reach-In Closet
- Pre-fab modular kit: $400
- Accessories (bins, baskets): $75
- Basic tools (drill, level, stud finder): $120
- Paint and patch: $60
- Total: $655
Scenario 2: Professional Medium Walk-In
- Design consultation: $150
- Materials (melamine, chrome hardware): $2,500
- Installation: $1,200
- Upgrades (integrated lighting, tie rack): $350
- Total: $4,200
Scenario 3: High-End Custom Walk-In (Professional)
- Design/project management: $350
- Premium materials (wood veneer): $4,500
- Custom hardware and accessories: $1,200
- Electrical (integrated lighting, outlets): $600
- Installation: $2,500
- Total: $9,150
Tips to Maximize Value and Minimize Unnecessary Costs
- Use adjustable shelving for future flexibility.
- Opt for wall-mounted systems to save on floor materials.
- Repurpose existing components if in good condition.
- Install LED strip lighting instead of hardwired fixtures for cost savings.
- Focus on maximizing vertical space rather than adding costly built-in islands.
When to Splurge—and When to Save
- Splurge on: Soft-close hardware, quality drawer slides, and sturdy shelving—these get daily use and impact longevity.
- Save on: Decorative bins, baskets, and non-structural accessories—update these later as budget allows.
Maintenance and Long-Term Considerations
Quality closet systems require minimal maintenance, but a few practices can extend their life. Wipe surfaces regularly, tighten hardware once a year, and avoid overloading shelves beyond their rated capacity. For systems with integrated lighting, check fixtures and replace bulbs as needed. If you notice sagging shelves or sticking drawers, address these early to prevent bigger issues.
Conclusion: Planning for Success with Custom Closet Systems
Upgrading your closet is one of the most satisfying home improvement projects, delivering daily convenience and boosting your home’s appeal. But achieving a dream closet without financial headaches requires a clear-eyed look at the real costs—both obvious and hidden. Whether you’re installing a modular system yourself or investing in a fully custom walk-in with professional help, understanding the cost breakdown allows you to prioritize features, avoid budget overruns, and make informed choices. Start with a well-defined wish list, gather multiple quotes, and build in contingency funds for those inevitable surprises. Remember, smart budgeting isn’t about spending less—it’s about spending wisely, so you get the storage and style you want without regret. With careful planning and the tips above, you can transform your space efficiently and cost-effectively, enjoying organized living for years to come.


When considering a semi-custom closet system, how does the cost of specialty finishes or unique dimensions usually compare to the base modular options? Are there certain upgrades that tend to cause the biggest jump in price?
Specialty finishes and unique dimensions in semi-custom closet systems typically raise the price by 20% to 40% over standard modular options. Custom colors, premium woods, and specialty hardware are among the options that can significantly increase costs. The biggest jumps in price usually come from high-end finishes, custom sizing for non-standard spaces, and add-ons like integrated lighting or glass doors.
Do you have any advice on common hidden costs that come up during DIY installations, such as unexpected hardware or tools not included with the pre-fabricated kits?
When doing a DIY closet installation, it’s common to encounter hidden costs like extra screws, wall anchors, or brackets that aren’t included in the kit. You might also need tools such as a stud finder, level, or power drill if you don’t already own them. Sometimes, you’ll need to buy additional trim or finishing materials to get a polished look. It’s wise to review the kit contents and instructions ahead of time so you can budget for these possible extras.
I’m curious about how much time the average professional installation takes compared to a DIY project. Do fully custom projects usually get done faster, or does all the personalization slow down the process?
Professional installation for custom closet systems typically takes one to two days, depending on the size and complexity. In contrast, DIY projects can stretch over several days or even weekends, especially if you’re new to the process. Fully custom projects might take a bit longer to install because of the personalized touches and extra attention to detail, but professionals usually complete them faster than a DIY approach.