
Introduction
Upgrading your home insulation is one of the smartest investments you can make as a homeowner. Effective insulation not only keeps your living spaces comfortable throughout the year, but also significantly reduces your heating and cooling bills. However, many DIYers and even seasoned homeowners underestimate the complexity of insulation projects. Rushing in without a clear plan, proper budgeting, or the right tools can lead to avoidable mistakes that diminish savings and sometimes require costly rework. This comprehensive guide will walk you through the critical aspects of a successful home insulation upgrade—highlighting common pitfalls, budgeting strategies, essential tools, and step-by-step best practices. Whether you’re insulating an attic, crawl space, or walls, follow these expert insights to ensure your project delivers lasting comfort, efficiency, and value.
Understanding Home Insulation: Types and Benefits
Why Insulation Matters
Insulation acts as a barrier to heat flow, helping to maintain your home’s desired temperature with less energy use. Proper insulation reduces heat loss in winter and keeps unwanted heat out in summer, leading to lower energy costs, reduced environmental impact, and improved indoor comfort.
Main Types of Insulation
- Fiberglass Batts: Affordable and widely available, suitable for attics and walls.
- Blown-in Cellulose: Excellent for filling irregular spaces and retrofits.
- Spray Foam: High R-value per inch, seals gaps, but more expensive and best handled by professionals.
- Rigid Foam Boards: Ideal for basements and exterior sheathing.
- Mineral Wool: Fire-resistant and sound-dampening, good for walls and floors.
Beginner Mistakes to Avoid When Upgrading Insulation
Skipping an Energy Audit
One of the most common mistakes is bypassing an energy audit before starting an insulation upgrade. An audit identifies where your home loses the most energy and prioritizes areas for insulation. Skipping this step often leads to wasted effort and resources.
Underestimating the Scope and Budget
Many homeowners start with an unrealistic budget, failing to account for material waste, tool rental, or unforeseen repairs (like water damage or pest issues). Always pad your budget by at least 10-15% for contingencies.
Poor Air Sealing
Insulation is ineffective if air leaks aren’t addressed first. Ignoring cracks around windows, doors, or penetrations for pipes and wires allows conditioned air to escape, negating the benefits of new insulation. Always air seal before insulating.
Incorrect R-Value Selection
Choosing insulation with the wrong R-value (thermal resistance) can result in insufficient performance or wasted money. Check local building codes and Department of Energy recommendations for your climate zone before purchasing materials.
Improper Installation
- Compressing insulation batts or not filling cavities completely reduces effectiveness.
- Leaving gaps or voids results in cold spots and energy leaks.
- Installing insulation over moisture or wiring hazards can lead to mold or fire risks.
Cost Breakdown and Budgeting for Insulation Upgrades
Key Budget Components
- Material Costs: Vary by insulation type and thickness.
- Tools & Equipment: Purchase or rental fees for blowers, safety gear, utility knives, etc.
- Labor: DIY projects save on labor, but professional installation is advised for spray foam or complex situations.
- Prep Work: Air sealing materials, debris removal, minor repairs.
- Disposal: Removing old insulation, especially if contaminated, may incur extra costs.
Typical Cost Ranges (2024)
- Attic (1,000 sq ft): $1,200 – $2,500 for fiberglass batts installed DIY; $2,500 – $4,500 for spray foam installed professionally.
- Walls (per sq ft): $1.20 – $2.50 for blown-in cellulose; $2.00 – $5.00 for spray foam.
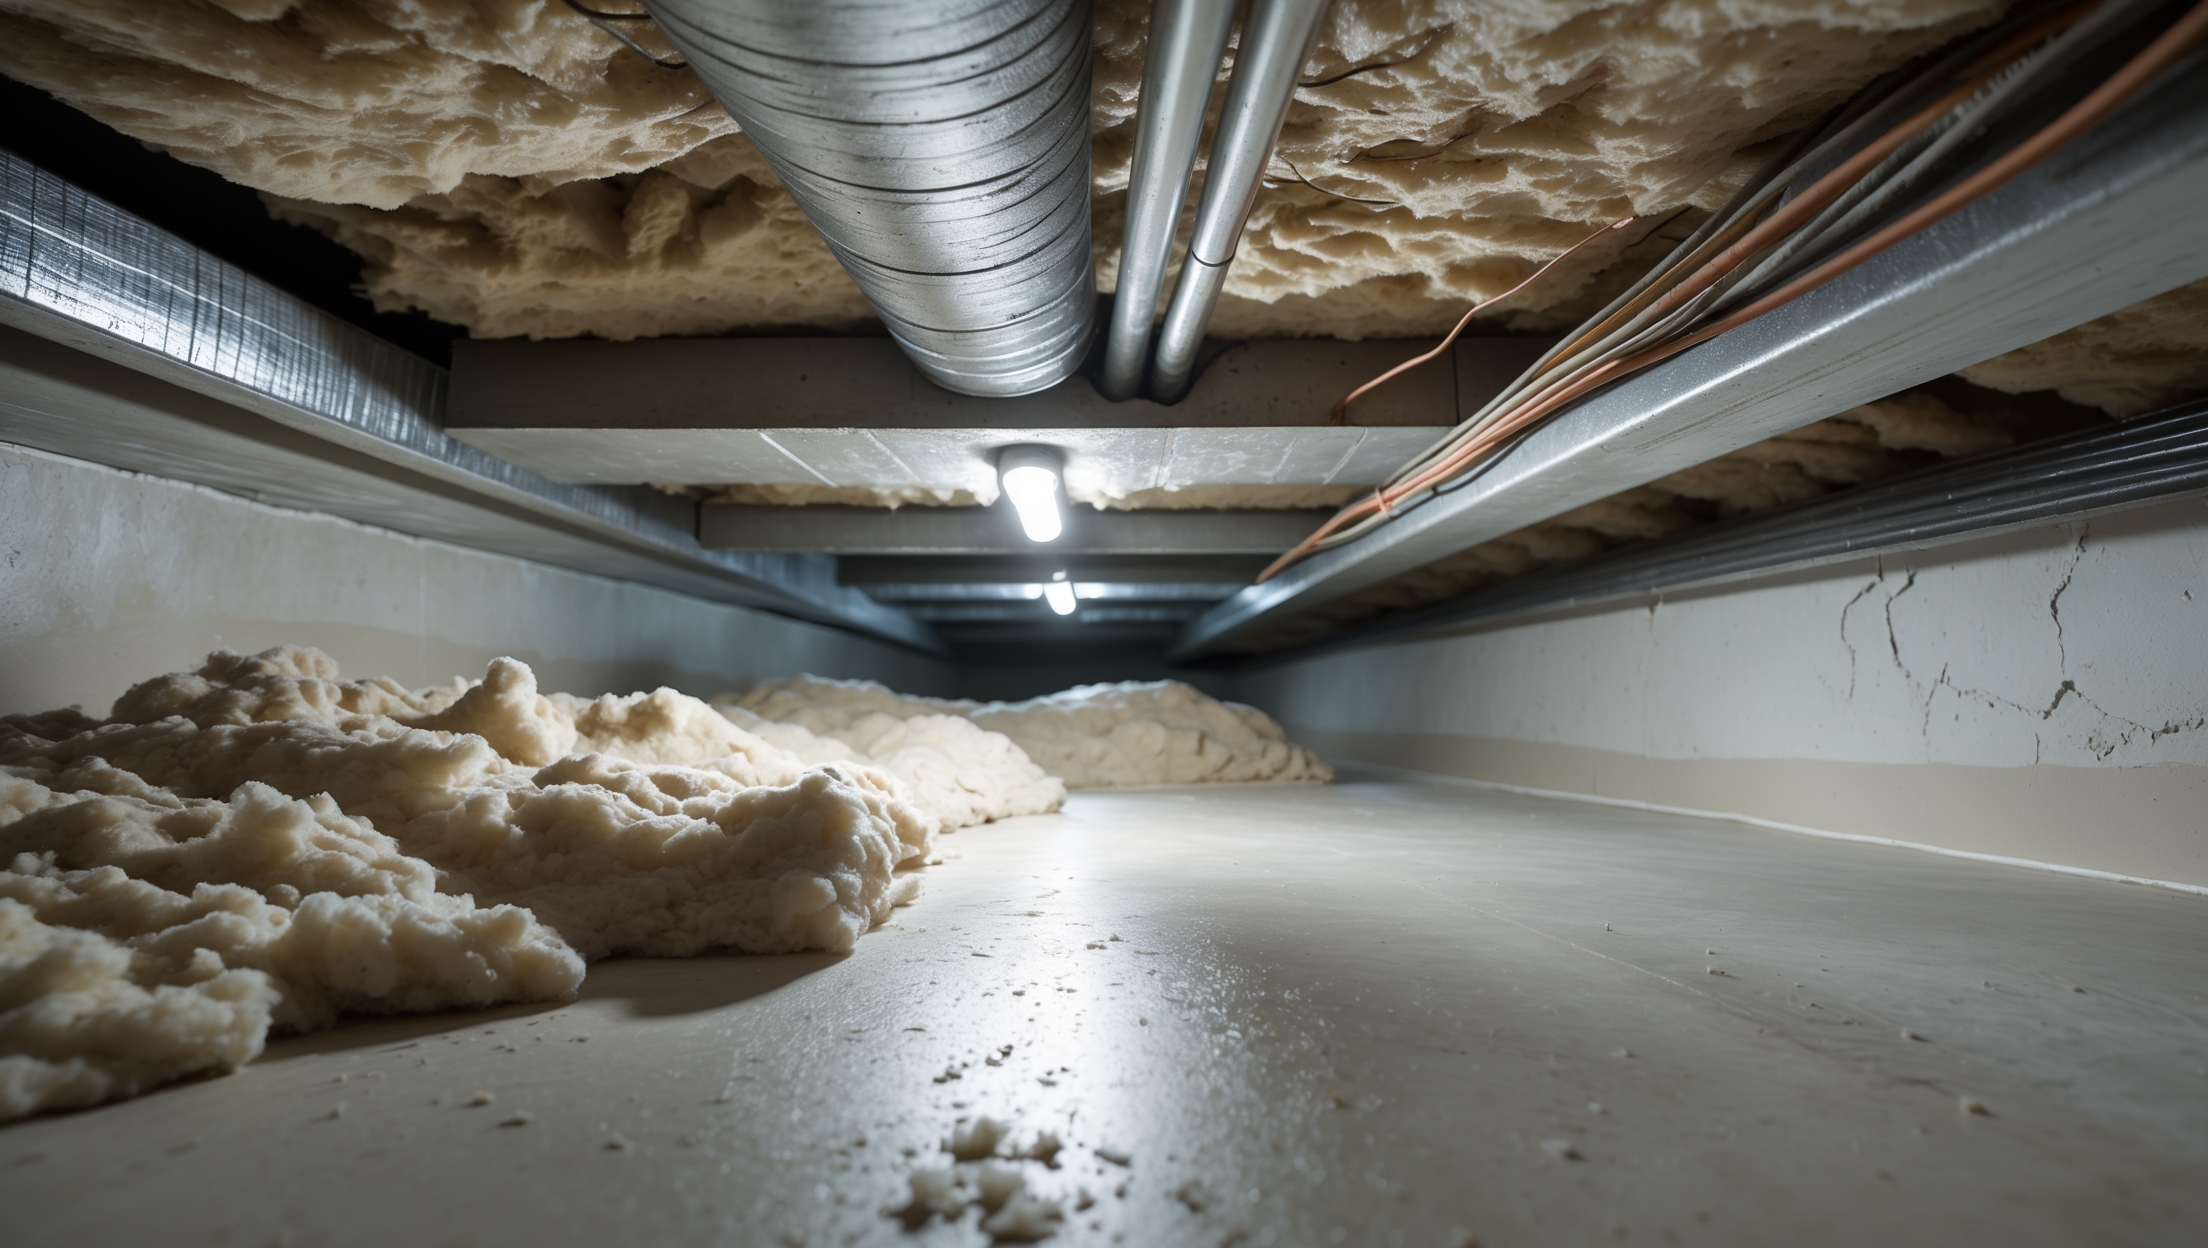
- Crawl Spaces: $1,000 – $3,000 depending on accessibility and moisture remediation needs.
Budgeting Tips
- Get multiple quotes for professional jobs.
- Compare material costs at local suppliers and big-box stores.
- Factor in tool rental/safety gear, especially for blown-in or spray foam jobs.
- Plan for incidental repairs (e.g., replacing damaged drywall or vapor barriers).
- Check for rebates or tax incentives—many utilities offer discounts for insulation upgrades that meet energy standards.
Essential Tools and Equipment Guide
Basic Tools
- Measuring tape and marker for accurate material cuts.
- Utility knife or insulation saw for batts and boards.
- Staple gun for securing vapor barriers or faced insulation.
- Caulking gun and cans of expanding foam for air sealing gaps.
- Protective gloves and disposable coveralls.
Specialized Equipment
- Blower machine for loose-fill/blown-in cellulose (rental often included with material purchase).
- Respirator or N95 mask, especially for attics or older homes with potential contaminants.
- Headlamp or work lights for dark attics and crawl spaces.
- Long hose attachments for even distribution of blown-in insulation.
Safety Gear
- Safety goggles to protect eyes from fibers and dust.
- Hard hat for low-clearance spaces.
- Knee pads for extended work in crawl spaces or attics.
Step-by-Step Insulation Upgrade Tutorial
1. Plan and Prep
- Schedule an energy audit or use a thermal imaging camera to identify problem areas.
- Measure all spaces to be insulated and calculate material needs with a 10% buffer for waste.
- Remove old insulation if it’s wet, moldy, or rodent-infested. Wear protective gear and dispose of properly.
2. Seal Air Leaks
- Use caulk or spray foam to seal gaps around windows, doors, plumbing, and wiring penetrations.
- Install weatherstripping on attic hatches and access panels.
- Check for gaps around recessed lighting and seal appropriately with fire-rated covers.
3. Install Insulation
- For Batts/Rolls: Fit snugly between joists or studs. Avoid compressing material. Cut to fit around electrical boxes and pipes.
- For Blown-in: Use blower machine, starting farthest from attic access and working back. Maintain even depth according to manufacturer’s R-value chart.
- For Foam Boards: Cut with insulation saw, seal seams with tape or spray foam, and secure as required by code.
4. Address Vapor Barriers
- Install vapor barriers on the warm-in-winter side of insulation in cold climates (typically facing the living space).
- Seal all seams and edges with approved tape or caulk.
5. Final Checks and Cleanup
- Inspect for gaps, compression, or displaced insulation.
- Replace attic hatches and access panels, sealing as needed.
- Clean up all debris and dispose of old materials properly.
Maintenance Best Practices
- Annually inspect accessible insulation for moisture, mold, or pest intrusion.
- Check for settling or compression in blown-in insulation and top up as needed.
- Keep attic and crawl space vents clear to prevent excess moisture and condensation.
- Address roof leaks or plumbing issues immediately to prevent damage to insulation.
- Re-seal any new penetrations (e.g., after electrical upgrades) to maintain airtightness.
Safety Checklist
- Always wear gloves, eye protection, and a mask when handling insulation.
- Shut off power to areas where you’ll be working near electrical wiring.
- Use caution when walking in attics—step only on joists to avoid falling through the ceiling.
- Ensure proper ventilation, especially when using spray foam or working in closed spaces.
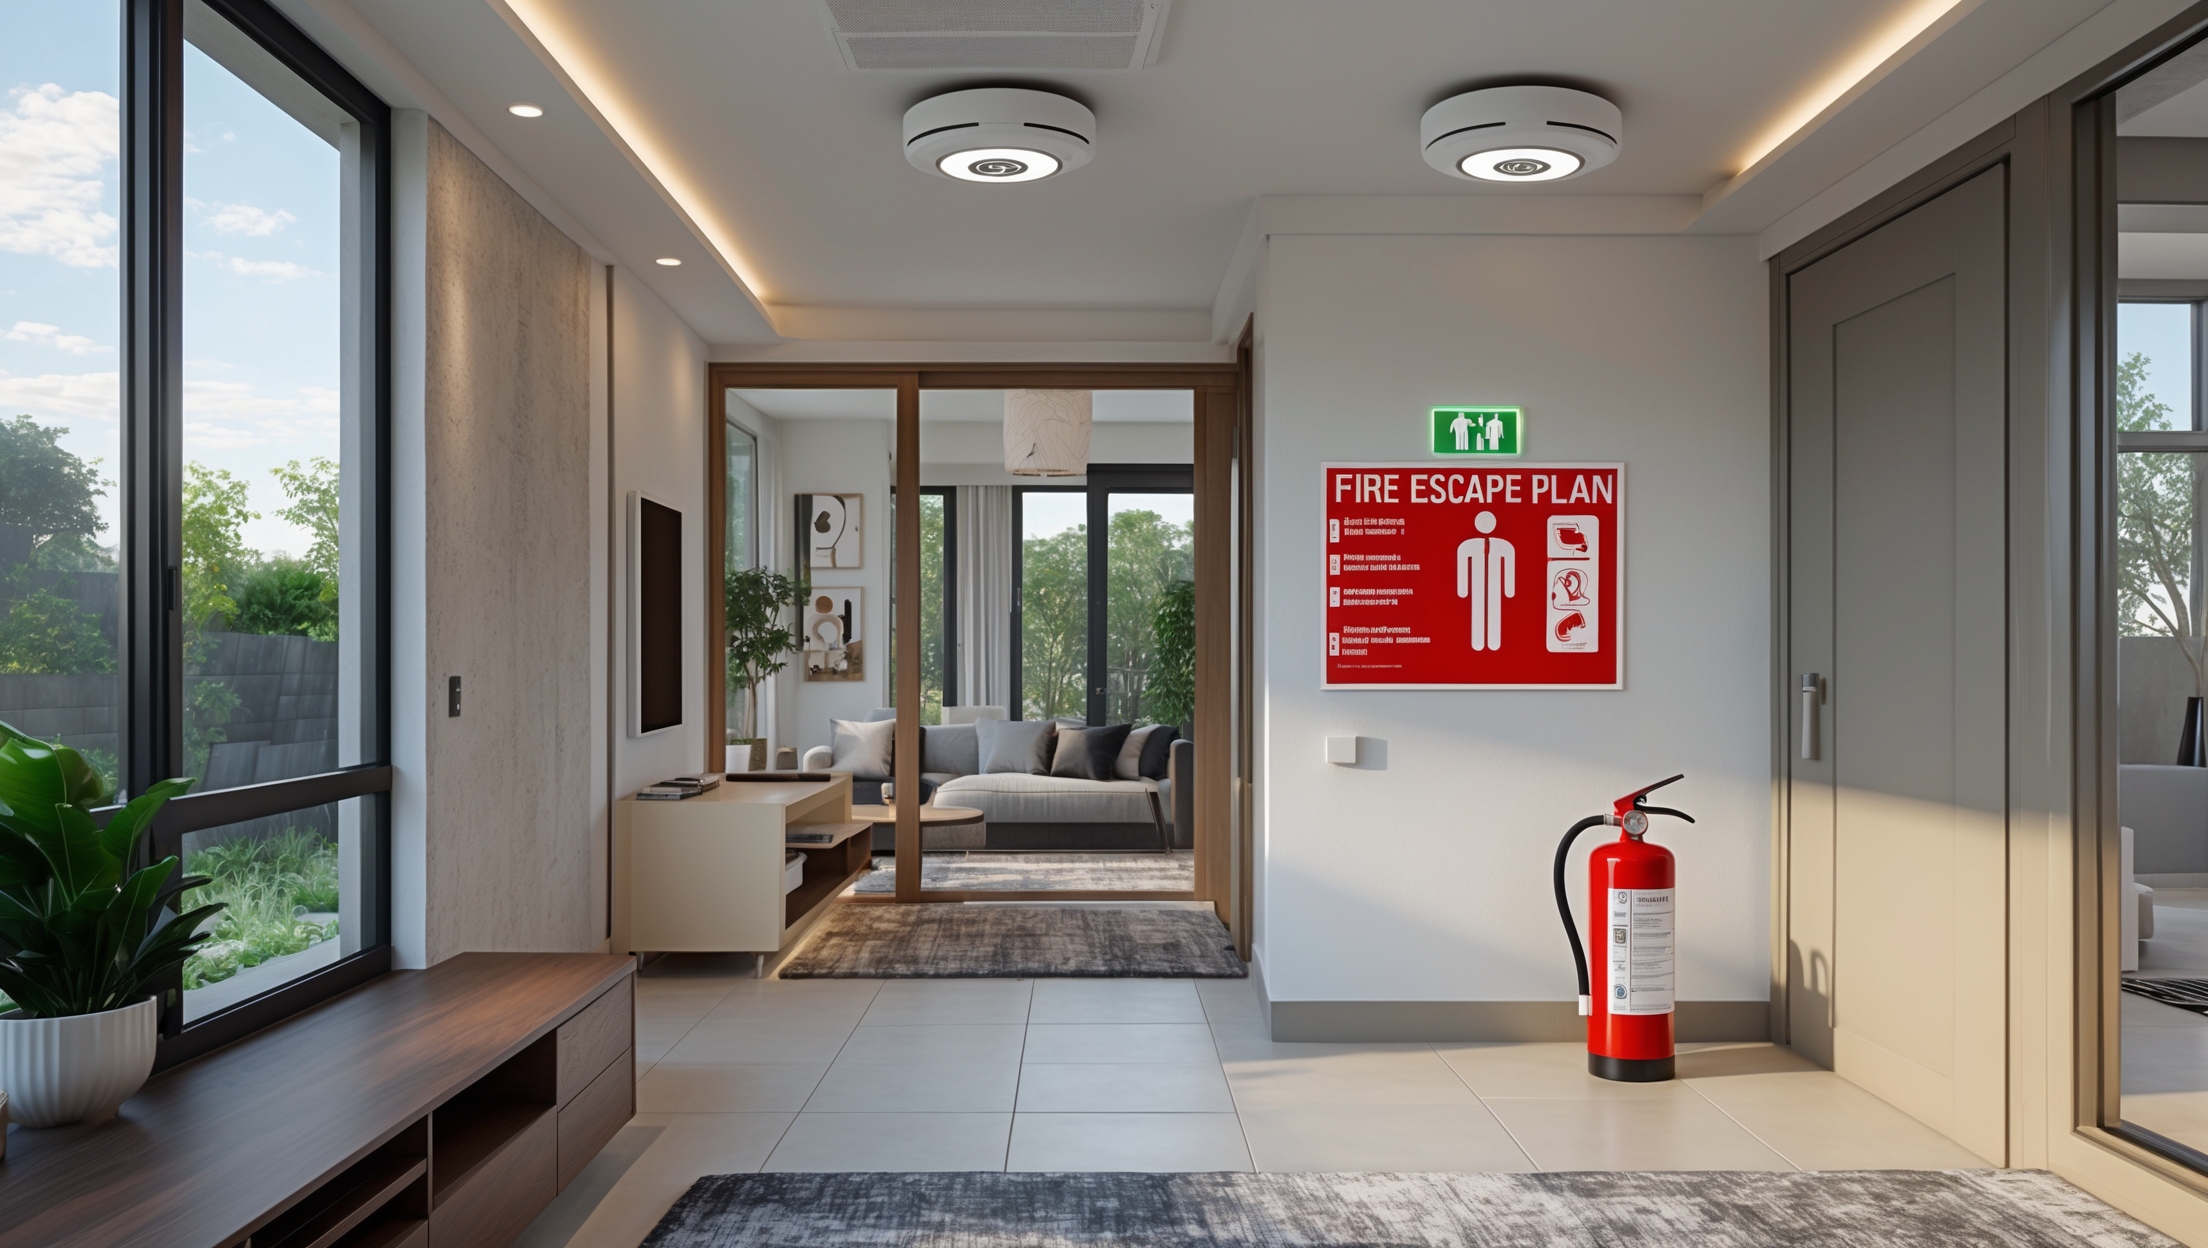
- Keep a fire extinguisher nearby and never install insulation against hot surfaces (e.g., recessed lights, flues) unless rated for contact.
Compliance and Permit Considerations
In most cases, insulation upgrades do not require permits unless they’re part of a larger remodeling or structural project. However, always check with your local building department for code requirements regarding R-values, vapor barriers, and fire safety. Some municipalities require inspections, especially if insulation is being added to walls or basements. Failure to comply with codes can result in fines or the need to redo work.
Common Myths About Insulation Upgrades
- Myth: More insulation is always better.
Reality: There is a point of diminishing returns. Follow recommended R-values for your climate zone. - Myth: Insulation alone will solve all comfort issues.
Reality: Air sealing is equally important. Address drafts and leaks for maximum impact. - Myth: DIY is always cheaper.
Reality: Improper installation can cost more in the long run due to poor performance and potential damage.
Conclusion
Upgrading your home’s insulation is a project that pays dividends in comfort, energy savings, and property value. However, the process involves more than just adding new material—it requires a careful assessment of your home’s needs, a realistic budget, the right tools, and a commitment to best practices. By avoiding common mistakes like skipping air sealing, underestimating costs, or choosing the wrong R-value, you set your project up for success. Remember, the key to a high-performing home is a holistic approach: combine insulation with air sealing, regular maintenance, and a thorough understanding of local codes. When in doubt, consult with professionals—especially for challenging areas or advanced materials like spray foam. With the information in this guide, you can confidently tackle your insulation upgrade, ensuring your home stays comfortable and efficient for years to come.

If my main goal is soundproofing certain rooms, would mineral wool be a better choice compared to fiberglass batts, even if it’s more expensive? Are there major differences in installation difficulty between those types?
Mineral wool is generally superior to fiberglass batts for soundproofing because it has a higher density and better sound-absorbing properties. While it does cost more, many homeowners find the noise reduction worthwhile. In terms of installation, mineral wool can be a bit heavier and less flexible than fiberglass, which may make it slightly trickier to fit snugly into tight spaces or around obstacles, but the process is otherwise quite similar for both materials.
The article points out that spray foam is high-performing but more expensive and best for professionals. Are there particular situations where DIY spray foam makes sense, or is it always safer to avoid unless you hire someone?
DIY spray foam can be done in very small areas, such as sealing minor gaps or cracks, especially with one-component cans. However, for large-scale insulation projects or attics and walls, it’s safer to hire a professional. Improper application can cause health risks, poor insulation, and even structural issues. Generally, unless it’s a small patch job, professional installation is recommended for spray foam.
Could you elaborate on how to determine the right insulation type for older homes, especially when dealing with irregular spaces or existing materials? I’m particularly interested in how to choose between blown-in cellulose and spray foam in those situations.
For older homes with irregular spaces or existing insulation, blown-in cellulose can be a good choice because it easily fills gaps around obstructions and works well in attics or wall cavities. Spray foam offers superior air sealing and higher insulation value per inch but can be more expensive and may require removal of old insulation. Consider access, budget, and moisture control needs. If you have knob-and-tube wiring or moisture issues, consult a professional before deciding. Both options have pros and cons, but the installation method and your home’s specific challenges should guide your decision.
The article notes that spray foam has a high R-value but is best handled by professionals. What are some potential issues if a DIYer tries to install spray foam themselves, and are there safer alternatives for non-professionals wanting a high R-value?
DIY installation of spray foam can lead to problems like improper mixing, insufficient curing, missed air gaps, or even health risks from exposure to chemicals. Poor installation can trap moisture or cause uneven coverage, reducing effectiveness. For non-professionals seeking high R-value, consider rigid foam boards or mineral wool batts. These options are easier to install safely, offer good performance, and come with fewer health and application risks.
When budgeting for an insulation upgrade, do you have any tips on estimating the hidden costs, like tool rentals or wall repairs, that are easy to overlook for DIYers?
It’s easy to miss hidden costs when budgeting for an insulation upgrade. For tool rentals, check the required equipment for your chosen insulation type—common rentals include blowers or spray foam kits. Wall repairs can add up if you need to patch drywall or repaint, so factor in materials and possible labor. Also consider disposal fees for old insulation or debris. Making a detailed list of every step and its needs can help you spot these extra expenses ahead of time.
The article mentions that skipping an energy audit can lead to costly mistakes. How much does a typical home energy audit cost, and is it worth hiring a professional or can this be done well enough on my own?
A typical professional home energy audit costs between $200 and $600, depending on your home’s size and location. While DIY methods like checking for drafts and inspecting insulation can help, a professional audit includes tools and expertise to find hidden issues and prioritize upgrades. If your budget allows, hiring a pro can save money long-term by preventing missed problems or unnecessary upgrades.
What kind of timeframe should someone realistically set aside for insulating an average-sized crawl space, especially if they’re new to DIY projects? I’m trying to avoid underestimating the amount of work involved and want to plan accordingly.
For someone new to DIY projects, insulating an average-sized crawl space usually takes between one and three days. The exact time depends on the crawl space’s condition, the type of insulation, and your comfort with the tools. Plan for extra time to clean the area, gather materials, and address any unexpected issues, so you don’t feel rushed.
When you say that skipping an energy audit is a major mistake, can you suggest how to find a reputable auditor or explain what a typical audit process involves for a small older house?
To find a reputable energy auditor, check for certifications from organizations like RESNET or BPI, and ask for local referrals or reviews. In a typical audit for a small older house, the auditor visually inspects insulation, checks for drafts, tests windows and doors, and may use tools like blower doors and infrared cameras. Afterwards, you’ll get a detailed report with recommendations and cost-saving tips tailored to your home.