
Introduction: Why Staircase Renovations Matter More Than You Think
When it comes to home improvement, staircases are often overlooked in favor of kitchens or bathrooms. Yet, your staircase is not only a functional necessity—it’s a high-traffic focal point that shapes first impressions, impacts daily safety, and even influences your home’s value. Whether you’re dealing with creaky steps, outdated railings, or slippery surfaces, renovating a staircase can yield impressive returns in both aesthetics and security. However, staircase projects demand careful planning, precise budgeting, and a keen understanding of safety codes. In this comprehensive guide, we’ll break down the real costs of staircase renovations, spotlight critical safety upgrades, and share expert maintenance strategies to keep your stairs beautiful and hazard-free for years to come. Whether you’re a DIY enthusiast or hiring professionals, you’ll find practical tips, actionable checklists, and smart solutions tailored to every budget and style.
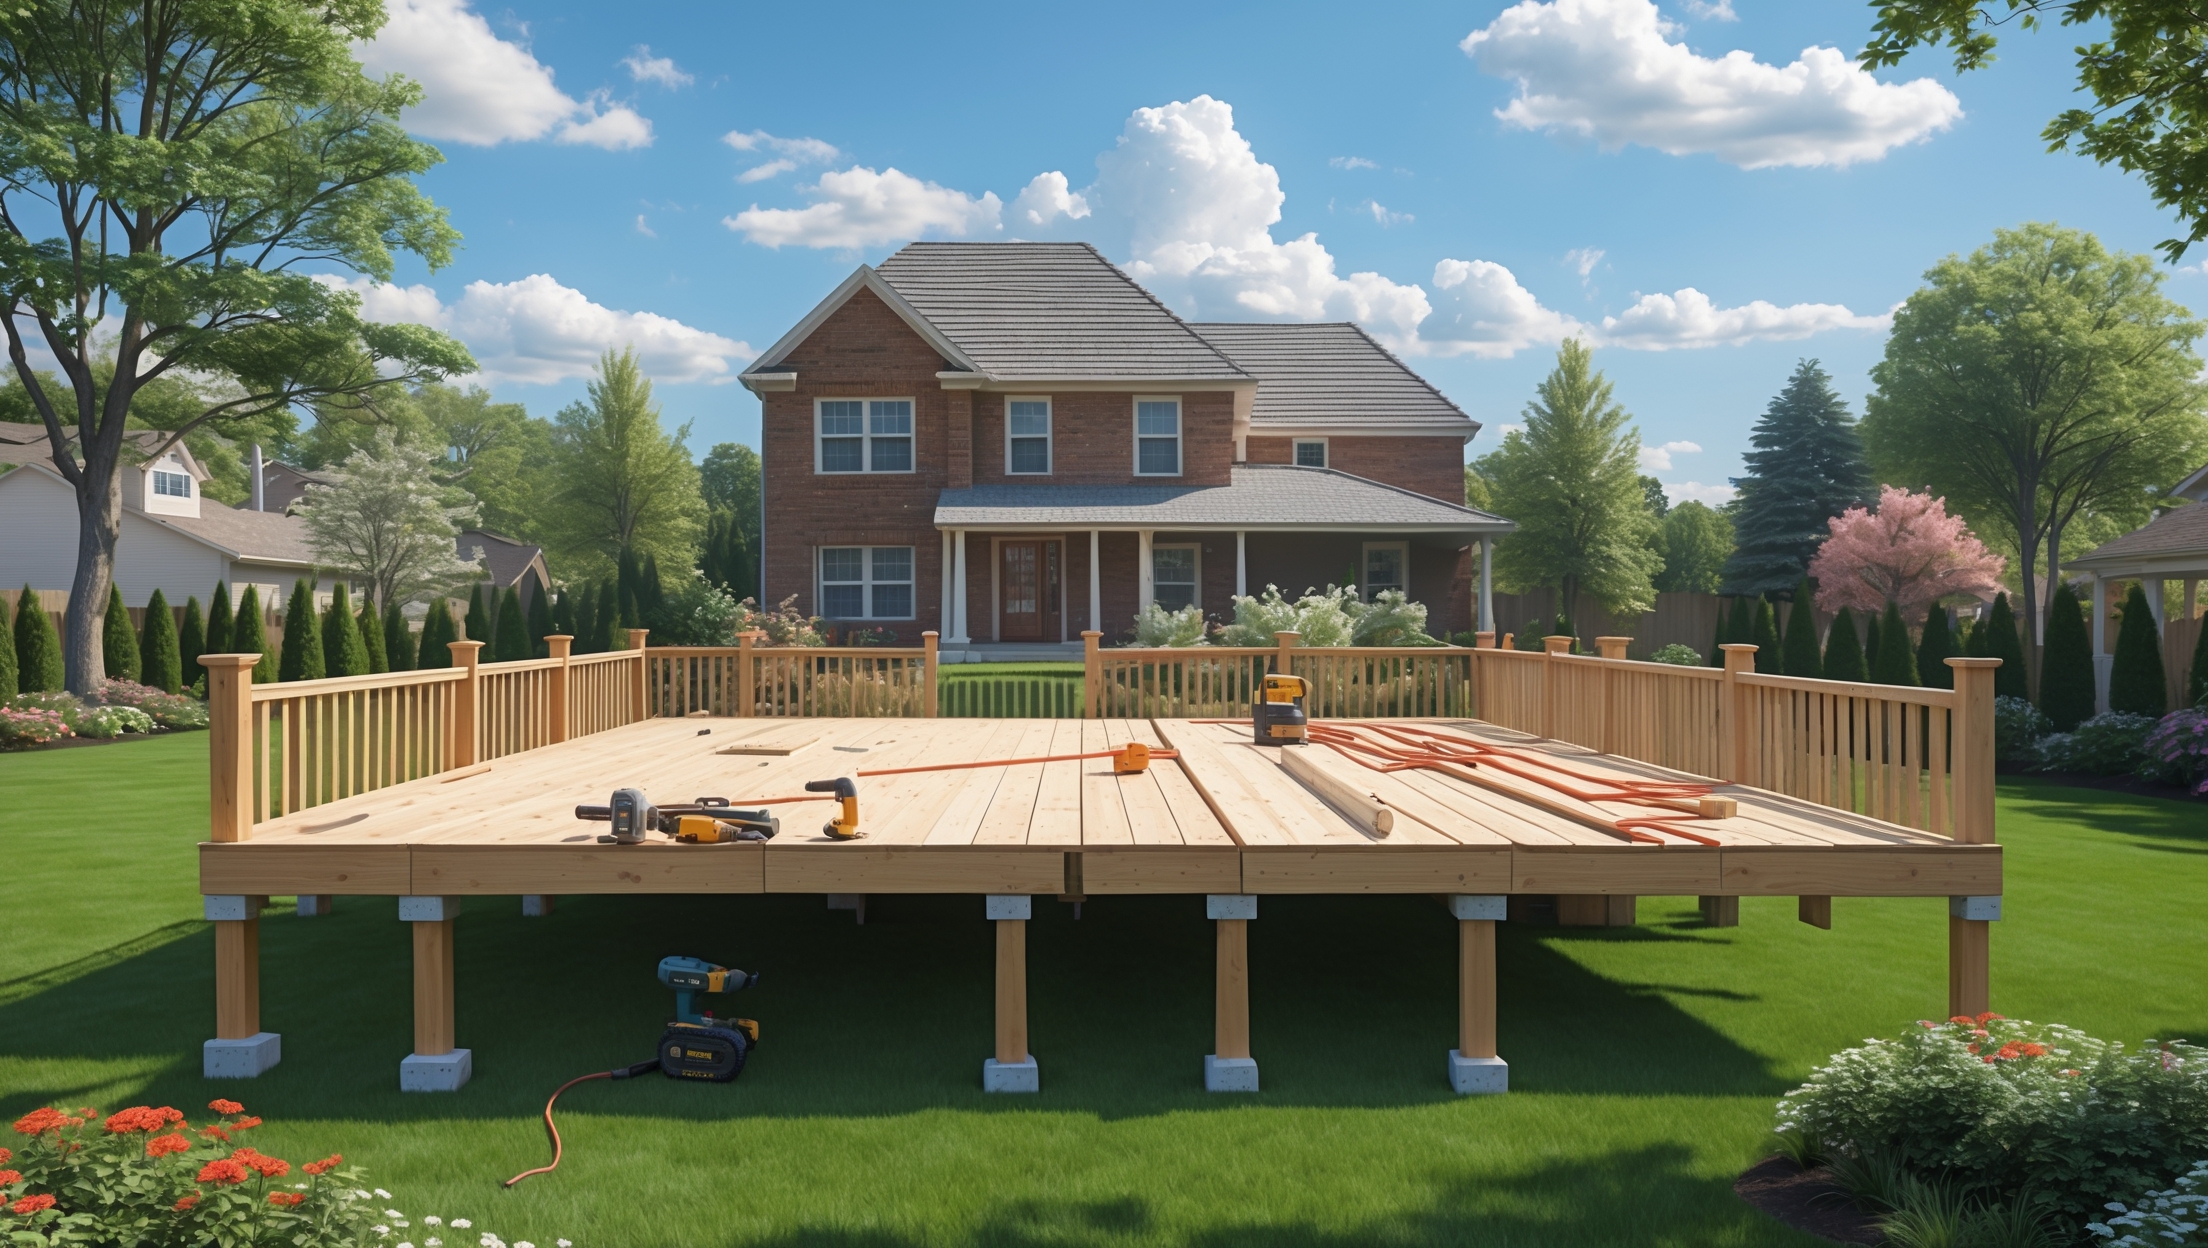
Understanding the Scope: Types of Staircase Renovations
Cosmetic Refresh vs. Structural Overhaul
Staircase renovations can range from simple cosmetic upgrades—like painting or refinishing treads—to structural changes, such as replacing the entire staircase or altering its layout. Knowing the difference is crucial for budgeting and compliance:
- Cosmetic Refresh: Sanding, staining, painting, recarpeting, or updating balusters/handrails.
- Structural Overhaul: Replacing or reinforcing stringers, resizing steps, altering configuration or material, or addressing foundational issues.
Common Materials & Their Implications
- Wood: Classic appeal and easy to refinish, but requires periodic maintenance to prevent squeaks and wear.
- Carpet: Added comfort and slip-resistance, but prone to staining and wear in high-traffic areas.
- Metal: Durable and modern, but may be noisy and less forgiving for slips.
- Glass: Sleek and open, but requires frequent cleaning and strict adherence to safety codes.
Cost Breakdown: What to Expect for Every Budget
DIY Cosmetic Updates ($200–$1,000)
- Sanding and refinishing treads: $200–$400 (materials and tool rental)
- Painting or staining: $100–$250 (paint/stain, brushes, tape)
- Replacing balusters/handrails: $150–$600 (depending on material and design)
- New stair runner: $100–$400 (materials and installation)
Professional Mid-Range Upgrades ($1,500–$5,000)
- Custom wood tread replacement: $2,000–$4,000
- Modern metal or cable railing installation: $1,500–$3,500
- Staircase carpeting (high-quality): $1,200–$2,500
- Glass panel installation: $3,000–$5,000
Full Structural Renovation ($7,500+)
- Complete staircase replacement (straight): $7,500–$12,000
- Curved or custom shape: $15,000–$25,000+
- Structural reinforcement (joists, stringers): $2,500–$8,000 (as part of larger project)
Hidden and Incidental Costs
- Permits and inspections: $150–$500 (varies by municipality)
- Disposal of old materials: $100–$300
- Temporary alternative access: $200–$500 (if needed)
- Unexpected repairs: Always budget an extra 10–20% for surprises (rot, termite damage, code upgrades).
Essential Tools and Equipment Checklist
For DIYers
- Measuring tape and carpenter’s square
- Circular saw and miter saw (or hand saw for small jobs)
- Power drill and screwdriver set
- Hammer and pry bar
- Orbital sander and sandpaper (80–220 grit)
- Paintbrushes, rollers, and painter’s tape
- Level and chalk line
- Ladders and sturdy work platforms
- Vacuum or shop vac for dust control
For Advanced or Structural Work
- Reciprocating saw (for demolition)
- Nail gun and air compressor
- Stud finder and moisture meter
- Heavy-duty clamps
- Protective gear: safety glasses, gloves, dust mask
Permits, Compliance, and Building Codes
Do You Need a Permit?
Cosmetic updates typically don’t require a permit, but any work that alters the structure, dimensions, or safety features of your staircase usually does. Always check with your local building department before starting. Common triggers for permits include:
- Replacing or modifying stringers, risers, or treads
- Changing the staircase layout or footprint
- Installing new railings/guardrails above a certain height
Key Code Requirements
- Riser height: Usually 7–7.75 inches (check local codes)
- Tread depth: Minimum 10 inches
- Handrail height: 34–38 inches above tread nosing
- Baluster spacing: Openings no greater than 4 inches
- Landing requirements: Adequate at top and bottom of stairs
Non-compliance can result in costly rework or even failed home sales, so consult your municipality and, if in doubt, hire a licensed contractor for structural changes.
Top 7 Safety Upgrades for Modern Staircases
1. Slip-Resistant Treads
Install anti-slip strips, carpet runners, or specialty finishes to reduce fall risk, especially in homes with children or seniors.
2. Sturdy Handrails on Both Sides
Dual handrails offer superior support and meet most accessibility standards. Ensure they are securely anchored and continuous along the full run.
3. Adequate Lighting
Upgrade to LED step lights, wall sconces, or motion-activated lighting to prevent trips and ensure visibility at all hours.
4. Baluster and Railing Upgrades
Replace loose or outdated balusters with code-compliant, child-safe designs. Consider tempered glass or closely spaced metal for a modern, safe look.
5. Contrasting Edge Markings
Use contrasting paint or stair nosings to define step edges, aiding those with visual impairments and reducing missteps.
6. Eliminate Tripping Hazards
Repair loose treads, squeaks, or uneven risers promptly. Remove clutter and secure stair runners with proper adhesives or tacks.
7. Child/Pet Gates
Install secure gates at the top and bottom of stairs in homes with young children or pets to prevent accidents.
Step-by-Step: Cosmetic Staircase Refresh
Step 1: Prep the Area
- Clear the staircase and surrounding area of furniture, rugs, and debris.
- Cover floors and adjacent surfaces with drop cloths.
- Remove old carpet or runners, if applicable.
Step 2: Clean and Inspect
- Vacuum all dust and debris.
- Inspect for loose treads, squeaks, or damaged balusters—tighten or repair as needed.
Step 3: Sand and Prime
- Sand treads and risers to remove old finish and smooth imperfections.
- Wipe with a tack cloth to remove dust.
- Apply a quality primer to bare wood (if painting).
Step 4: Paint or Stain
- Apply paint or stain in thin, even coats, following grain direction.
- Allow full drying between coats (check manufacturer instructions).
- For high-traffic stairs, use durable floor paints or polyurethane finishes.
Step 5: Upgrade Handrails and Balusters
- Swap outdated spindles for modern styles—wood, iron, or glass.
- Ensure all components are securely fastened and at code-compliant heights.
Step 6: Add Slip-Resistant Features
- Install non-slip treads, grip tape, or a new runner for safety.
- Check that edges are flush and adhesive is secure.
Step 7: Final Touches
- Reinstall any removed fixtures or hardware.
- Clean up dust, touch up paint, and enjoy your refreshed staircase!
Maintenance Best Practices for Lasting Results
Weekly/Monthly Tasks
- Vacuum or sweep stairs to remove grit and debris.
- Wipe handrails and balusters with a damp cloth to prevent buildup.
- Check for loose carpet, runners, or treads.
Quarterly/Seasonal Checks
- Inspect for signs of wear, such as squeaks, cracks, or wobbly railings.
- Touch up paint or finish where scuffs appear.
- Test all lighting and replace bulbs as needed.
Annual Deep Maintenance
- Re-apply finish or sealant to wood stairs for lasting protection.
- Tighten all hardware and fasteners.
- Check compliance with current safety codes—especially if you’ve added children, pets, or seniors to your household.
Case Study: Transforming a 1980s Staircase on a Budget
Lisa and Tom, homeowners in a 1980s split-level, wanted to update their dated staircase without a full rebuild. Their goals: freshen up the look, improve safety for their toddler, and stick to a $1,200 budget. Here’s how they did it:
- DIY Sanding and Painting: They rented a sander and spent $80 on primer and durable paint for risers and handrails.
- Upgraded Balusters: Swapped out old wooden spindles for modern black metal balusters ($350 for parts, installed themselves).
- Slip-Resistant Runner: Installed a stair runner with gripper pads ($220).
- Lighting: Added LED strip lighting under the handrail ($120).
- Safety Gates: Installed child gates at top and bottom ($110).
In just two weekends and under budget, they achieved a safer, more attractive staircase that added value and peace of mind to their home.
Conclusion: Invest in Your Stairs for Safety, Style, and Value
Staircase renovations are one of the most impactful home improvement projects you can undertake. Beyond the visual transformation, a well-renovated staircase elevates daily comfort, reduces accident risk, and boosts your home’s appeal for future buyers. By understanding the real costs involved, you can plan a project that fits your budget and lifestyle, whether it’s a DIY refresh or a full structural upgrade. Prioritizing safety upgrades—like slip-resistant surfaces, secure handrails, and proper lighting—pays lifelong dividends for every household member. Don’t forget that even the most beautiful stairs require ongoing care: routine cleaning, prompt repairs, and periodic inspections will keep them safe and stunning for decades. With the right planning and attention to detail, your staircase can become a showpiece that welcomes, protects, and inspires—one step at a time. Ready to transform your stairs? Use the checklists and strategies above to create a staircase that’s as practical as it is beautiful.
I’m interested in the budgeting aspect—do you have any sample breakdowns of typical costs for a cosmetic refresh versus a structural overhaul, specifically for an average-sized staircase in a two-story home?
For an average-sized staircase in a two-story home, a cosmetic refresh—like painting, recarpeting, or replacing balusters—usually ranges from $800 to $2,500, depending on materials. A structural overhaul, such as replacing treads, risers, or reinforcing the framework, typically costs between $4,000 and $10,000 or more. These figures may vary based on your location and material choices, but they offer a good starting point for budgeting.
How long does a typical staircase overhaul take from start to finish? I need to plan around having people and equipment in my house while the work is done.
A full staircase overhaul usually takes about 1 to 2 weeks, depending on the complexity and the extent of the work involved. If structural repairs or custom features are included, it could take a bit longer. Most contractors will need daily access during work hours, so plan for some disruption, but they often keep walkways as accessible as possible during the process.
The article talks about precise budgeting, but I’m still unsure of what a realistic all-in cost range looks like for a mid-range cosmetic refresh versus a structural overhaul. Could you give some ballpark estimates for both scenarios?
For a mid-range cosmetic refresh—like painting, new treads, balusters, or a handrail—expect to spend between $1,500 and $5,000, depending on materials and labor. For a full structural overhaul where stairs are rebuilt or significantly modified, costs typically range from $8,000 to $20,000 or more, especially if extensive work on framing or layout is needed.
I have young kids, so safety is my main concern. In your safety upgrades section, which specific improvements do you recommend most for families with small children running up and down the stairs?
For families with young children, the most important staircase safety upgrades are installing sturdy handrails on both sides, adding non-slip treads or carpeting to each step, and fitting secure safety gates at the top and bottom of the stairs. Make sure baluster spacing is narrow enough to prevent a child from slipping through, and keep steps clear of clutter to reduce tripping hazards.
When considering a structural overhaul for an older staircase, how can I determine if the stringers or foundational elements need complete replacement versus reinforcement? I want to avoid unnecessary costs but also meet safety codes.
To assess whether your staircase stringers or foundational elements need replacement or just reinforcement, start by checking for visible signs like cracking, rot, sagging, or warping. A professional inspection is valuable—they’ll look for compromised wood, loose joints, or code violations. If the structure is generally sound and damage is localized, reinforcement may suffice. However, extensive deterioration or code non-compliance often means replacement is safer. Always verify with local building codes to ensure safety standards are met.
The article discusses both DIY and professional approaches to upgrading staircases. For a homeowner on a moderate budget, what are the most impactful safety upgrades that don’t require replacing the entire staircase structure?
For homeowners on a moderate budget, some of the most effective safety upgrades include adding or improving handrails, installing non-slip treads or adhesive strips on each step, and ensuring all steps are well-lit. Tightening loose steps, repairing damaged balusters or railings, and applying a fresh coat of non-slip paint can also make a big difference in safety without needing to replace the whole staircase.