Introduction: Why Basement Waterproofing Matters
Basements are the unsung heroes of our homes, providing essential storage, extra living space, and even a solid foundation for everything above. Yet, too often, moisture sneaks in—leading to musty odors, mold growth, ruined finishes, and, in extreme cases, structural damage. If you’ve ever experienced a damp floor after a heavy rain or spotted white powdery stains (efflorescence) on your basement walls, you already know how insidious water problems can be. The good news? With the right approach, you can transform your basement into a dry, usable, and healthy part of your home. This guide walks you through the practicalities of basement waterproofing: common causes of moisture, how to assess your unique situation, what methods work best (and when), budgeting for the project, essential tools and equipment, maintenance for lasting results, and how to avoid the most frequent mistakes homeowners make. Whether you’re tackling this as a DIY project or planning to hire a pro, you’ll find actionable advice and clarity to help you safeguard your investment for years to come.
Understanding Basement Moisture: Sources and Warning Signs
Common Sources of Basement Moisture
Before you can solve a moisture problem, it’s crucial to know where it’s coming from. The main culprits include:
- Surface Water: Rainwater pooling around the foundation due to poor grading, overflowing gutters, or short downspouts.
- Groundwater: High water tables or hydrostatic pressure pushing water through cracks or porous concrete.
- Interior Humidity: Condensation from humid air meeting cool basement surfaces, especially in summer.
- Plumbing Leaks: Broken pipes or leaky water heaters.
Key Warning Signs of Moisture
- Musty odors or visible mold growth
- Damp spots or water pooling on floors
- Efflorescence (white, chalky deposits on walls)
- Cracked or flaking paint and spalling concrete
- Rust on appliances or metal supports
- Warped wood, stained carpet, or peeling tiles
Noticing even one of these signs means you should investigate further—ignoring them can lead to far more expensive repairs down the line.
Assessing Your Basement’s Waterproofing Needs
DIY Inspection Checklist
Start with a thorough visual and physical inspection:
- Walk the perimeter outside during or after rainfall; look for standing water near the foundation.
- Check gutters and downspouts for clogs and ensure they direct water at least 6 feet away from the home.
- Inside, inspect walls and floors for cracks, discoloration, or dampness.
- Test humidity with a hygrometer (ideally, basement humidity should stay below 60%).
- Examine window wells for debris buildup or leaks.
- Look for evidence of previous water entry, such as stains or warped finishes.
When to Call a Professional
Some issues, like horizontal cracks in foundation walls, persistent standing water, or widespread mold, warrant a professional inspection. A reputable waterproofing contractor can perform a comprehensive assessment, including moisture meter readings and recommendations specific to your home’s construction and local soil conditions.
Basement Waterproofing Methods: Interior and Exterior Strategies
Exterior Waterproofing Solutions
- Landscaping and Grading: Re-slope soil away from the foundation; plant water-tolerant shrubs with shallow roots.
- Gutter and Downspout Upgrades: Install gutter extensions; add leaf guards to reduce maintenance.
- Foundation Waterproofing Membrane: Professional installation of a rubberized or polymer membrane along outside foundation walls (requires excavation).
- French Drains: Perforated pipes buried along the foundation to redirect groundwater away from the home.
Interior Waterproofing Solutions
- Sealants and Epoxy Injections: For minor cracks and surface moisture; not a cure-all for major leaks.
- Interior Drainage Channels: Trench drains or baseboard systems to channel water to a sump pump.
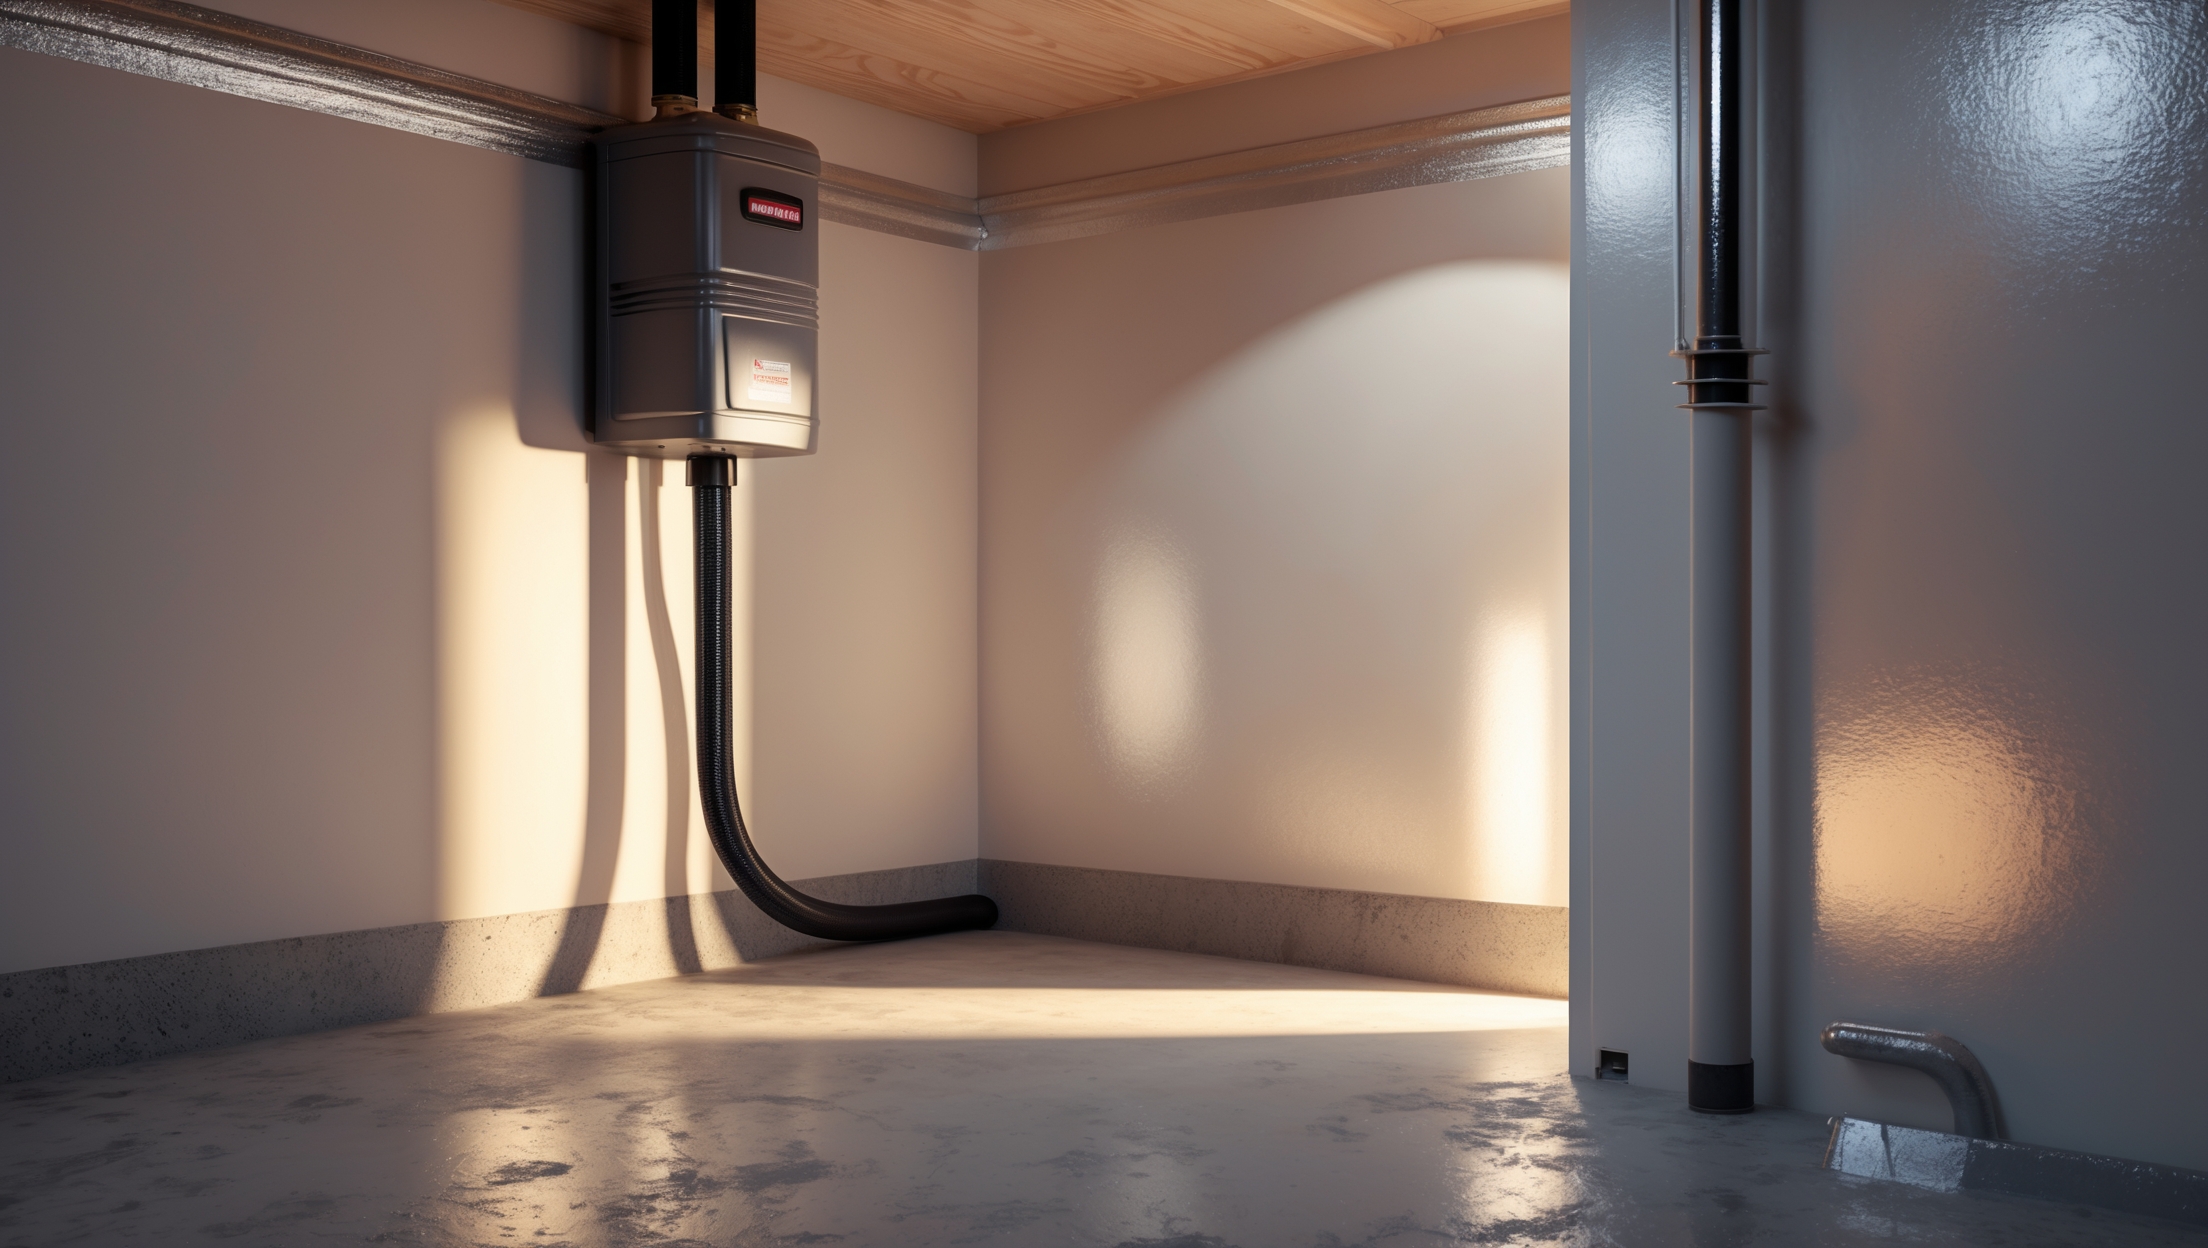
- Sump Pumps: Essential for homes with chronic water intrusion; automatic models with battery backup are best.
- Dehumidifiers: Reduce airborne humidity and prevent condensation-related issues.
- Vapor Barriers: Polyethylene sheeting installed over walls and floors to block moisture migration.
Choosing the Right Approach
The best solution often combines several methods. For example, fixing exterior grading and gutters can prevent most water from reaching the foundation, while a sump pump and dehumidifier manage residual moisture inside. Avoid “miracle” paints or quick fixes that don’t address the underlying cause—they rarely offer lasting protection.
Cost Breakdown: Budgeting for Your Waterproofing Project
Typical Costs (DIY vs. Professional)
- Gutter Cleaning/Extensions: $100–$500 (DIY), $300–$1,000 (pro install)
- Landscaping/Grading: $500–$2,500 (DIY/partial pro), $1,000–$5,000 (full pro)
- Crack Sealing: $20–$200 (materials), $250–$800 (pro)
- Interior Drainage System: $1,000–$4,000 (DIY difficult), $3,000–$10,000 (pro)
- Sump Pump Installation: $150–$500 (pump), $500–$2,000 (pro, including pit)
- Exterior Waterproofing Membrane: $5,000–$15,000+ (pro only, includes excavation)
Prices vary based on home size, accessibility, and local labor rates. For most homeowners, a phased approach—starting with exterior grading and drainage, then addressing interior issues—offers the best return on investment.
Budgeting Tips
- Prioritize fixes that prevent water from reaching your foundation (gutters, grading) before tackling interior solutions.
- Consider the ROI: A dry basement can add significant resale value, while moisture problems can kill a sale or reduce your home’s worth.
- Get multiple quotes for professional work; beware of high-pressure sales tactics or “too good to be true” prices.
Essential Tools & Equipment for Basement Waterproofing
- Shovel and landscaping rake (for grading)
- Caulking gun and waterproof sealant
- Concrete patching compound
- Hammer drill and masonry bits
- Utility knife and straightedge
- Measuring tape and level
- Hygrometer (for measuring humidity)
- Sump pump (submersible or pedestal type)
- Dehumidifier (with auto-drain feature)
- Heavy-duty gloves, goggles, and dust mask (for safety)
- Wheelbarrow and buckets (for debris removal)
- Plastic sheeting (for vapor barriers)
For more advanced exterior work, you may need to rent a mini-excavator or hire professionals for excavation.
Step-by-Step: DIY Interior Crack Repair and Moisture Control
1. Prep the Area
Clear away furniture, stored items, and debris from the affected wall or floor area. Scrub the surface with a wire brush to remove loose material, dirt, and efflorescence. Let the area dry thoroughly.
2. Seal Small Cracks
Use a concrete patching compound or hydraulic cement. With a putty knife, press the material firmly into the crack. For deeper cracks, undercut the sides slightly so the patch can lock in place. Allow it to cure as per manufacturer instructions.
3. Apply Waterproof Sealant
With a brush or roller, coat the wall with a high-quality masonry waterproofing paint. Pay special attention to joints and corners. While this won’t stop major leaks, it helps control minor dampness and improves vapor resistance.
4. Install a Dehumidifier
Place a dehumidifier in the center of the basement, ideally with an auto-drain hose to a floor drain or sink. Set it to maintain 50–60% humidity.
5. Monitor Results
Check for recurrence of dampness after heavy rain. If moisture returns, it’s time to address exterior drainage or consider a more robust interior drainage system.
Basement Waterproofing Maintenance Best Practices
Ongoing Maintenance Tasks
- Clean gutters and downspouts at least twice a year or after major storms.
- Inspect the foundation perimeter for soil erosion and fill low spots with soil as needed.
- Test sump pumps every spring and before major storms; keep a backup power source ready.
- Check dehumidifier filters monthly and clean or replace as needed.
- Re-seal cracks or apply new waterproofing paint every few years as needed.
Spotting Early Warning Signs
- Monitor for musty odors or changes in humidity—these can signal new leaks or failed systems.
- Look for insect activity, like silverfish or centipedes, which thrive in damp environments.
- Keep an eye out for new cracks or wall bowing, which may indicate structural issues requiring immediate attention.
Common Pitfalls and How to Avoid Them
Ignoring Exterior Drainage
No amount of interior sealant will fix a basement that’s constantly assaulted by water from poor grading or clogged gutters. Always address exterior water first.
Using the Wrong Products
General-purpose caulk or paint won’t last on damp concrete. Invest in materials specifically labeled for basement or masonry waterproofing.
Delaying Repairs
Small leaks rarely fix themselves. Tackling moisture issues early is far less expensive than repairing mold damage or structural decay caused by neglect.
DIY Overreach
Some projects, like installing a full interior French drain or exterior membrane, are best left to experienced professionals.
Conclusion: Protecting Your Home and Investment
Basement waterproofing isn’t glamorous, but it’s one of the smartest investments you can make in your home’s longevity, safety, and value. Moisture intrusion can start as a minor annoyance and escalate into a health hazard or structural crisis if left unchecked. By understanding where water comes from, choosing the right waterproofing strategies, and committing to regular maintenance, you can create a dry, comfortable basement that adds living space and boosts your property’s worth.
Remember, every home is unique. A solution that works for your neighbor may not suit your soil type, foundation design, or climate. Take the time to assess your situation thoroughly and don’t hesitate to consult professionals for complex or persistent problems. Investing in quality materials, regular inspections, and proactive drainage management will save you money and headaches in the long run.
Finally, treat your basement as part of your home—not just a storage area or afterthought. With the right care, it can be transformed from a damp, musty space into a healthy, functional, and valuable asset. Don’t wait for the next rainstorm to take action: start your basement waterproofing journey today and enjoy the peace of mind that comes with a truly dry home.